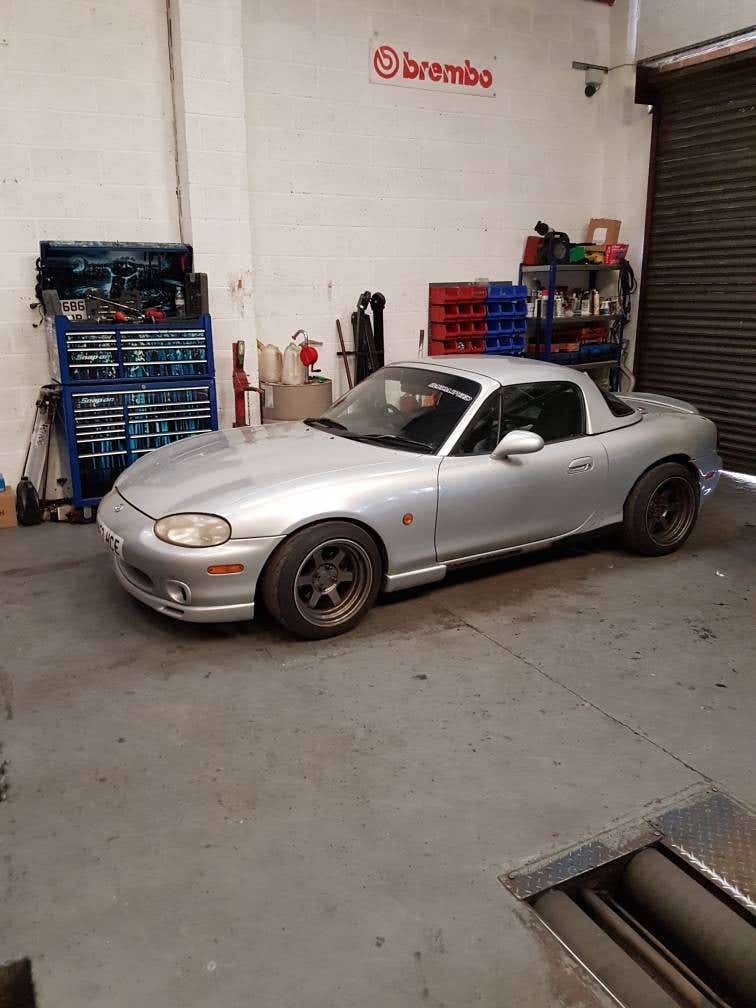
There's no 2 ways about it, I have a smokey mk2. It's been breathing a bit heavy and using oil since I bought it in late 2014 and it's taken this long to decide what to do about it. Don't get me wrong it doesn't stop me from tracking the car as it still goes well for a standardish mx5 - but as a mechanic it's becoming embarrassing.
So I weighed up the options; supercharger, turbo, blink motorsport high comp/cams/itbs etc. I wanted another 100bhp/100lb/ft to allow the car to be competitive on the bigger tracks so i did the maths.
Supercharging is the sensible option but I did struggle to find kits for sale and one that fitted the bill.
Turbocharging is the easy way to extract power but I'm not convinced on the cost of building a reliable a 250bhp motor. Plus I've had high power turbocharged cars and worrying about service intervals, boost leaks, temps on track etc put me off from going that route again.
Running the standard lump in higher compression trim with a camtrain/head/induction overhaul did appeal to me - but, I don't want to run a peaky race esque engine which would probably ruin the car when driven on the roads.
Last year a family kept banging on about an off the shelf V6 conversion that was gaining popularity but I'll be honest it didn't appeal so I ignored him. It sounded like the sort of thing a middle aged bloke would do and then drive it slowly to shows/meets pop the bonnet and talk about. About 12 months passed and I gave in and had a look at the website. Mmmmm, I was surprised at the professional and technical look of the site with its technical drawings and images of the v6 and subframe assembly. I looked at every page, read everything the site had to offer and it definitely intrigued me, the kit looks very comprehensive and well thought out to be a plug and play job.
But then I saw the price! F**k me £7200! What! There's no way I could justify that, the car owes me about £3500 currently with gaz pros, roll bar, brake upgrades etc. How on earth can an engineless kit cost that much?
So I sacked the idea off and went back to thinking about what to do for another 6 months. In that time my savings grew and I got itchy feet. Sod it I'll turbo it on the cheap and have some fun. 200bhp is easy and should scratch the itch without over stressing anything so I priced it up. By the time I'd factored in a refresh of the engine, turbo/manifold/downpipe and exhaust system, clutch, management/mapping, wideband, pipework, boost control etc. You're already talking £4-5k to buy new parts and do things properly and deep down I didn't want turbo power again.
So I dropped Rocketeer an email regarding cost, delivery dates, possibility of driving the demo car and i got a quick reply. Bruce was very helpful, enthusiastic and forthcoming. So we organised to meet for a chat so I could have a look around the car, ask questions, checkout the conversion parts in the flesh and most importantly drive the thing. After all I'm not about spend £7k on something I might not even like the feel of when behind the wheel. Bruce is a top bloke, he answered every question technical or general and didn't push the sale of a kit at all. The car impressed in the flesh, the parts list included in the kit is vast. You name it, its included in the kit. At the point of being handed the key for a test drive I still didn't want to like it (daft I know, but don't ask me why) but I didn't know what to expect either. The car started, idled and drove like a normal mazda with a bit more noise. When you keep the throttle pinned up towards the red line it changes completely, the car goes from feeling a normal under powered low comp 4 cylinder mx5 to a rev happy, very powerful sports car. Woah... I didn't expect it to feel that crisp. I've driven plenty of 3 litre S types and they shift but in the same way a sofa shifts if you push it down a waterslide. This was different, it just felt right and worked perfectly in the mazda chassis (although I must say I think it will work better with a 6 speed box, sorry Bruce) I had to have it.
So that was it, I took the plunge and paid Bruce a deposit. Hopefully I'll take delivery of the kit in the next 2-3 weeks so I had to get my arse in gear and get a donor engine ready. I had been in talks with a work friend since January about his s type so I called and "talk to me" 2 weeks on and here we are.
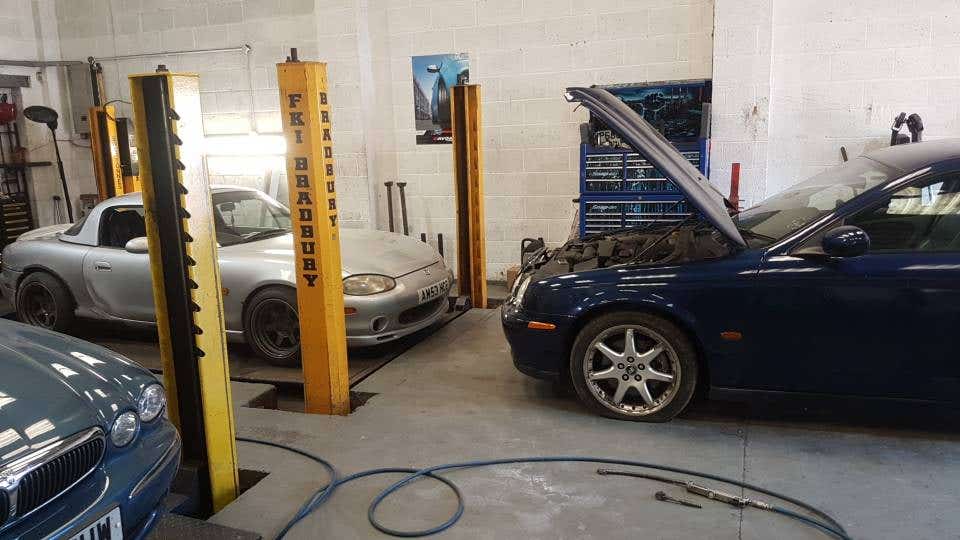
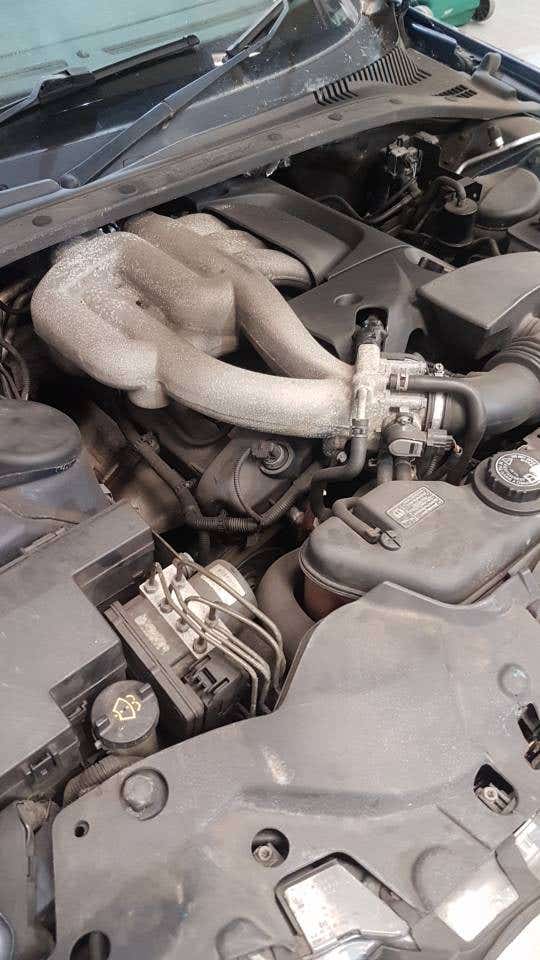
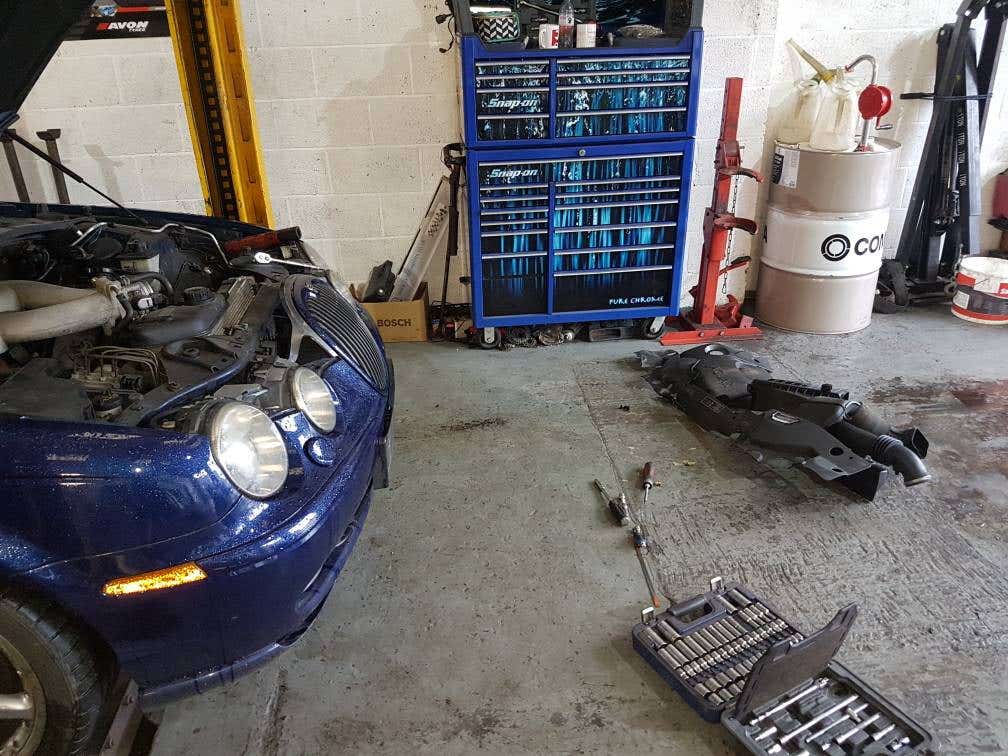
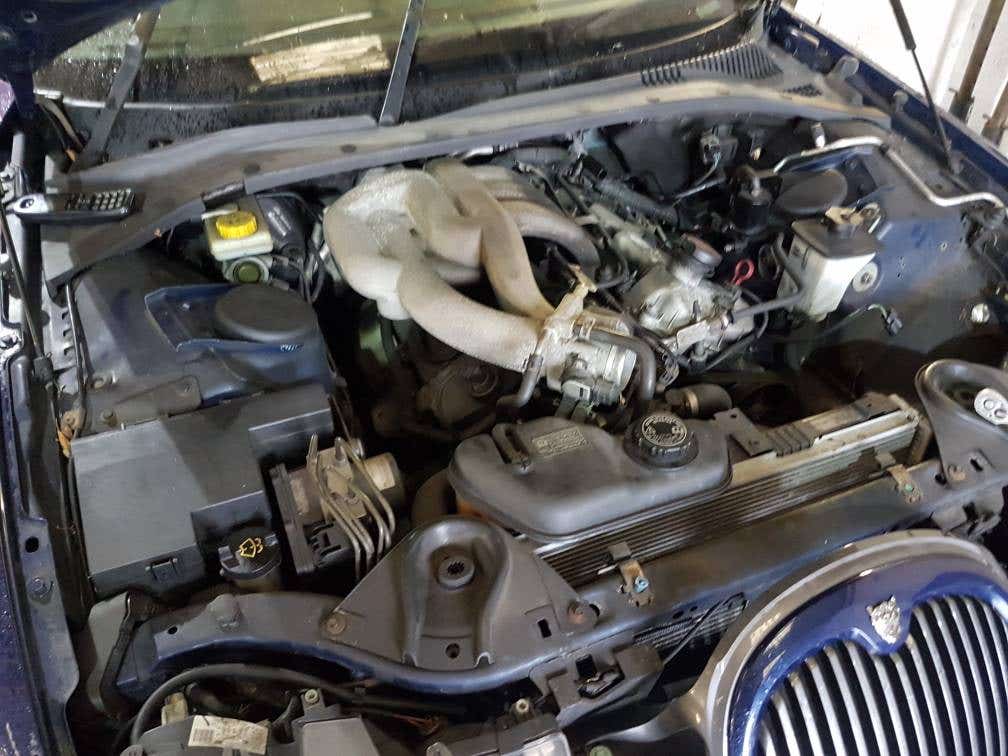
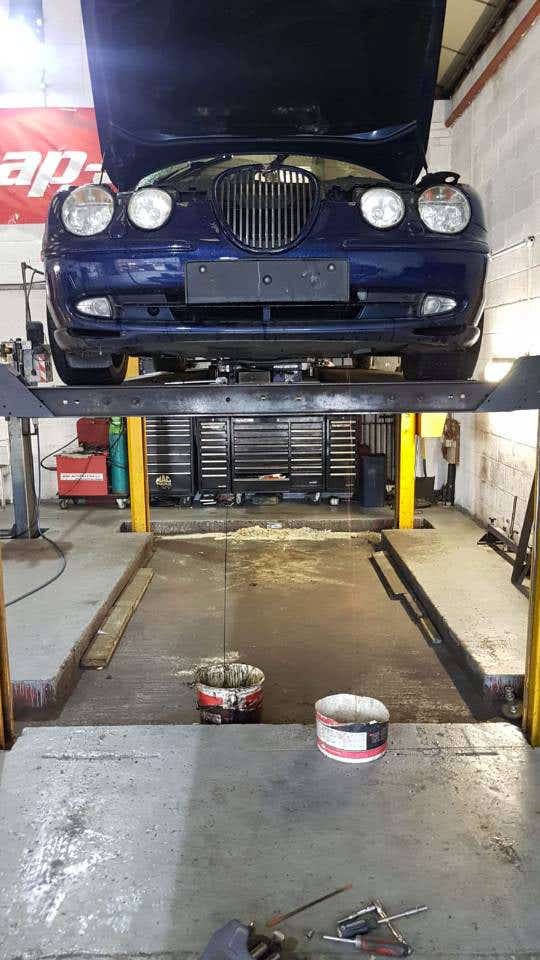
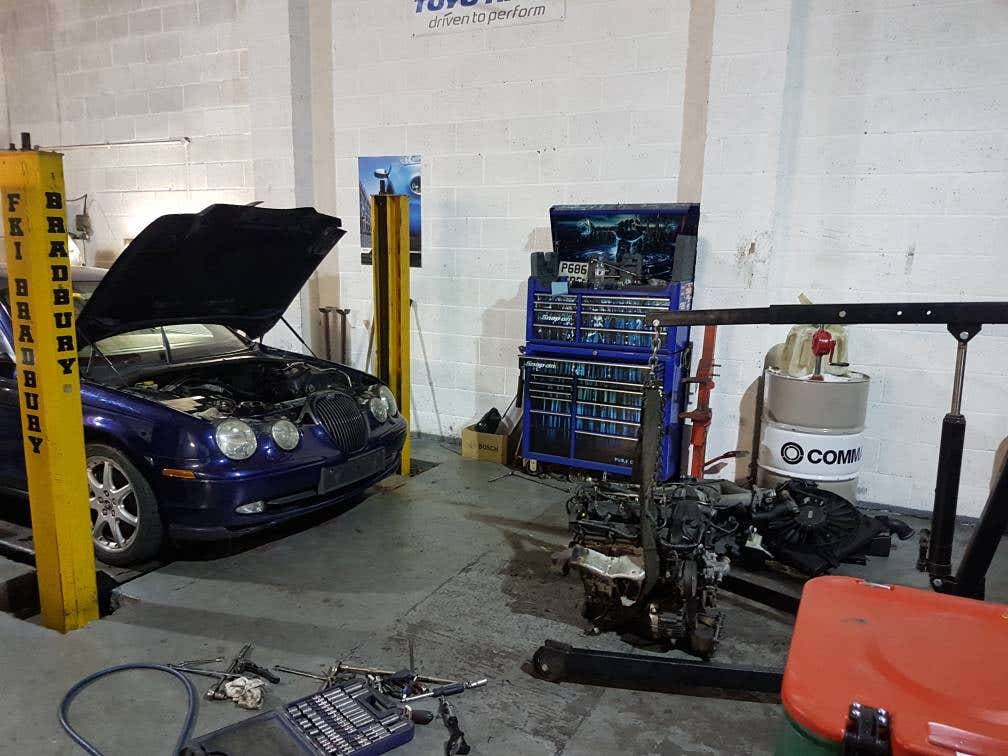
Last night we had a late one, I got the beer in, pulled the doors down and cracked on pulling the lump out of the jag. Anyway, enough of me banging on I'll let the pics do the talking.
![9a06aa3cc073e48ca485cb047248eb5e.jpg 9a06aa3cc073e48ca485cb047248eb5e.jpg]()
![8f413e96b76c216ab33e09e9a5faa370.jpg 8f413e96b76c216ab33e09e9a5faa370.jpg]()
![19b143b911a3e95640745412b57e8704.jpg 19b143b911a3e95640745412b57e8704.jpg]()
![f9fae354a63edeab466de894d905c99f.jpg f9fae354a63edeab466de894d905c99f.jpg]()
![0646ca1b673b0a610d2dc31bf0357e67.jpg 0646ca1b673b0a610d2dc31bf0357e67.jpg]()
![d39603518d4e041a46fef62fdf17a009.jpg d39603518d4e041a46fef62fdf17a009.jpg]()
![51d2bd79211273bfff8acec3695d9dc7.jpg 51d2bd79211273bfff8acec3695d9dc7.jpg]()
Sent from my SM-G930F using Tapatalk
So I weighed up the options; supercharger, turbo, blink motorsport high comp/cams/itbs etc. I wanted another 100bhp/100lb/ft to allow the car to be competitive on the bigger tracks so i did the maths.
Supercharging is the sensible option but I did struggle to find kits for sale and one that fitted the bill.
Turbocharging is the easy way to extract power but I'm not convinced on the cost of building a reliable a 250bhp motor. Plus I've had high power turbocharged cars and worrying about service intervals, boost leaks, temps on track etc put me off from going that route again.
Running the standard lump in higher compression trim with a camtrain/head/induction overhaul did appeal to me - but, I don't want to run a peaky race esque engine which would probably ruin the car when driven on the roads.
Last year a family kept banging on about an off the shelf V6 conversion that was gaining popularity but I'll be honest it didn't appeal so I ignored him. It sounded like the sort of thing a middle aged bloke would do and then drive it slowly to shows/meets pop the bonnet and talk about. About 12 months passed and I gave in and had a look at the website. Mmmmm, I was surprised at the professional and technical look of the site with its technical drawings and images of the v6 and subframe assembly. I looked at every page, read everything the site had to offer and it definitely intrigued me, the kit looks very comprehensive and well thought out to be a plug and play job.
But then I saw the price! F**k me £7200! What! There's no way I could justify that, the car owes me about £3500 currently with gaz pros, roll bar, brake upgrades etc. How on earth can an engineless kit cost that much?
So I sacked the idea off and went back to thinking about what to do for another 6 months. In that time my savings grew and I got itchy feet. Sod it I'll turbo it on the cheap and have some fun. 200bhp is easy and should scratch the itch without over stressing anything so I priced it up. By the time I'd factored in a refresh of the engine, turbo/manifold/downpipe and exhaust system, clutch, management/mapping, wideband, pipework, boost control etc. You're already talking £4-5k to buy new parts and do things properly and deep down I didn't want turbo power again.
So I dropped Rocketeer an email regarding cost, delivery dates, possibility of driving the demo car and i got a quick reply. Bruce was very helpful, enthusiastic and forthcoming. So we organised to meet for a chat so I could have a look around the car, ask questions, checkout the conversion parts in the flesh and most importantly drive the thing. After all I'm not about spend £7k on something I might not even like the feel of when behind the wheel. Bruce is a top bloke, he answered every question technical or general and didn't push the sale of a kit at all. The car impressed in the flesh, the parts list included in the kit is vast. You name it, its included in the kit. At the point of being handed the key for a test drive I still didn't want to like it (daft I know, but don't ask me why) but I didn't know what to expect either. The car started, idled and drove like a normal mazda with a bit more noise. When you keep the throttle pinned up towards the red line it changes completely, the car goes from feeling a normal under powered low comp 4 cylinder mx5 to a rev happy, very powerful sports car. Woah... I didn't expect it to feel that crisp. I've driven plenty of 3 litre S types and they shift but in the same way a sofa shifts if you push it down a waterslide. This was different, it just felt right and worked perfectly in the mazda chassis (although I must say I think it will work better with a 6 speed box, sorry Bruce) I had to have it.
So that was it, I took the plunge and paid Bruce a deposit. Hopefully I'll take delivery of the kit in the next 2-3 weeks so I had to get my arse in gear and get a donor engine ready. I had been in talks with a work friend since January about his s type so I called and "talk to me" 2 weeks on and here we are.
Last night we had a late one, I got the beer in, pulled the doors down and cracked on pulling the lump out of the jag. Anyway, enough of me banging on I'll let the pics do the talking.
Sent from my SM-G930F using Tapatalk


