
So... I`ve been lurking on here for a while as a guest and now a member so thought it was about time I got my build thread started
My missus had a 1.8 Eunos a few years ago and it was a hoot to drive, it just needed more power. Since then I`ve come up with a fairly comprehensive build plan which aims to follow a few simple rules.
- Budget, the project itself will be done on a limited budget however I am also a firm believer in the `do it once, do it right` mentality so I wont be scrimping as such.
- Form over function, every change will have a reason
- Fix-a-bility, there will be very limited custom/one off parts on the build. If I blow an engine I want to be able to be back driving quickly and for the least amount of money, so no built costly engines however oe add ons/changes will be used.
I want to build a car that has no right to embarrass machinery that it will end up doing, it wont cost the earth but people will always take the mick for it being`just an mx5`
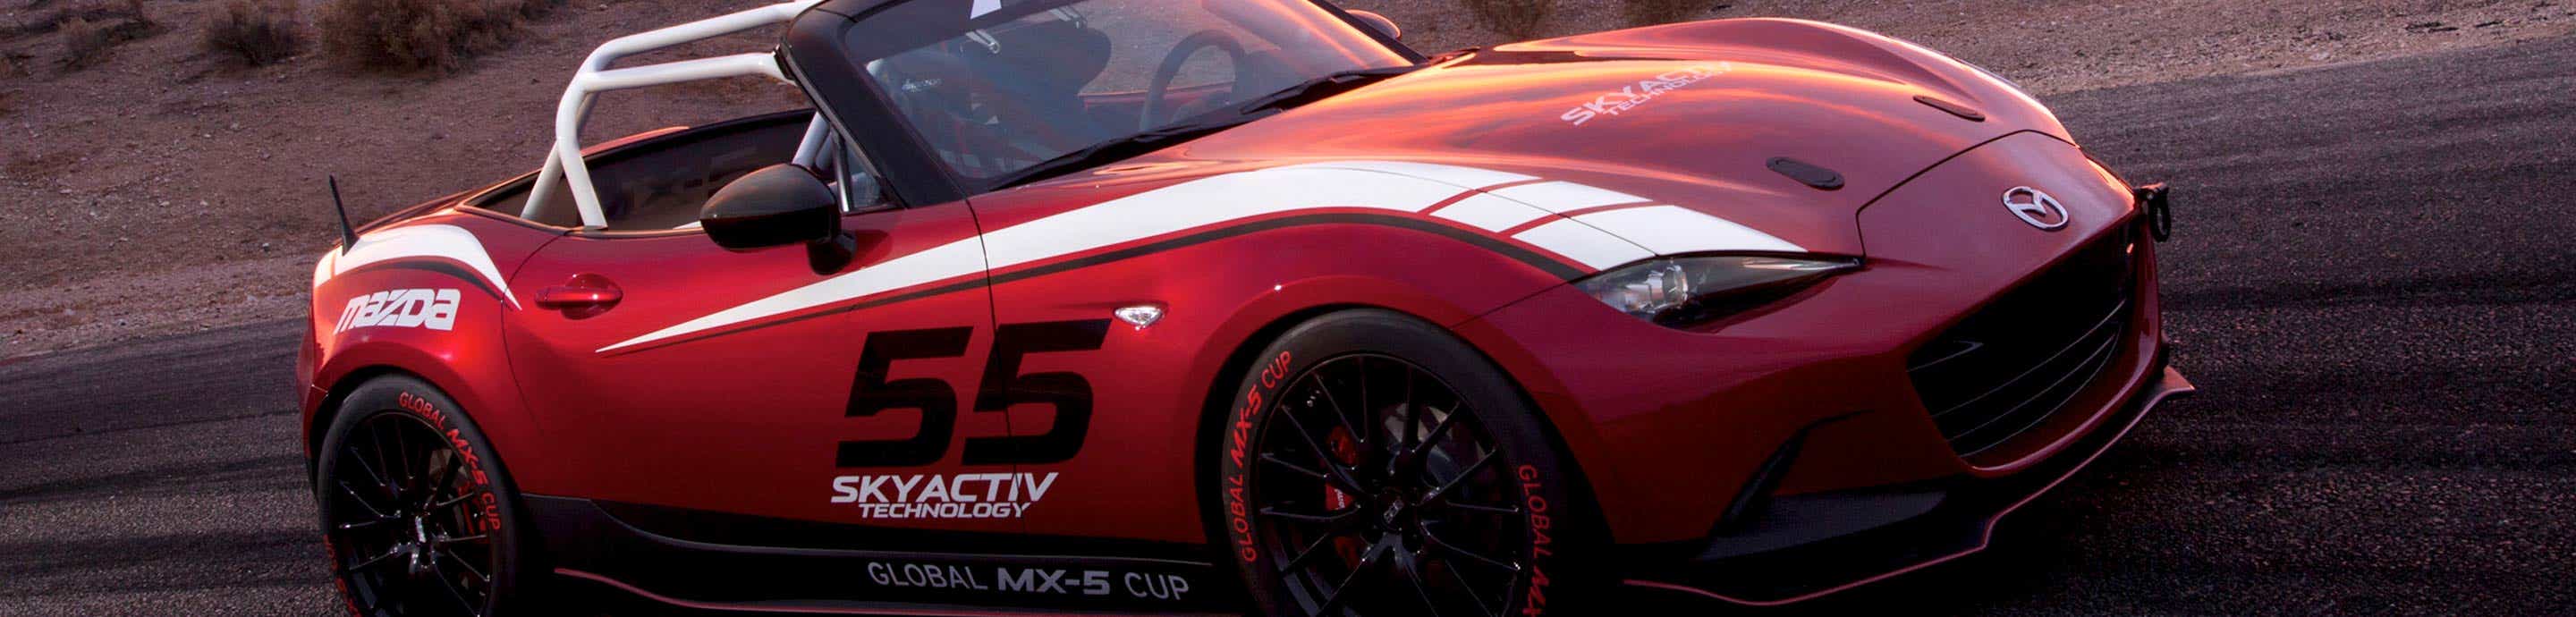
I picked up a rust free semi compete rolling shell from Autolink in July, then went on holiday so it sat not doing much
This is how I picked it up


I started to strip it even further in my garage

Organising a few parts

However space was at a premium so myself and 3 guys from work have rented a unit on the same estate as BBR, even met Brodie the other day. Very cool guy and happy to talk for hours!
And this is what I`m left with

My missus had a 1.8 Eunos a few years ago and it was a hoot to drive, it just needed more power. Since then I`ve come up with a fairly comprehensive build plan which aims to follow a few simple rules.
- Budget, the project itself will be done on a limited budget however I am also a firm believer in the `do it once, do it right` mentality so I wont be scrimping as such.
- Form over function, every change will have a reason
- Fix-a-bility, there will be very limited custom/one off parts on the build. If I blow an engine I want to be able to be back driving quickly and for the least amount of money, so no built costly engines however oe add ons/changes will be used.
I want to build a car that has no right to embarrass machinery that it will end up doing, it wont cost the earth but people will always take the mick for it being`just an mx5`
I picked up a rust free semi compete rolling shell from Autolink in July, then went on holiday so it sat not doing much
This is how I picked it up


I started to strip it even further in my garage

Organising a few parts

However space was at a premium so myself and 3 guys from work have rented a unit on the same estate as BBR, even met Brodie the other day. Very cool guy and happy to talk for hours!
And this is what I`m left with


