Mazda MX-5 Miata banner
41 - 60 of 120 Posts
Discussion starter · #46 ·
Holy crap where does the time go. I had very little progress before christmas, work got busy and it seemed every free weekend was taken up with menial tasks like christmas shopping and weddings!lol.

I finally got sick and tired of lugging my welder and x47 gas bottle around the workshop so I made a little trolley for it. I`m so glas I did this as I`ve recently switch to an even bigger bottle which is nealry 6ft tall!

Couple of cheeky weld shots

IMAG0890.jpg

IMAG0891.jpg

IMAG0894.jpg

and all finished

IMAG0899.jpg

I`m going to add a removable 2 tier tray above the welder so I can store the foot pedal and collets/tungstens etc too

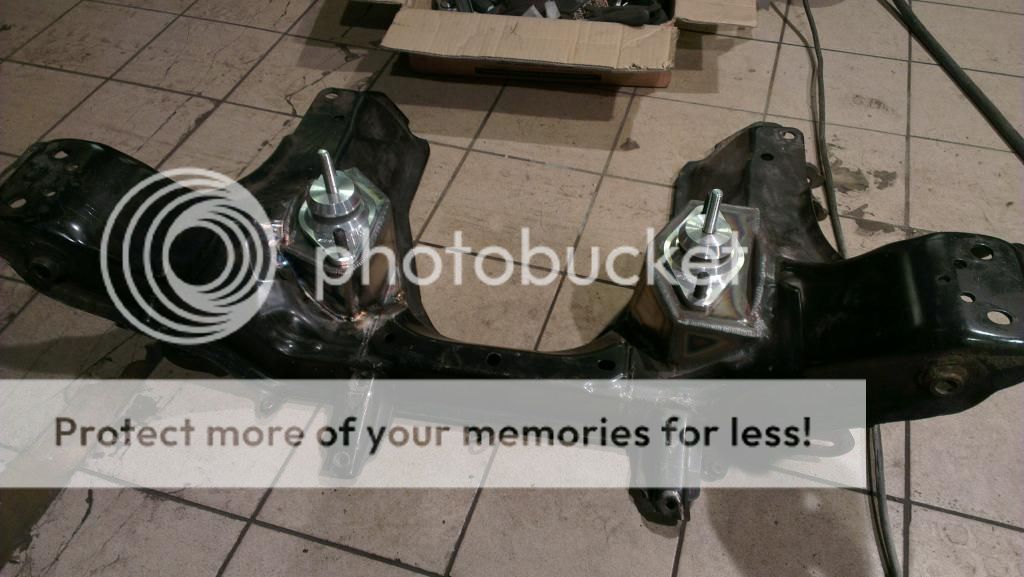
Then it was back onto finishing the subframe and engine mounts. I dont know why but I did one mount then put off doing the other side for some time. I remounted the engine and used the lower half of the column, albeit the wrong way round to give me a clearance envelope. If anyone has the lower UJ they want to sell me it`d be very much appreciated, I think I stupidly left my one on the rack when I sold it

IMAG0897.jpg

Then my phone died and I`ve got no `in production` pics, just the finished item

IMAG0904.jpg

IMAG0906.jpg

I also stamped up the mounts so I know which side goes where (shouldnt matter, but they are ever so slightly different)

IMAG0910.jpg

Then it was onto the engine side of the mount. There is very little space here as the steering shaft and a water pipe for the engine all try and run in the same vicinity and then I had to fit the engine mount.

Again I only have a few weld shots and the finished product, I got carried away whilst making it and forgot!

IMAG0916.jpg

IMAG0919.jpg

IMAG0920.jpg

So thats it, engine is in

IMAG0923.jpg

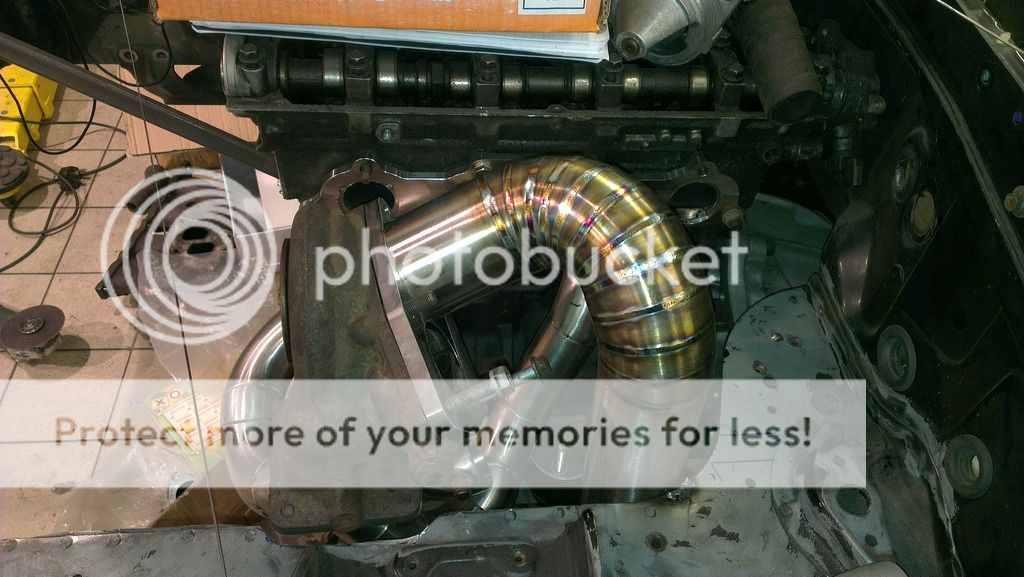
manifolds fit (although both will be remade so the orientation of the turbo and inlet are correct)

IMAG0926.jpg

plenty of space for a 3" downpipe too

IMAG0927.jpg

Then in typical fashion when I had a weekend of TIG planned, I ran out of argon, balls!! So i broke out the mig set and started stitch welding the front end. I attacked everything with a wire wheel and scraper before I started but the seam sealer trapped in the panels still spat every know and again. It was one of the most hateful few hours I spent on this car, sat in a wheel arch at a funny angle in full PPE was not fun! I took circa 3kg of crap out of both front arches, the seam sealer in places was 10mm thick! I`ll be reapplying it but not in that quantity!

All nice and shiney

IMAG0937.jpg

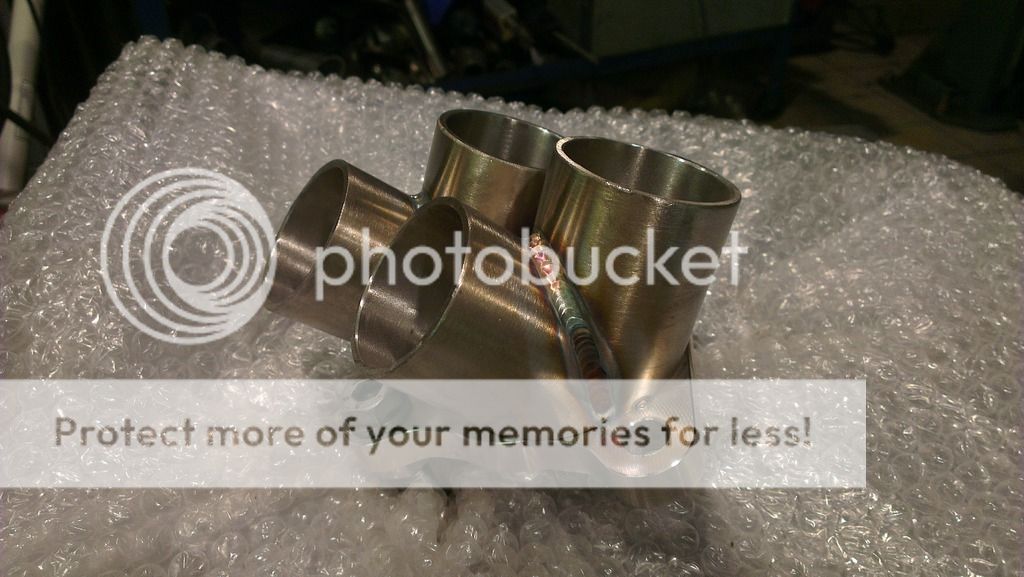
I hammered some of the flanges together so that there wasnt large gaps to fill and then hit it with the mig
IMAG0936.jpg

And finally, that parts I`ve waited ages to get, mainly because no bugger will make me some ( got my mate ian to do it in the end, life saver) and the ones that are sold by the generic places are very long and narrow and full of holes!

Everyone loves a good gusset! I`ll trim these shortly and fit a couple of bosses to mount the hardtop

IMAG0939.jpg

IMAG0941.jpg

Loads more planned this weekend, the cage should be finished and more seam sealer should be gone!!
 
Awesome build thread Dan, I remember you telling me about your plans when you picked up the widearch 5, if it's still the same then I can't wait to see it finished. Subscribed. :thumb-up:

How's the old Greenie treating you? :)
 
Discussion starter · #50 ·
It is indeed the same one. Wide arches are patiently waiting to go on, bit of trimming and welding of the rear arches first but it won't be long. The green beast is treating me (well the missus) well thanks. Sailed thru its mot and just wrapped it satin black. Couldnt be bothered spraying the front arches and repairs to the rears so wrap was easier!
 
Discussion starter · #51 ·
Everyones favourite time, UPDATES!!

So the middle of Feb is upon us and I`ve no idea how I got here, the past 6 weeks have flown by. I`ve been collecting and ordering bits and have been doing lots and lots of head scratching. I got to the stage where the seat, pedals and column needed mounting.

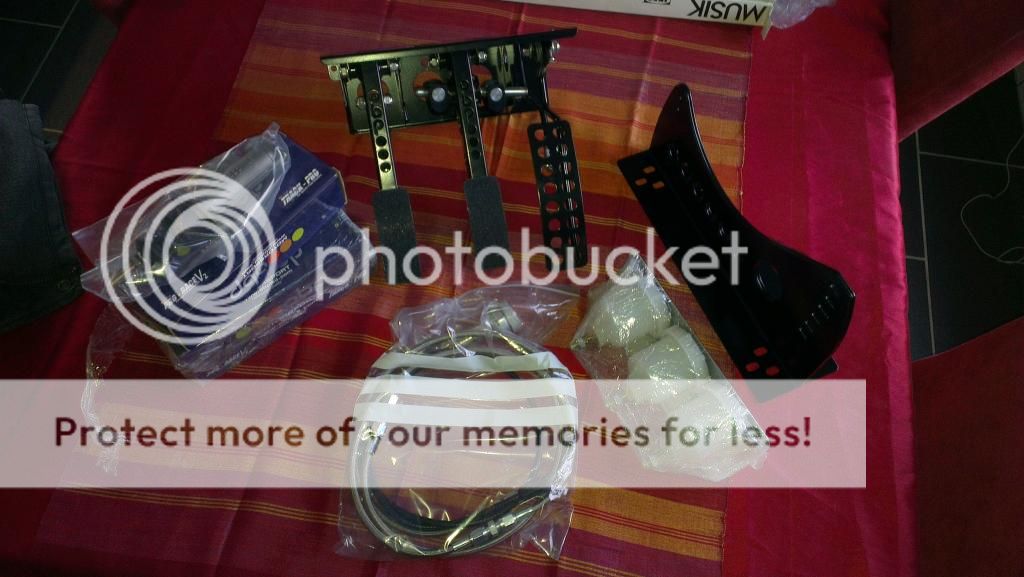
Oh yeah, pedals. I ordered a kit from OBP as it was a decent starting place and didnt break the bank like the tilton/ap offerings did. I also needed to tweak it (grind bits off) to get it to fit

IMAG0951.jpg

For the cost I`m very impressed, so we will see how it performs

I also needed to mount the rear bumper after having removed a load of structure to make way for the exhaust and diffuser, so a quick cad drawing and a few holes and bending later and I had 2 of these

IMAG1001.jpg

I`ve added a couple of rivnuts to the body and to the bracket and it fits beautifully

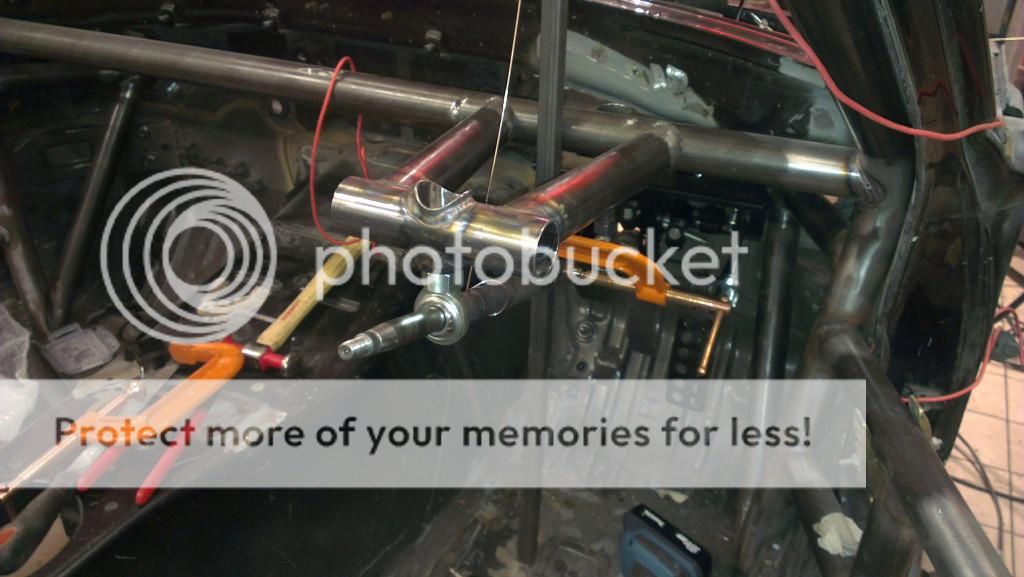
So back onto the cockpit saga. I had no definative datum as the seat/pedals and column were all floating at this stage so I set the pedals in the ideal position, then figured out where the column went and finally the seat. It took many many many (I could go on) iterations of this and lots of tweaking, I must have been in and out of the seat 30+ times but it was worth it. Now that I had the position I started making the upper column mount, I tried to use the OEM stuff but it just wouldnt fit

I`ve used rose joints for both the mounts as means the dont have to be perfectly alligned like a ball bearing would need to be to still function.

I cut some tubes and tacked together the frame work

IMAG1002.jpg

then welded most of it

IMAG1004.jpg

before fitting it back to the car and triple checking the position before tacking it to the dash bar

IMAG1010.jpg

I forgot to take pics of the lower mount in the making but its all come together very nicely

IMAG1013.jpg

IMAG1014.jpg

IMAG1012.jpg

I havnt fully welded it in yet as I want to come back to it with a fresh pair of eyes and sit in the seat without having sat in it loads during the day. my perception of level/felt right was waining.
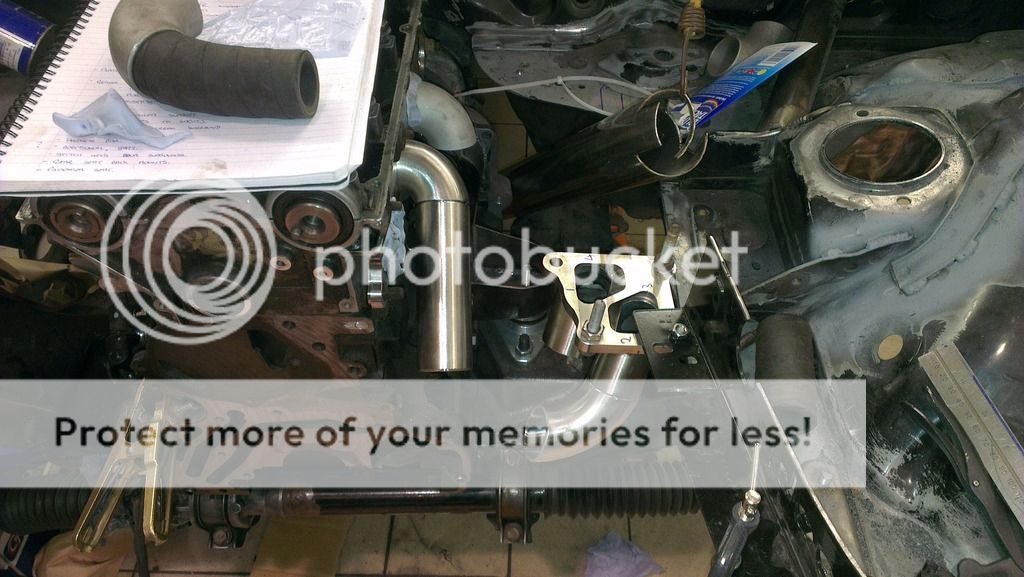
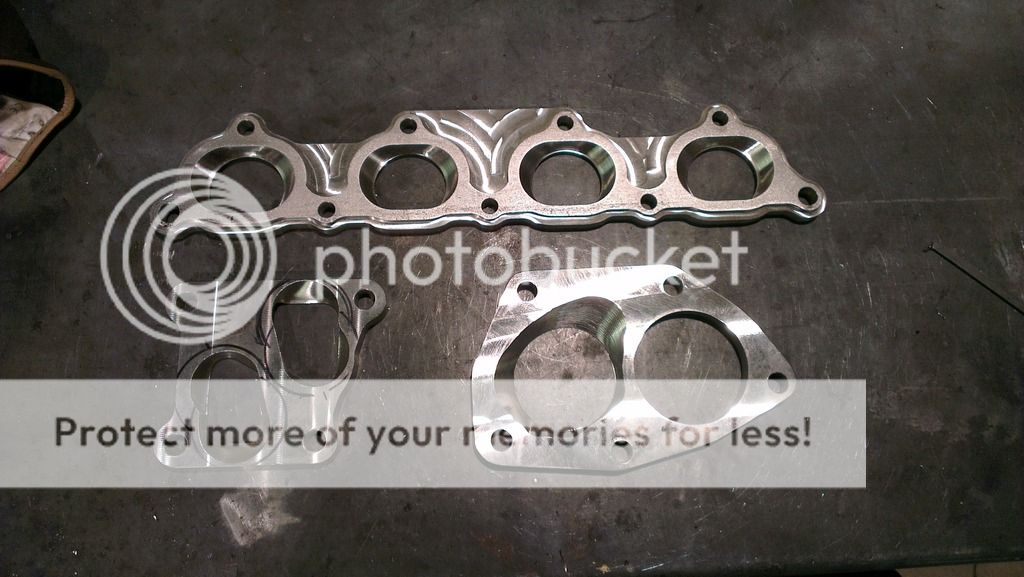
I`m off on holiday next week and I`ll be picking up a full suspension bush kit, hydraulic release bearing and all the flanges to make the inlet & exhaust manifolds plus the downpipe!
 
Discussion starter · #53 ·
Ah the joys of IE11 and its inability to post stuff from the clipboard!! Bloody thing

I went to the states at the end of feb and took advantage of the fact they dont weigh hand luggage and brought back a load of bits. Exhaust, turbo and downpipe flanges, plus inlet manifold and throttle body ones. A full polybush kit, gearbox mount and hydraulic release bearing for the tilton. I didnt half get some funny looks going thru security but it was worth it

IMAG1052.jpg

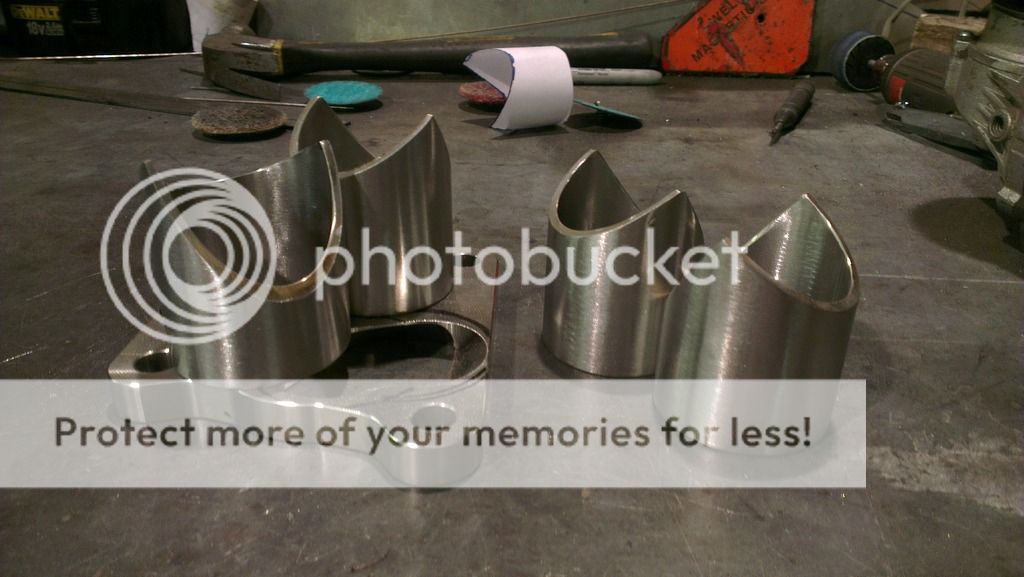
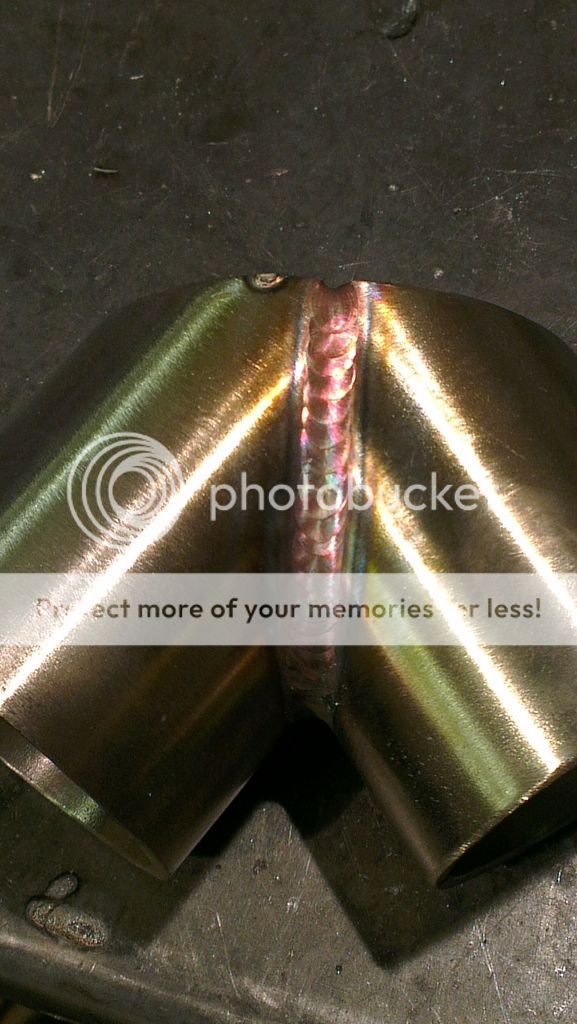
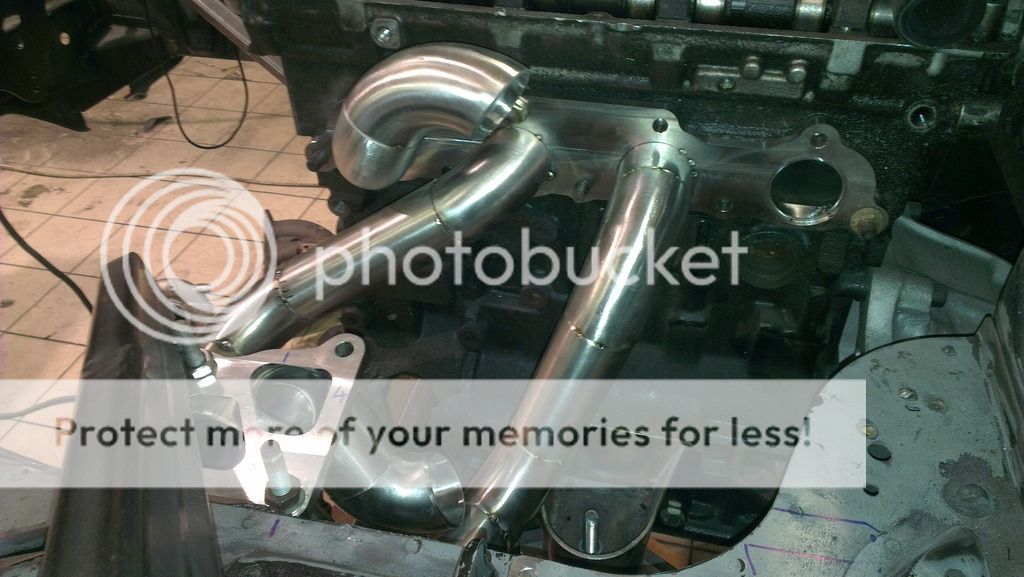
I made a start on the manifold last weekend using some 1.5" sch10 304 stainless short and long radius bends. The small weight penalty due to the increase in wall thickness isnt much of an issue as I want reliability and a manifold that doesnt crack

Started with the collector
IMAG1059.jpg

The biggest pain in the neck (quite literally) was cleaning up the mill scale and polishing out the mandrell marks from where they were bent, well worth it in the long run though

IMAG1065.jpg

IMAG1070.jpg

I then positioned the turbo and collector in the engine bay and started free handing the runners. As its a twin scroll turbo it was a bit more difficult than usual as runners 1&4 and 2&3 had to split into each scroll

IMAG1071.jpg

IMAG1078.jpg

I was clearly a bit conservative with my straight tube order and promptly ran out after doing 2 of the 4 tubes
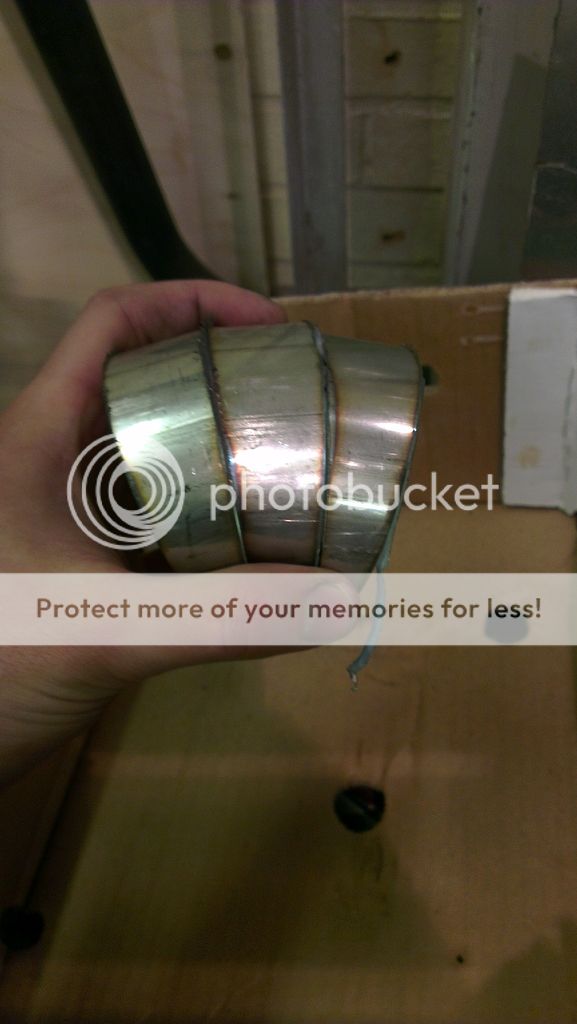
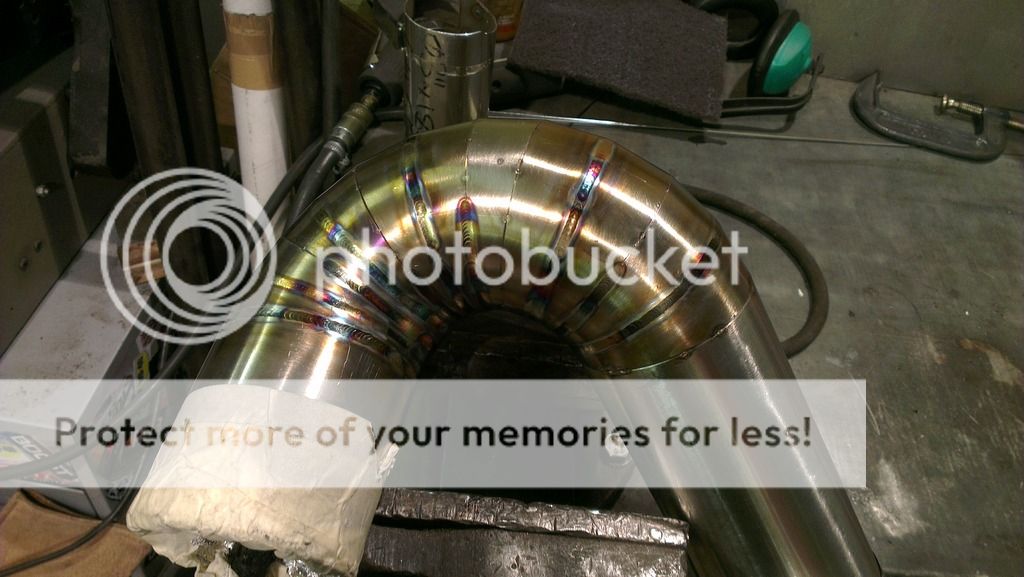
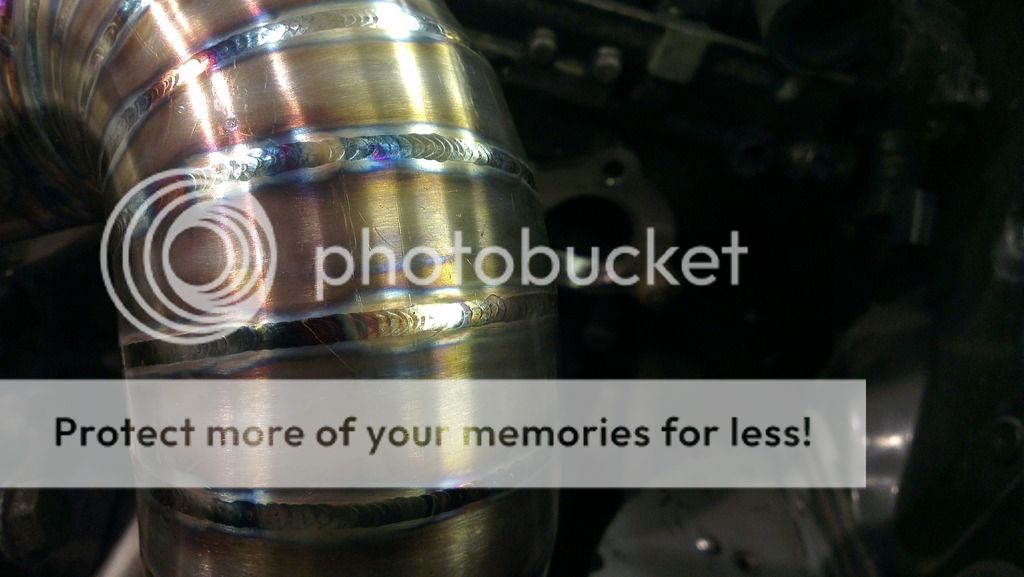
I wont an assorted box of 3" 16swg stainless bends on ebay for a very good price however the CLR was far to big for the tight confines of the engine bay and downpipe. I had to resort to pie cutting a straight piece into a compound bend.

Started with the tube saw and a digital inclinometer and with the help of a spreadsheet to work out the cuts/angle per bend segment I could set the angle on the saw then flip the tube 180 degree to end up with the same angle on each end of the slice
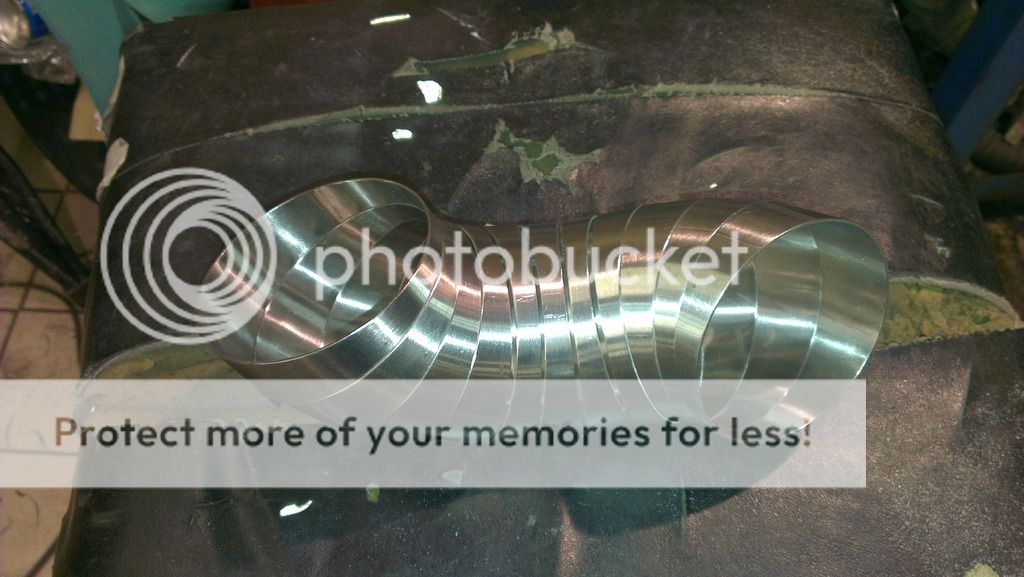
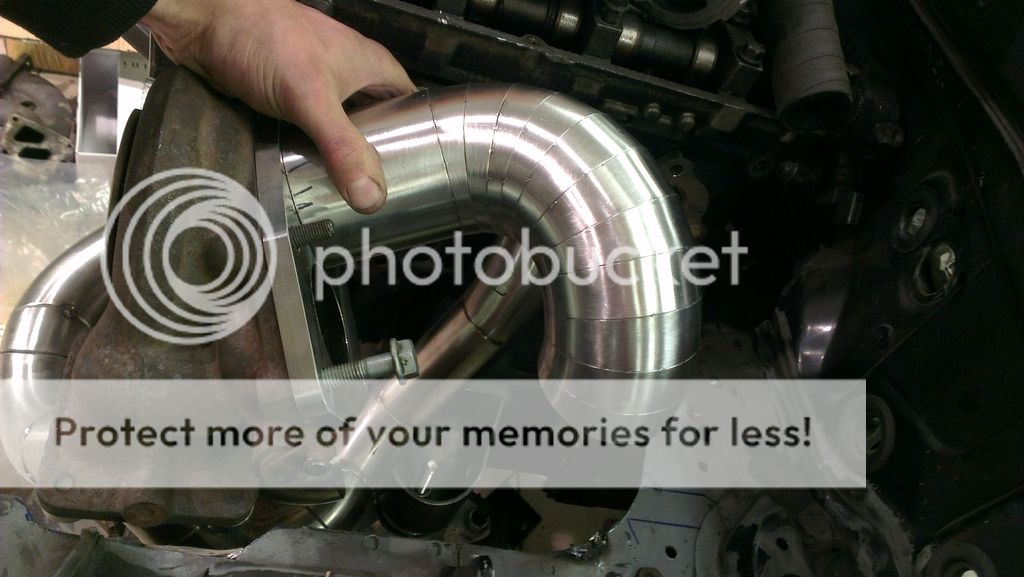
IMAG1090.jpg

Man it was hard work cleaning them up, sorry i dont have any inbetween shots but I couldnt juggle the camera, pie cuts and the tape whilst trying to get them all together

IMAG1091.jpg

IMAG1094.jpg

A few mid weld shots

IMAG1101.jpg

IMAG1111.jpg

and the finished pipe

IMAG1108.jpg

I need to plumb the wastegate back in which should happen this weekend if my tube order turns up tomorrow. Got the gearbox mount and the rest of the manifold and undercar to sort so plenty to keep me busy!

Ps if any knows of some good fiberglass mould makers in the oxford/midlands ish area let me know
 
Discussion starter · #59 ·
All in good time!! I`m aiming to pick up a complete engine, loom, ecu and if my findings this weekend prove right (or wrong depending on which way you look at it) I`ll get another expensive shiney toy to add to the build. Once the actual engine is bolted in I`ll take pics to reveal it all
 
41 - 60 of 120 Posts