Ey up.
A few people showed interested in this mod so I thought I'd throw up a quick guide to make your life easier.
Things you'll need:
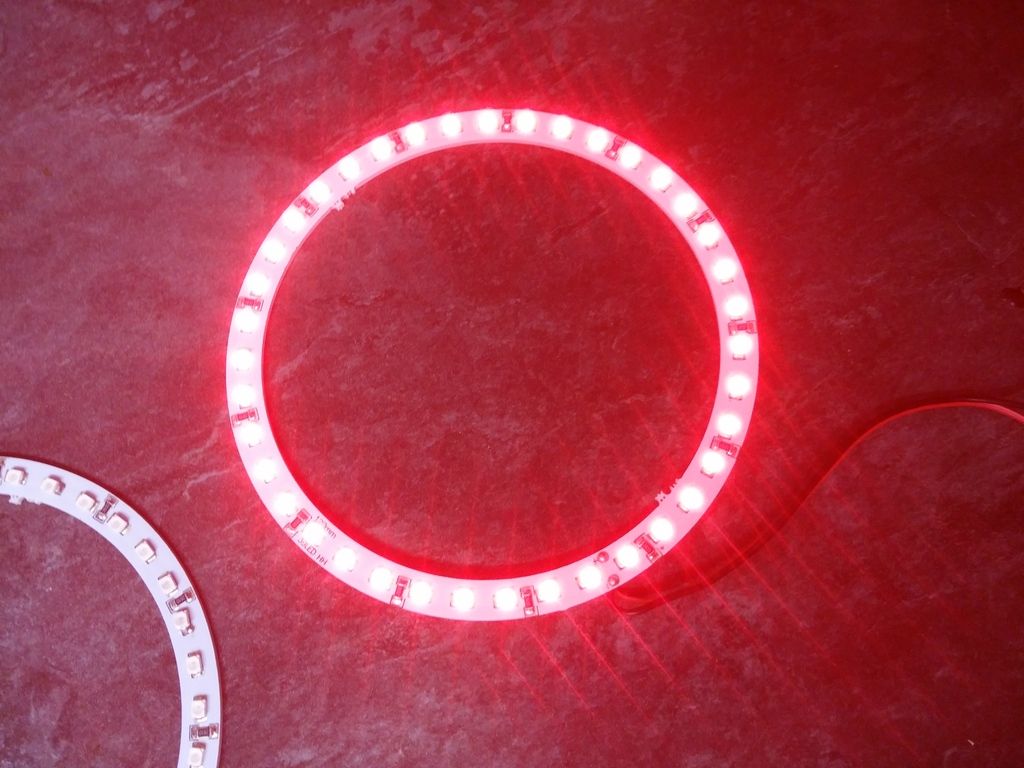
Right then, first things first, test that your shiny new LED rings work.
I chopped the end off an old 12v adapter I had laying around to do this so I could test them in the house first and without messing with the cars wiring, a 12v battery would do the trick too.
![20151024_012802_zpsjdggcswe.jpg 20151024_012802_zpsjdggcswe.jpg]()
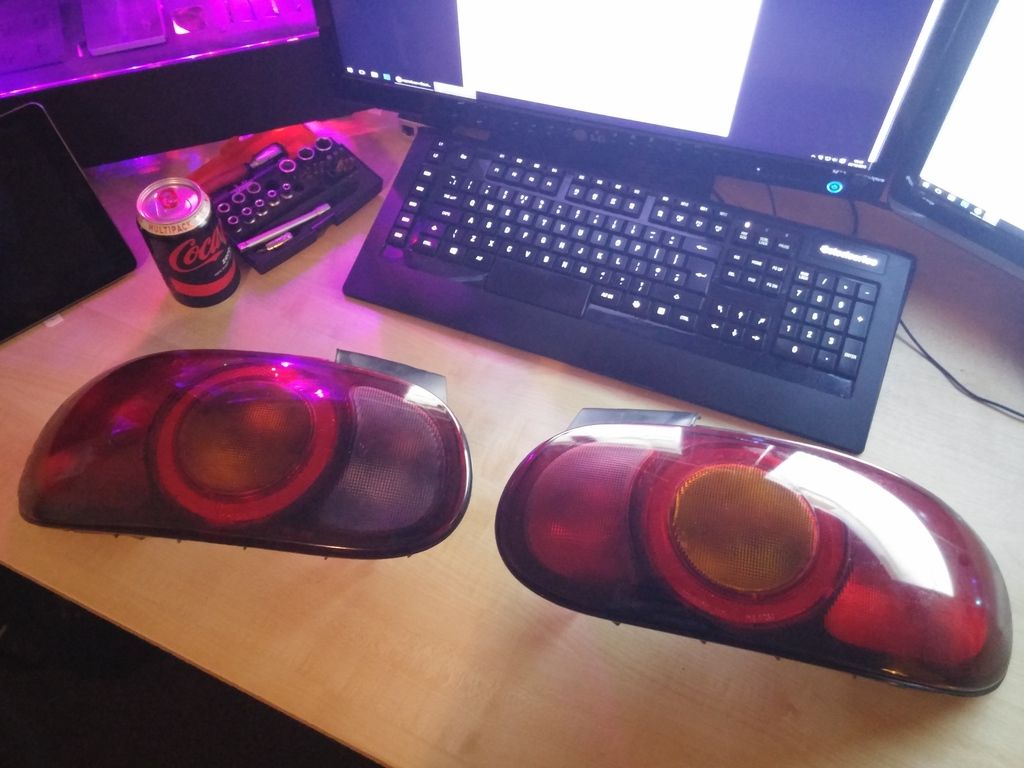
Next - whip out the rear lights, these are held in by two 10mm bolts behind the carpet and one philips screw either side on the top where the bootlid sits.
![20151024_014415_zpsztb0hnpe.jpg 20151024_014415_zpsztb0hnpe.jpg]()
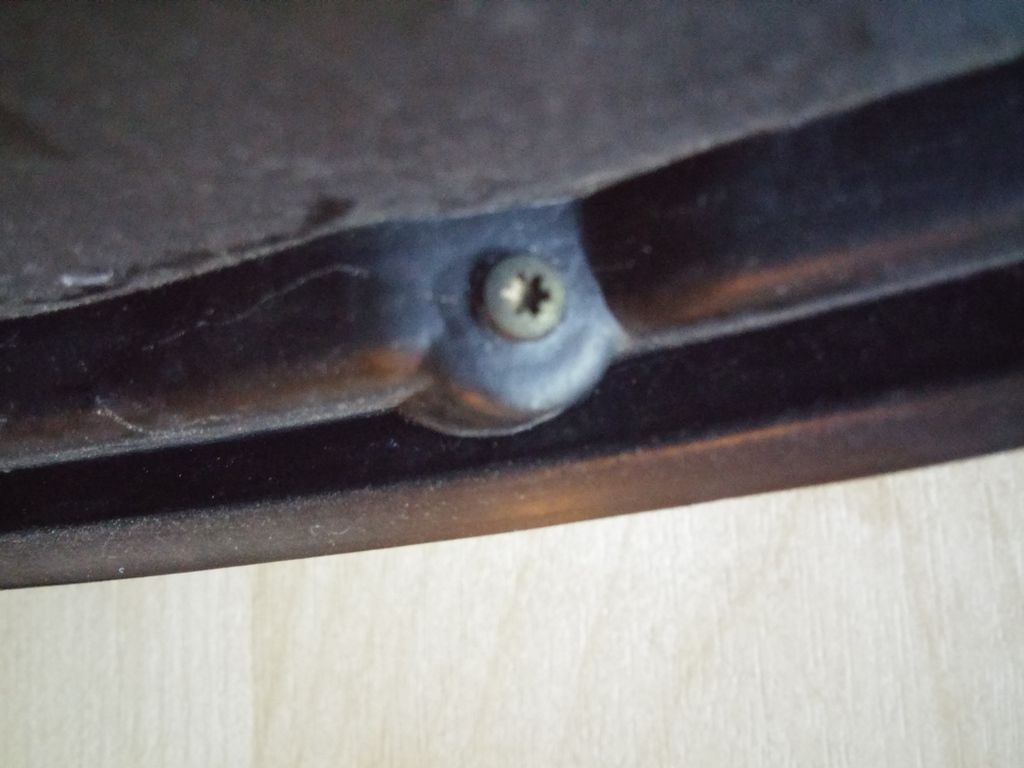
Now flip the lights over and along the top edge you'll notice three small screws on each, these need to be removed first.
![20151024_014459_zpsyhwupcfr.jpg 20151024_014459_zpsyhwupcfr.jpg]()
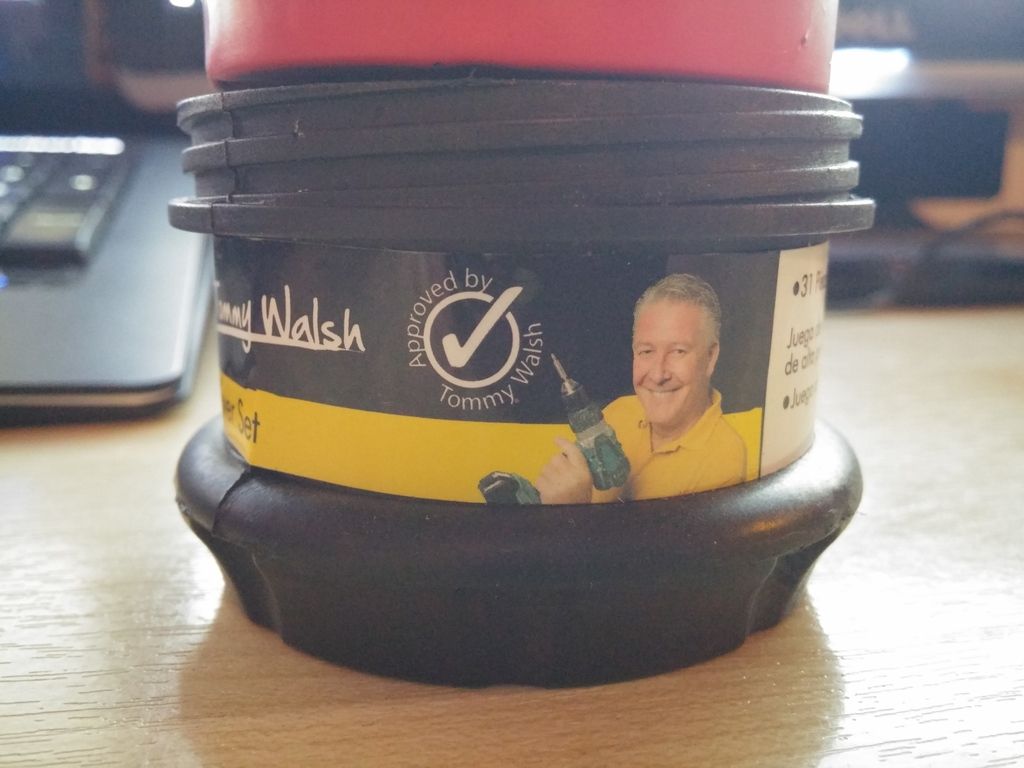
Bust out the Tommy Walsh approved precision screwdriver set and get to unscrewing:
![20151024_014548_zps3lexv7po.jpg 20151024_014548_zps3lexv7po.jpg]()
![20151024_015653_zps8e0b0khq.jpg 20151024_015653_zps8e0b0khq.jpg]()
Now it's time to bake!
Here's where you need to be careful, too hot and you'll melt the rear housing, too cool and you'll end up breaking the lens as you attempt to remove it, I found this out the hard way and broke one of mine first time round!
I pre heated the oven to 80°C and stuck the lights in, added a pinch of salt, a dash of hendo's and 20 minutes later they came out how goldilocks likes it.
Carefully pull the the lens from the housing, you may need a thin knife to get round the edges and separate it.
Again..be careful!
![20151024_031030_zpsixmn4e1h.jpg 20151024_031030_zpsixmn4e1h.jpg]()
Now to fit the LED ring.
There's already a small hole for you to thread the wires through (some don't have the hole but do have a small mark where it should be, you can pop it through with a philips screwdriver):
![20151024_031319_zpssaz42a5n.jpg 20151024_031319_zpssaz42a5n.jpg]()
![20151024_024924_zpsi1in9d80.jpg 20151024_024924_zpsi1in9d80.jpg]()
Now to fix the rings to the housing, I used some heavy duty double sided tape to do this, you could use super glue or hot glue but the lights needs to go back into the oven to re-seal so just be weary of it's melting temperature.
![20151024_031342_zpsvaonw1xc.jpg 20151024_031342_zpsvaonw1xc.jpg]()
Now back into the oven, place the lens on top of the housing with it lined up roughly.
If you've had the lights out for a while and they've cooled again then use the same settings as before and bake for the same length of time, if they're still warm then stick them in for 10 minutes or so to soften the glue.
Once the glue is soft enough, they'll push back together and clip into place, keep the lens pressed in until it's cooled and the glue has hardened.
Pop the screws back in that you removed earlier.
Now test your LED's again!
![20151024_032720_zpswqsrm85p.jpg 20151024_032720_zpswqsrm85p.jpg]()
![20151024_034036_zpsda2lfz0a.jpg 20151024_034036_zpsda2lfz0a.jpg]()
Finally I gave the lights a tint with some ebay spesh tint spray before re-fitting (http://tinyurl.com/nz2695q)
Now for the wiring.
You'll need to chop the black and white wire leading to your brake bulb holder - the green wire doesn't need to be touched.
Then using bullet connectors (so this can be reversed easily) connect your wires as follows:
![2015-11-24%2011.19.34_zpsabzubdxe.jpg 2015-11-24%2011.19.34_zpsabzubdxe.jpg]()
The white wire is a 12v along with the green wire, the black is your earth.
So - black/red from your LED joins to the black wire on your loom and the red wire from your LED connects to your white wire.
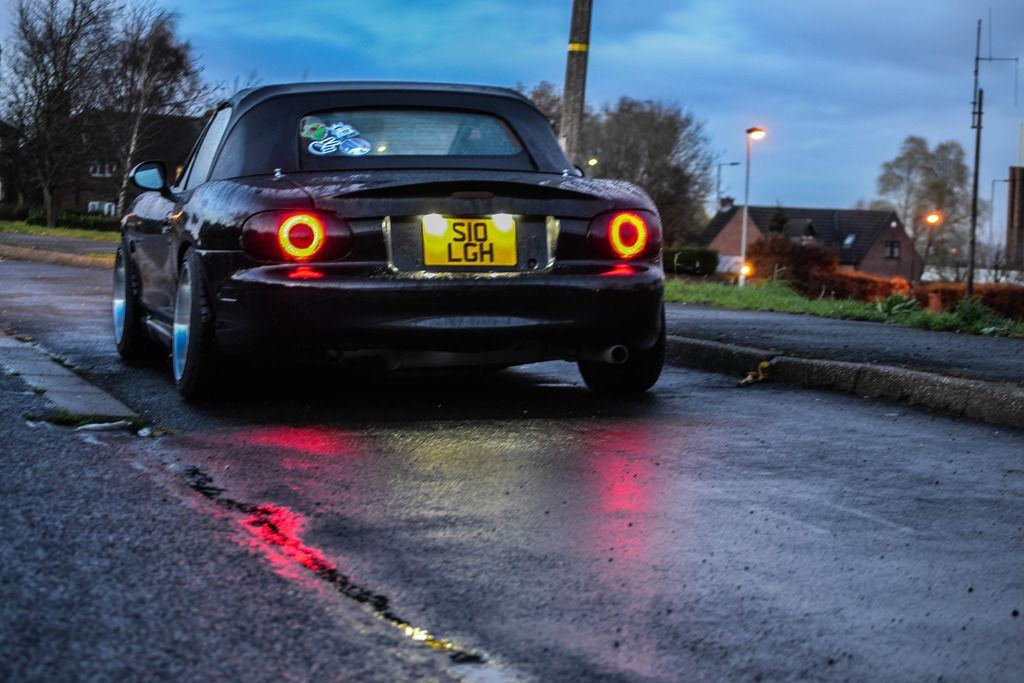
Wiring them this way means they'll be used as your sidelights and the normal bulb will illuminate when you press your brake pedal
I popped a bit of heat shrink on just to help keep the terminals from the elements.
Finally re-fit your lights
And that's it, Roberts your mothers brother
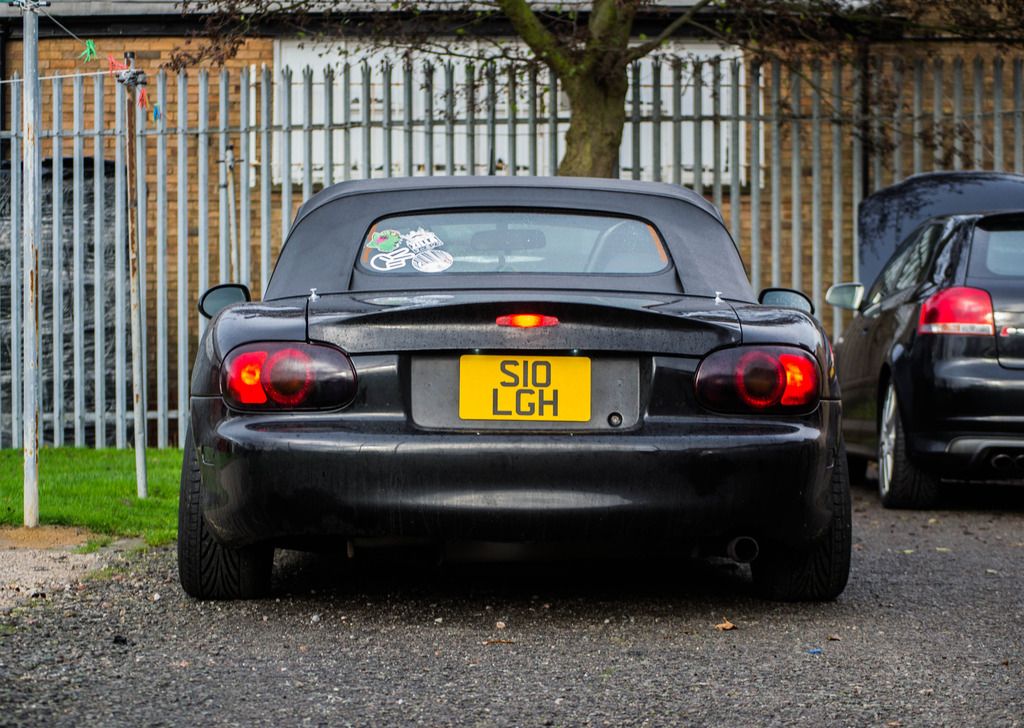
Before:
![DSC_0111_zpsvravkzsp.jpg DSC_0111_zpsvravkzsp.jpg]()
(hmmm...is my plate a little wonky?)
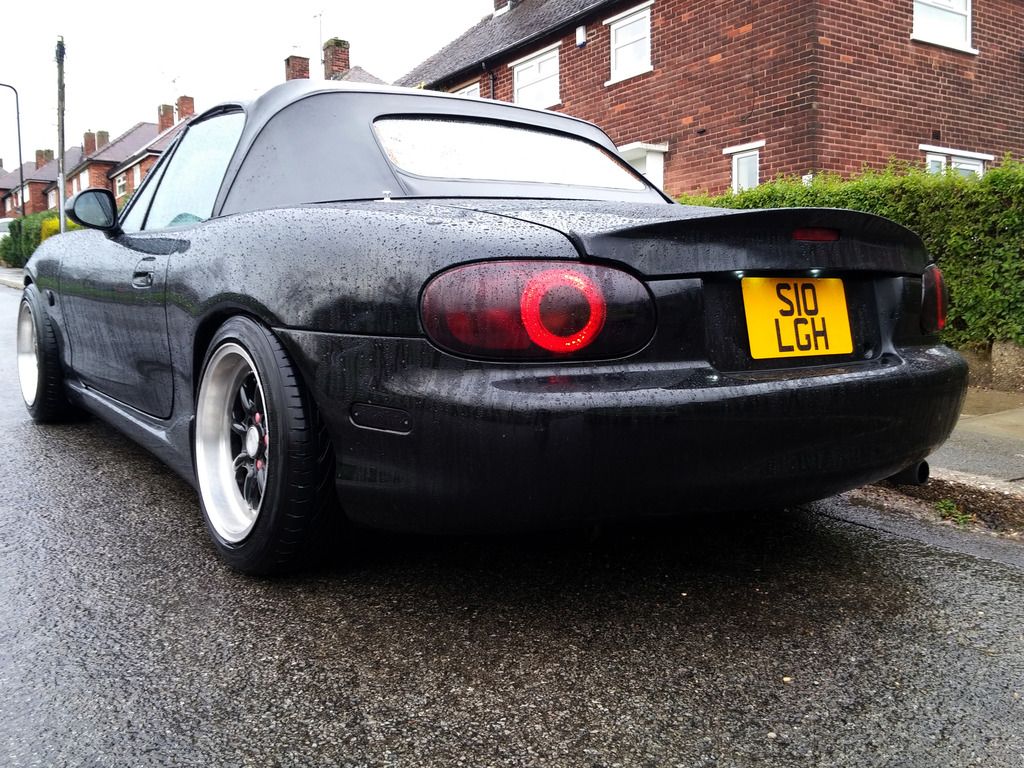
After:
![DSC_0114_zpsjl5xknp2.jpg DSC_0114_zpsjl5xknp2.jpg]()
(the LED's look fairly dull here, it's just a bad photo, they're just as bright as the standard sidelights were, see other pics below)
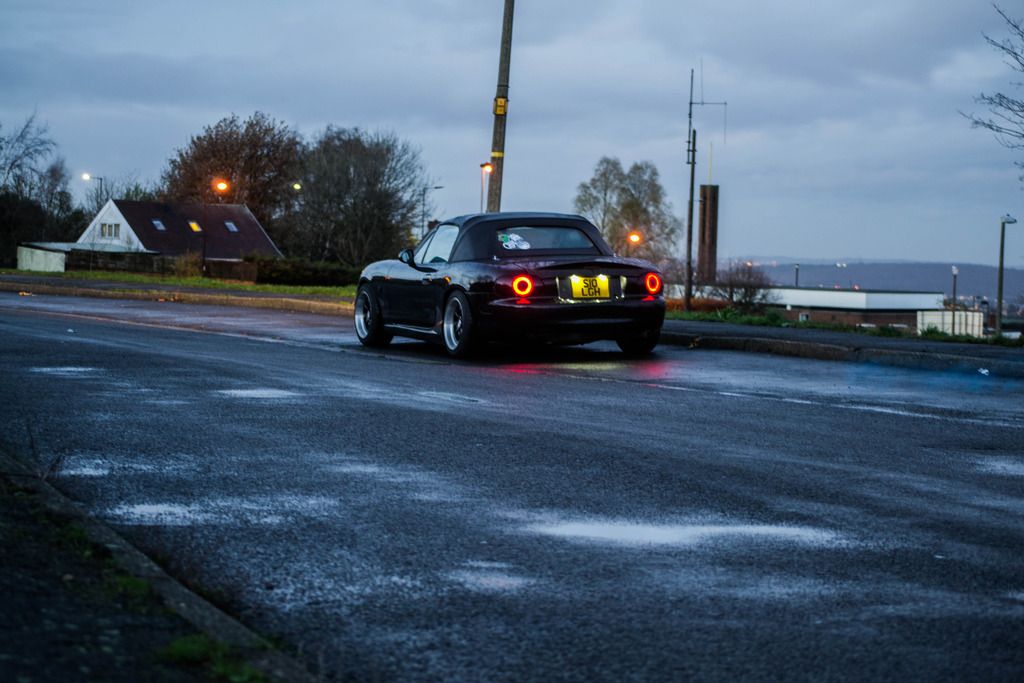
Sidelights on and brake pedal pressed:
![DSC_0116_zpshvdnis07.jpg DSC_0116_zpshvdnis07.jpg]()
![lights1_zps3c8qyrtr.jpg lights1_zps3c8qyrtr.jpg]()
![DSC_0117_zpswgfm5itd.jpg DSC_0117_zpswgfm5itd.jpg]()
![DSC_0119_zps28k70yle.jpg DSC_0119_zps28k70yle.jpg]()
A few people showed interested in this mod so I thought I'd throw up a quick guide to make your life easier.
Things you'll need:
- 120mm LED rings (http://tinyurl.com/pc492kh < the ones i bought)
- Small torx set (Tommy Walsh approved)
- Your oven
- Double sided tape
- Bullet connectors
- Heat shrink
Right then, first things first, test that your shiny new LED rings work.
I chopped the end off an old 12v adapter I had laying around to do this so I could test them in the house first and without messing with the cars wiring, a 12v battery would do the trick too.
Next - whip out the rear lights, these are held in by two 10mm bolts behind the carpet and one philips screw either side on the top where the bootlid sits.
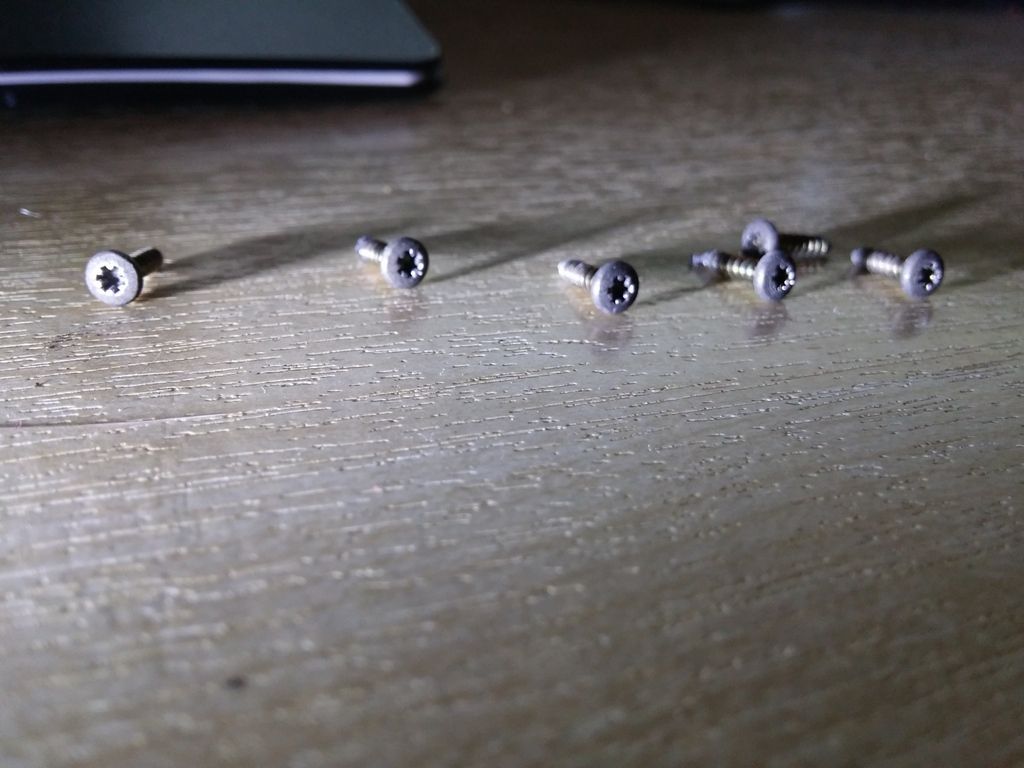
Now flip the lights over and along the top edge you'll notice three small screws on each, these need to be removed first.
Bust out the Tommy Walsh approved precision screwdriver set and get to unscrewing:
Now it's time to bake!
Here's where you need to be careful, too hot and you'll melt the rear housing, too cool and you'll end up breaking the lens as you attempt to remove it, I found this out the hard way and broke one of mine first time round!
I pre heated the oven to 80°C and stuck the lights in, added a pinch of salt, a dash of hendo's and 20 minutes later they came out how goldilocks likes it.
Carefully pull the the lens from the housing, you may need a thin knife to get round the edges and separate it.
Again..be careful!
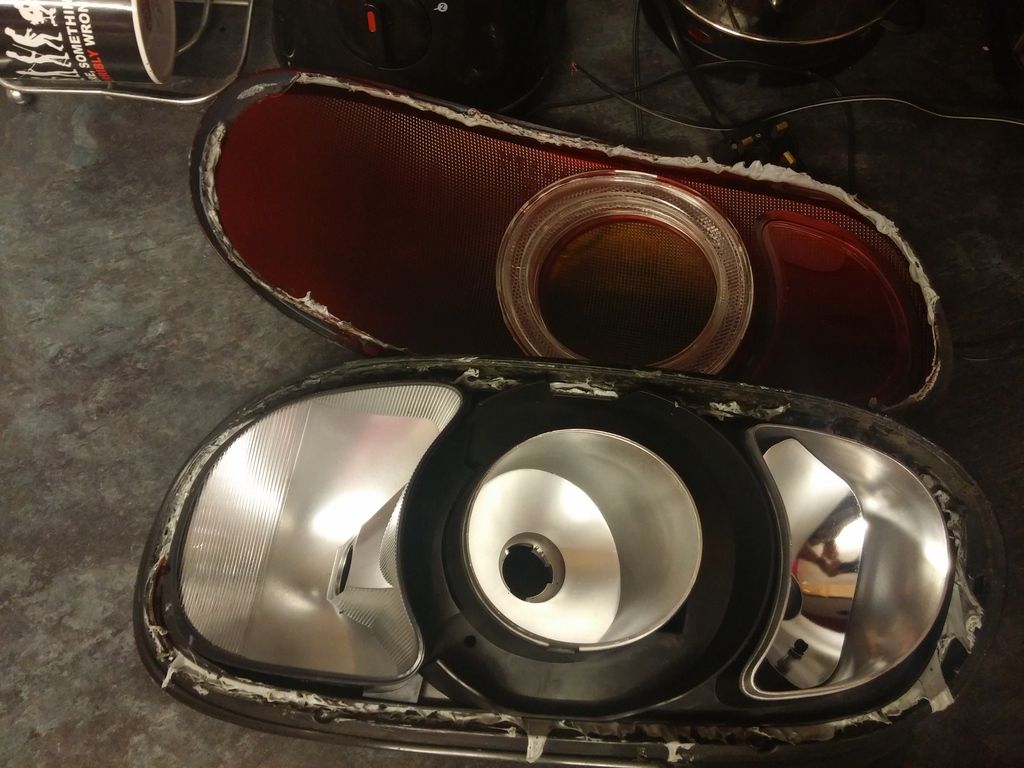
Now to fit the LED ring.
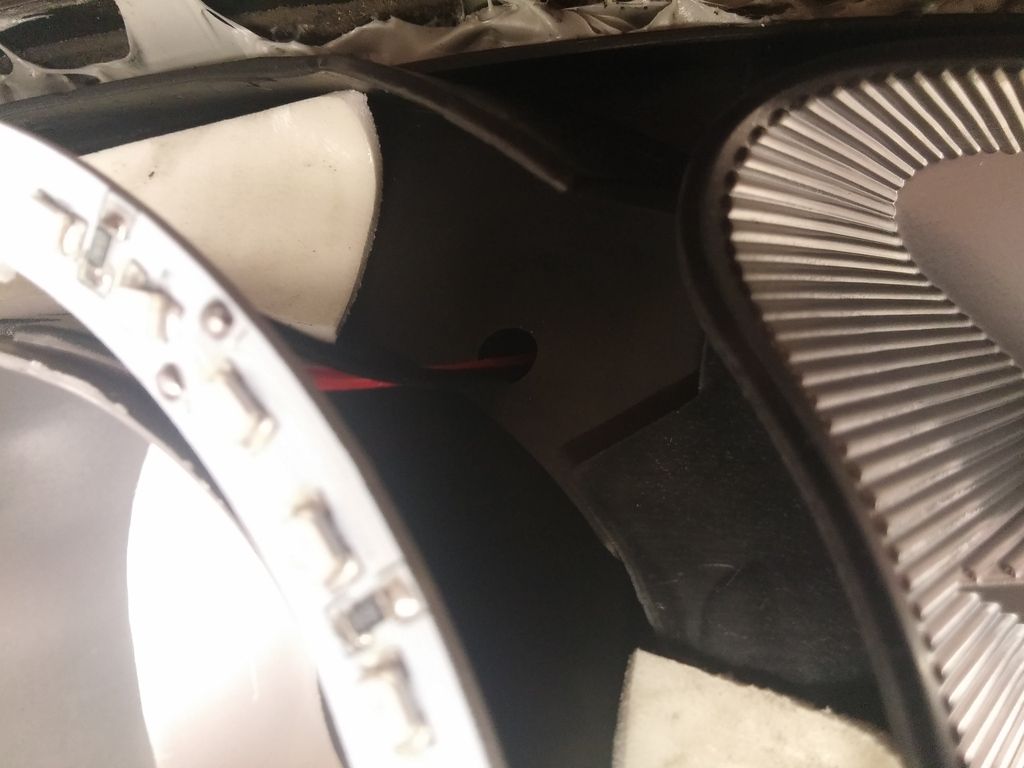
There's already a small hole for you to thread the wires through (some don't have the hole but do have a small mark where it should be, you can pop it through with a philips screwdriver):
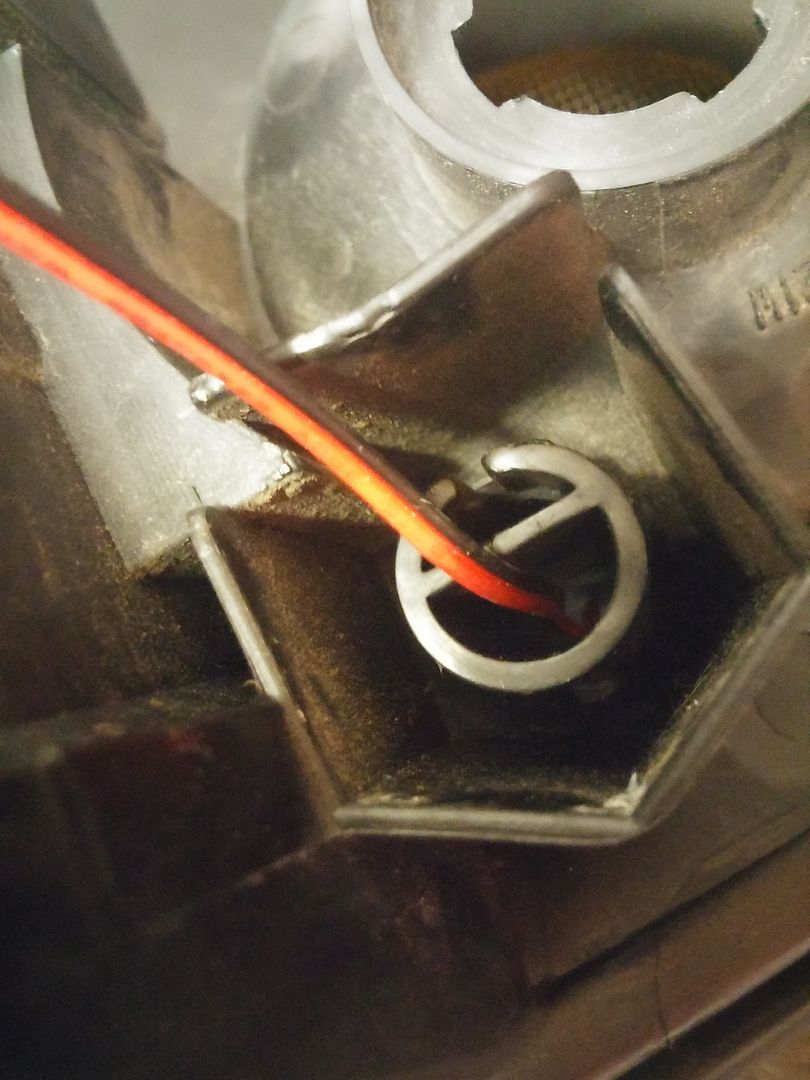
Now to fix the rings to the housing, I used some heavy duty double sided tape to do this, you could use super glue or hot glue but the lights needs to go back into the oven to re-seal so just be weary of it's melting temperature.
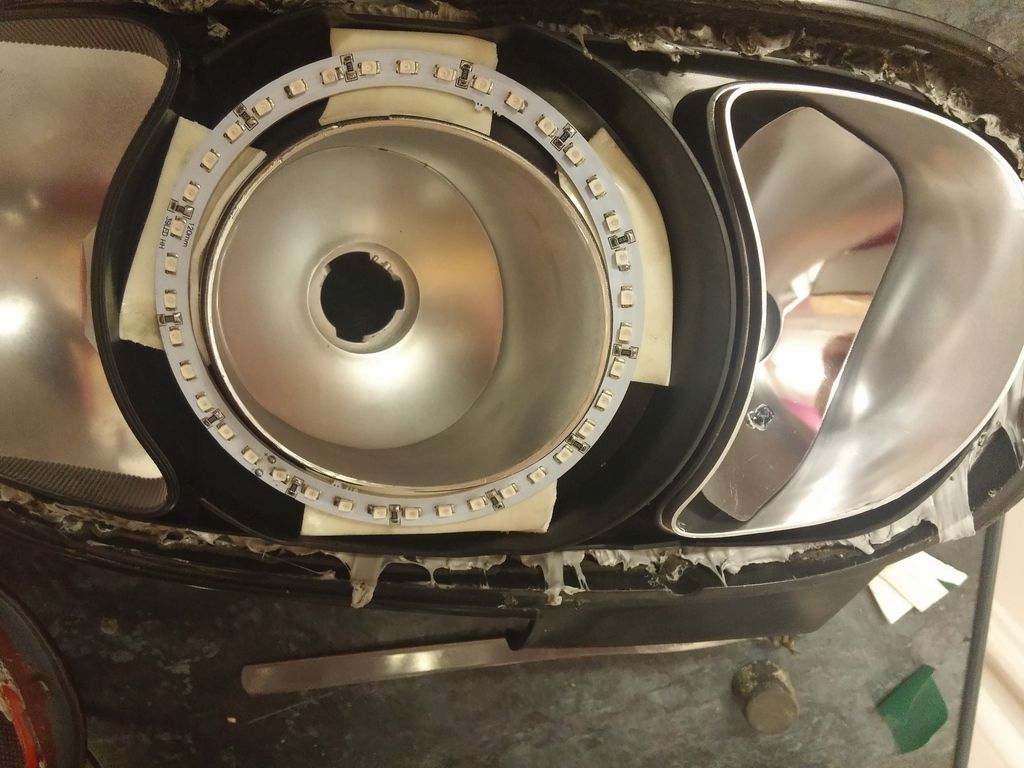
Now back into the oven, place the lens on top of the housing with it lined up roughly.
If you've had the lights out for a while and they've cooled again then use the same settings as before and bake for the same length of time, if they're still warm then stick them in for 10 minutes or so to soften the glue.
Once the glue is soft enough, they'll push back together and clip into place, keep the lens pressed in until it's cooled and the glue has hardened.
Pop the screws back in that you removed earlier.
Now test your LED's again!
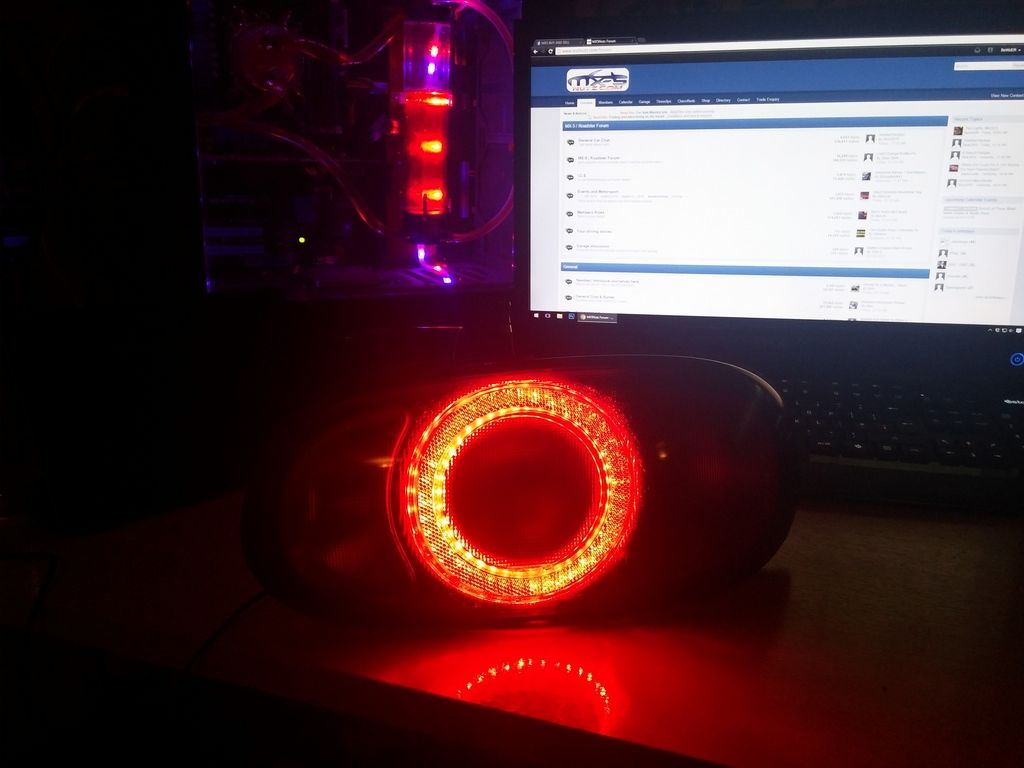
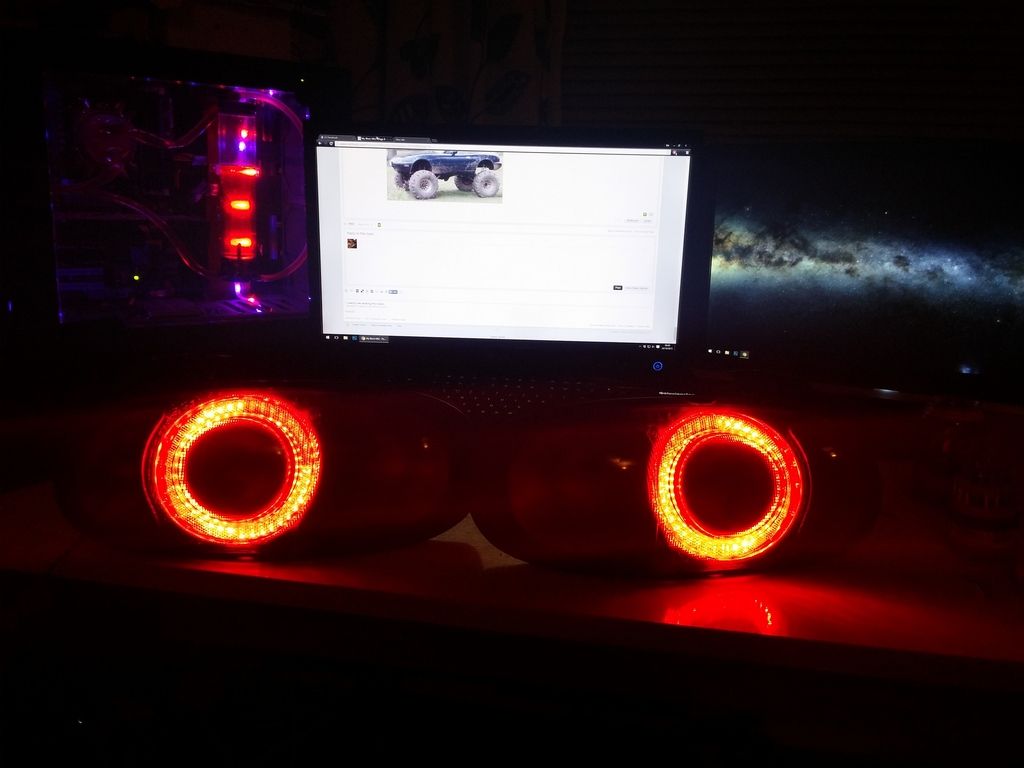
Finally I gave the lights a tint with some ebay spesh tint spray before re-fitting (http://tinyurl.com/nz2695q)
Now for the wiring.
You'll need to chop the black and white wire leading to your brake bulb holder - the green wire doesn't need to be touched.
Then using bullet connectors (so this can be reversed easily) connect your wires as follows:
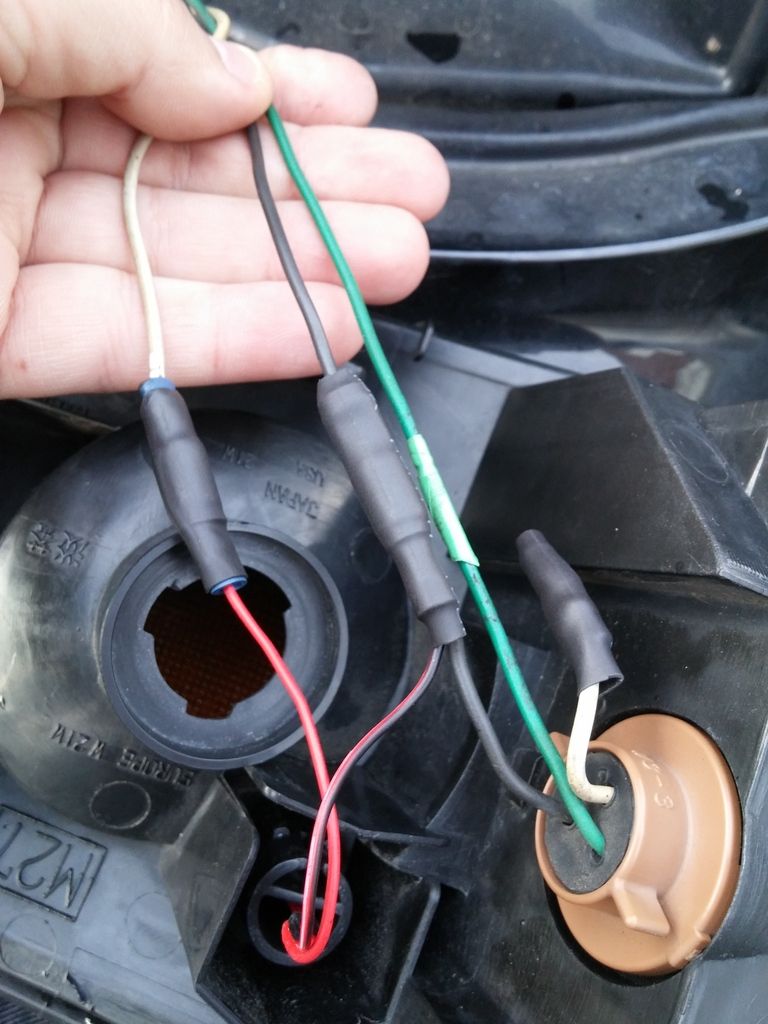
The white wire is a 12v along with the green wire, the black is your earth.
So - black/red from your LED joins to the black wire on your loom and the red wire from your LED connects to your white wire.
Wiring them this way means they'll be used as your sidelights and the normal bulb will illuminate when you press your brake pedal
I popped a bit of heat shrink on just to help keep the terminals from the elements.
Finally re-fit your lights
And that's it, Roberts your mothers brother
Before:
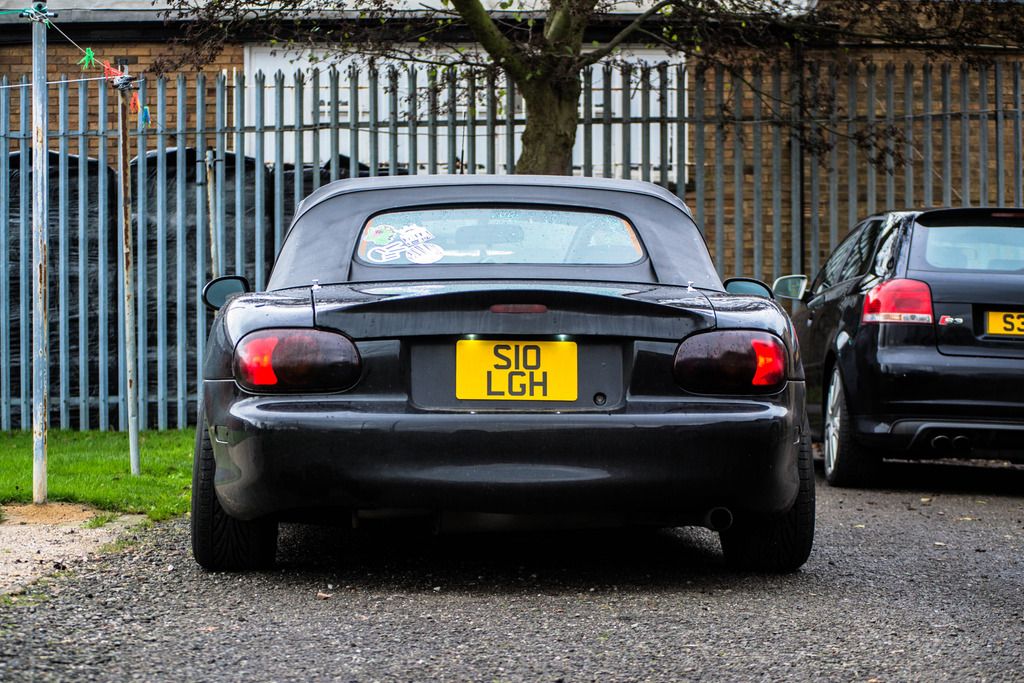
(hmmm...is my plate a little wonky?)
After:
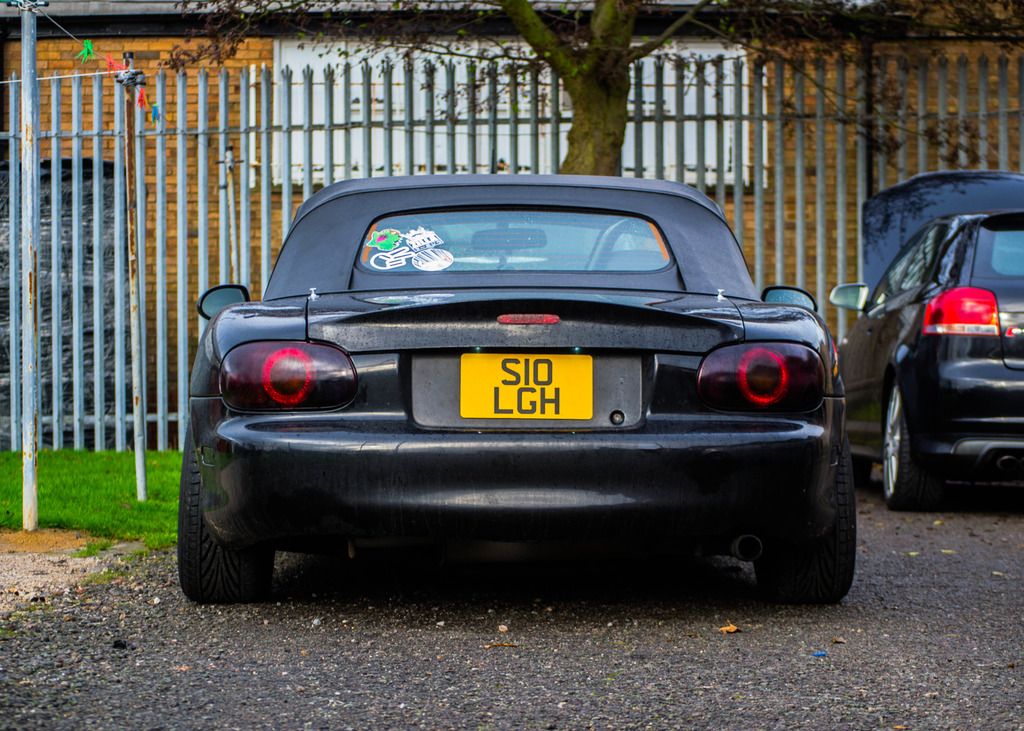
(the LED's look fairly dull here, it's just a bad photo, they're just as bright as the standard sidelights were, see other pics below)
Sidelights on and brake pedal pressed:
