Mazda MX-5 Miata banner

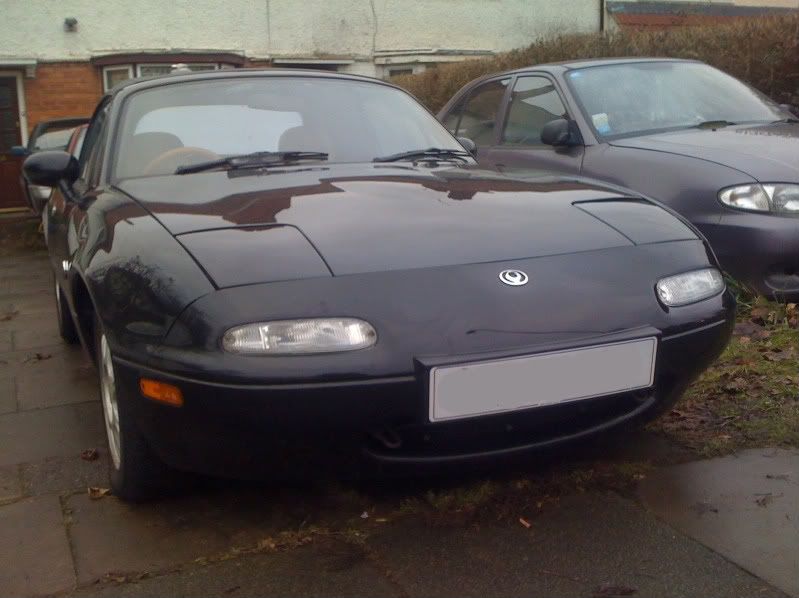
"Whisper" - A Black '94 1.8L Na V-Special

87K views 561 replies 104 participants last post by  Jacksheps  
#1 ·
(You may have read this on another forum. I'm cheating and copy n pasting it. Sorry!)

A bit of an intro and hopefully a thread to come back to and update with our adventures.
Image
Hi everyone!

Image

As pictured in her AutoTrader advert.
Image

The conditions I brought her in. A masterclass in breaking every rule of car buying. Dark, Raining, Car with no history, Test drive to the end of the road and back.

Oh well. I'm handy with a spanner. I'll forgive myself for buying with my heart on this one.
Image

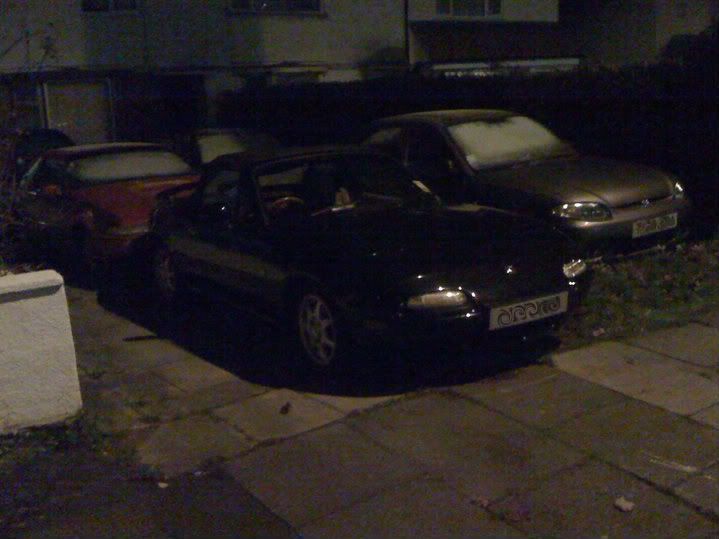
Back home. Managed 87 miles before the snow descended and she got parked up for the Christmas break.

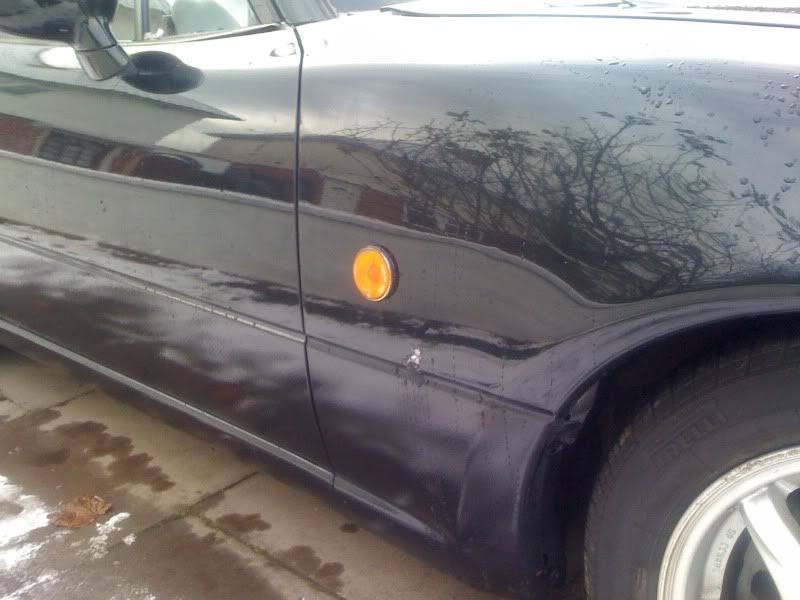
The first change. From this -
Image


To this -
Image


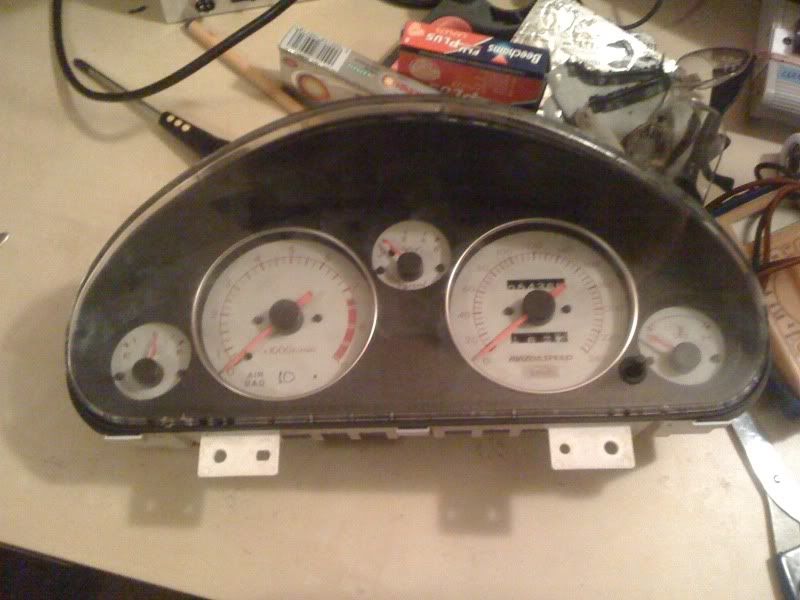
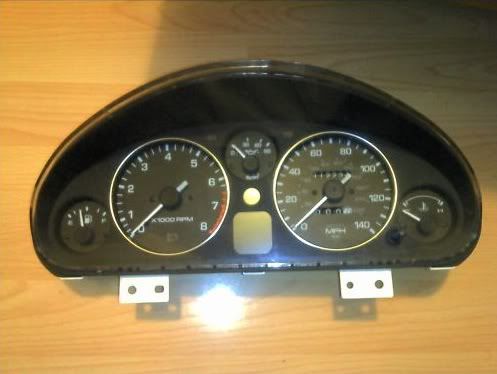
Next, From this -
Image


To this -
Image


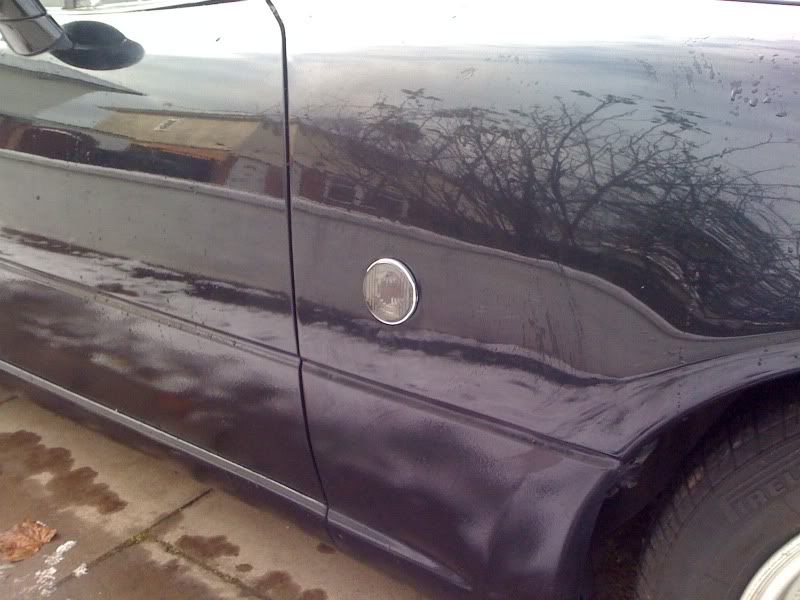
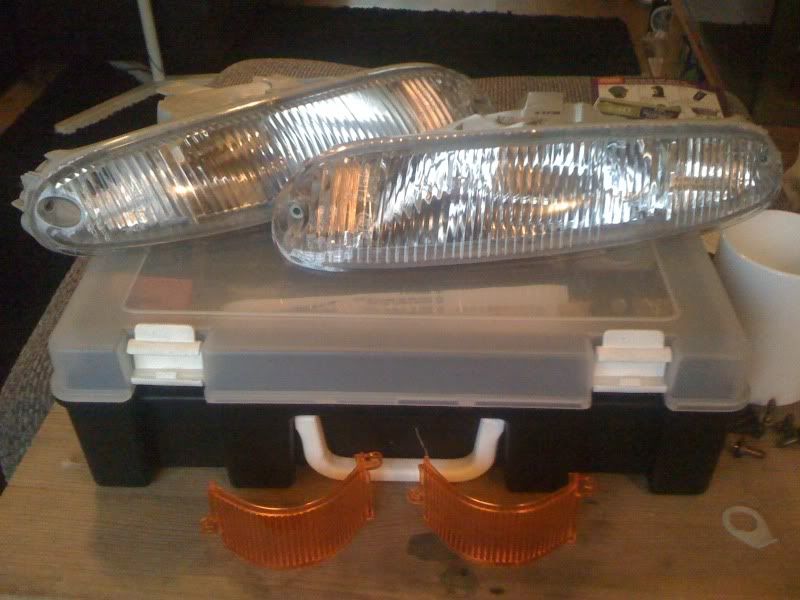
In my opinion all black 5's should be de-tango'd by law. So -
Image


Image


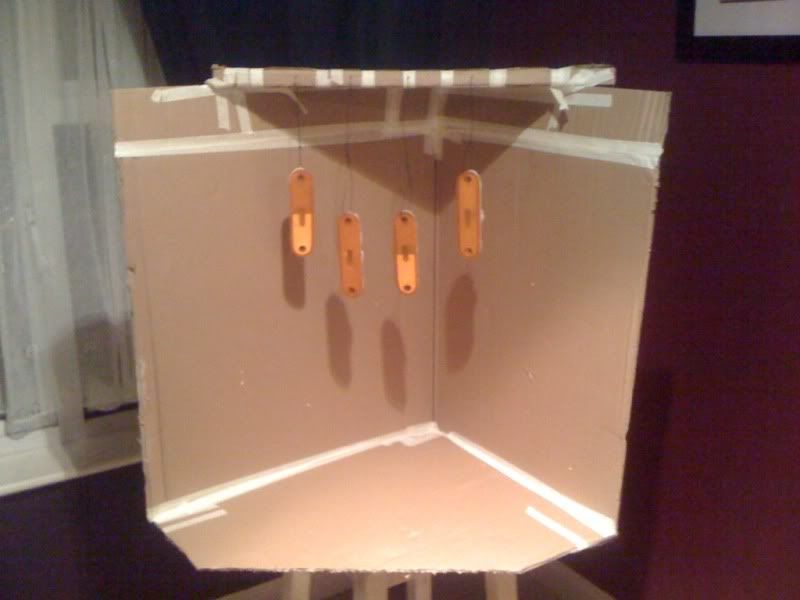
But that makes the reflectors really obvious. Easily solved -
Image


Image


Image


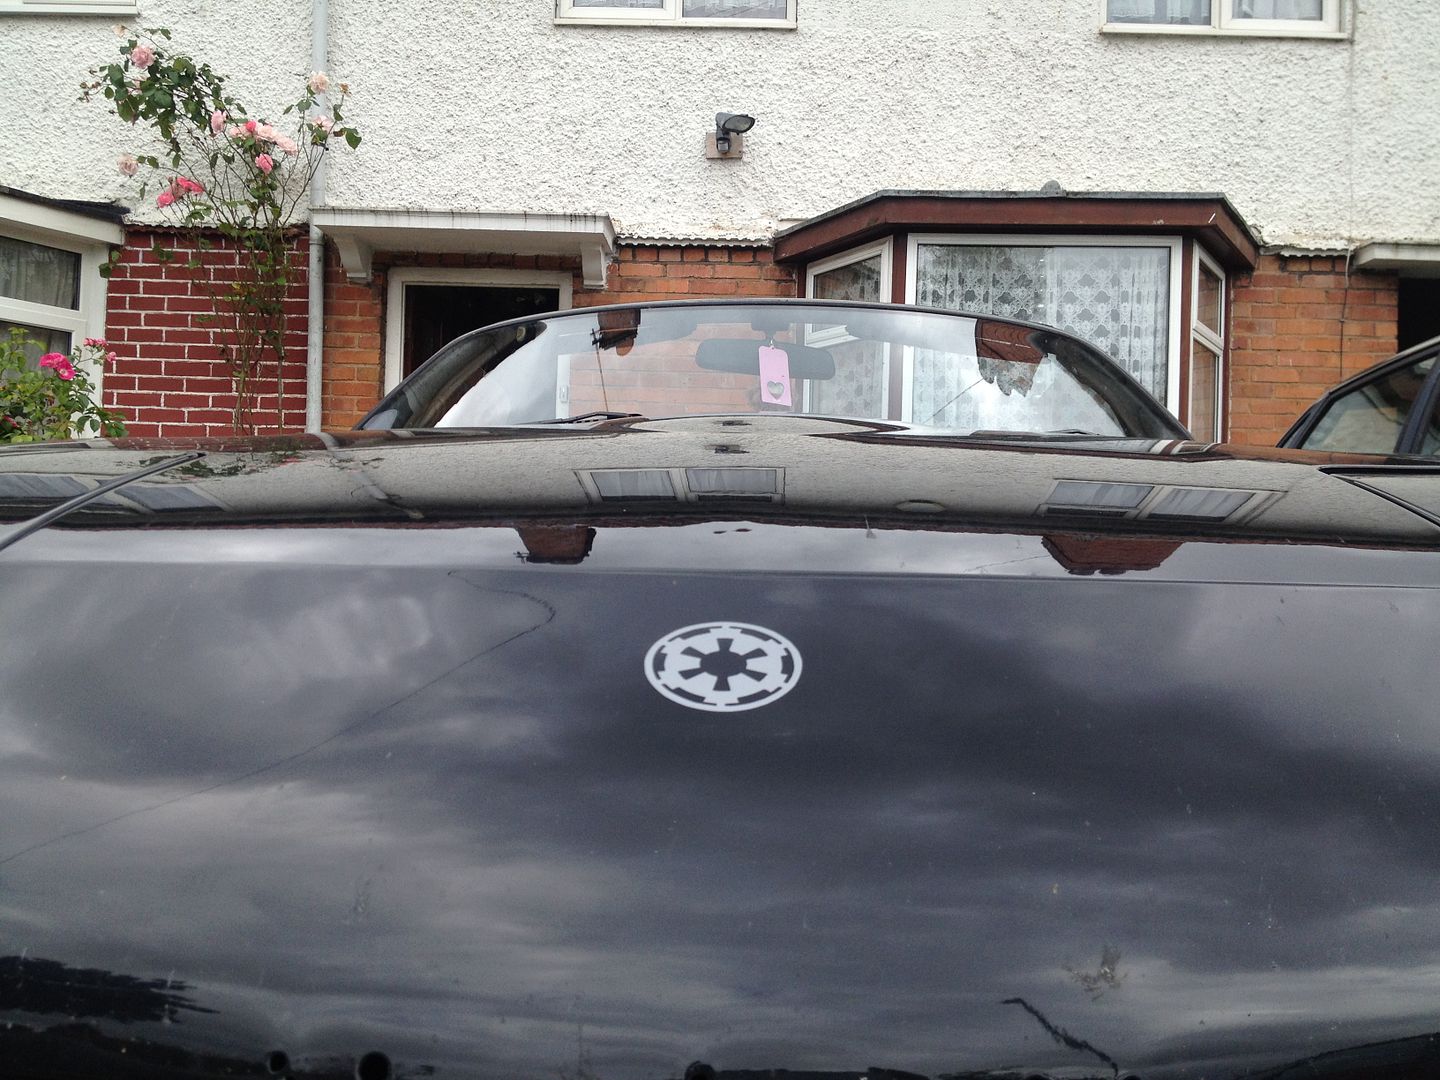
A sticker! Hey it's my midlife crisis and I will include stickers in that if I wanna!

Image


Image


And last for now, a drift charm. I did slide the rear on a roundabout, by accident. No one noticed but I officially have declared it a drift and therefore I am allowed a charm

Image


There is also the blog if you follow such things. it is at http://www.eunos-roadster.co.uk

Cheers!
C
 
#220 ·
Powder Coat - Any fans of it here? I suspect a hand or two has gone up.

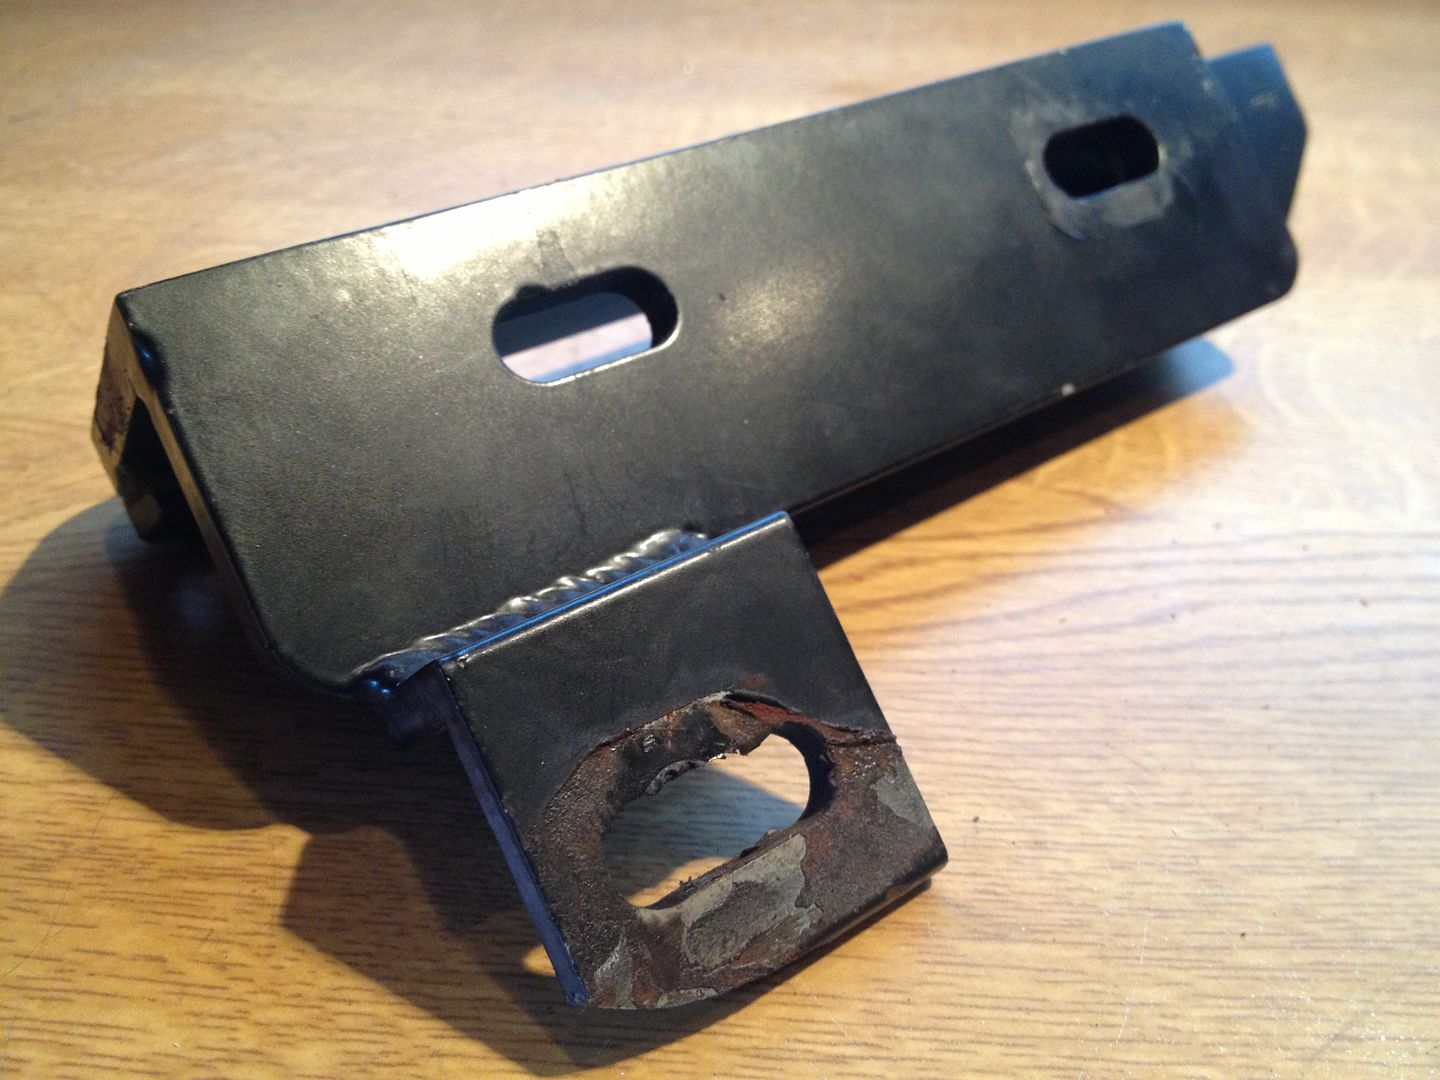
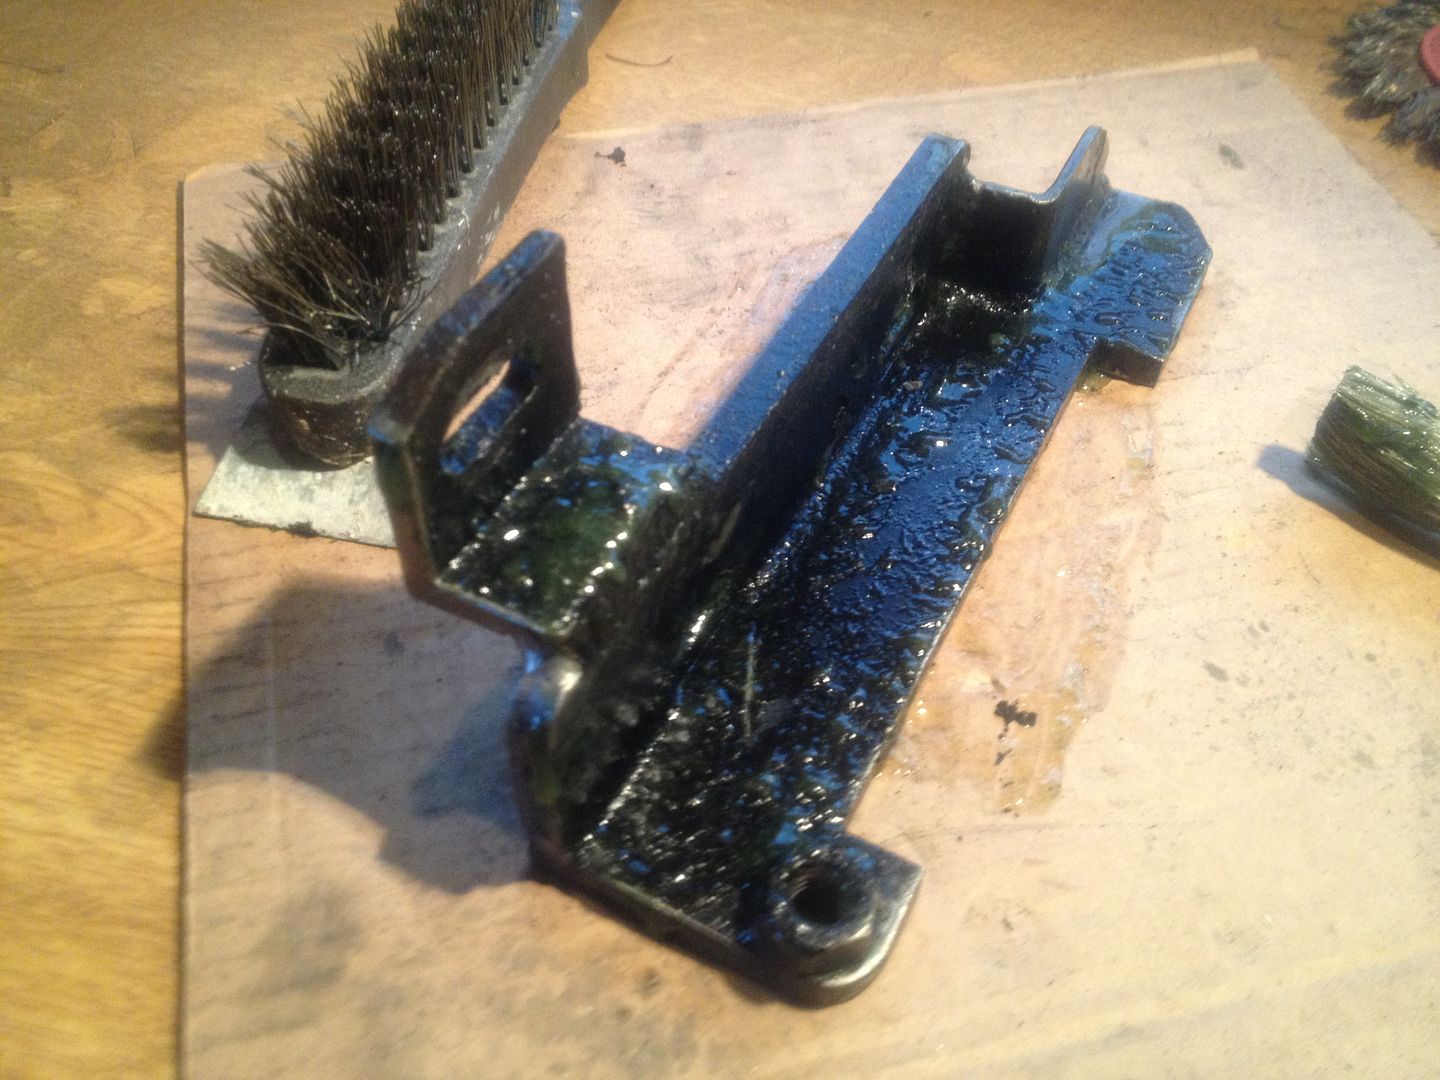
I have to tell you.... I hate it. It's crap. Look at this supercharger bracket.....

null-52.jpg


Crap. Total crap. Powder coat never bonds to the metal and it flakes off in huge chunks. Then you have to repaint the part. But then the powder coat changes its mind and clings on to the part like a tantruming three year old clings to your leg in a sweetie shop.

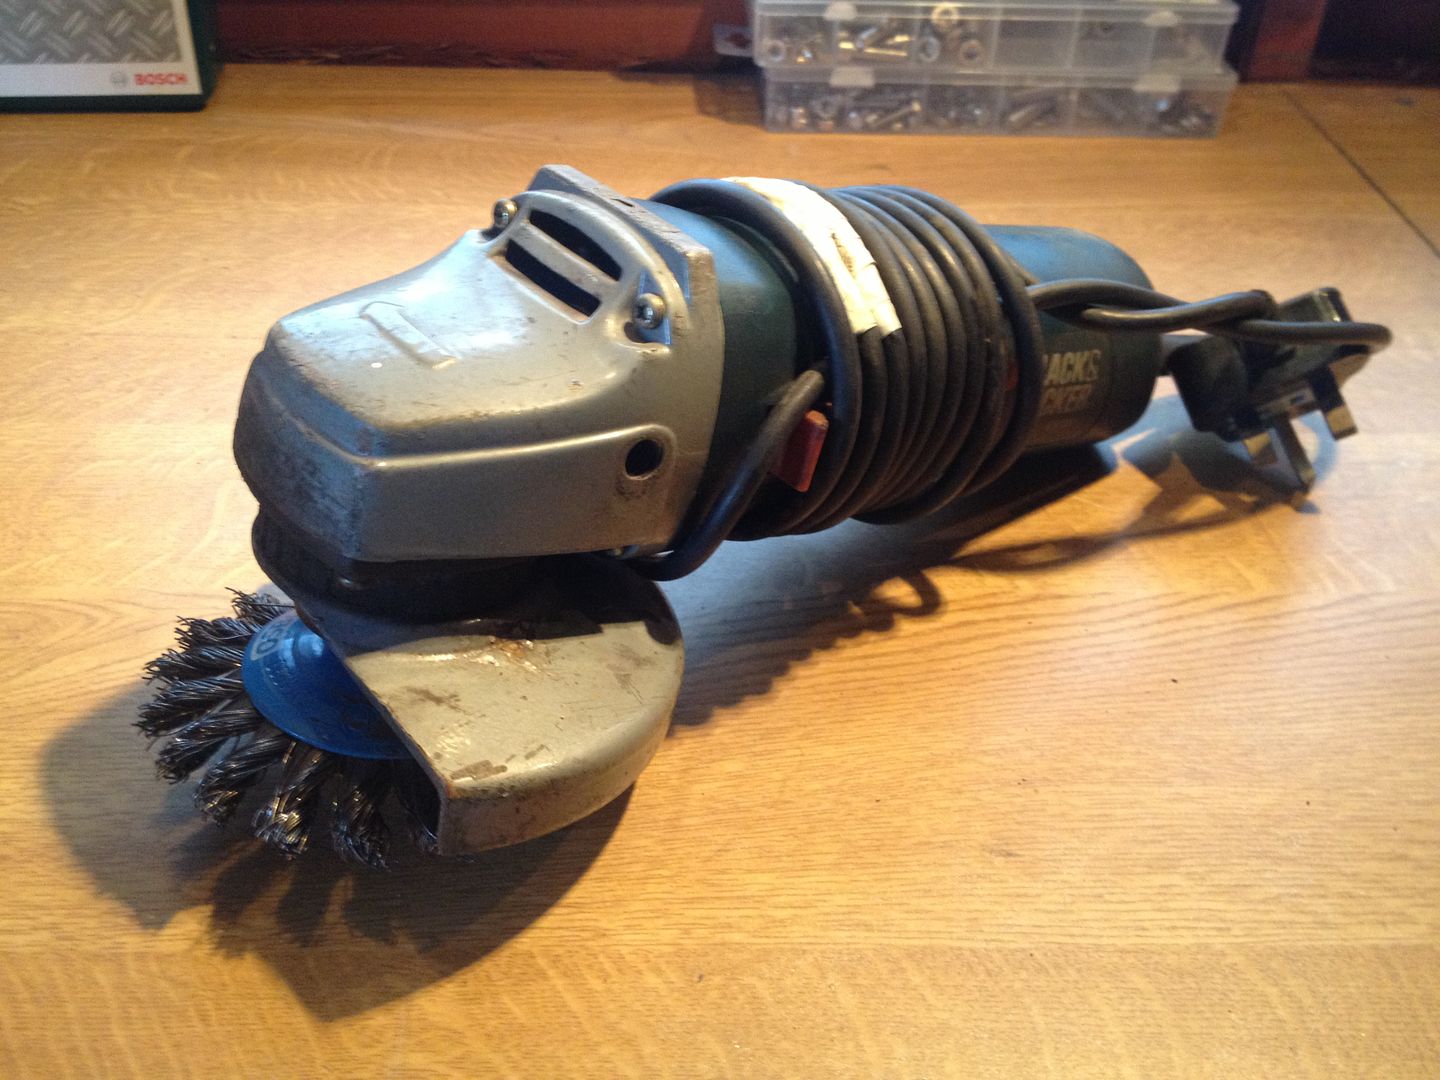
There is only one answer...

null-51.jpg


However.....

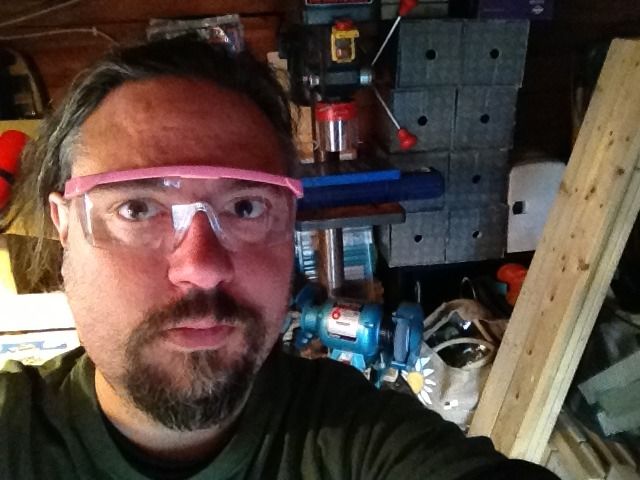
"Before we use any power tools, let's take a moment to talk about shop safety. Be sure to read, understand, and follow all the safety rules that come with your power tools. Knowing how to use your power tools properly will greatly reduce the risk of personal injury. And remember this: there is no more important safety rule than to wear these - safety glasses."

null-53.jpg


(Couldn't find my goggles but I could find BV's!)

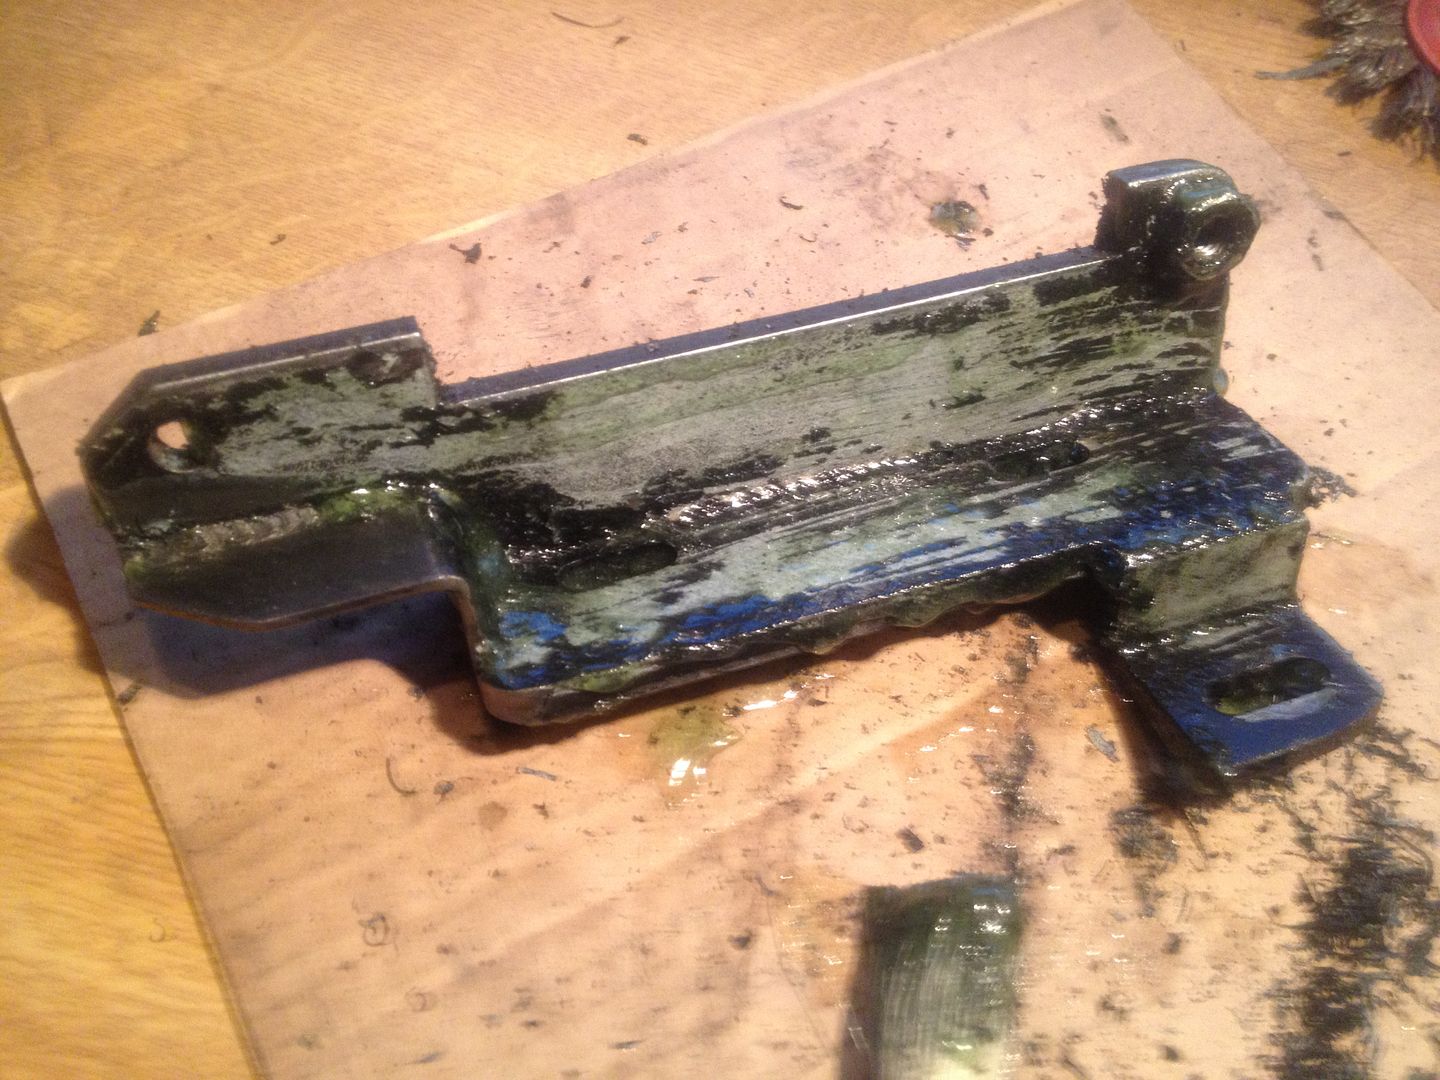
And one side of the bracket succumbed to my attentions in double quick time. Then I looked at the time 8:15pm. Fucksticks!

On to the silent paint killer... Nitromors...

null-54.jpg


Have you ever stripped powder coat with Nitromors? Top tip, Don't bother. Powder coat laughs in the face of chemical strippers.

But I was desperate.

Three applications of stripper...

null-55.jpg


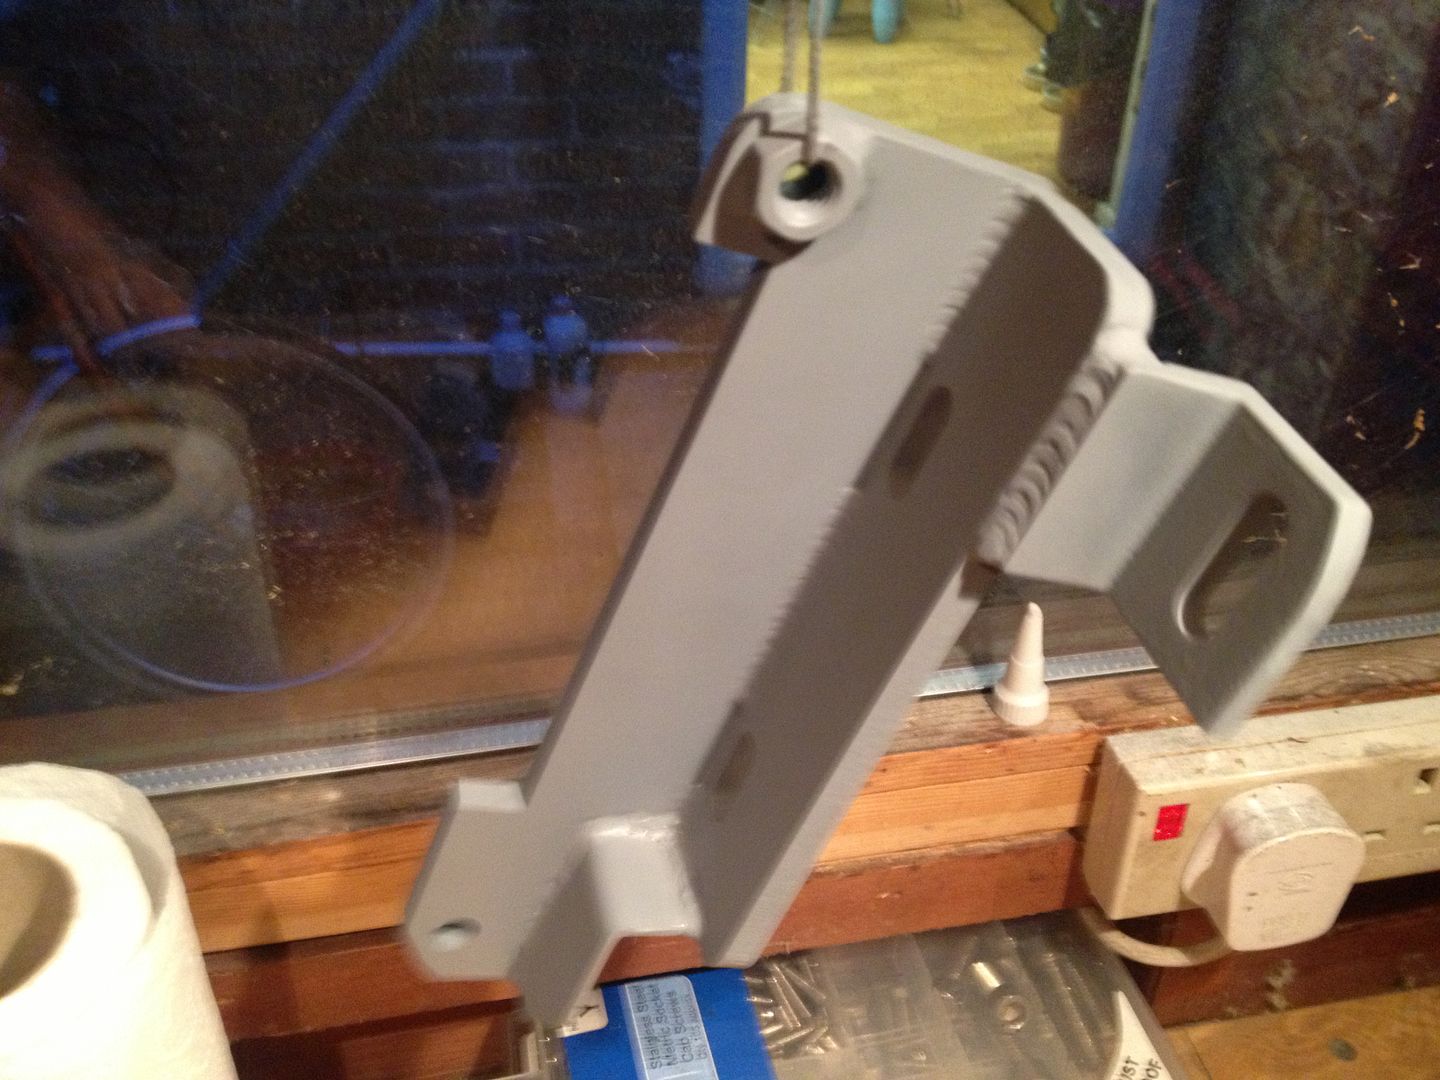
After two hours of scrubbing and scraping it was back in bare metal. Just in time to give it a coat of good old fashioned primer.

null-56.jpg


It will get a topcoat of satin black once it stops smelling of paint.

Bloody powder coat. I hate it!
 
#222 ·
It is truly terrible stuff isn't it :rant:

I've had a bit of a google this morning to see if there is an easier way. I figured someone somewhere would have come up with a good solution. Using napalm or a small thermonuclear device or something?

Came across this - Permatex Gasket Remover Method

Apparently you spray it on, wait 15 minutes, and the powder coat just falls off.
 
#223 · (Edited by Moderator)
Well the charger bracket got a coat of satin black and now looks lovely. Then progress sort of stopped for a little while while the wallet recovered.

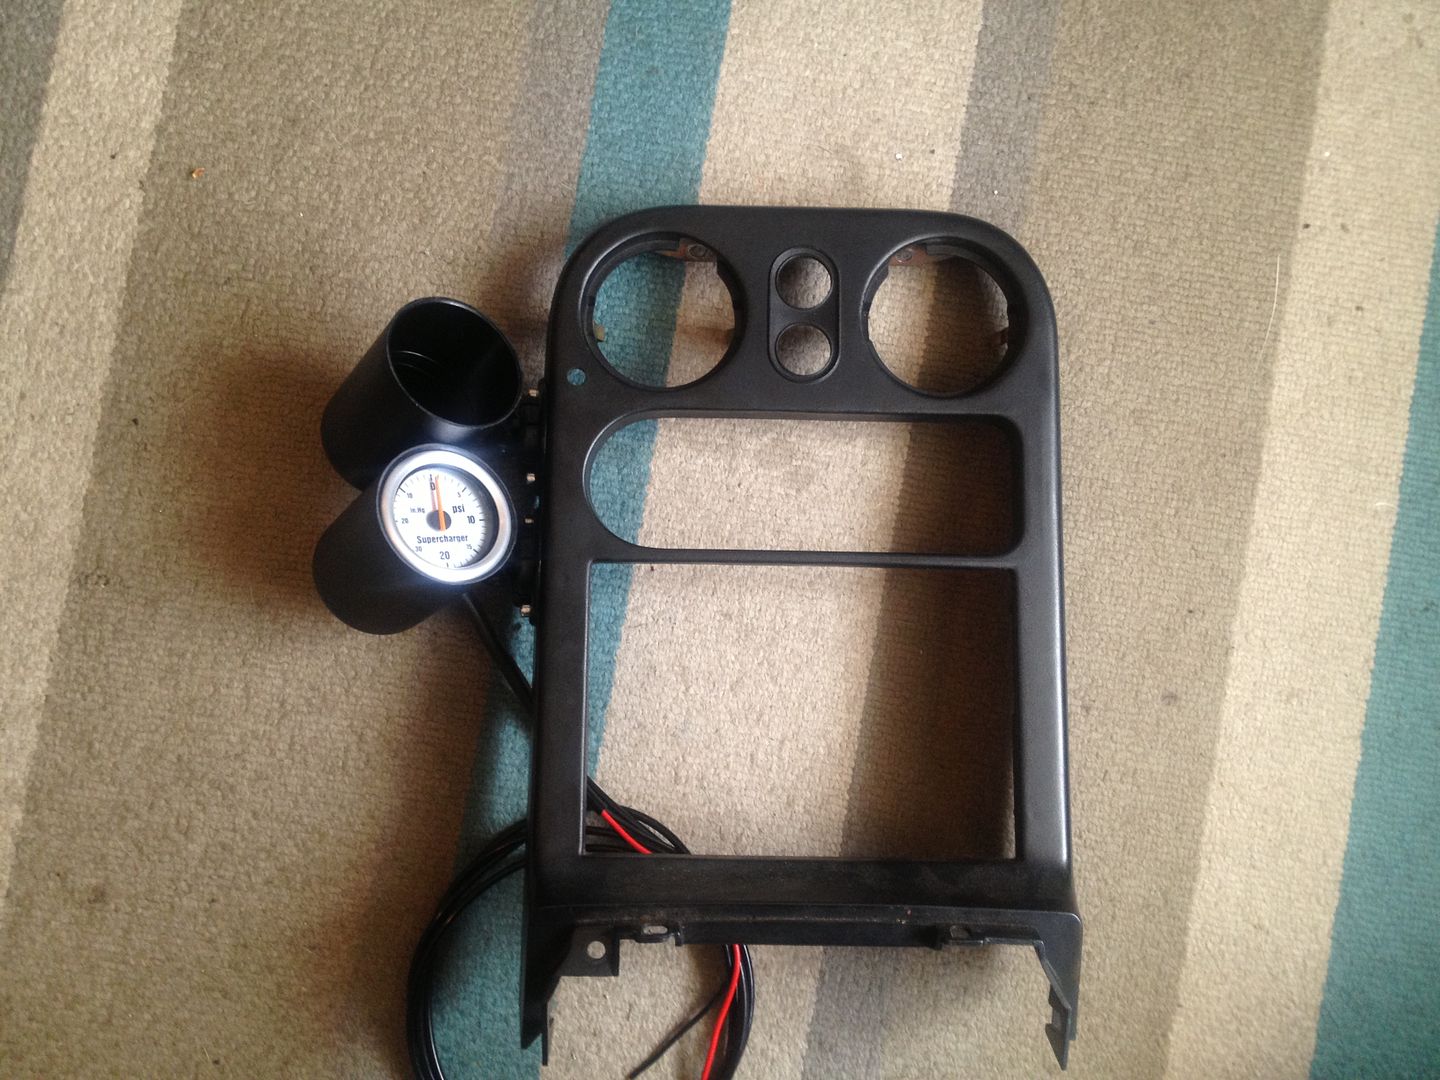
In the meantime I had a try at an idea to mount some gauges. Using a pair of cheap gauge pods.

null-63.jpg


I'm not feeling it. Looks rubbish and the much beloved is bound to twat them with her knees and then I'm going to get a slap. That just won't do.

So I dropped a call to Mr Vindi and he's sorted me out with a spare tan crash pad and three inset gauge holders :drool: :driving:

As soon as finances were a bit more healthy.....

null-58.jpg


d4faca9065b90d25a17b082151049ea8.jpg


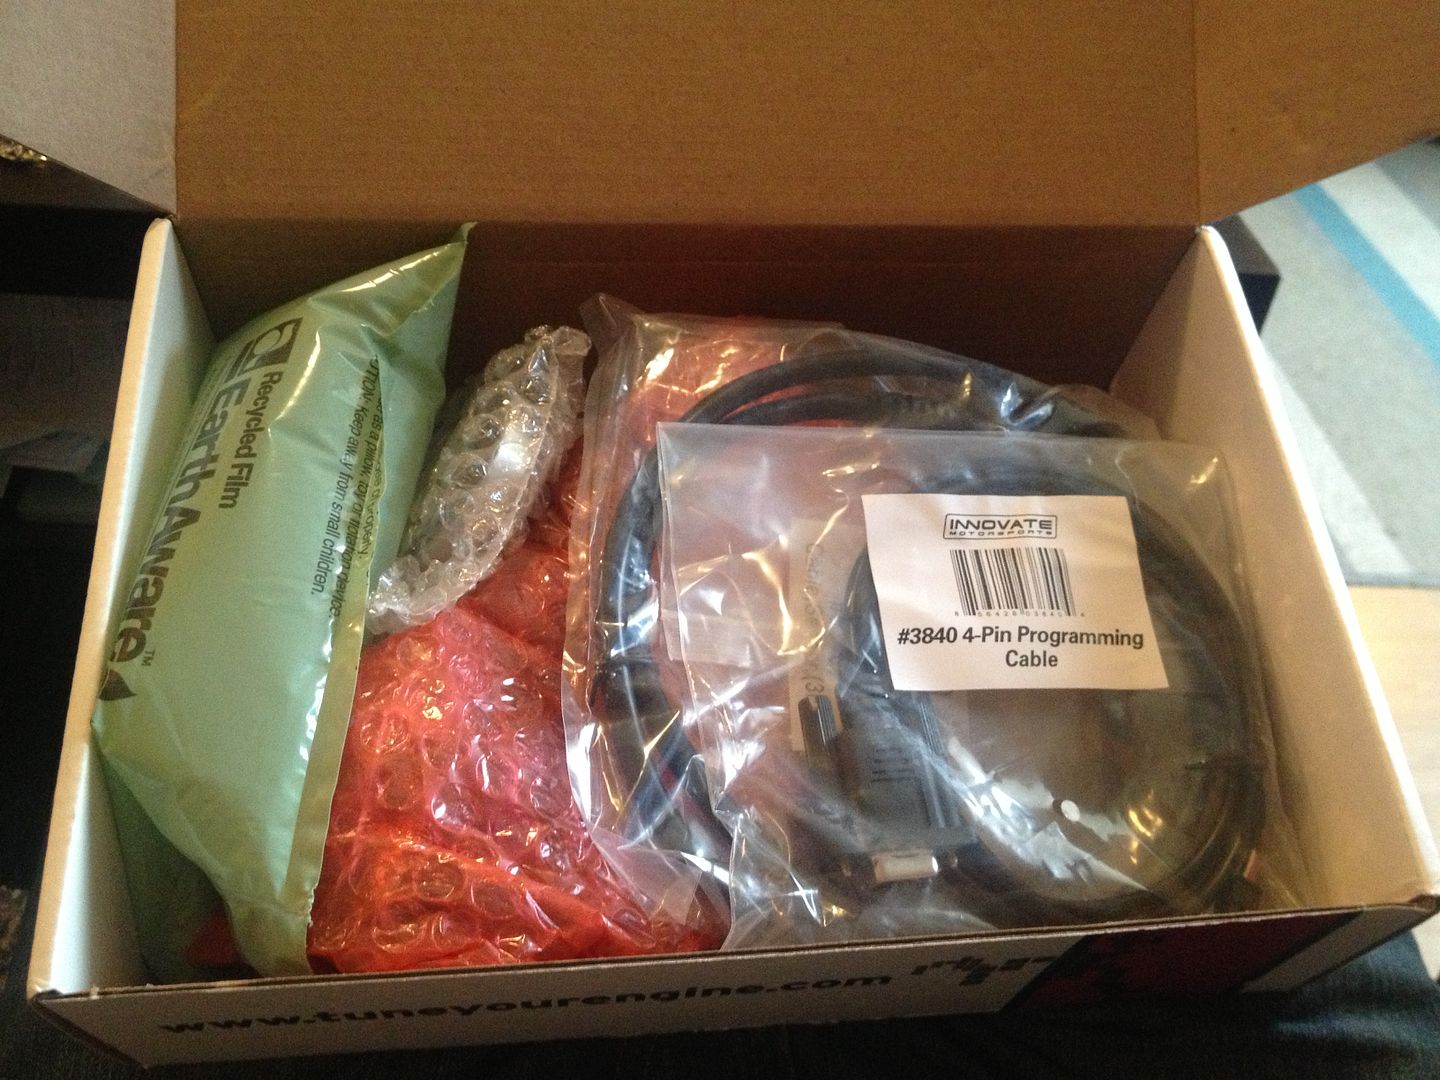
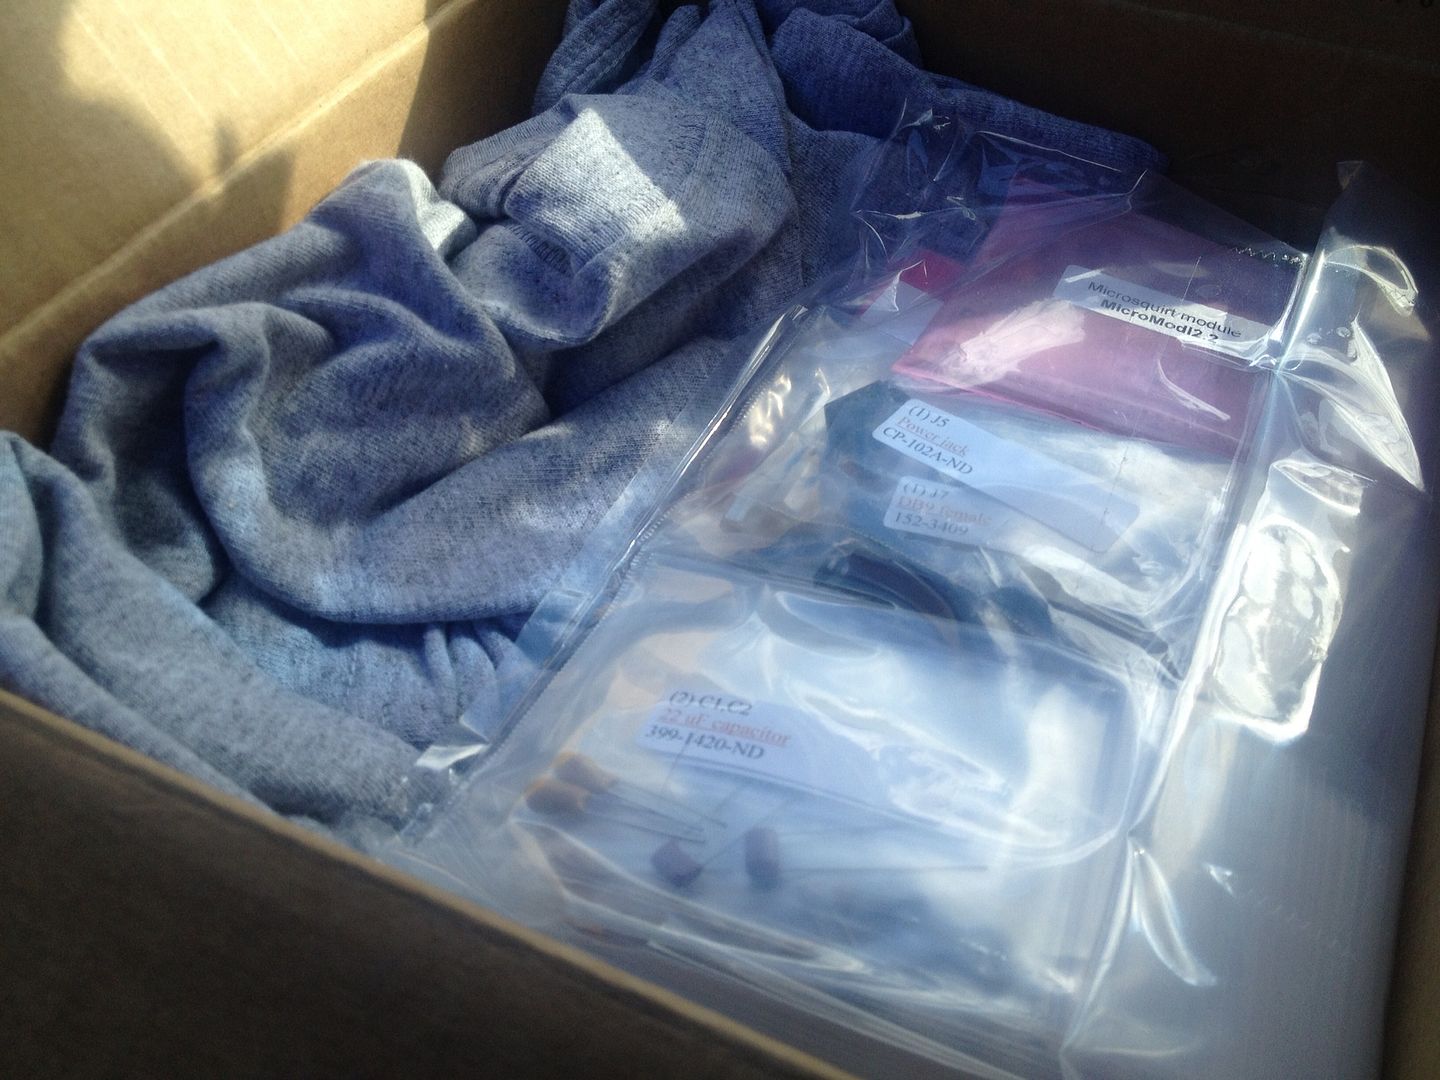
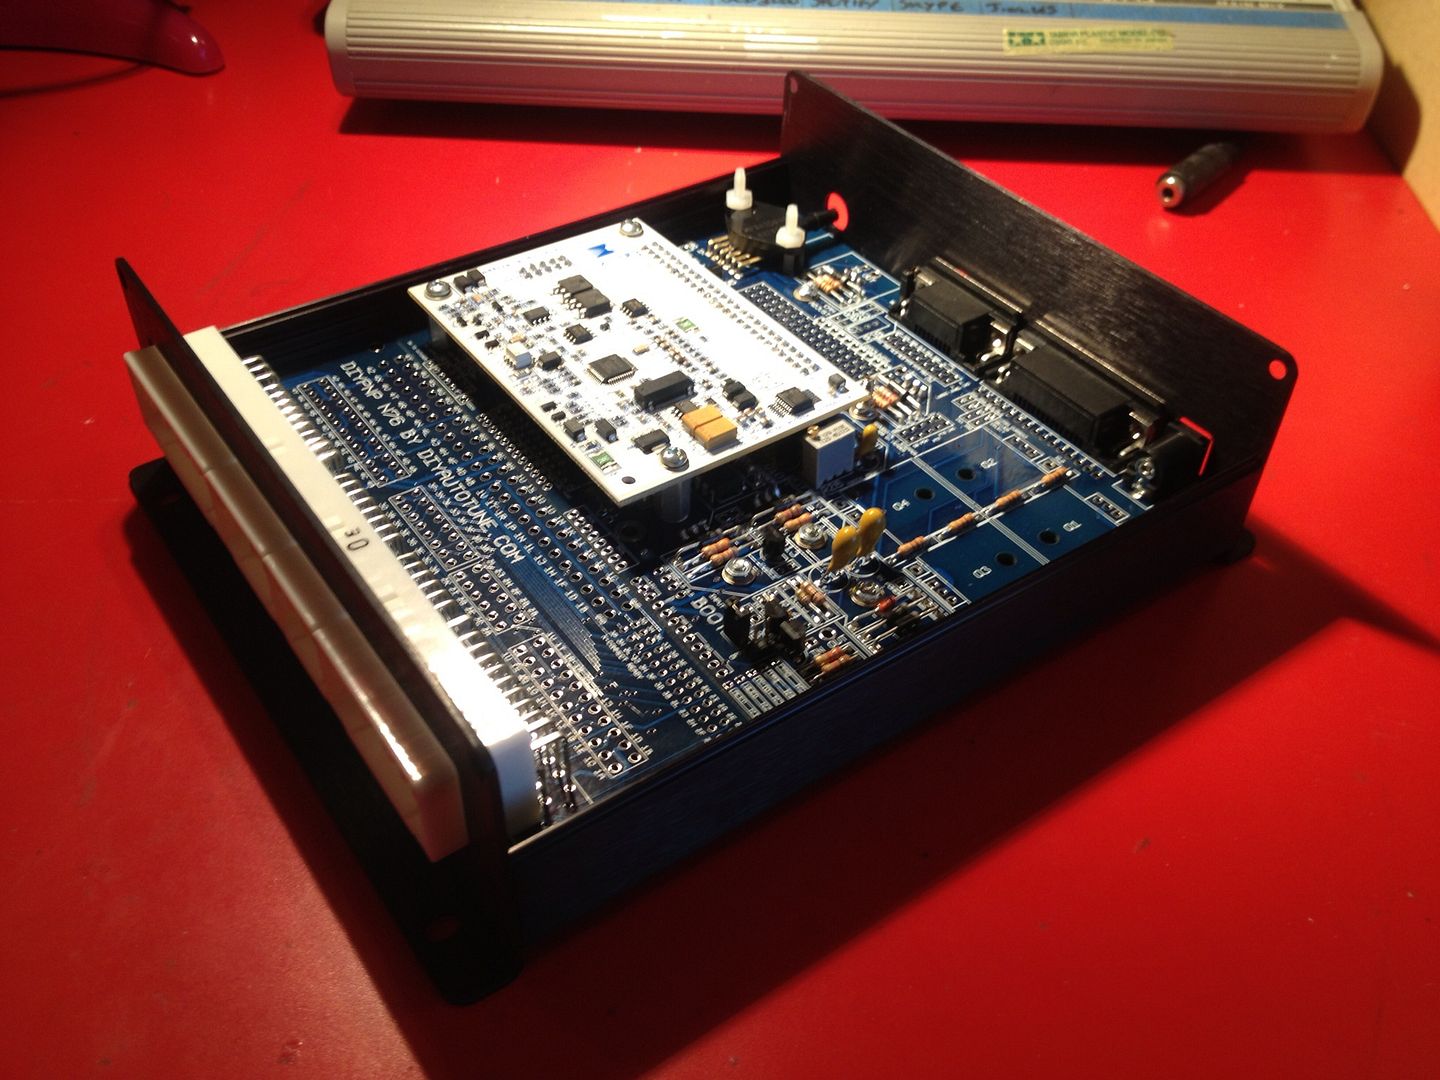
Innovate MTX-L and DIYPNP. Time for some electrical based shenanigans then!

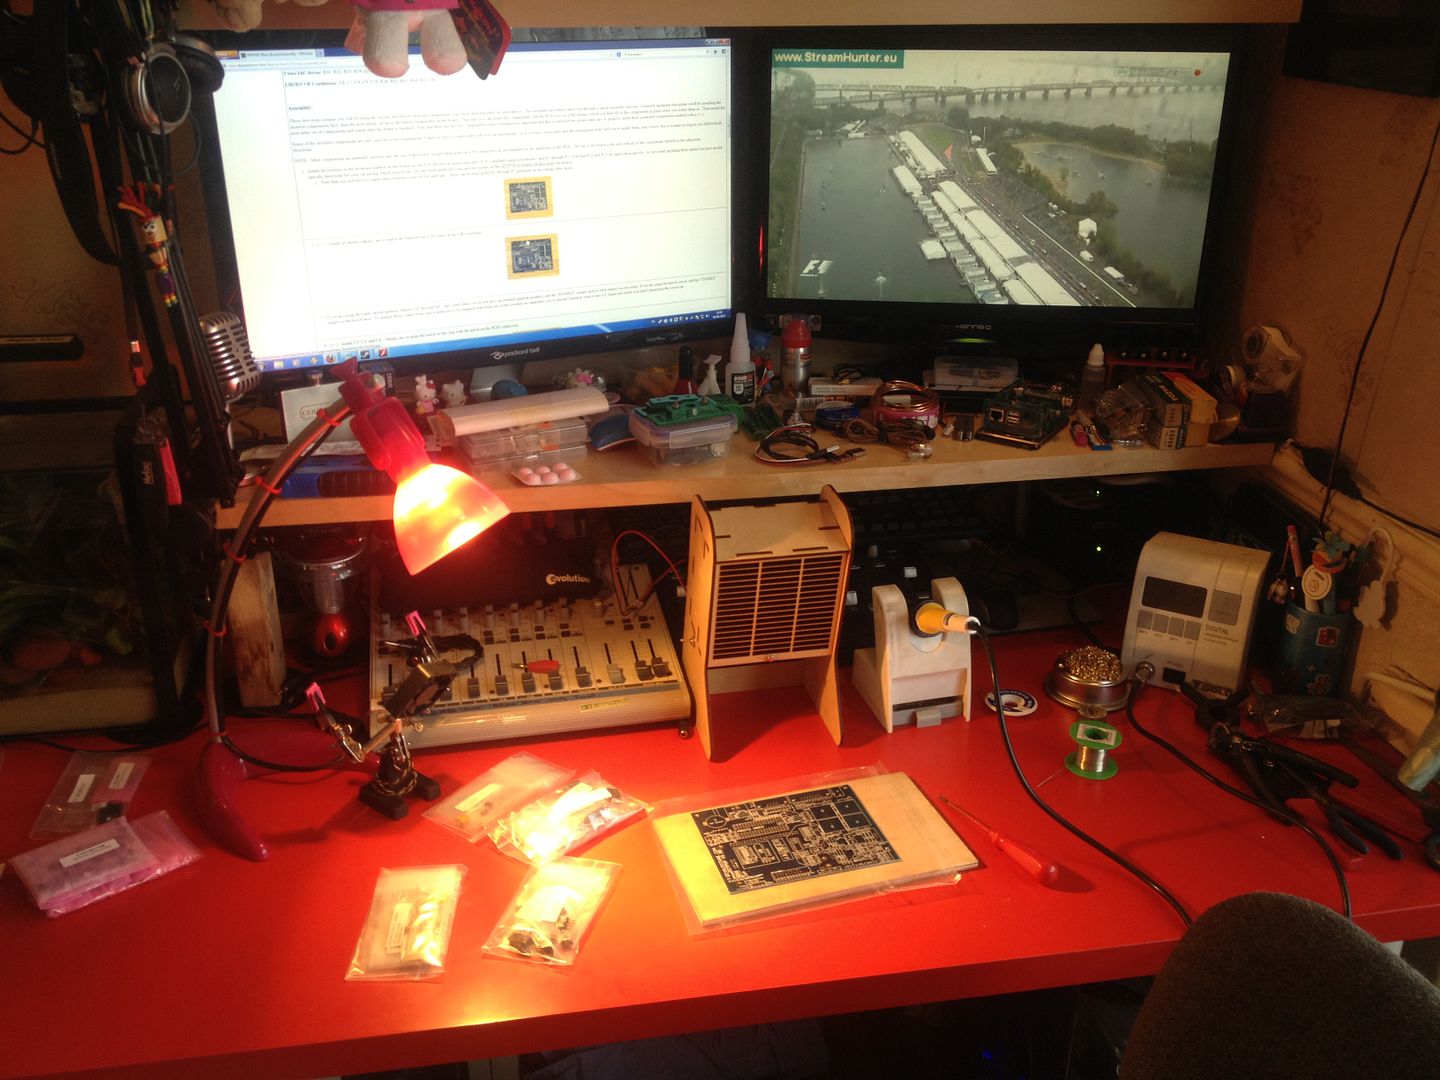
Got me a little soldering station set up

null-68.jpg


and off I went.....

Good job the Canadian Grand Prix was boring!

aea0a9f00b6df7e147cc7f5fb51ab478.jpg


Didn't take long. Quite painless really!

I've still got the jumpers to the ecu connector to do and some figuring out of the relay1 connection for the rad fan and the pull ups. But I've broken the back of it.

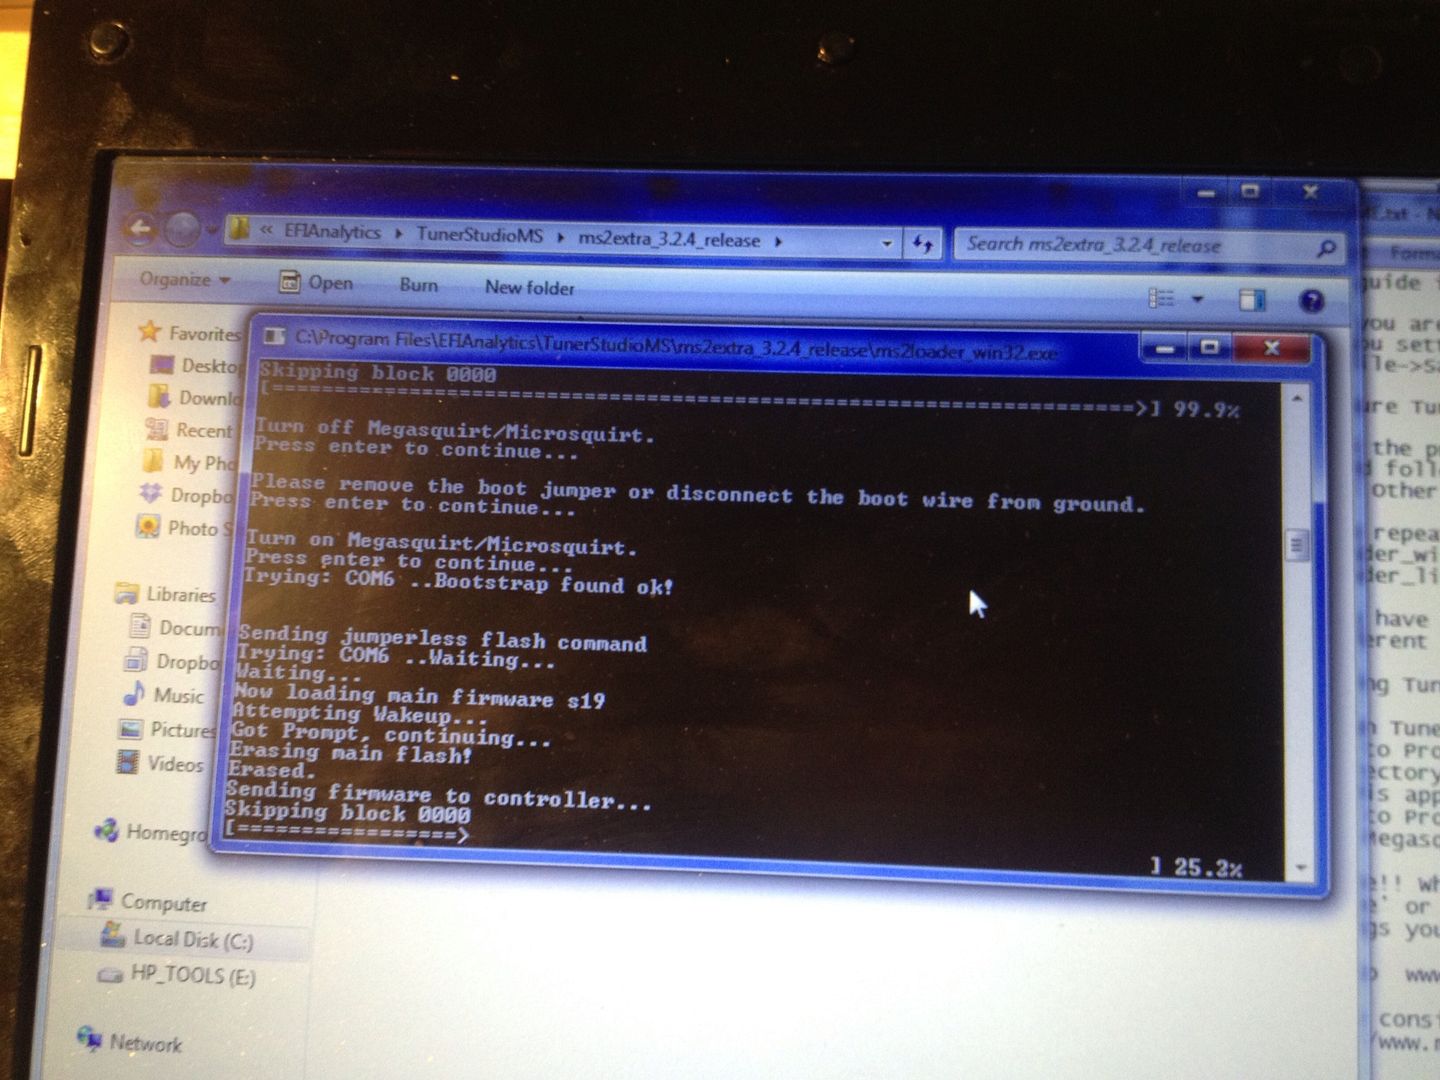
I've even managed to upload the firmware.

063940718e5defb25fdfd5c1de9d9f95.jpg


Next step is crash pad choppery and MTX-L installation I think :thumb-up:
 
#224 ·
Small steps. Just got to keep taking small steps. How to eat an elephant and all that.....

Gauges.... Russell to the rescue! Cheers man!

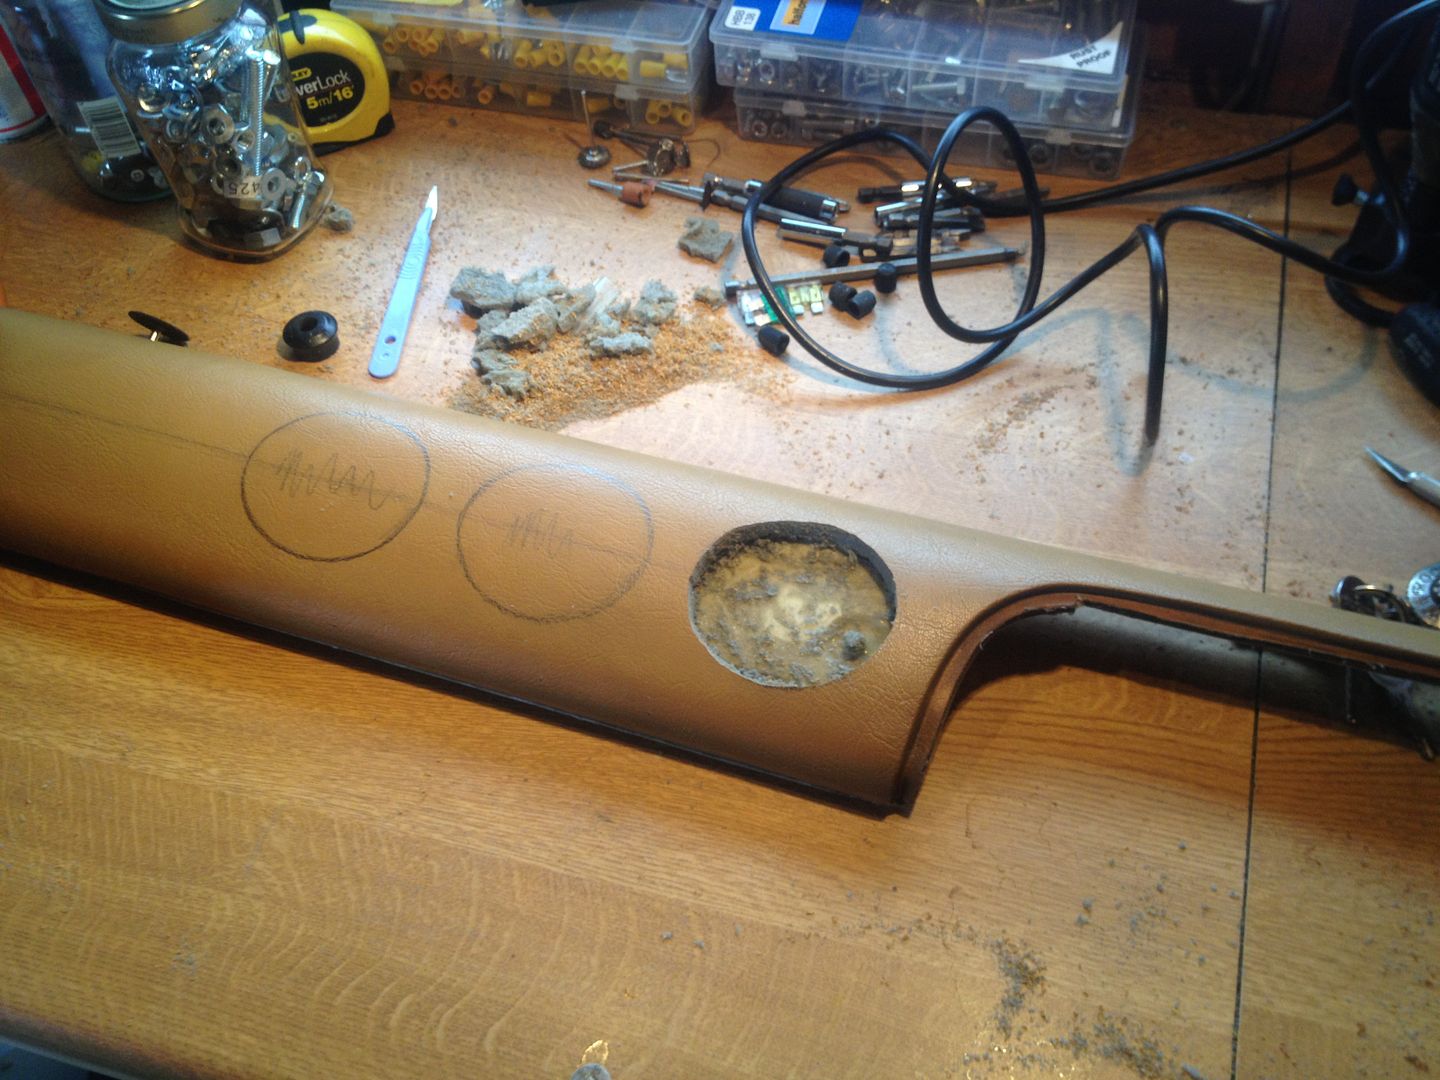
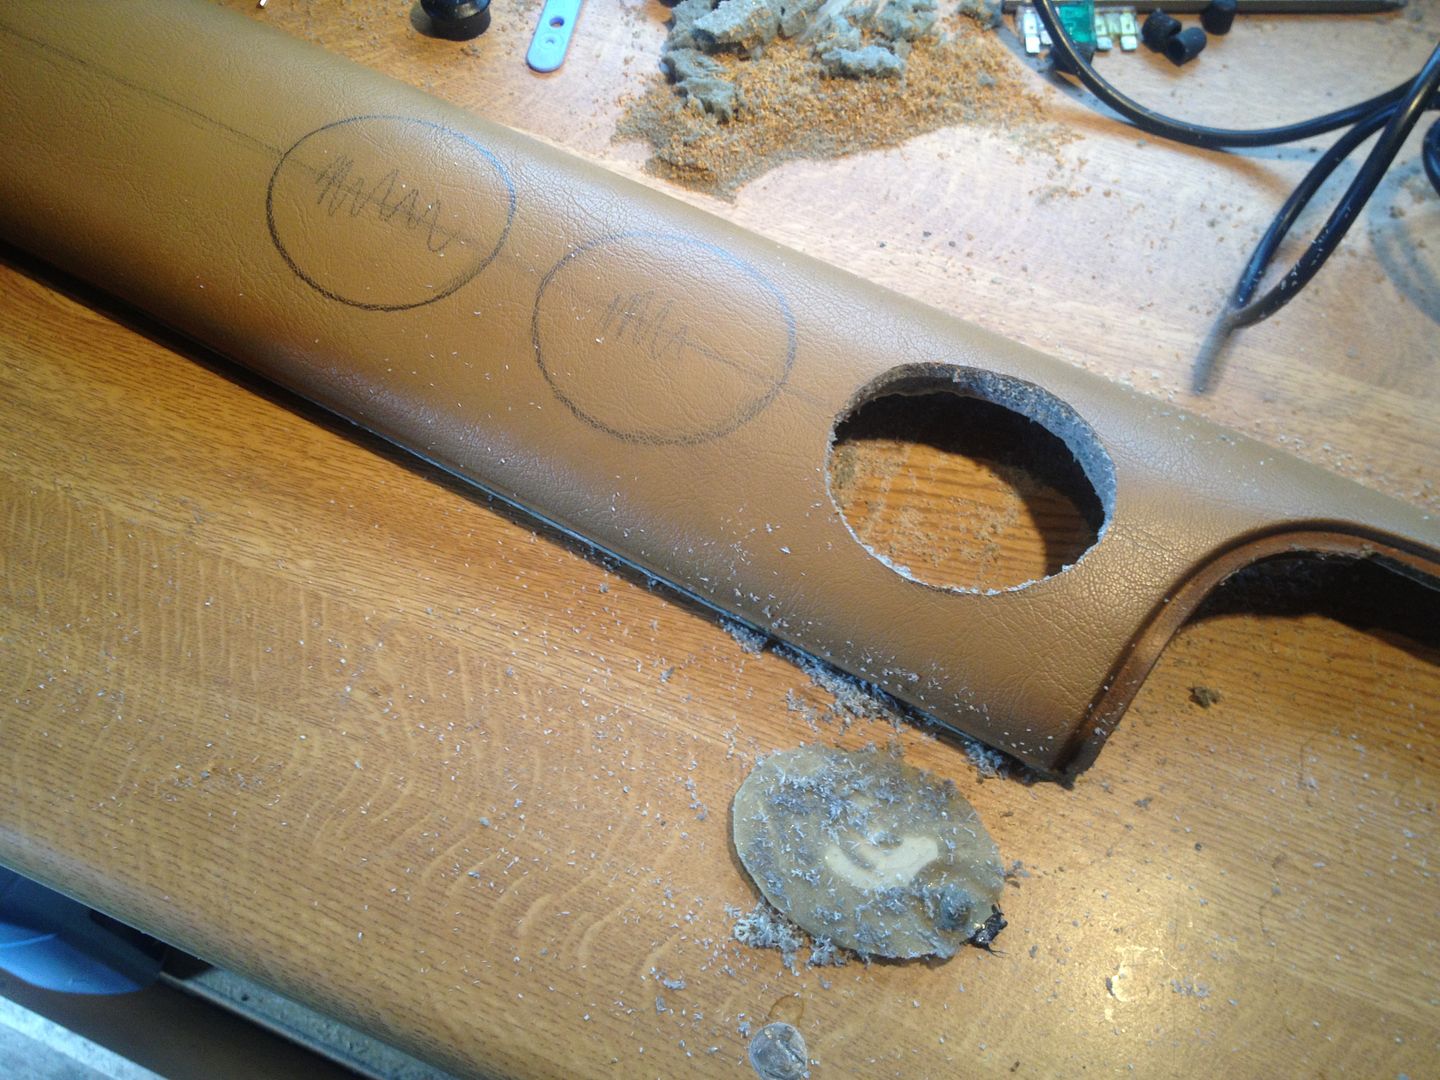
A Dremmel with a router base attachment and a straight cutting bit = epic win.

null-4.jpg


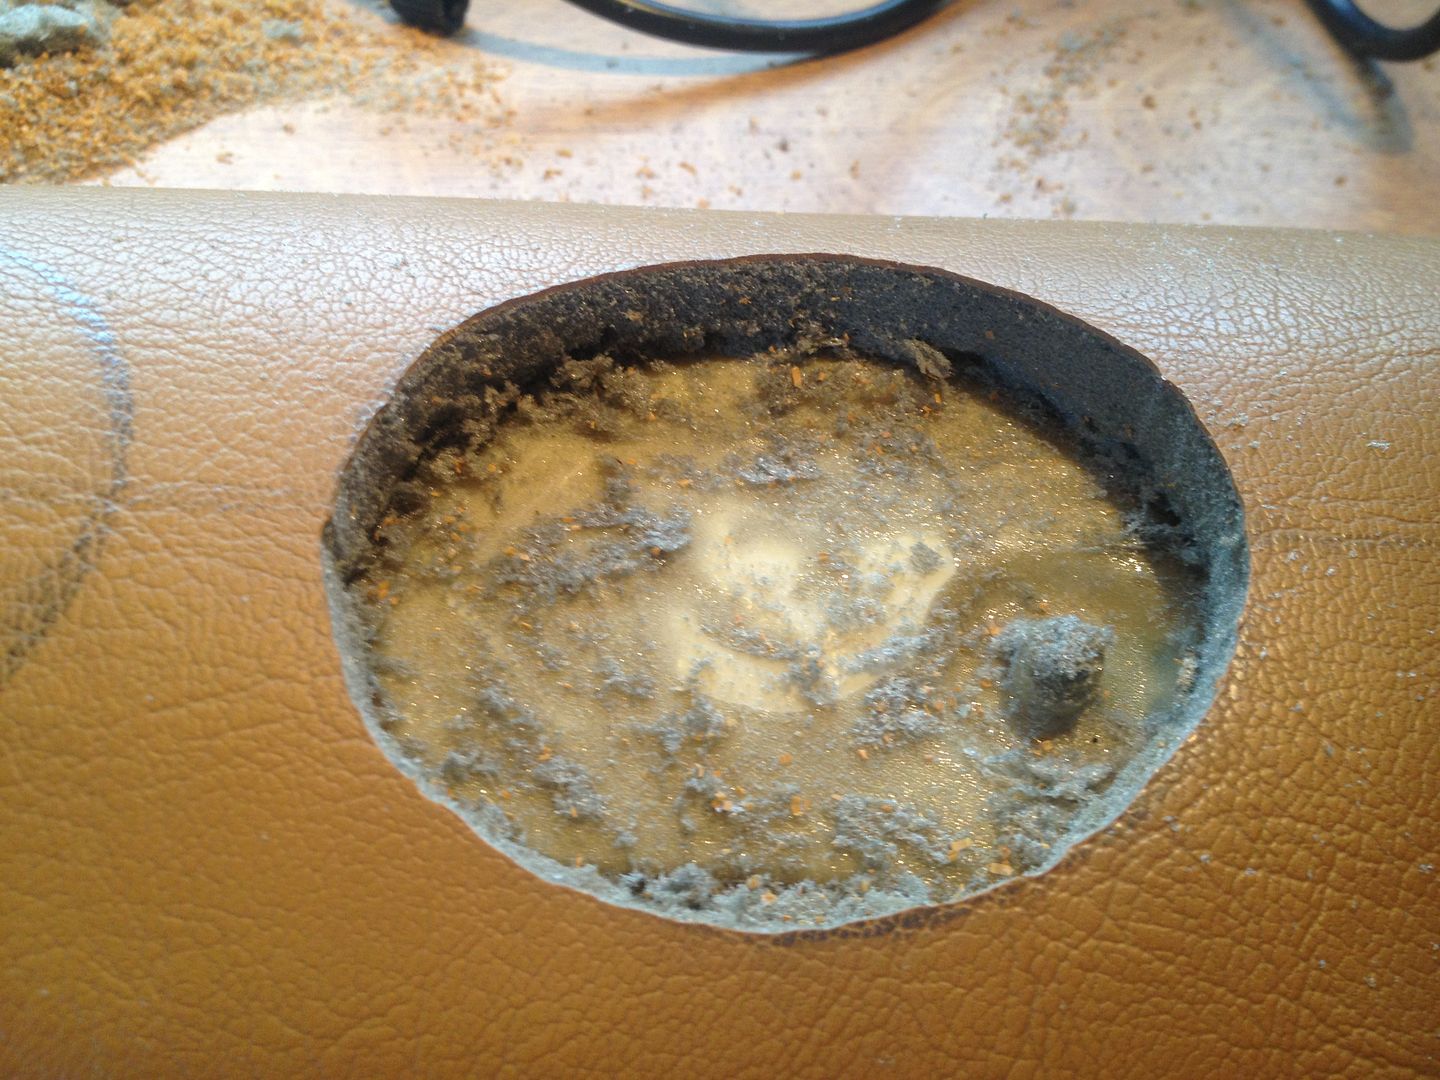
First depth stop removed the foam

null-5.jpg


Then set the depth stop to cut through the plastic. Easy cut to make because the shaft of the straight cutting bit runs around the first cut and guides the second.

null-6.jpg


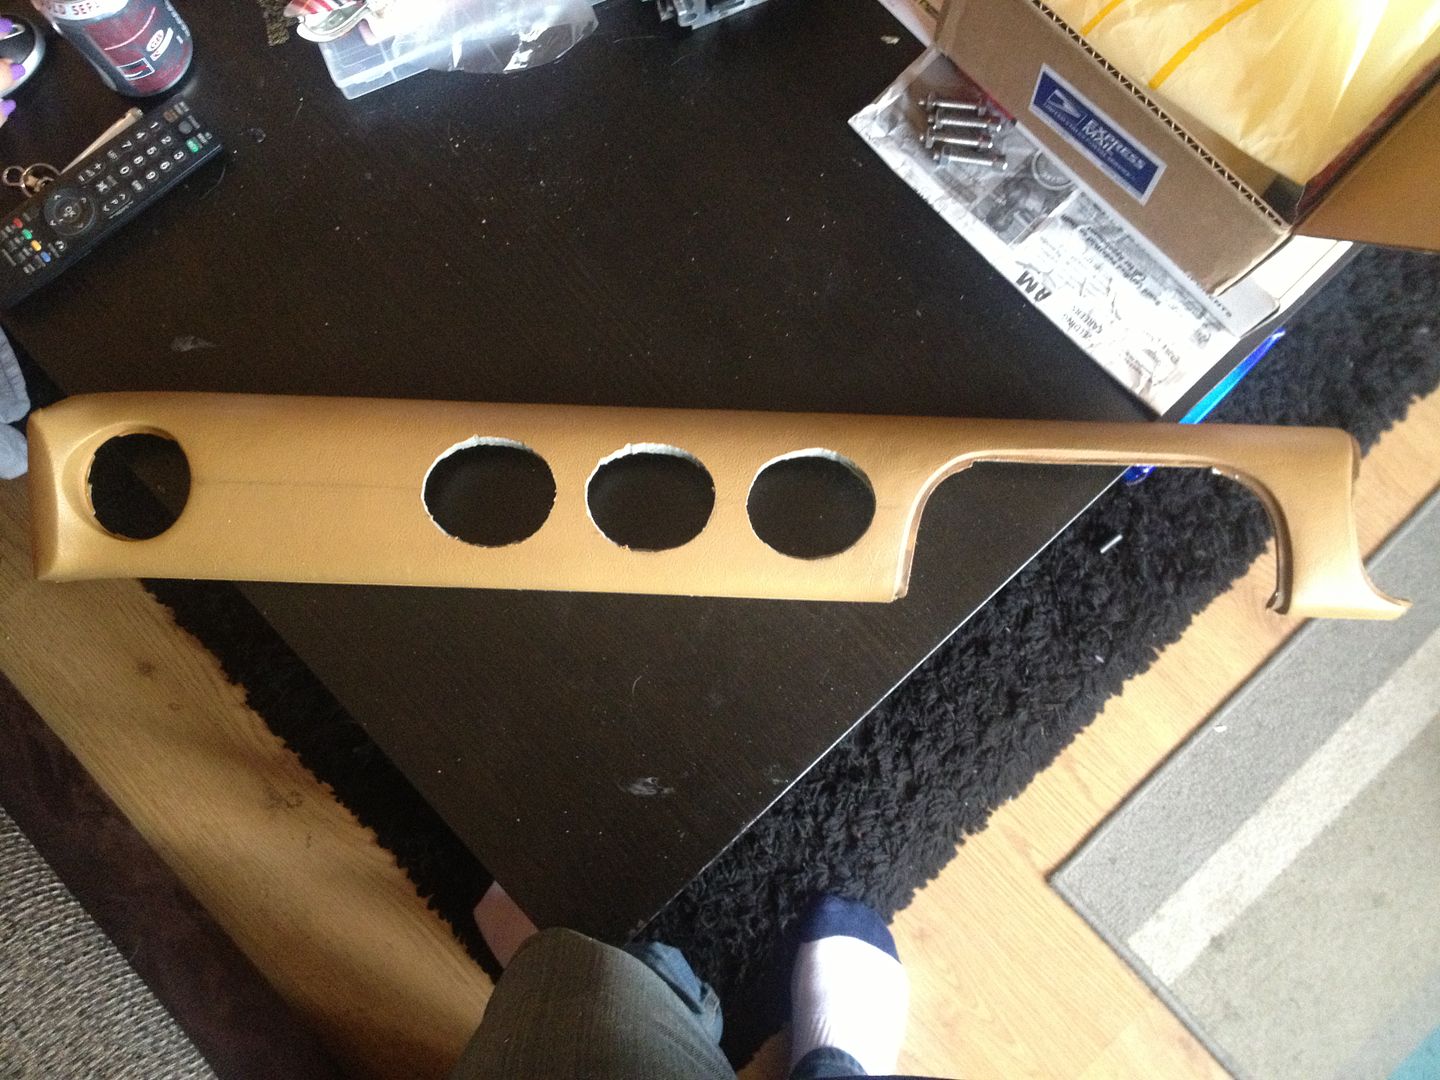
Repeat two more times.

null-7.jpg


Test fit the gauge pods.

null-9.jpg


There's a bit of fiddling and trimming to do with a good sharp knife but I am very happy with that so far.

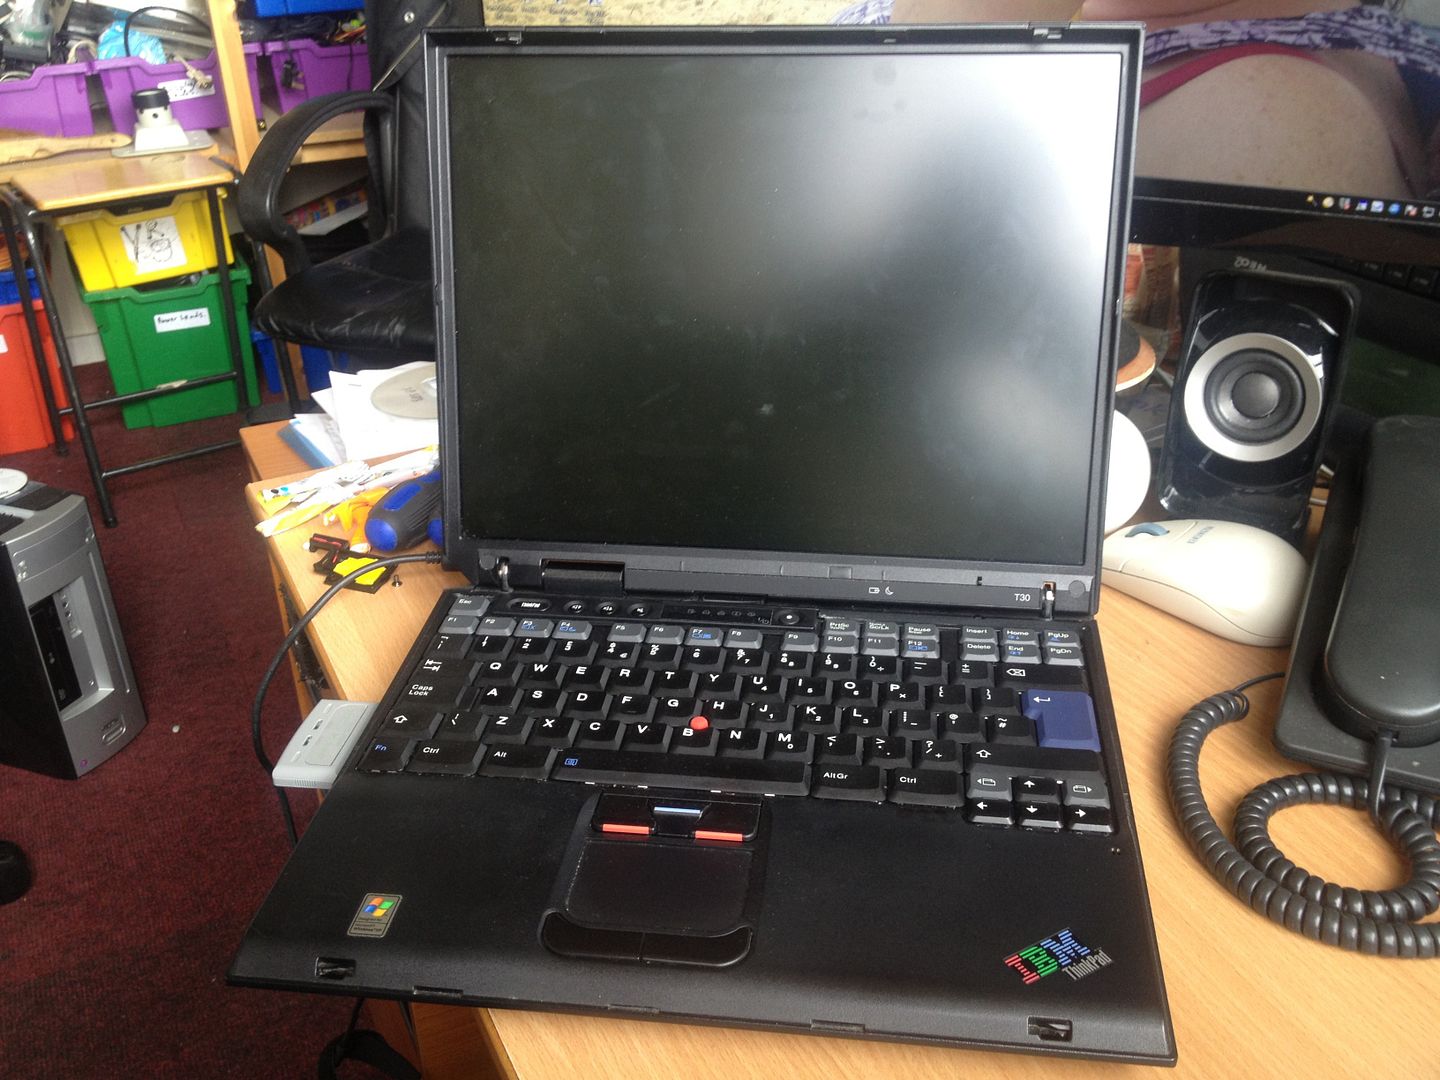
I was in the stock cupboard at work this morning when I noticed my engineer had squirrelled away a little stock pile of retired laptops. So I took three back to my desk and created a Frankenstein-Laptop. Built from the good parts scavenged from three dead ones.

null-10.jpg


Old enough that I don't care about damaging it or chucking it around the passenger seat or workbench. But quick enough to run XP and Tunerstudio.

null-11.jpg


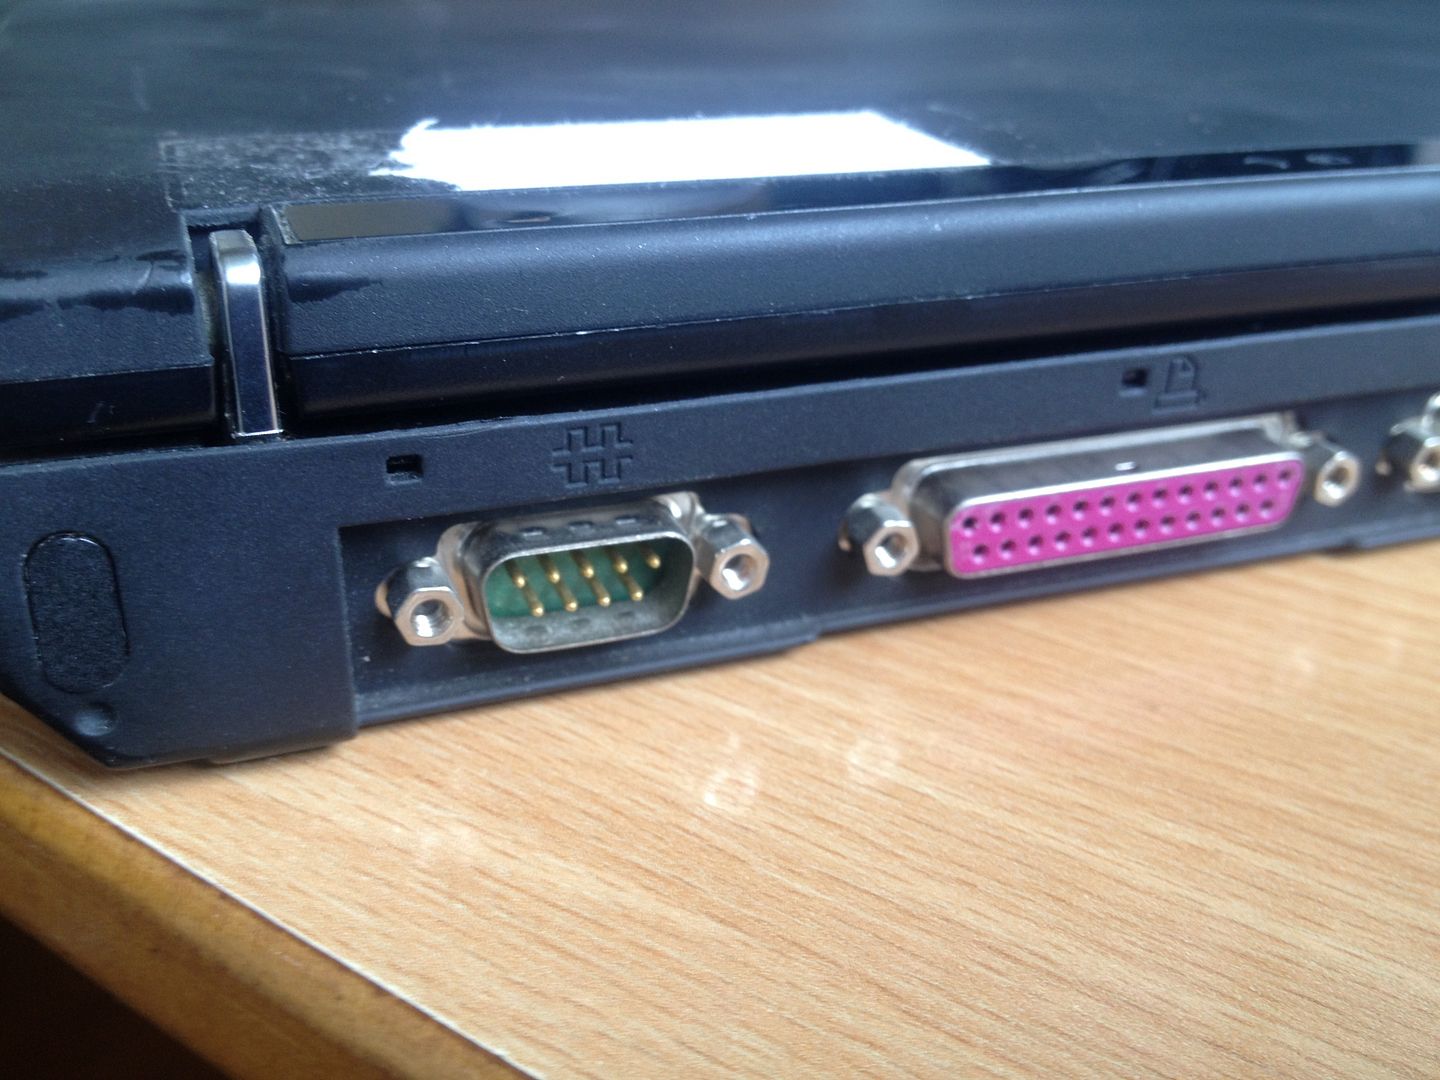
Plus it has a real serial port!!
 
#225 ·
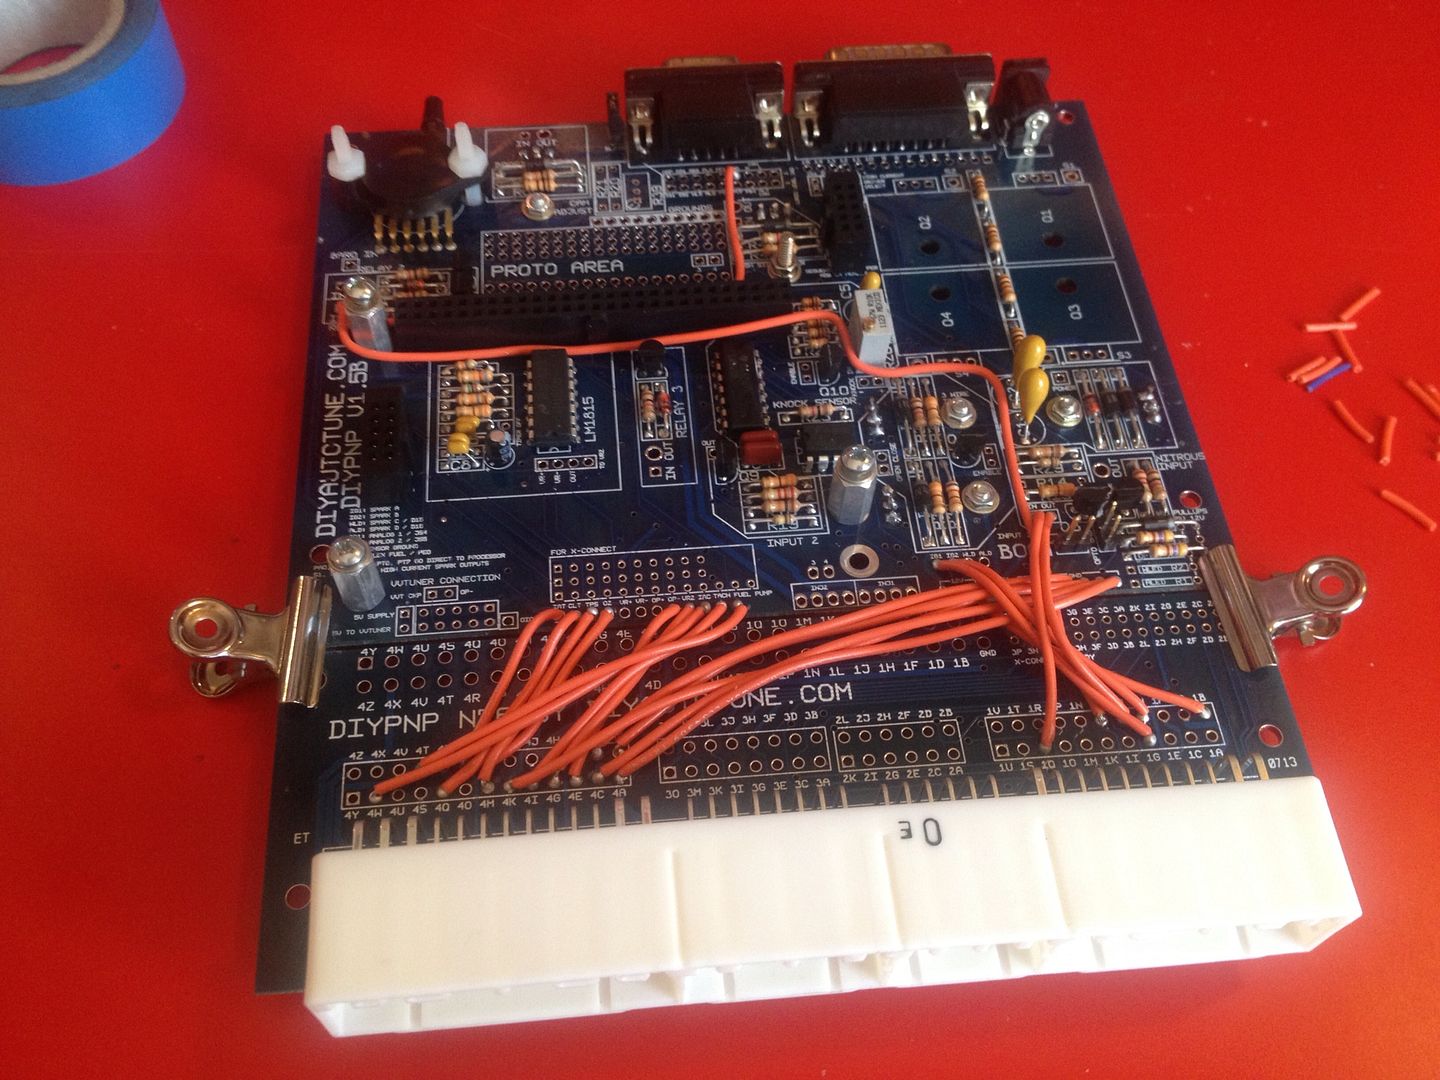
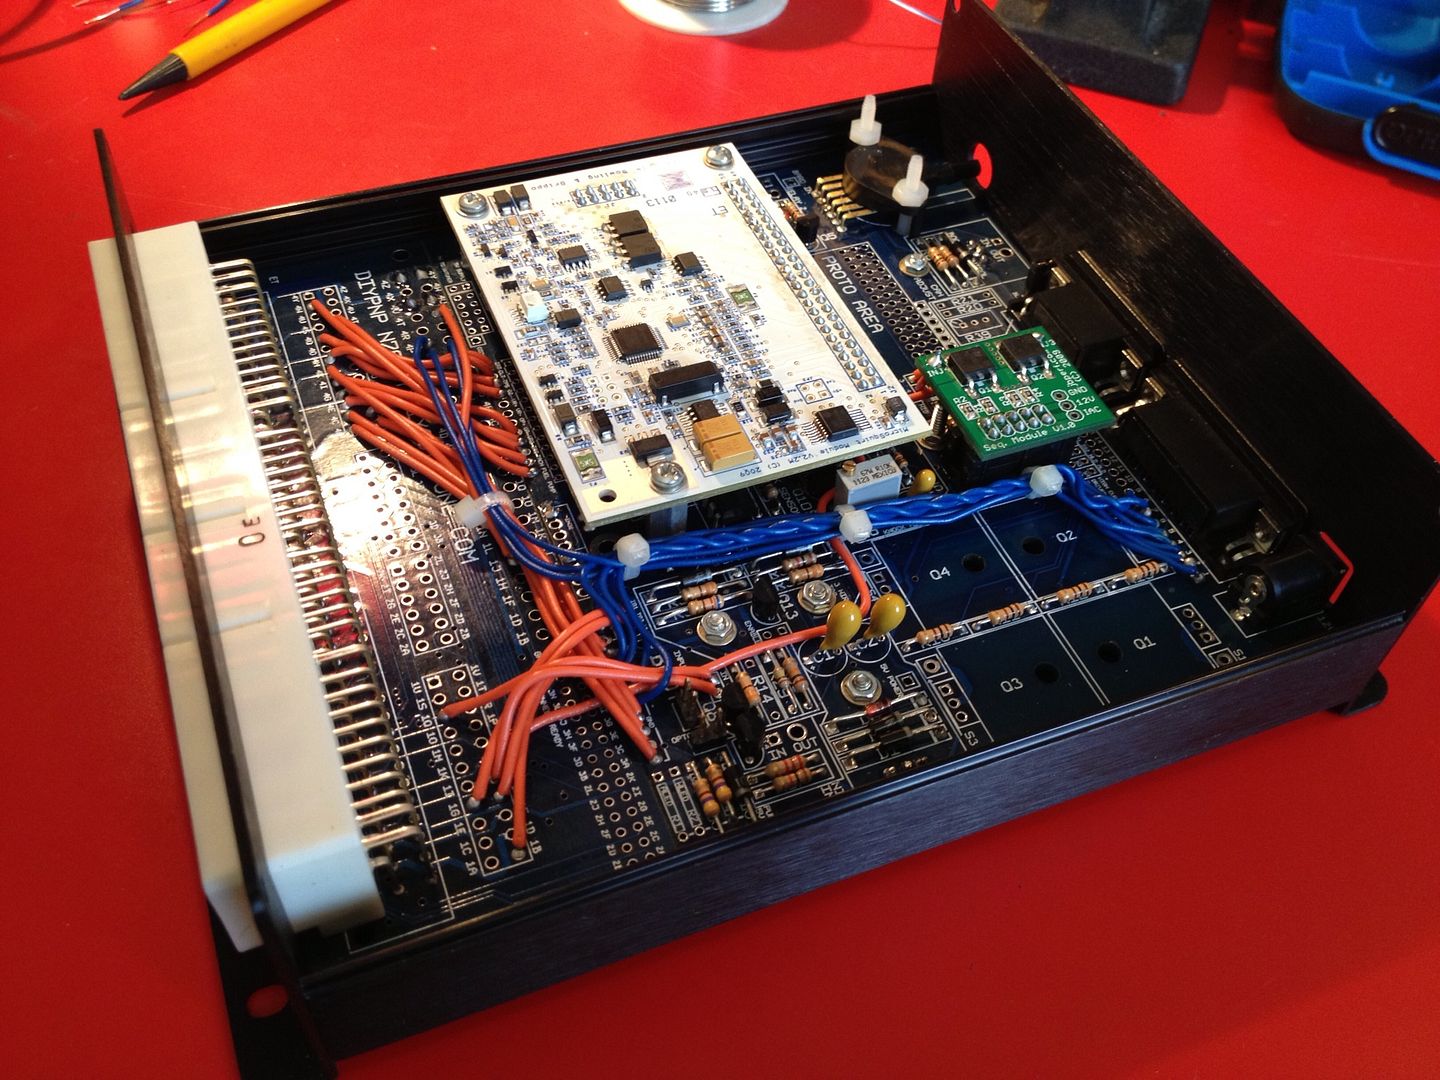
It's been a bad week..... I needed some quality time with my soldering iron.

73a33d832cef979268f18029b8748ec2.jpg


All done!

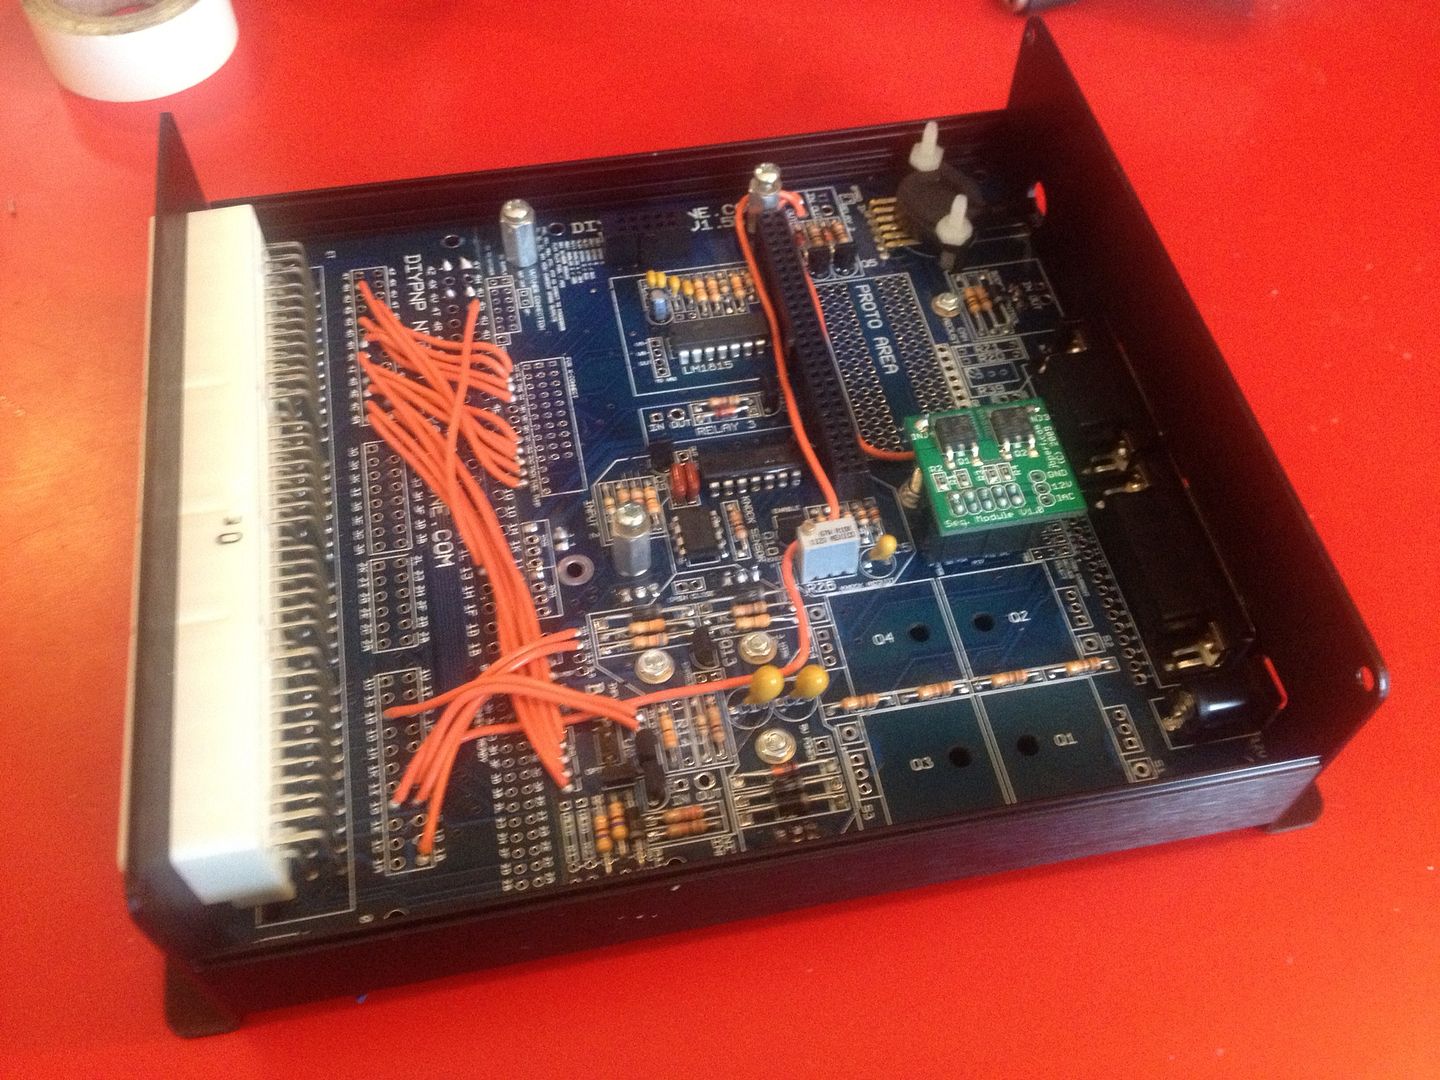
70f9125fbc6b51786a109bea8a115fd4.jpg


Sequential injection module added and into the case.

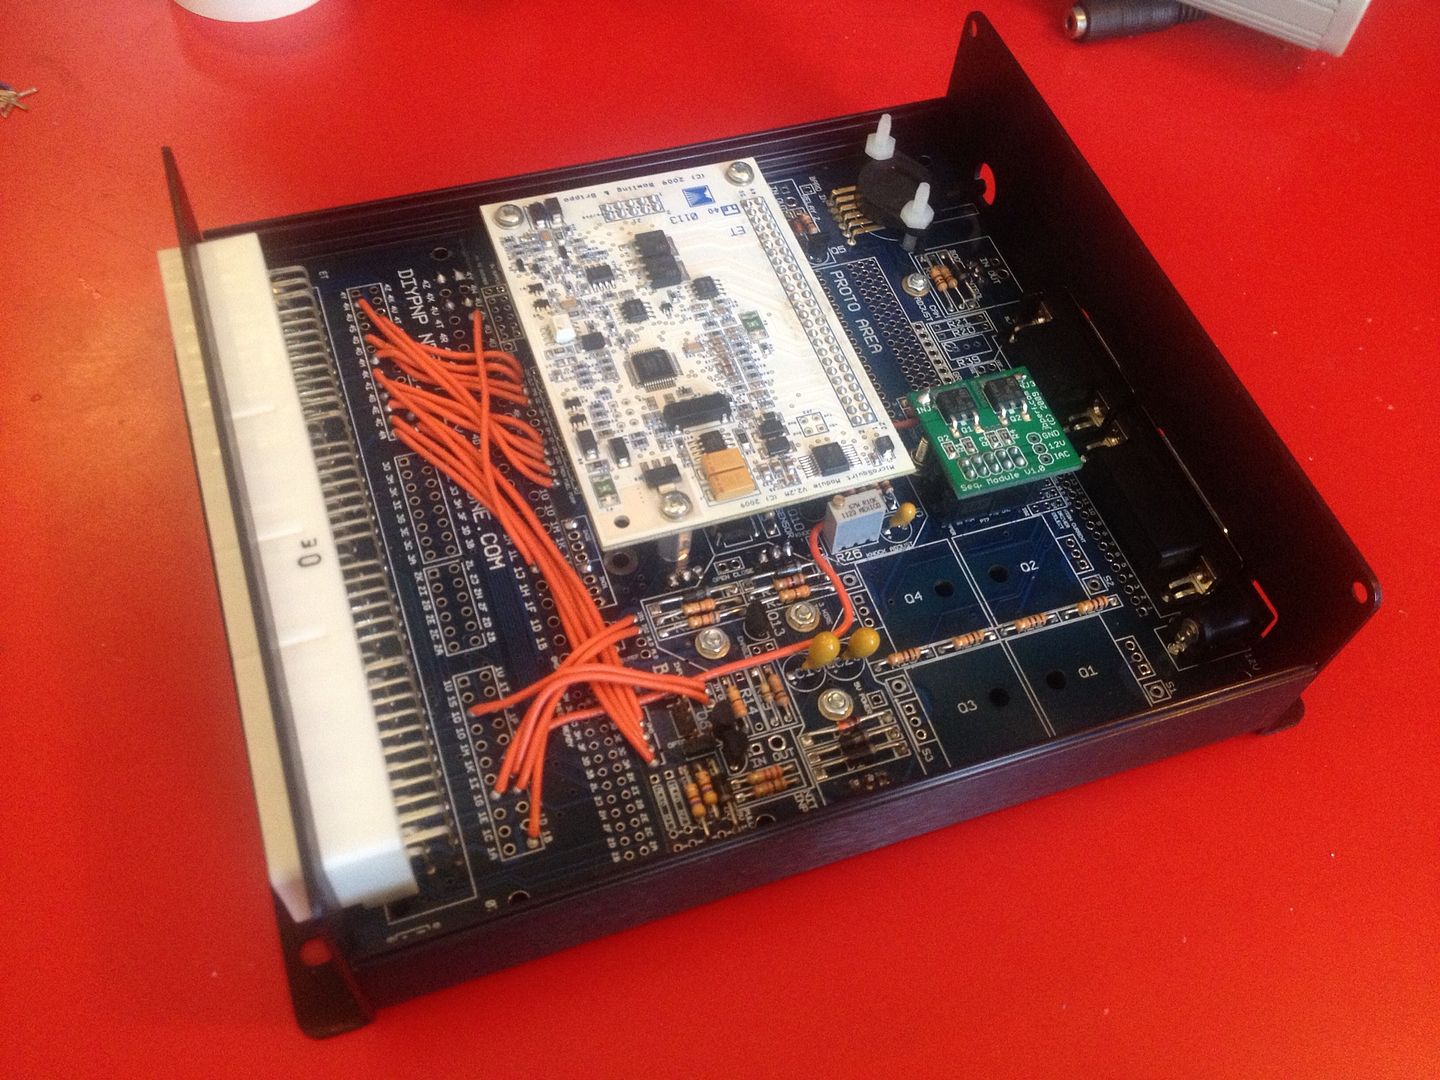
dbba518f79f82cdefda3f03d9e248b08.jpg


Finished!

The much beloved was out at her jiggly bop dancing lesson.

While (cat away)
Mouse == play
End;
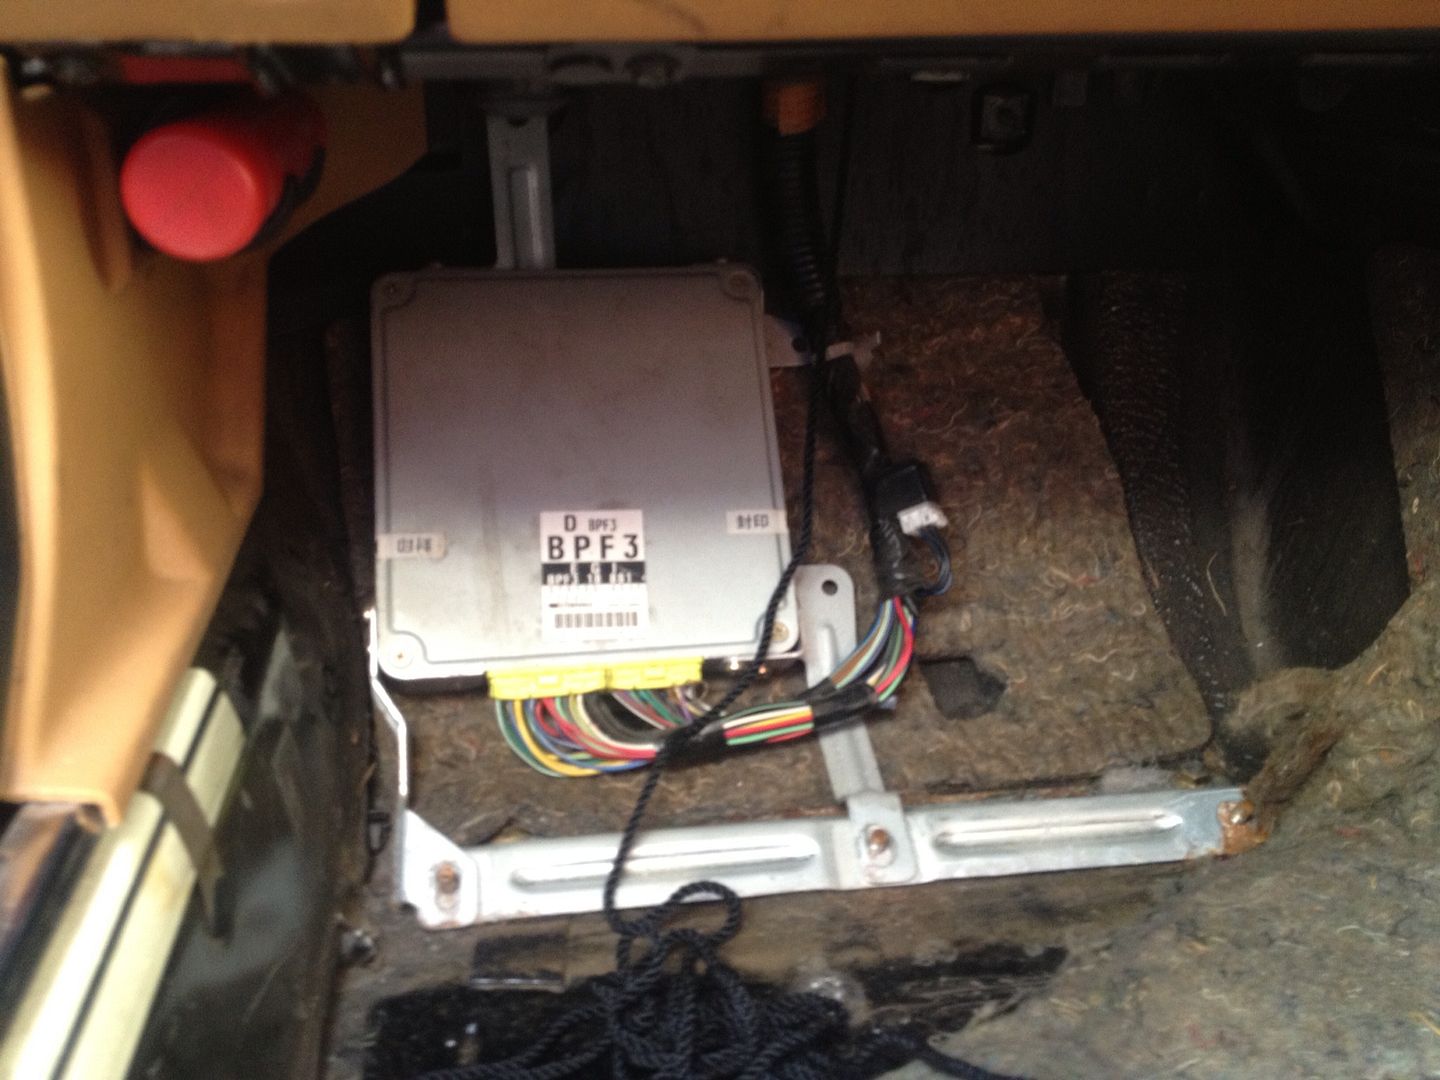
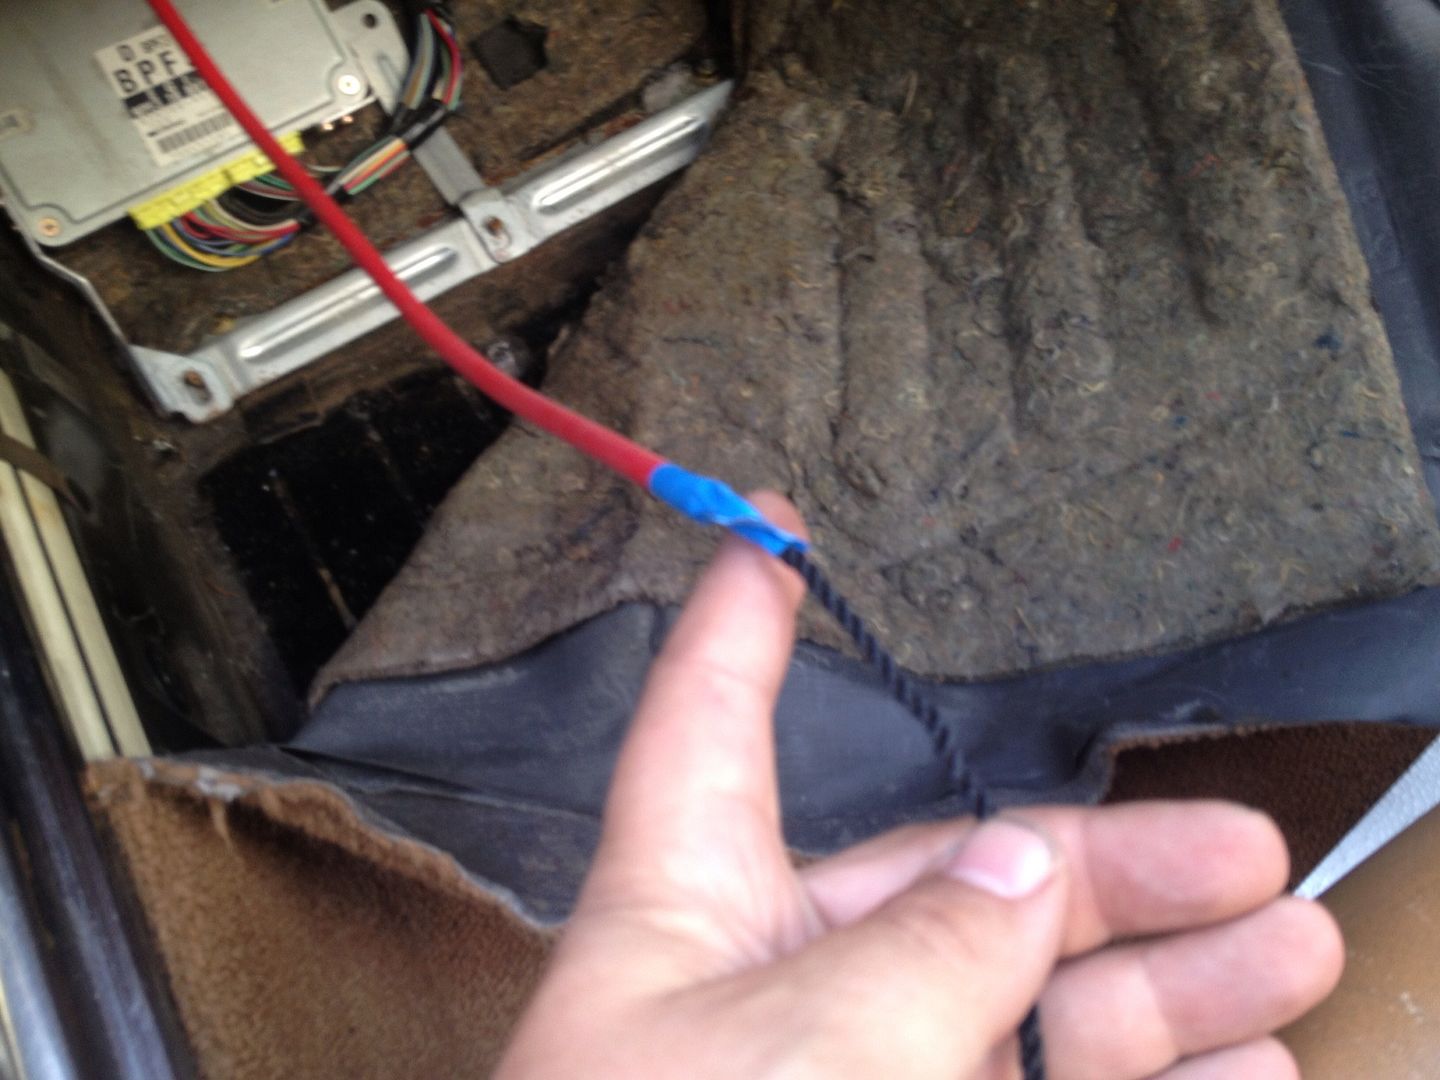
A while ago I ran a piece of string through the bulkhead to the ecu location. So installing the MAP vacuum pipe was the work of but a moment.

32863b42fd4b81ad390de2a1ce9dc139.jpg


a744f668821ae924efed021d07772bd4.jpg


9b7990856cda2c5389131660d316e383.jpg


9c95ceb9836a1384c016c9989fa0ce90.jpg


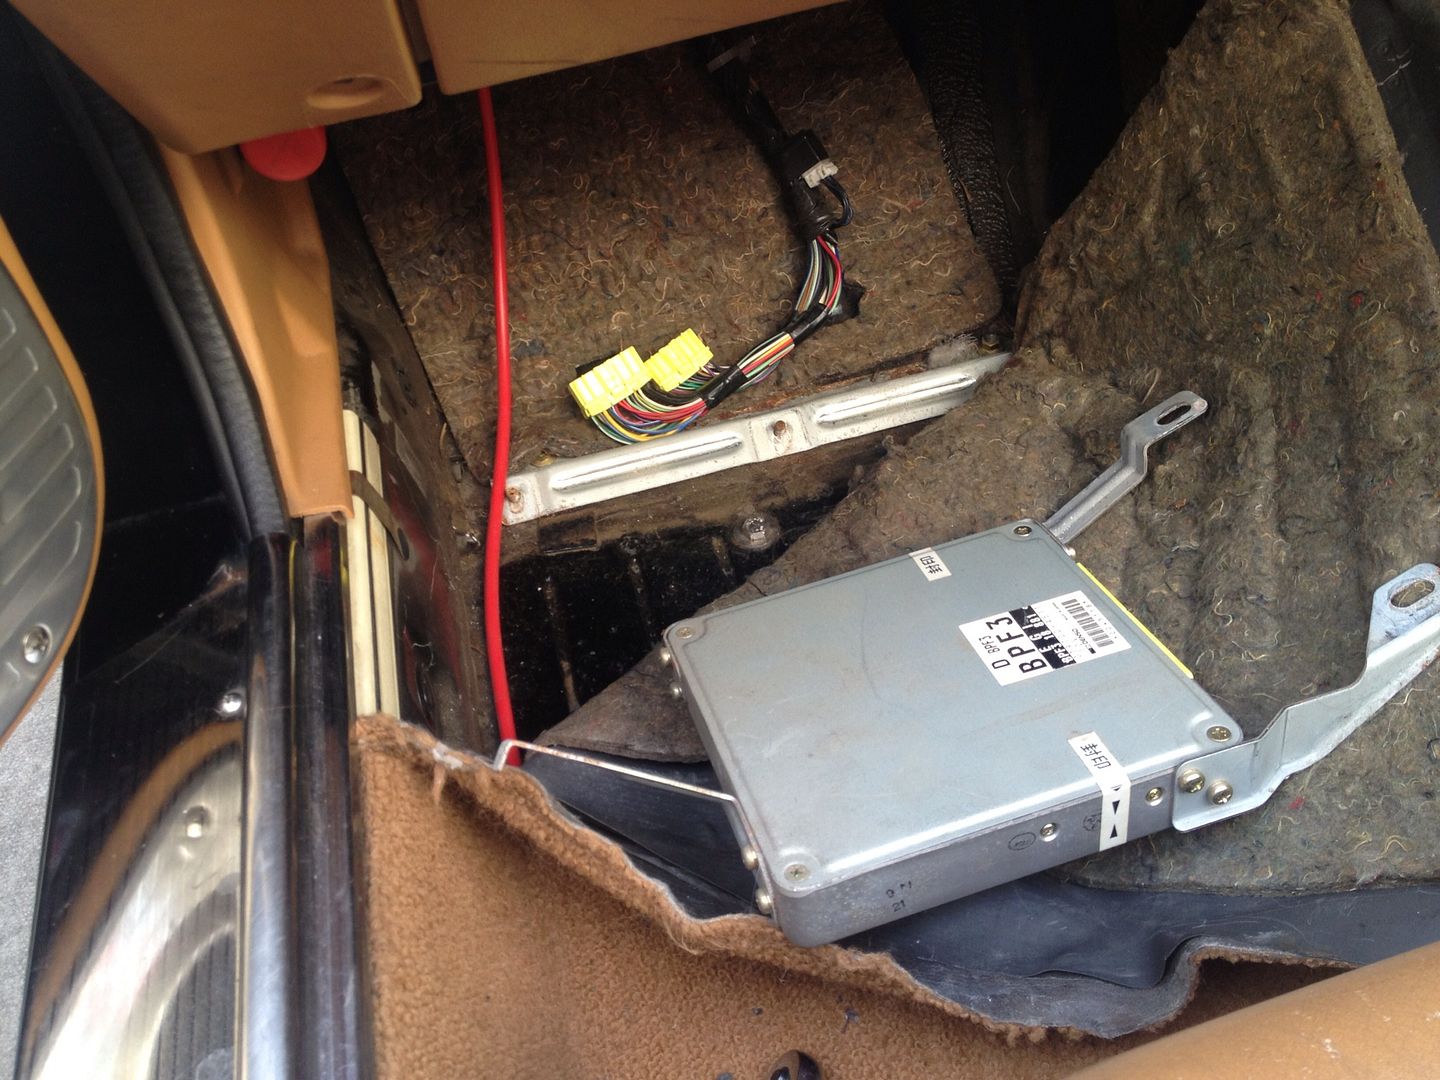
Then whip out the OEM ECU.

895d3d058b383f214418b69d136deced.jpg


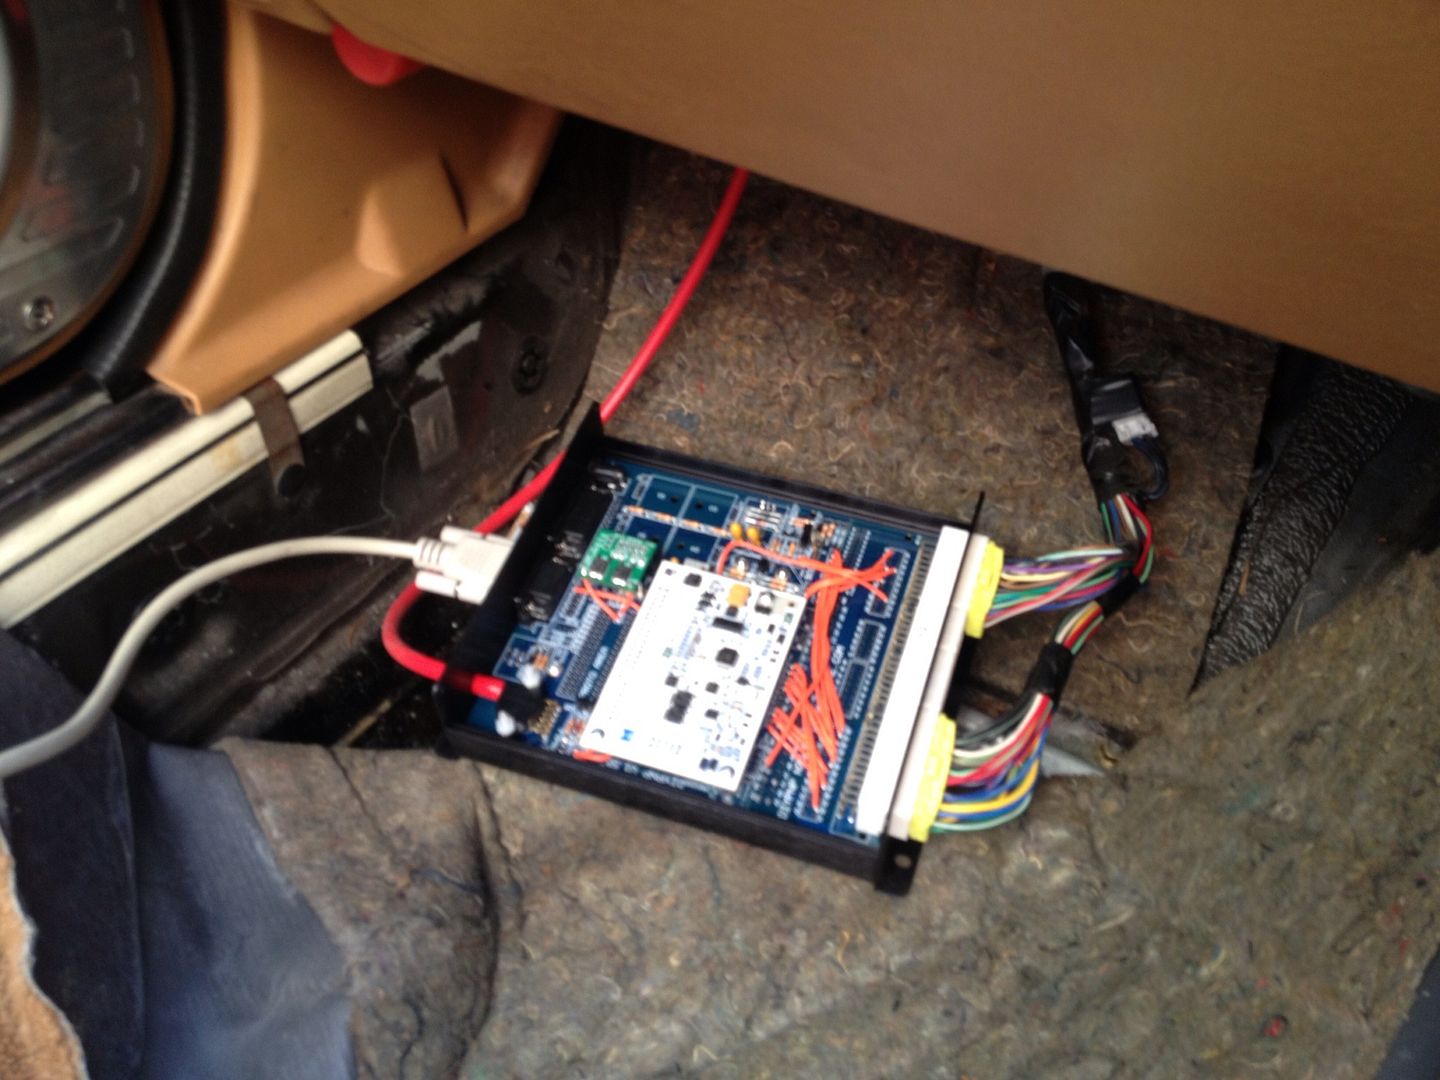
Plug in the new ECU.

3a2d43def21df46db656ae4d3590b6fd.jpg


Then....... Take one brave pill........


Fan kicked in at 85 celsius as programmed. air conditioning still works.

:thumb-up:

Next job is to install the wideband O2 sensor and wire it to the db15 connector. OEM ecu is back in for now.

I'm quite happy with that!
 
#227 ·
awesome updates. As above, im a competant solderer and have done PCB's in the past, think i could do it? also did you get it off diyautotune as the PCB suggests?
 
#228 ·
If you have had a go at soldering before then it's well within your reach. If you haven't then it might be a bit of a challenge. The solder pads are very small and while the soldering isn't hard a fair amount of it on this board is quite fiddly.

I would say if you are not sure then pop to Maplin and pick up something like their FM Radio kit and give that a bash. If you can solder that together and make it work then you should be ok with a DIYPNP.

A proper temperature controlled solder station is a must. As is using proper leaded solder. You can't easily buy leaded solder any more. But surprisingly you can still get it from Halfrauds!

Yep, my diypnp came from diyautotune.com Took about 6 days to arrive in the UK and clear customs. All the components come separately bagged. you just work your way through them. Pretty simple. There are

instructions on line for setting one up to run an MX5. They are a little obtuse in parts but if you don't rush at it and ask/google when you get stuck. You could go from a bag of bits to a running car with a good weekends

work on it.

Now comes the hard part.... actually tuning the thing properly.... :whistle:
 
#229 ·
Mini update.

My brakes are shot. My tyres are bald, My central locking stopped working again.....

Better get on with sorting the new dashboard then! :lol:

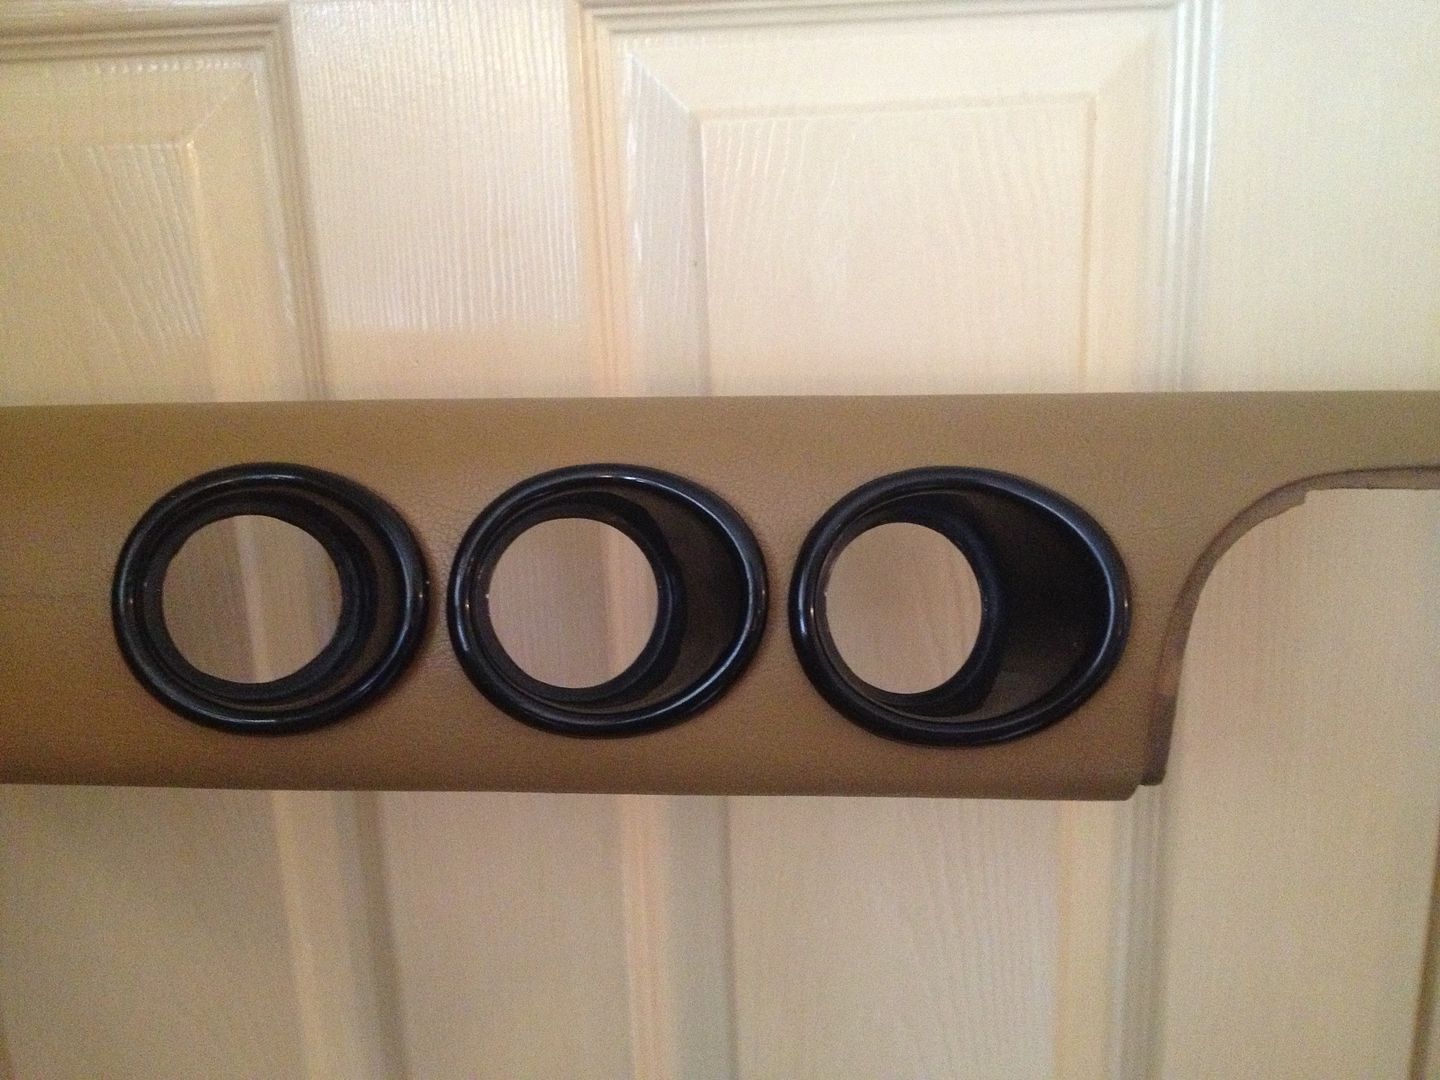
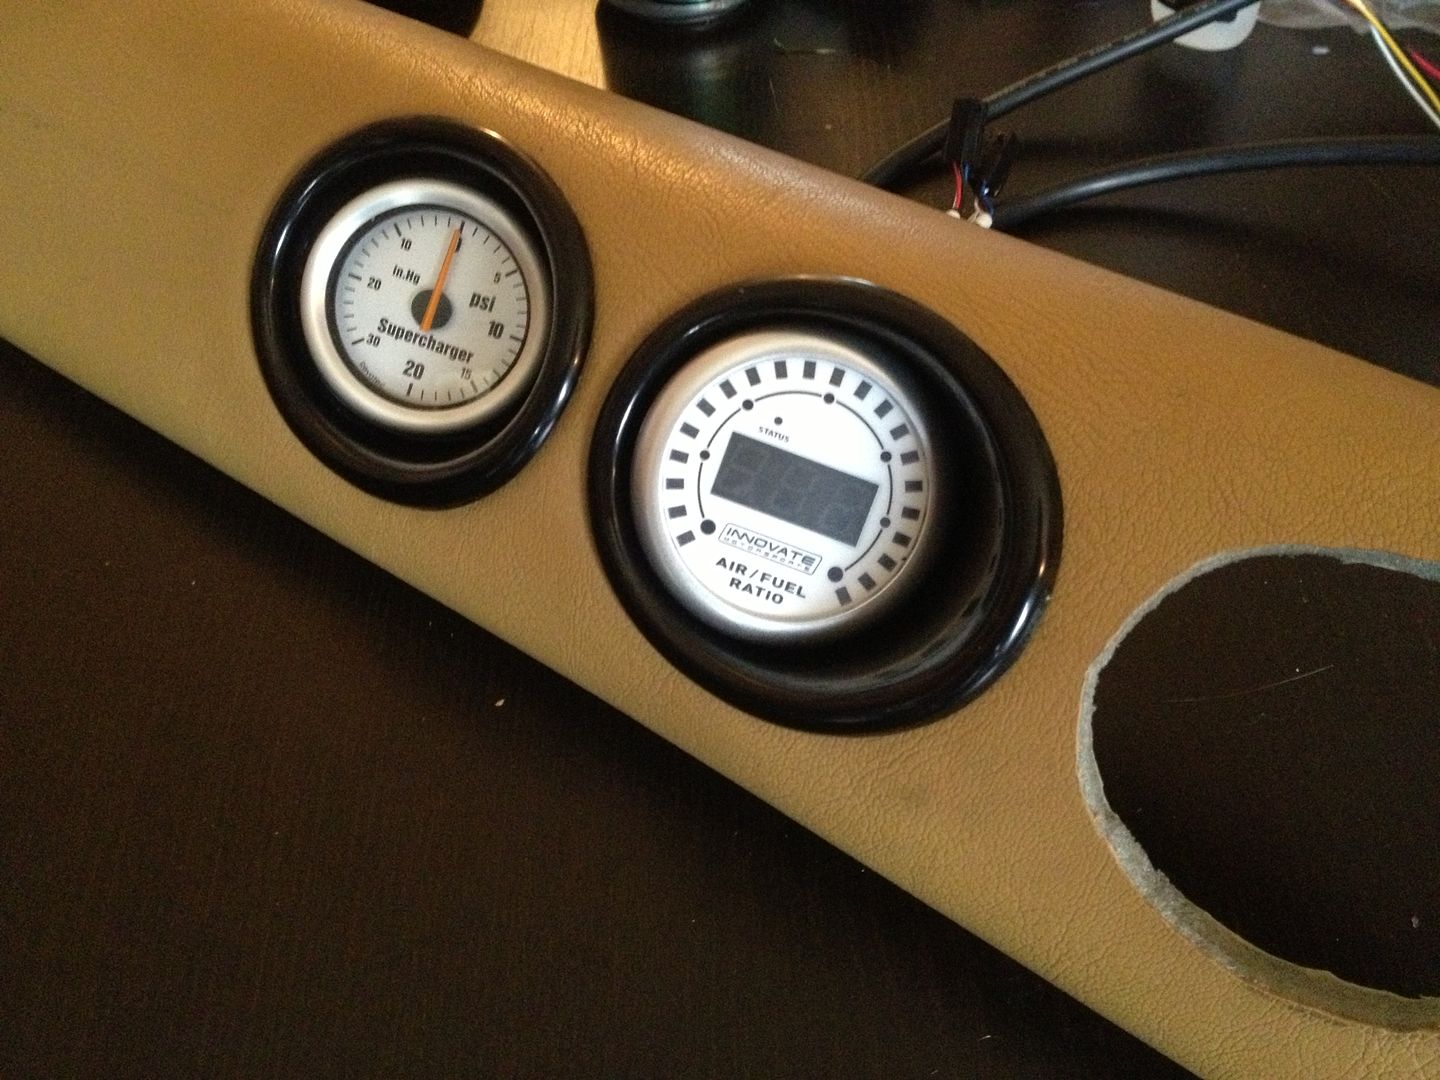
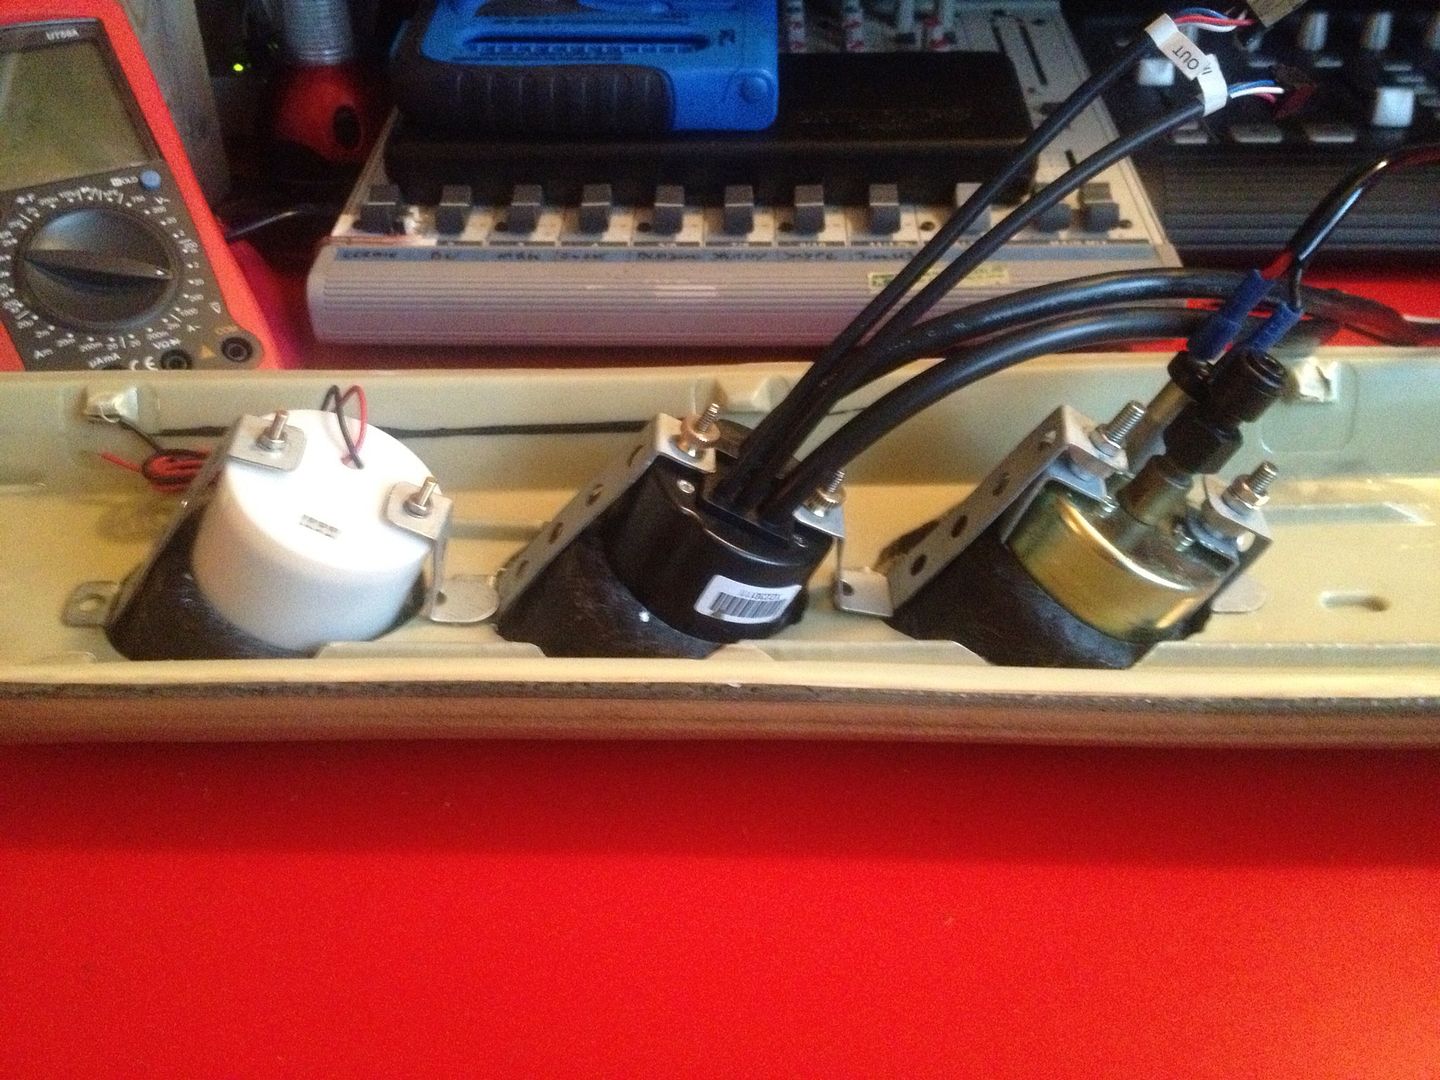
The pod holes were already cut.....

null-9.jpg


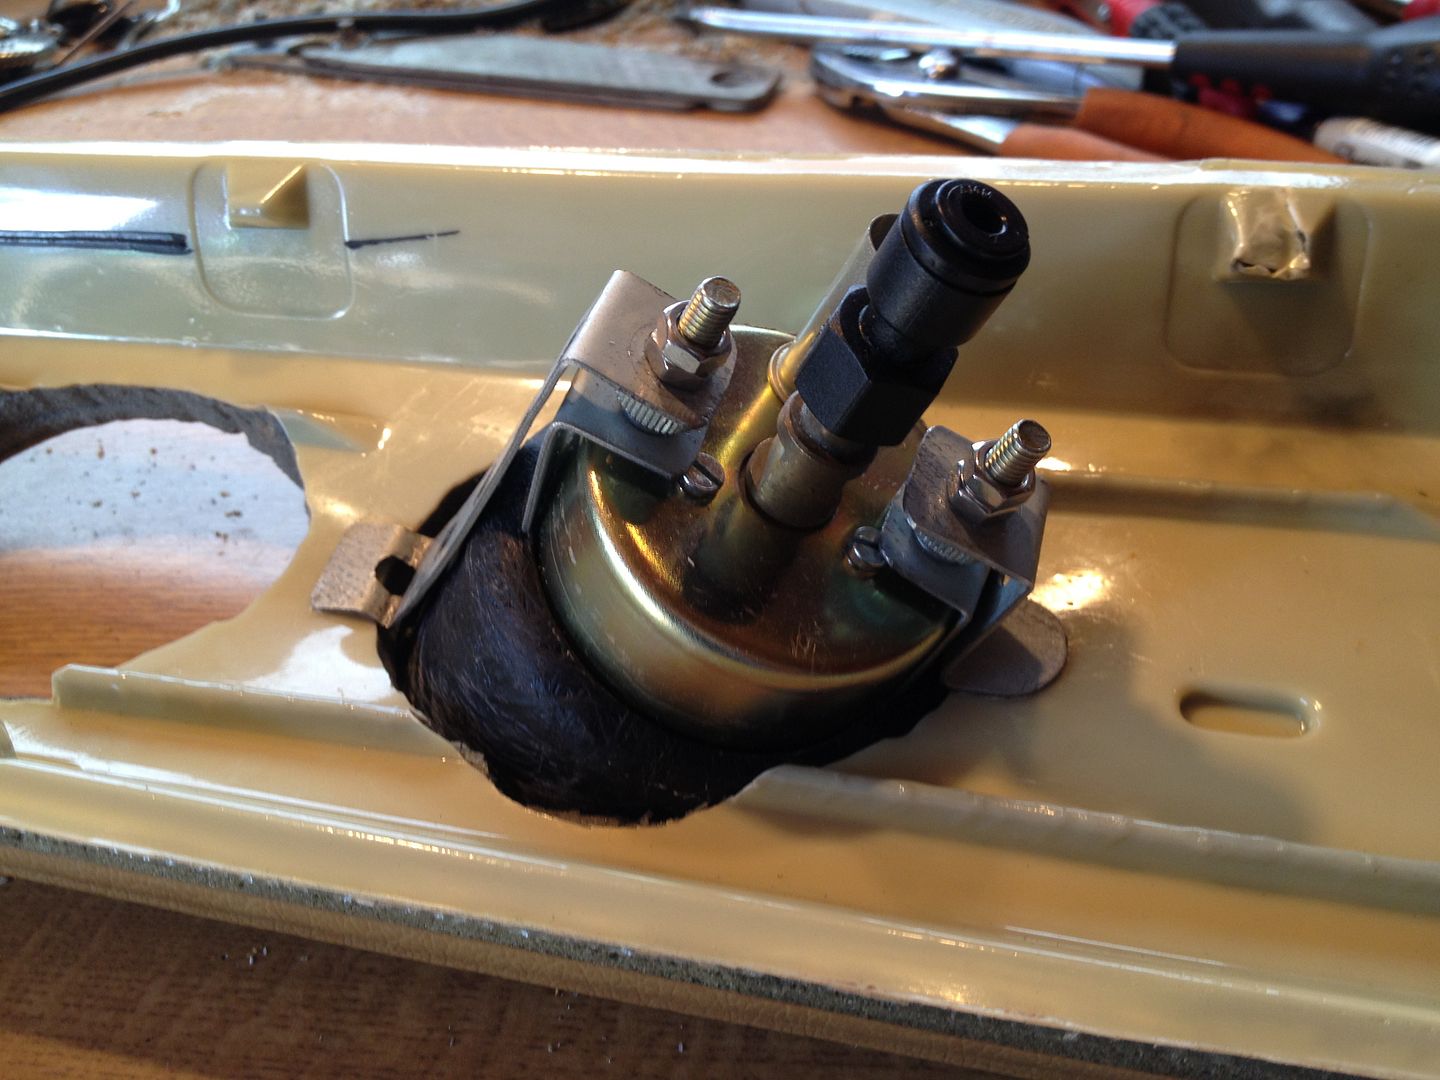
So I just had to get creative with some bits of metal.

null-5-1.jpg


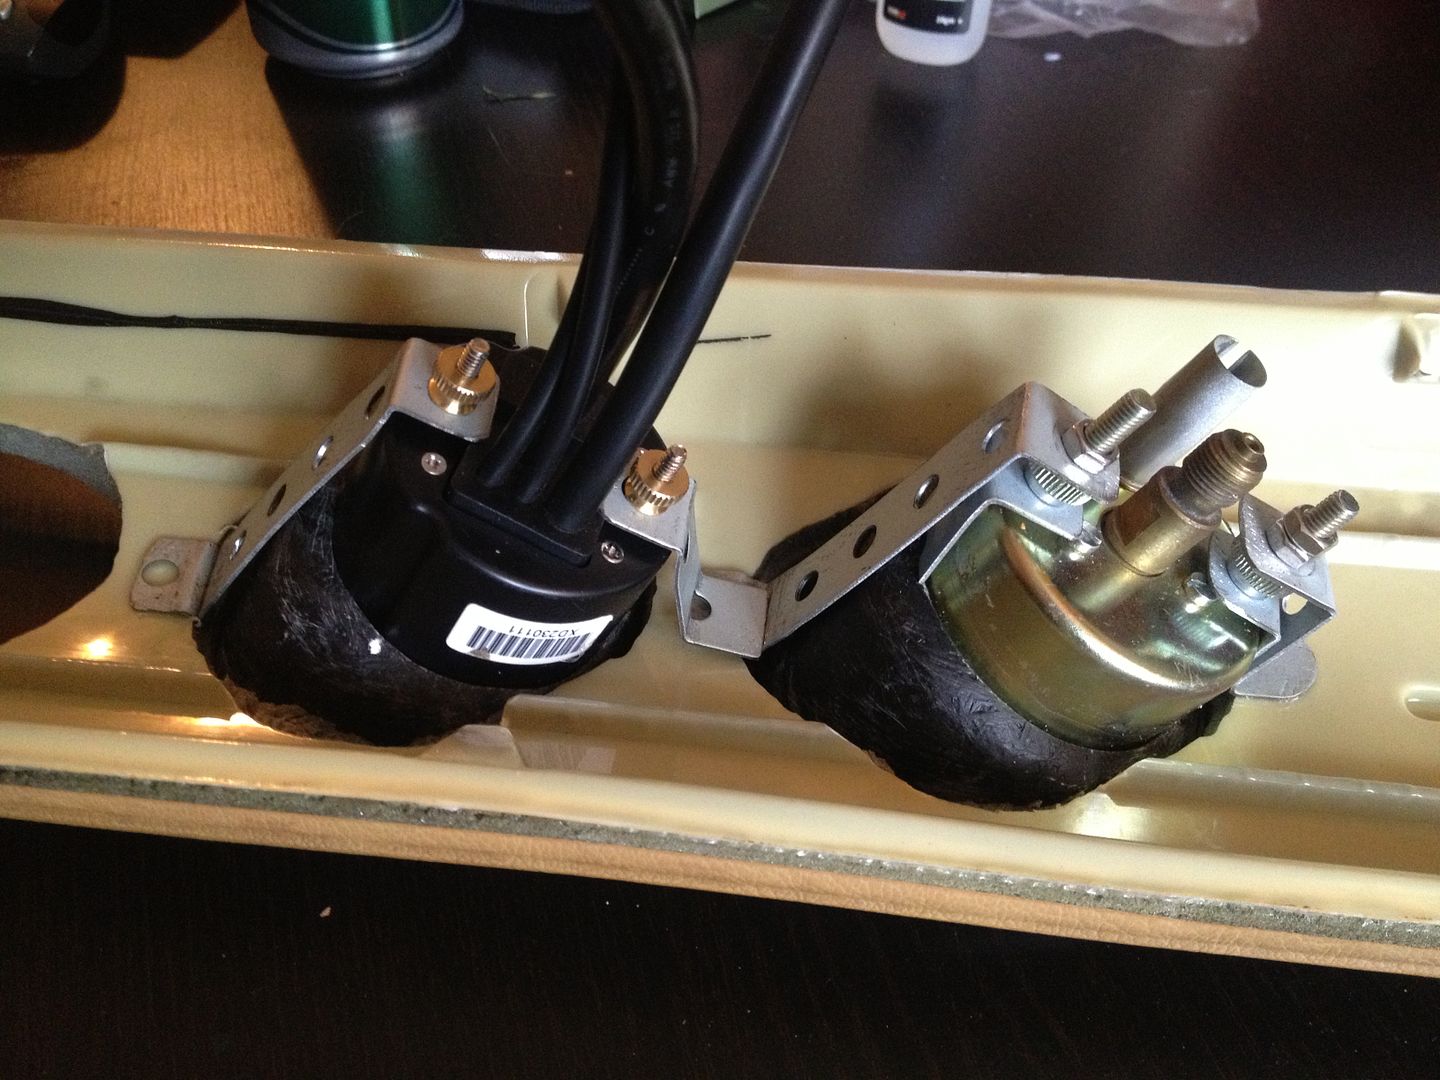
Seemed to work out ok.

null-9-1.jpg


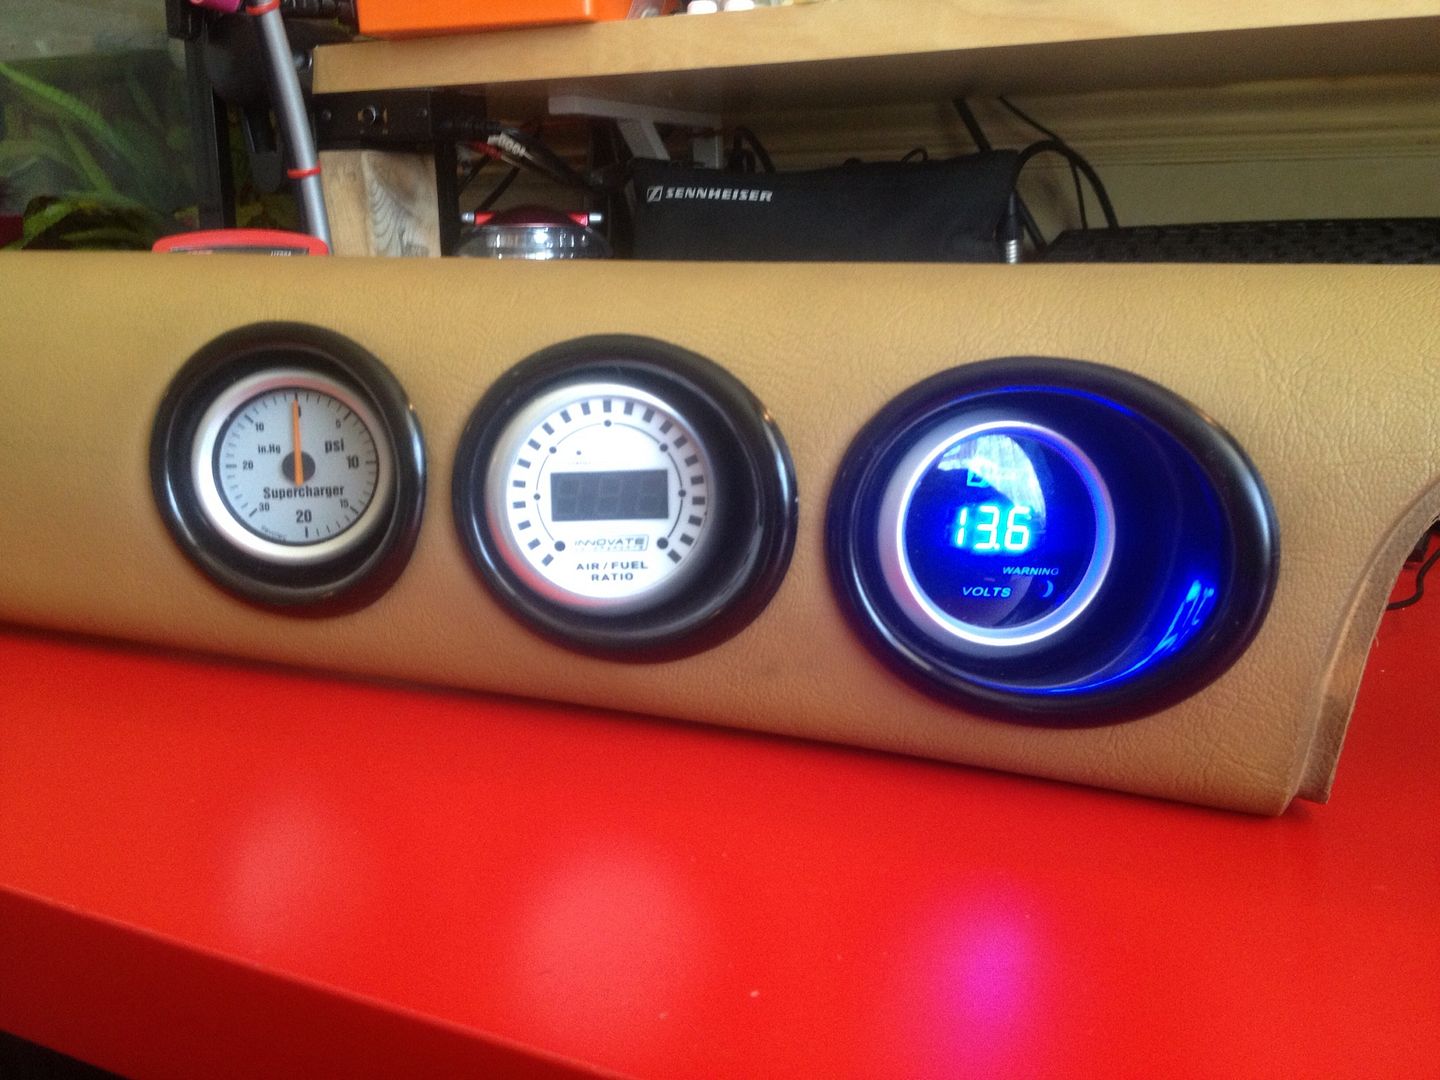
Only two gauges for now.

null-10-1.jpg


I've ordered a cheap 52mm Voltmeter from China. I always worry that the Car PC is hammering the battery. So it will be nice to know the system voltage.
Ok so the gauges won't match but by Chinese voltmeter cost ÂŁ14 and a matching Innovate Voltmeter costs ÂŁ130. :blink:

When I get a free weekend I can plumb in the Innovate wideband lambda and install the dash. Once that is done there's nothing stopping me from installing
the MegaSquirt ECU and getting on with tuning the NA map.

In good news and bad news....... The drive across Europe this summer has been cancelled :(. It has been replaced with a two week tour of the British Isles instead :).

The plan was to install the supercharger when we got home from europe. As I didn't fancy a fairly untested install assploding on me halfway up the Stelvio Pass!
Since we are now staying within the UK any assplosions can be dealt with without having to know the Italian for "Snapped drive belt". So I can get the supercharger
install under way before we go. I'm sure the Horse Shoe Pass will be even more fun with a bit of charger whine eh!

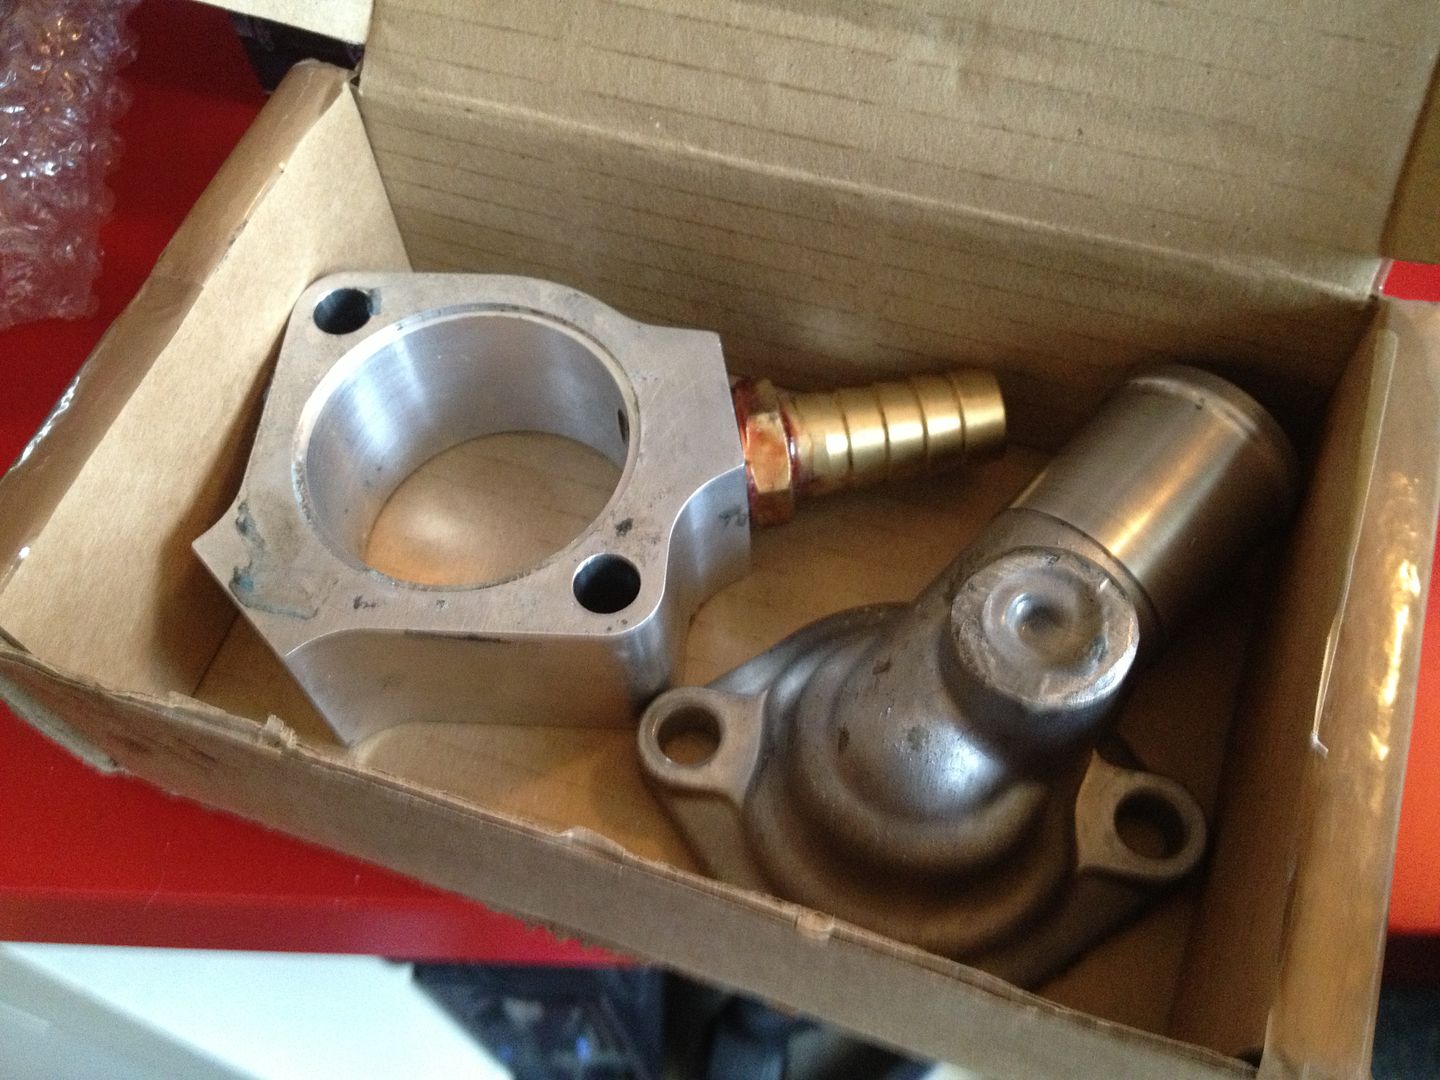
I was thinking about adding a coolant reroute to the mix. To give a bit of peace of mind once I'm rocking 200bhp. Just as I was considering it I spotted a
second hand coolant bypass kit. For ÂŁ70 I figured it would be daft not to. Cheers Dumbiron :thumb-up:

null-11-1.jpg


Just got to find a supplier for the hose I want to use now. Which is like the quest for the holy grail! :mad:
 
#230 · (Edited by Moderator)
Way back in the long long ago I changed the suspension, the track rod ends, the droplinks..... and then I proceeded to hoon about with nary a care in the world for my rubber.

Well I say nary a care. Actually I did know I needed to go get an alignment done but I was far too lazy to get around to it.

Result....?

IMG_4515.jpg


Ruined front tyres. Proper f*cked....

Yes these are the tyres I used at a wet Blyton. No wonder 'The Wriggler' chicane was all about understeer!

So off I took myself to A-Line in Dudley. We use them for our alignment days and they are utterly brilliant. They even remember you!

"Ello! Any chance of an alignment"
"No problems, Get her pulled in. We need the extension ramps on this one don't we"
"yep!"
He puts out the extra long ramps so I I don't rip my splitter off and on we pop.
"How did the last setup work out?"
"A bit understeery"
"Ok we'll tweak that a bit then. Holy jeebus what have you done to the tyres!"
"New track rod ends"
"Yep, that'll do it, Lets see how bad it is"

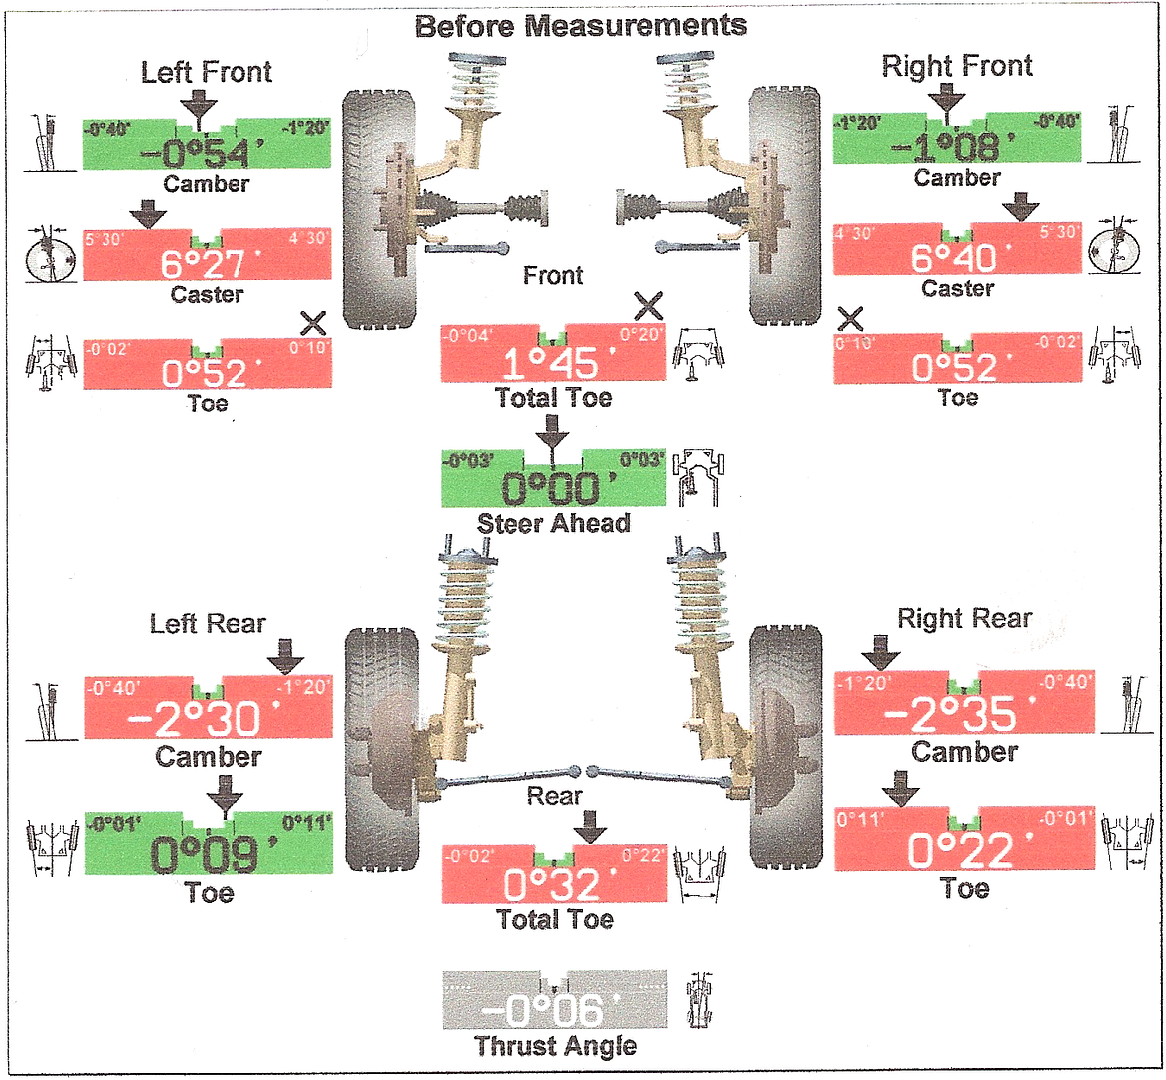
Alignment_Before.png


Not great.... I really should have gotten off my lazy butt and gotten over there much earlier!

I had posted my last alignment printout on the WIM forum and asked for opinions. I got this reply from Tony

Hello
The current settings will push so no good for you. For a progressive oversteer i would suggest...

Rear
Camber -1 degree 30'
Toe +10' total

Front
Camber -1 degree 30'
Castor +5 degrees 30'
Toe +6' total

During turn-in and inertia transfer the front camber will gain much more than the rear. In addition the lower castor position will speed up the camber migration aiding the polar moment during transition.
So I asked A-Line to pop those settings on to see what they were like.
"You sure?" He says "That's a bit.... 'Drift Car'...!"

I reckon it's worth a bash so we go for it. Except we can't get the -1 degree camber at the rear because my camber bolts won't budge. I had left my spare bolts at home *headdesk*

The general conclusion was if we swung on them they would snap but that if I had replacements with me they would probably undo. So we didn't risk it.

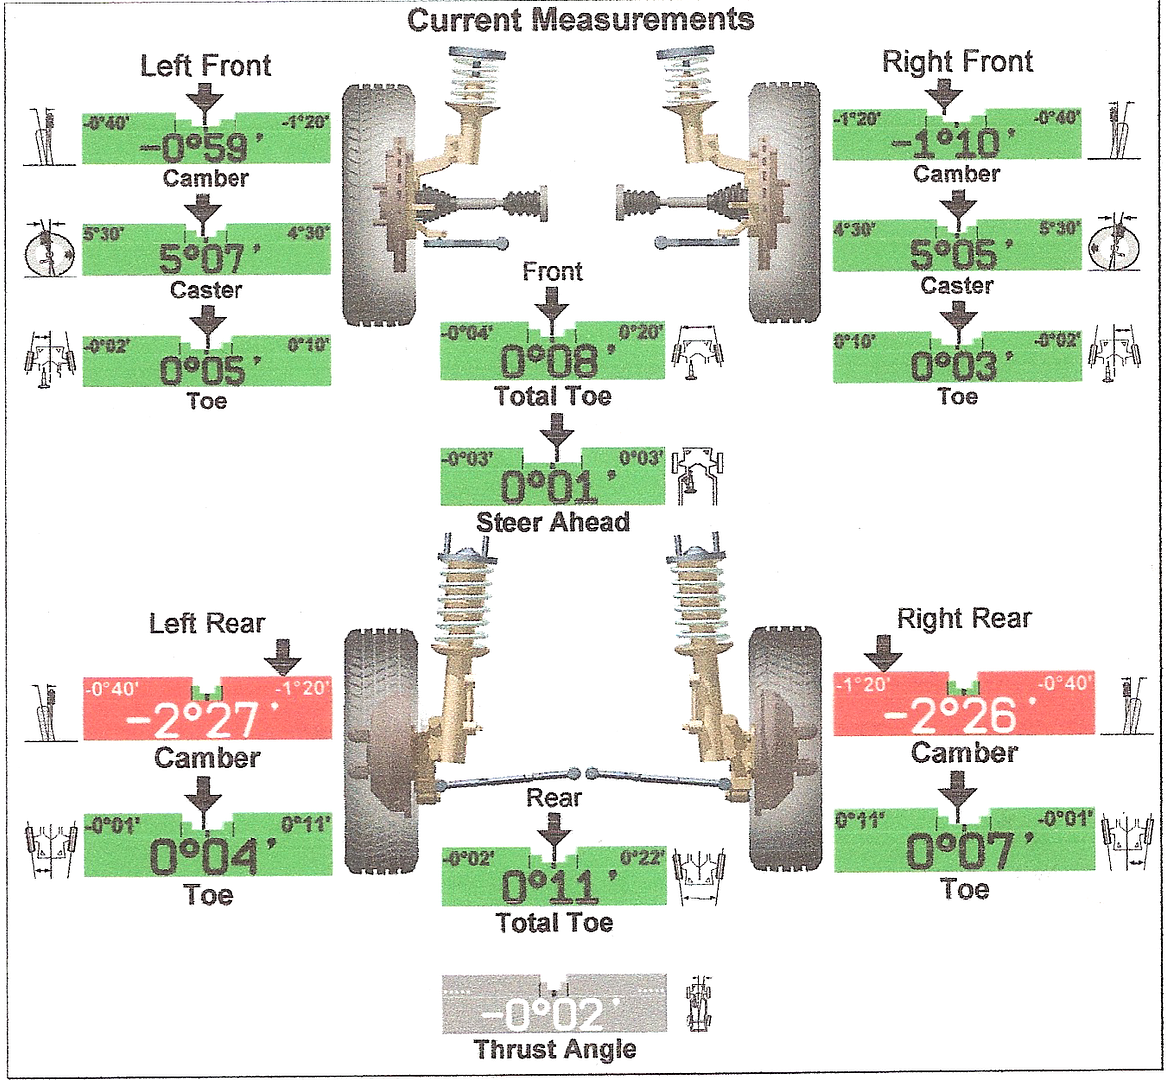
The final alignment was

Alignment_After.png


He reckoned that it was probably fate that we ended up with a sort of halfway house of the old settings and the new. Because this alignment should have a more planted rear end.

On the run home it was already obvious that the front grip was massively improved and getting the rear to un-stick out of a junction still takes massively aggressive right foot application.

The tyres would have to be sorted though. They were ruined. Luckily I know a nice man with a tyre van and I bumped into him at Japfest2!

IMG_4514.jpg


Another Japfest2 expense..... ÂŁ30 on a three run shootout power run.

IMG_4511.jpg


The result :

WhisperOEM_DynoRunJuly2013.png


117bhp at the fly. Not bad for a quick run on a very hot day I guess?

So to make my target of 220flywheel bhp I need to bolt on 103horses..... Not sure the MP45 will manage that... We shall see.
 
#232 ·
I'm still dying to see this supercharger bolted on.... I really am wanting to go the supercharger route but I haven't got the foggiest where to start, where I understand the concept of a supercharger, the intricate bits I have no understanding of yet, much more research needed! The final nail in the coffin for my N/A power happiness brain cells was when I went an aggressive outing down some country roads with my mate in his mk2 golf gti and he was a little bit quicker of the mark and down the straights than my little 5, it's no fun being slow lol I just think a supercharger would suit this little car so well..... Now the research starts for real, so I'm eagerly watching your thread for inspiration :D

No pressure or anything, just when you're ready ;)

Keep up the good work sir, always the avid admirer of your work!

Cheers
 
#233 ·
Cheers cardaftrab :)

Today I iook my 'sorry we missed you' card to the post office... and exchanged it for toys!!!

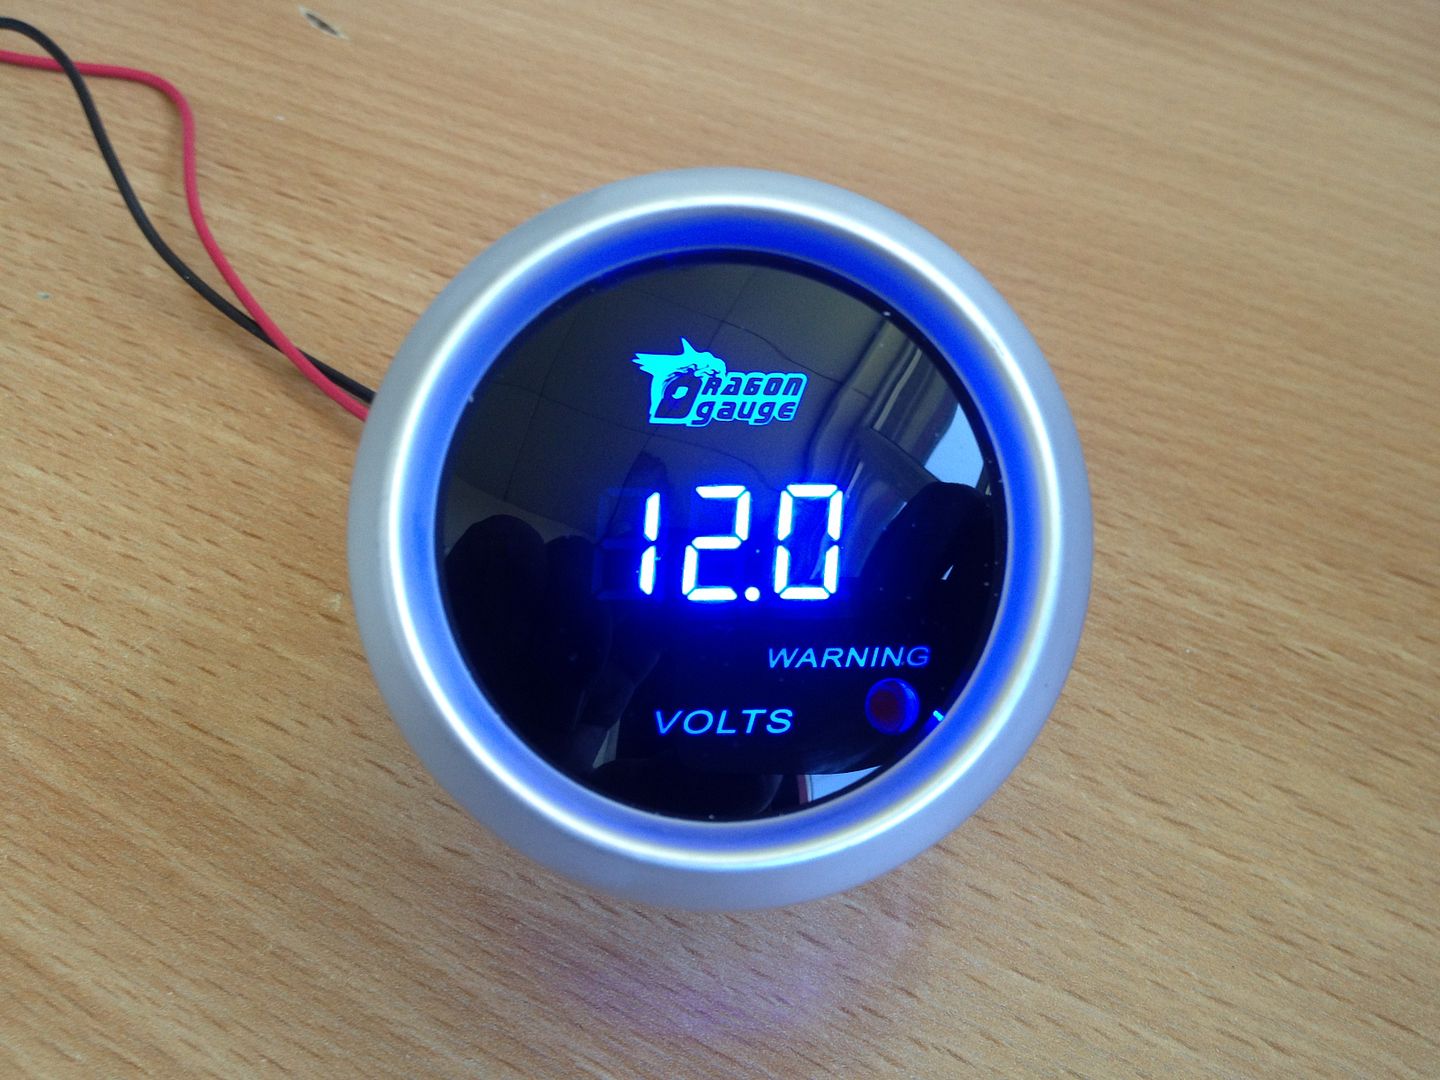
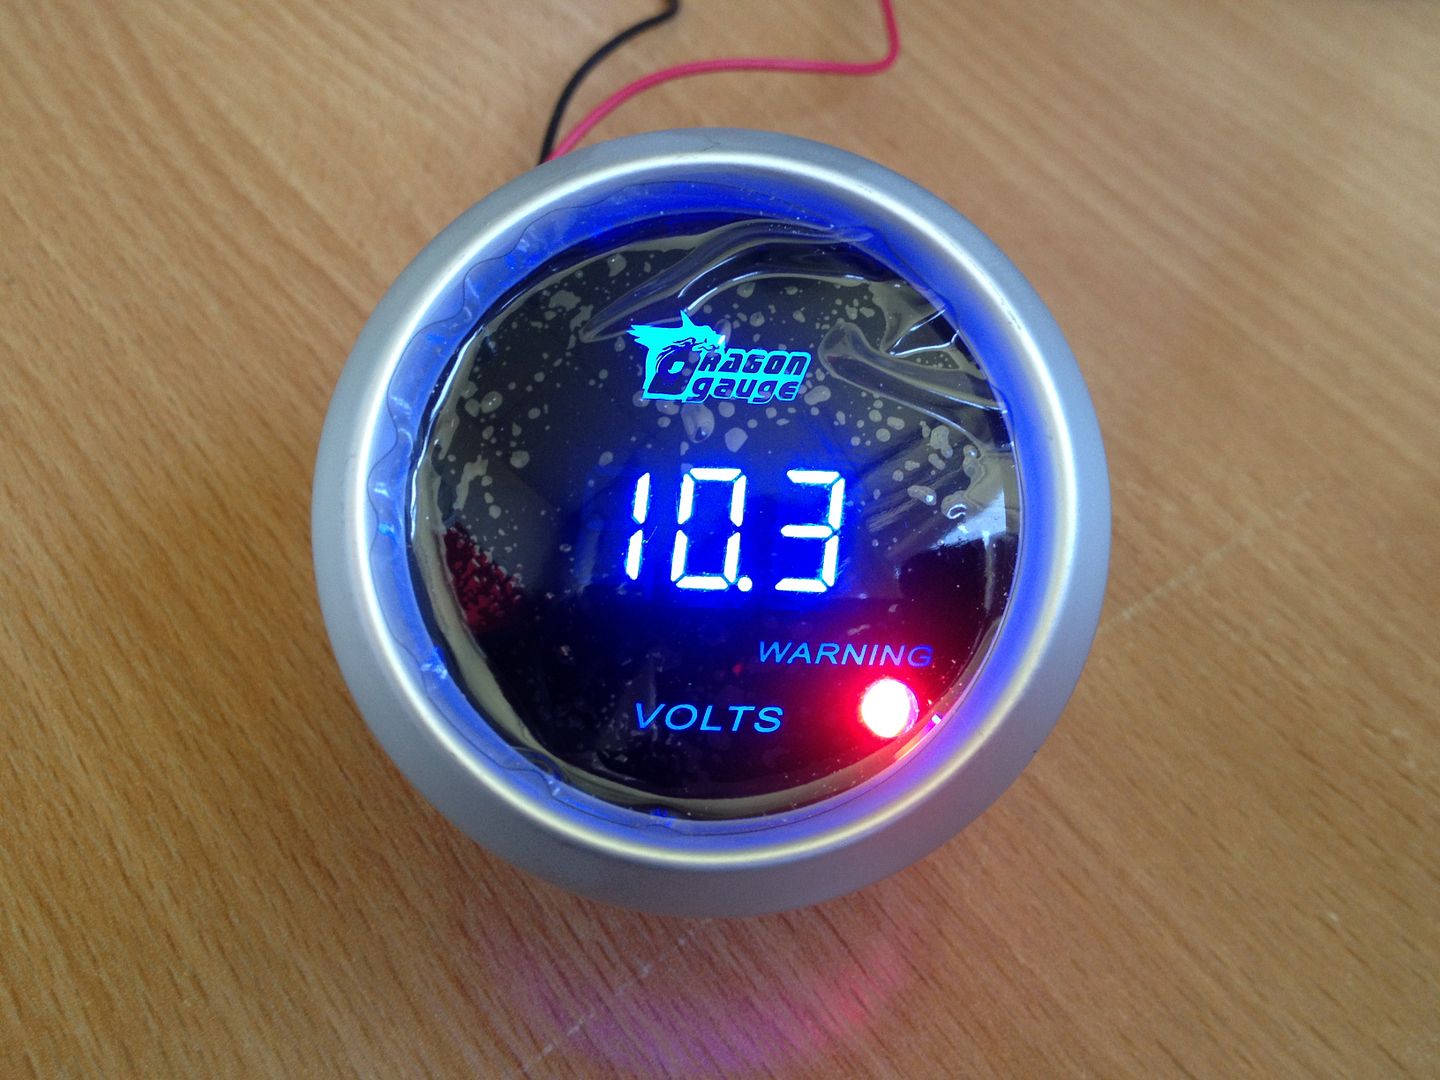
One ÂŁ15 voltmeter from China

null-29.jpg


It both looks and feels like it's worth at least ÂŁ1.50 LoL!

There's a warning light when the voltage gets a bit marginal

null-28.jpg


It will do the job...

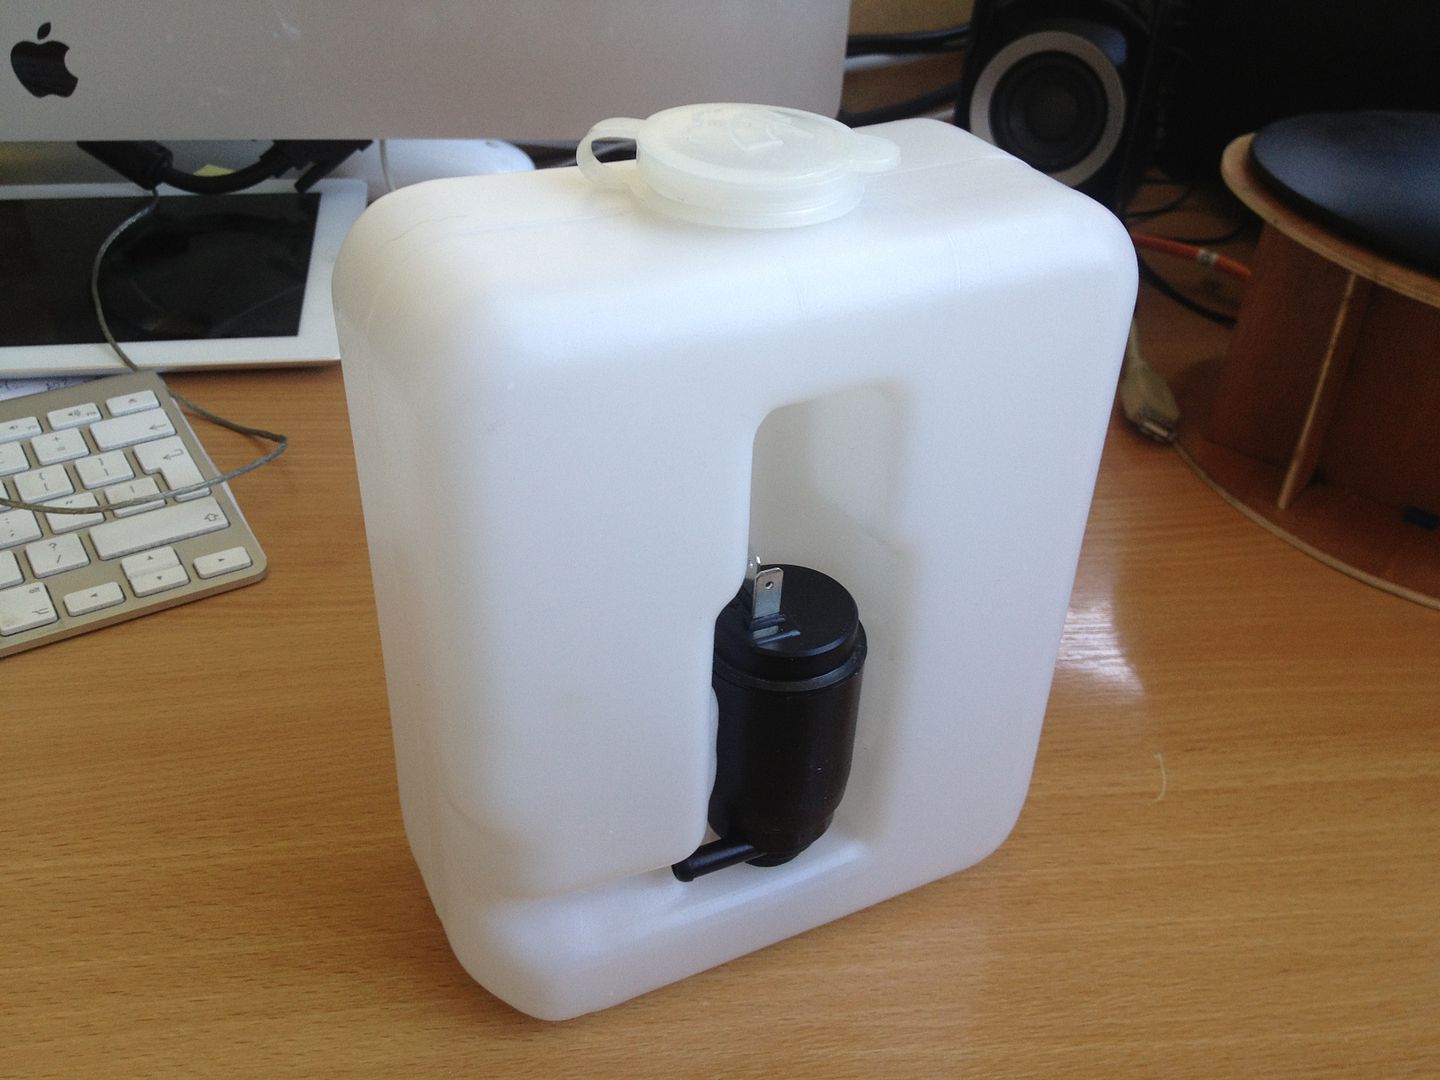
I also got my washer bottle

null-27.jpg


It's really quite small. I'm cautiously optimistic!
 
#236 ·
Cheers guys! :)

Well the voltmeter arrived and it was a lovely evening for it. So out with the metalwork tools and make a pair of clips.

37d9536126525438050063da68c3dfeb.jpg


Ta daa

39e6c9fe8d144facd5788b19fb13941c.jpg


Now for the scary part. Get the crash pad out of the car. This involved many many flat bladed tools and not having any hands free to take pictures.

794b1b14e2c27578c212173bef4db39b.jpg


Only broke a couple of clips :thumb: doing it on a warm night made it easier to break the hold of the black sealant.

It was too late to get the angle grinder to the dash to make the clearance hole. So I put the touchscreen and tombstone back in and set about another job I had been 'meaning to get to'.

Holes in the roof! One on each side where the soft top frame pinches the material. The solution......?

891217c1e14d86cc4b4a4c0321ada8a5.jpg


Ok so this is a bit experimental!

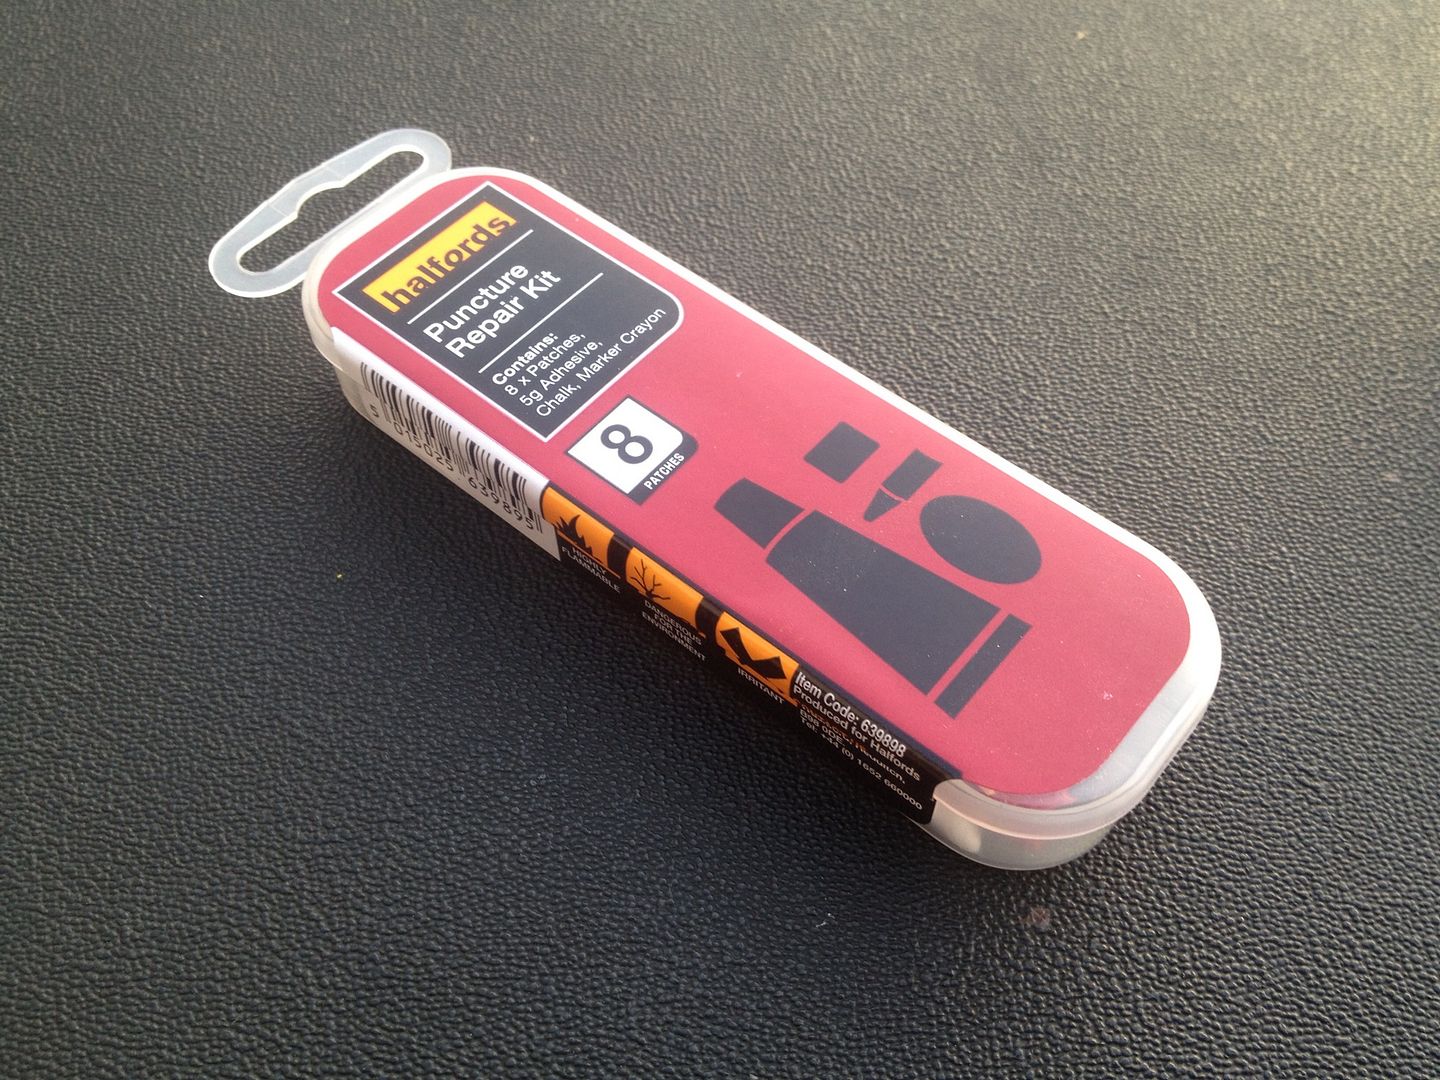
Pick a patch.

c359e80b36eabe1918ee28dc91d5c069.jpg


Hold it in place over the hole. Mark around it using supplied chalk. Apply rubber cement.

1e4724e01a1312cac44d3297c983cb64.jpg


Wait for rubber cement to dry. Which seems really counter intuitive but trust me its the right way to do it.

Apply patch and ensure to apply pressure over its entire surface.

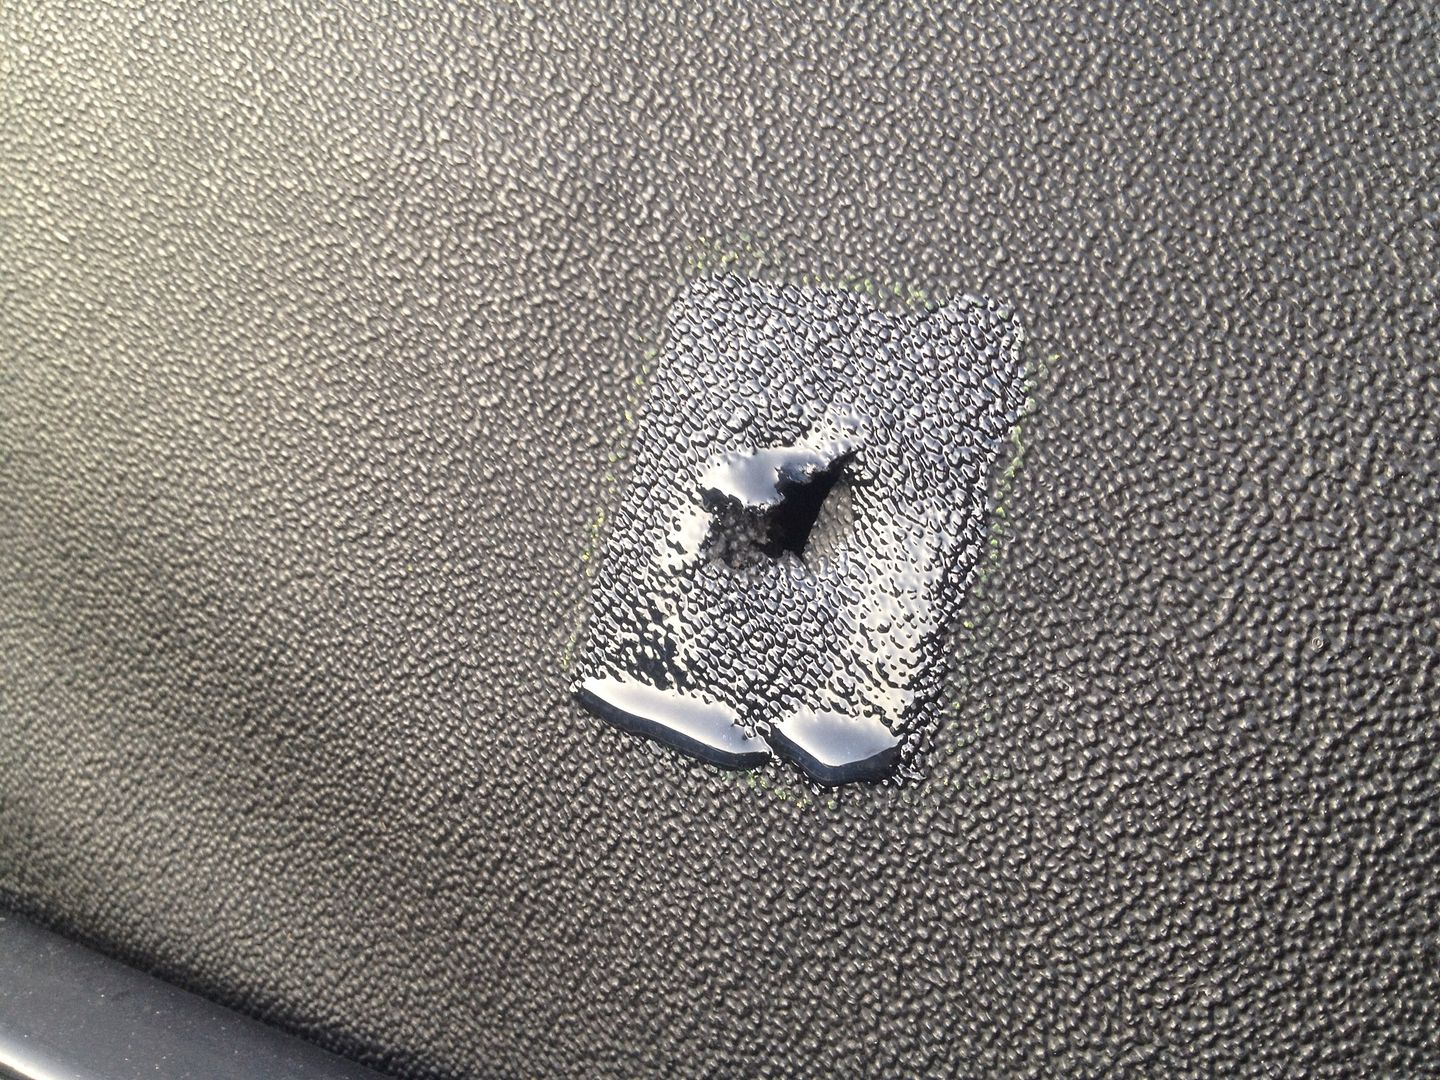
bf3765de16d9f32c3e3fefbb75cc85bb.jpg


Done! Ok not exactly an invisible repair but its functional. I'll let you know if it actually stays stuck and keeps the water out!
 
#237 ·
I'll be curious to see how well this works, I used clear bathroom sealant to seal a rather larger tear along the top of the rear window as a temporary repair, amazingly months later, it's still working perfectly, roof has been up and down countless times and still totally waterproof, well impressed with it so far, doesn't stick out too badly either, I've got tears down both sides in the corners beside side windows which i think your method would be perfect for.

Now get on with the supercharger :p

Cheers,

Robert
 
#238 ·
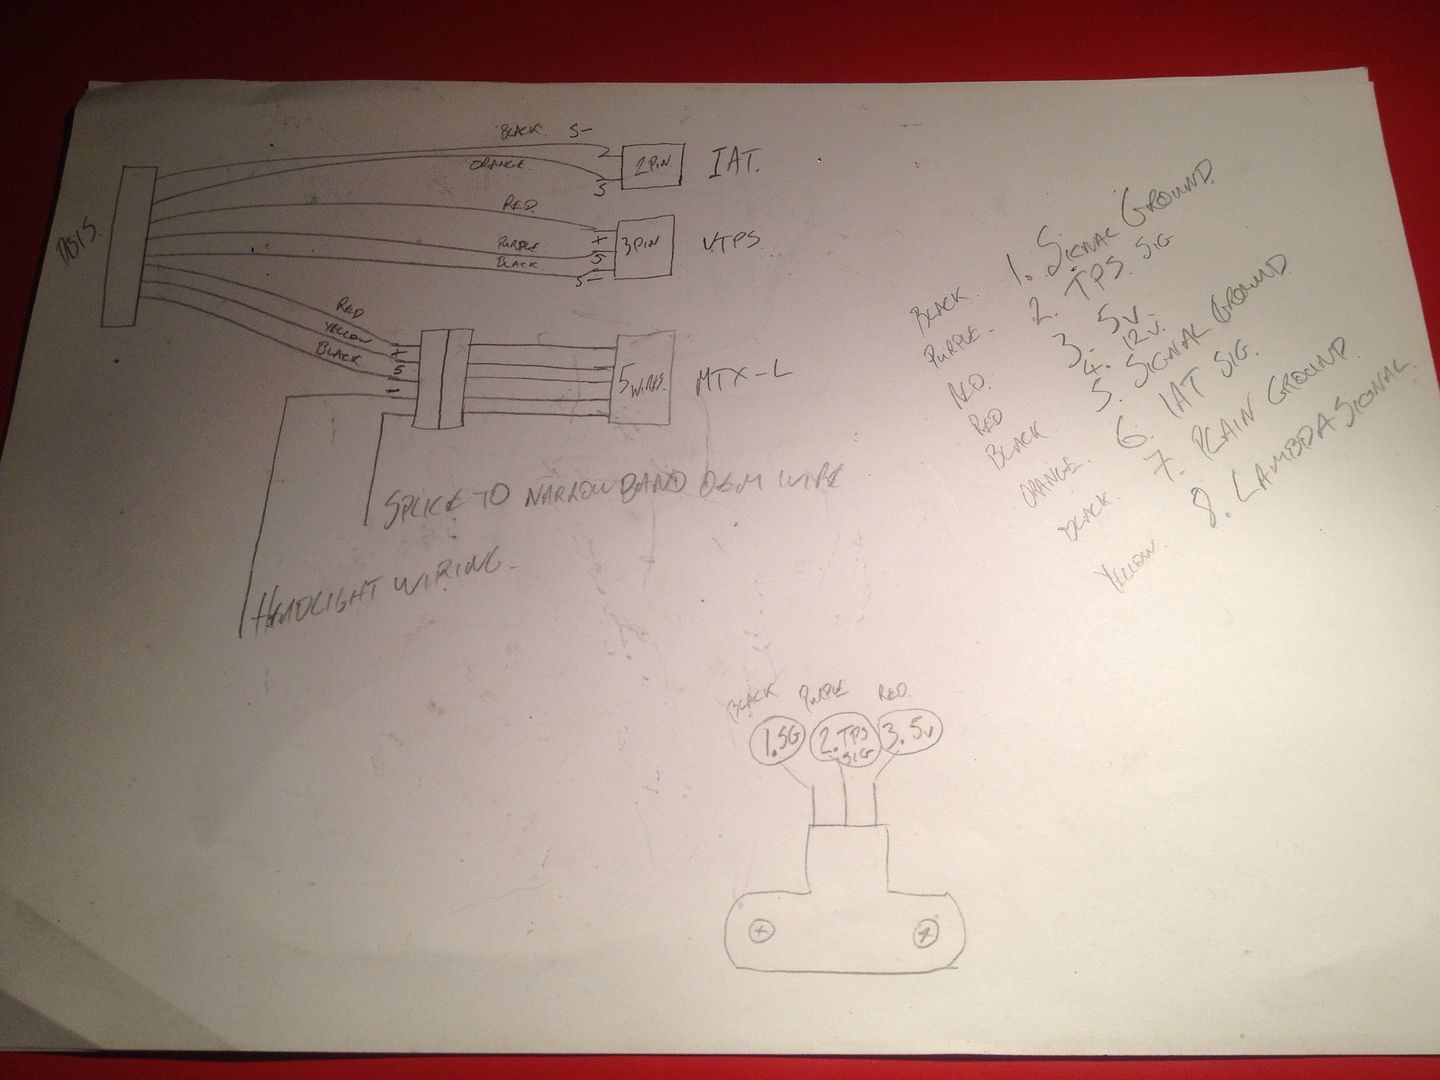
Well the supercharger still isn't bolted on :( Just as well, it's too hot out there for spanner twirling. So in the air conditioned comfort of my office, during a quiet half hour, I drew up my evil plans.

f225f03fafb20b60e1597bab15061527.jpg


IAT, TPS, and MTX-L wired into the DB15 connector. It's a bit over complicated but it means I can leave the OEM wiring loom alone. the new wiring will go from point to point. No jointing into existing plugs or wires.

First thing to do, wire the DB15 to the right bits of the ECU.

e25a061d1222e0591a4a2457bbb1ca9a.jpg


(I got a bit paranoid about signal interference so I put the lambda sensor signal and earth in a twisted pair. I don't think I really needed to. But it can't hurt I guess.)

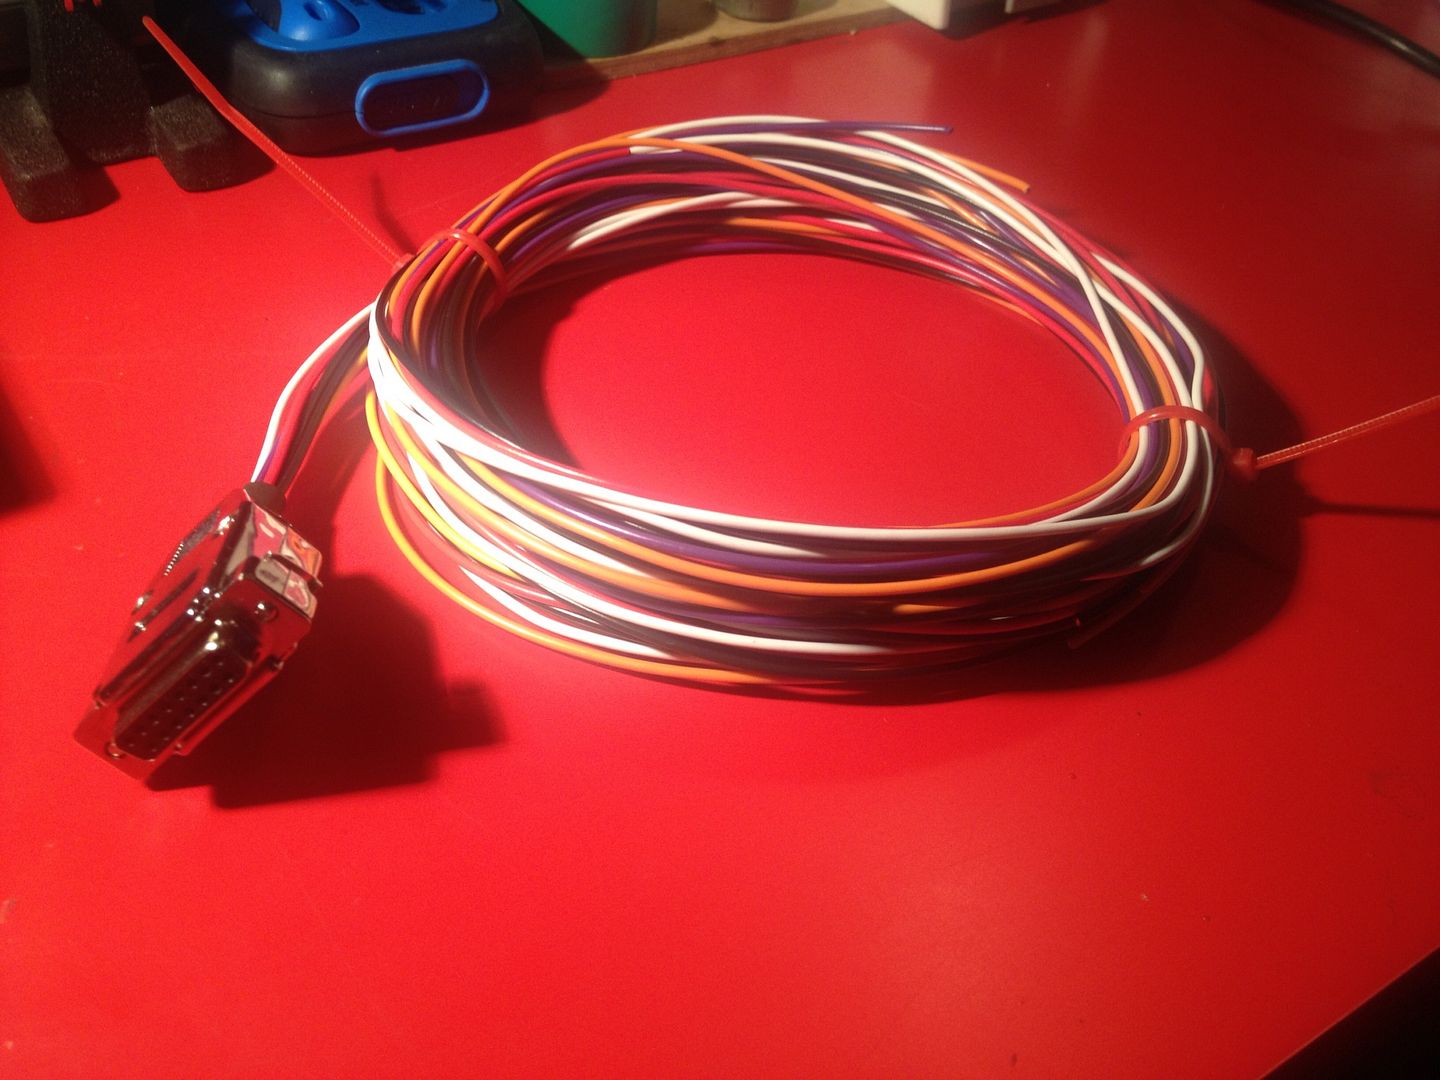
I had ordered some pretty coloured thinwall wire from VWP so I then set about creating the beginnings of the car side loom.

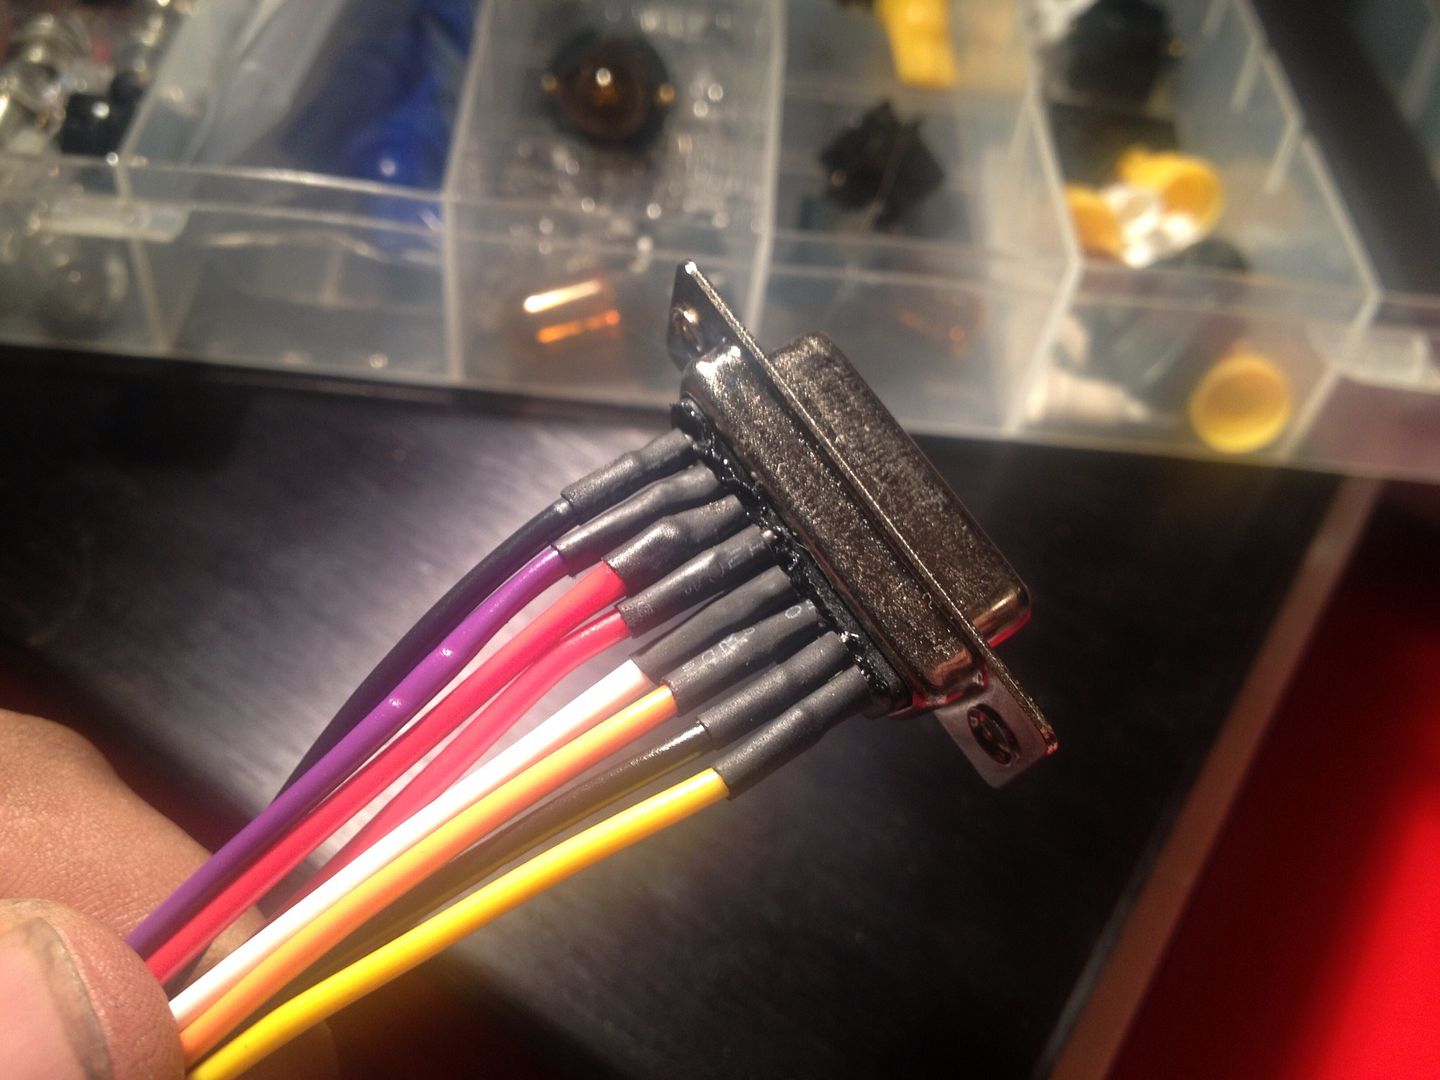
Soldered and heatshrunk.

3c6530c84f22a066d12565c4b179d8ae.jpg


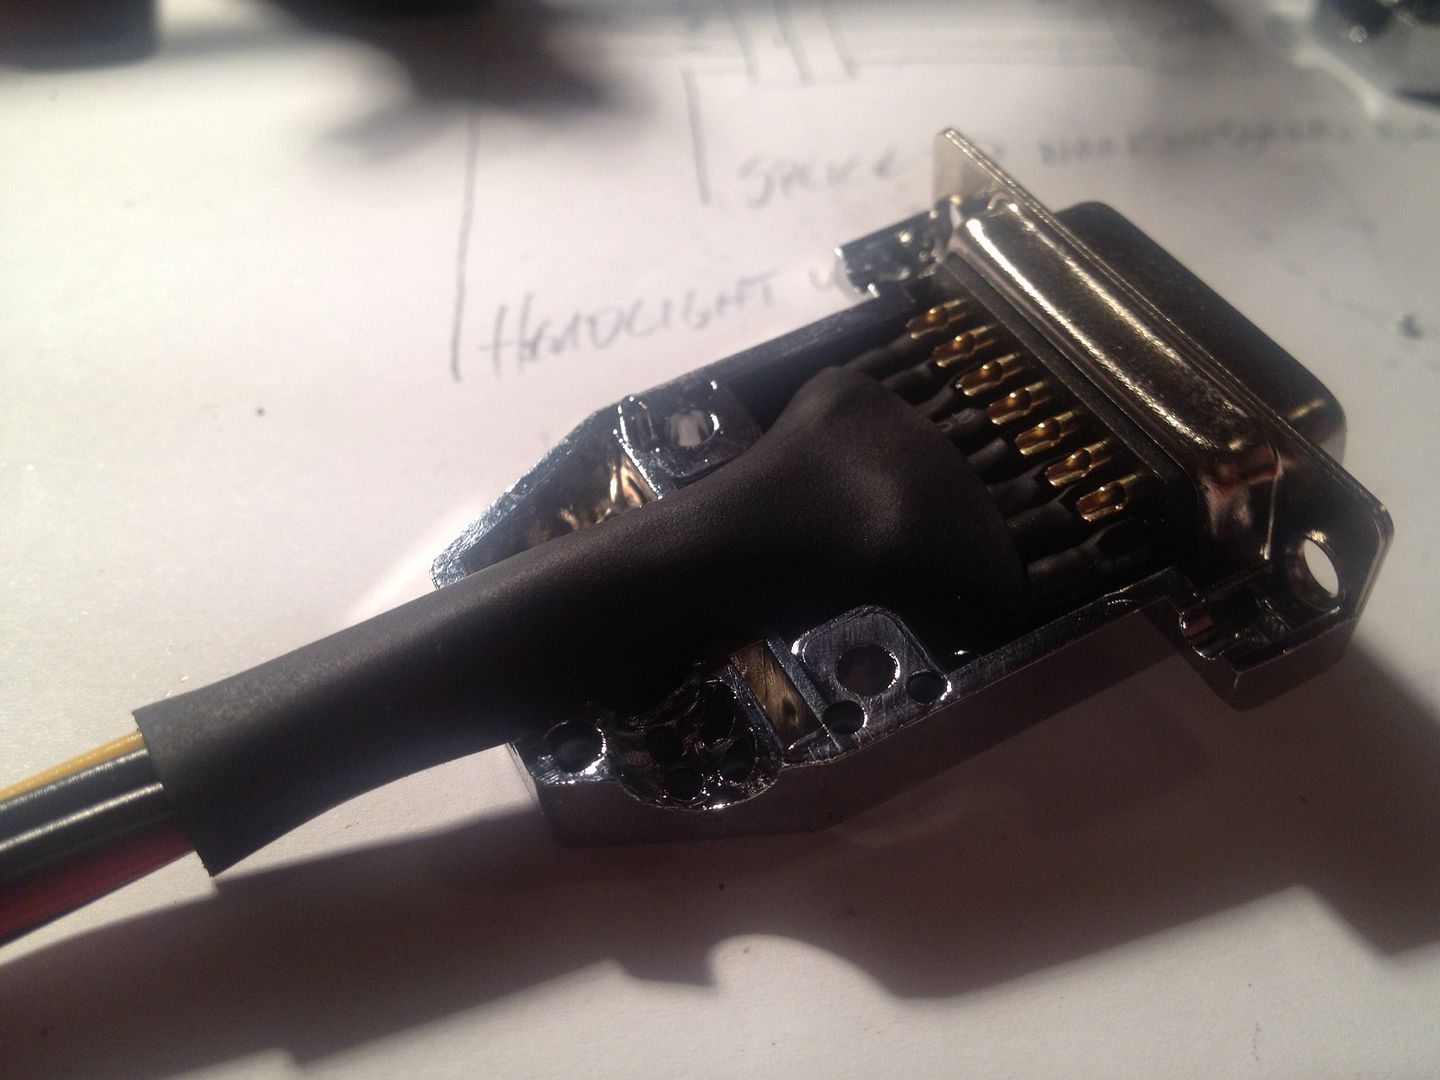
The bundle heatshrunk and installing into the DB15

483f89c953a12f43ec89bd7b956be822.jpg


Done

f07b9ab38d1dab135e36a542141fcb0e.jpg


Just have to check my routing, measure, then cut the right wires to the right lengths. Then I can wrap it in loom tape and add the connectors on the ends.

Little steps.......
 
#240 ·
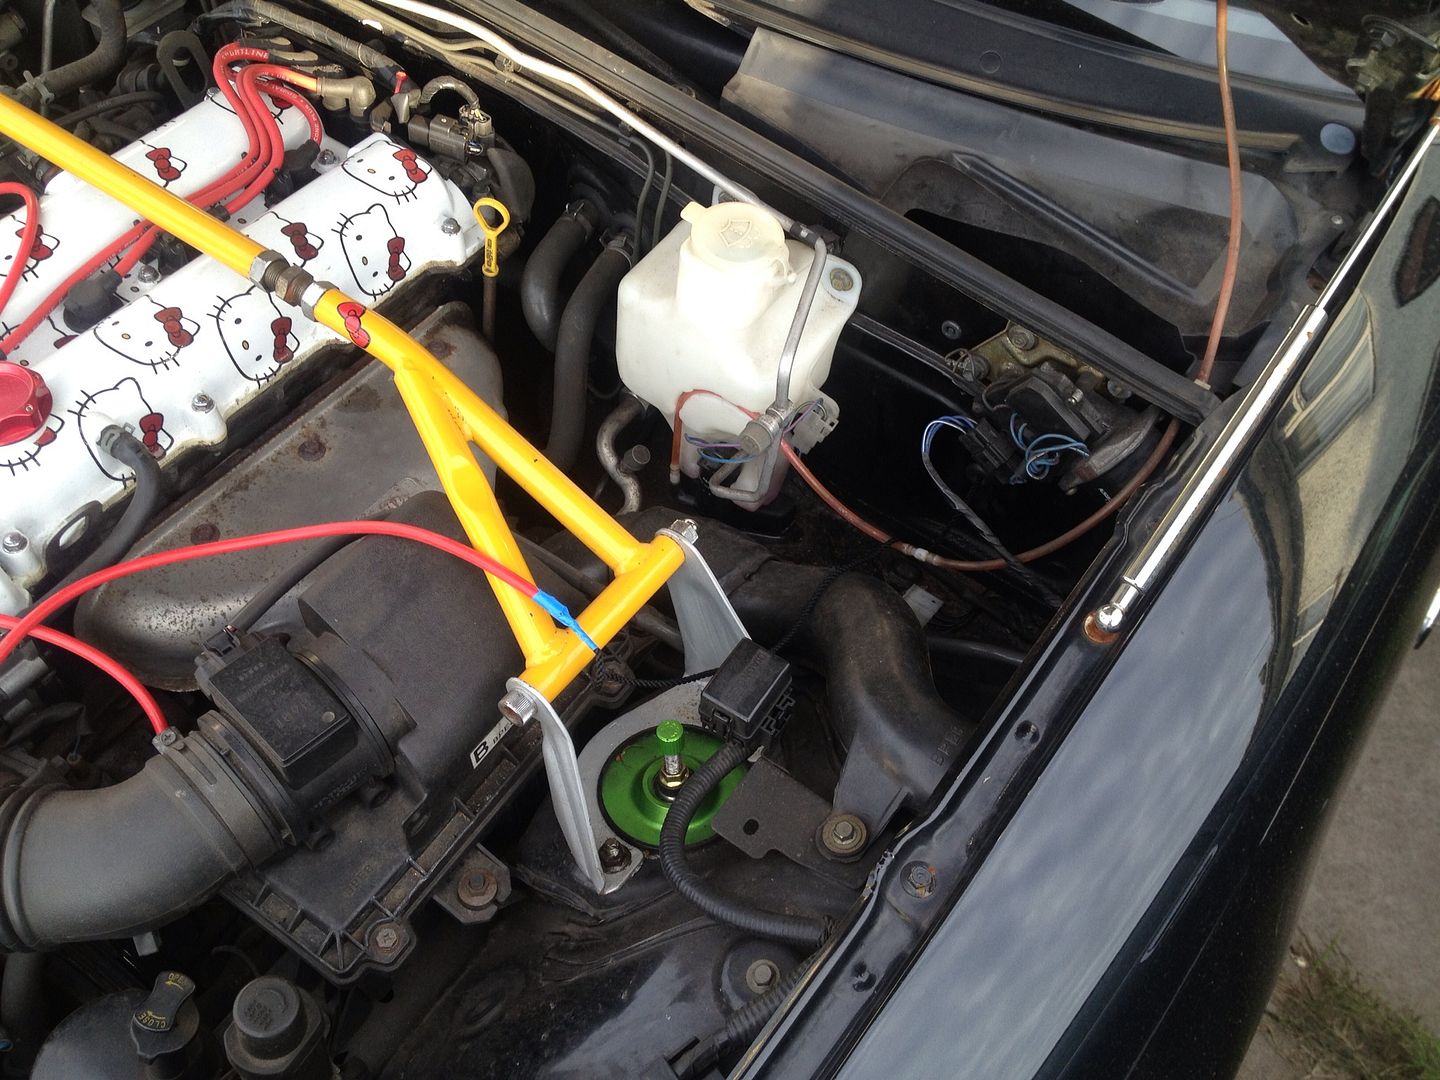
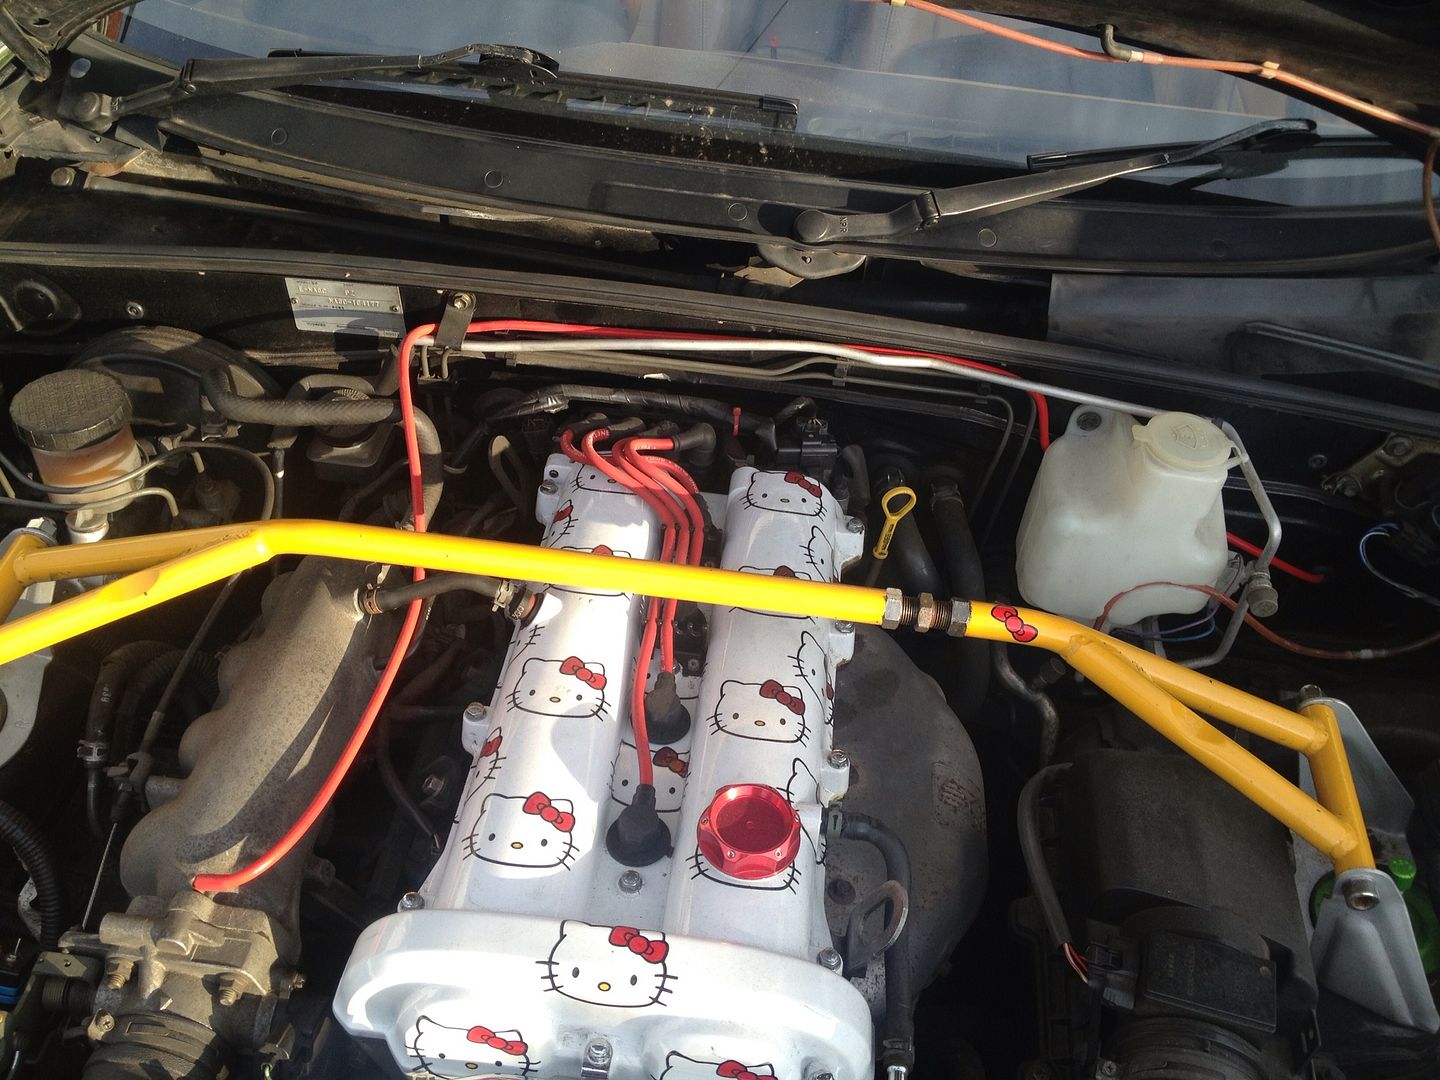
I really want to hate this car, with it's ridiculous stickers, BGW and over the top electronic gimmickery.

But I just can't for some reason!
null-30.jpg


Your journey to the Darkside is almost complete young Jedi :thumb-up:
 
#241 ·
There's an old rule of thumb when working on the engine of a Lotus Esprit. If you have more than three jobs to do on the engine you may as well take it out. The thinking runs that the pain and misery of doing three jobs a la James Herriot on the car adds up to, you may as well transfer the pain to the job of dropping the engine and do your fixes without the aid of a mirror on a stick.

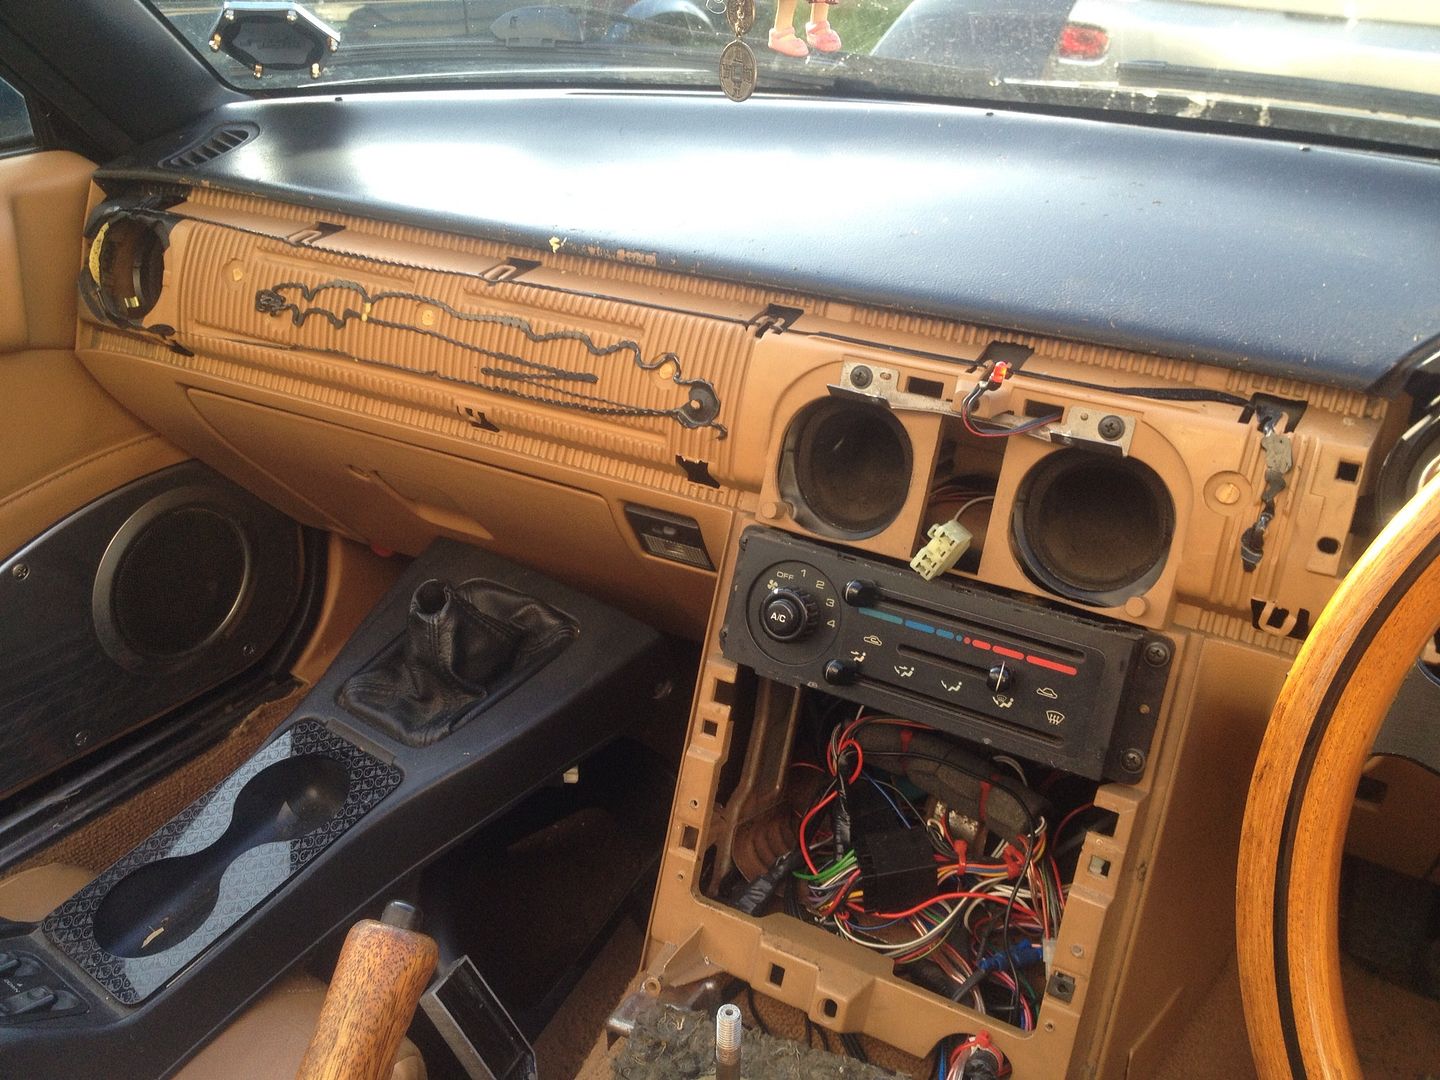
I have the following jobs to do on my dashboard-
O) Tidy the immobiliser wiring
O) Tidy the central locking wiring
O) Figure out why my drivers footwell fuse box isn't screwed down
O) Repaint the scratched and scuffed dash top
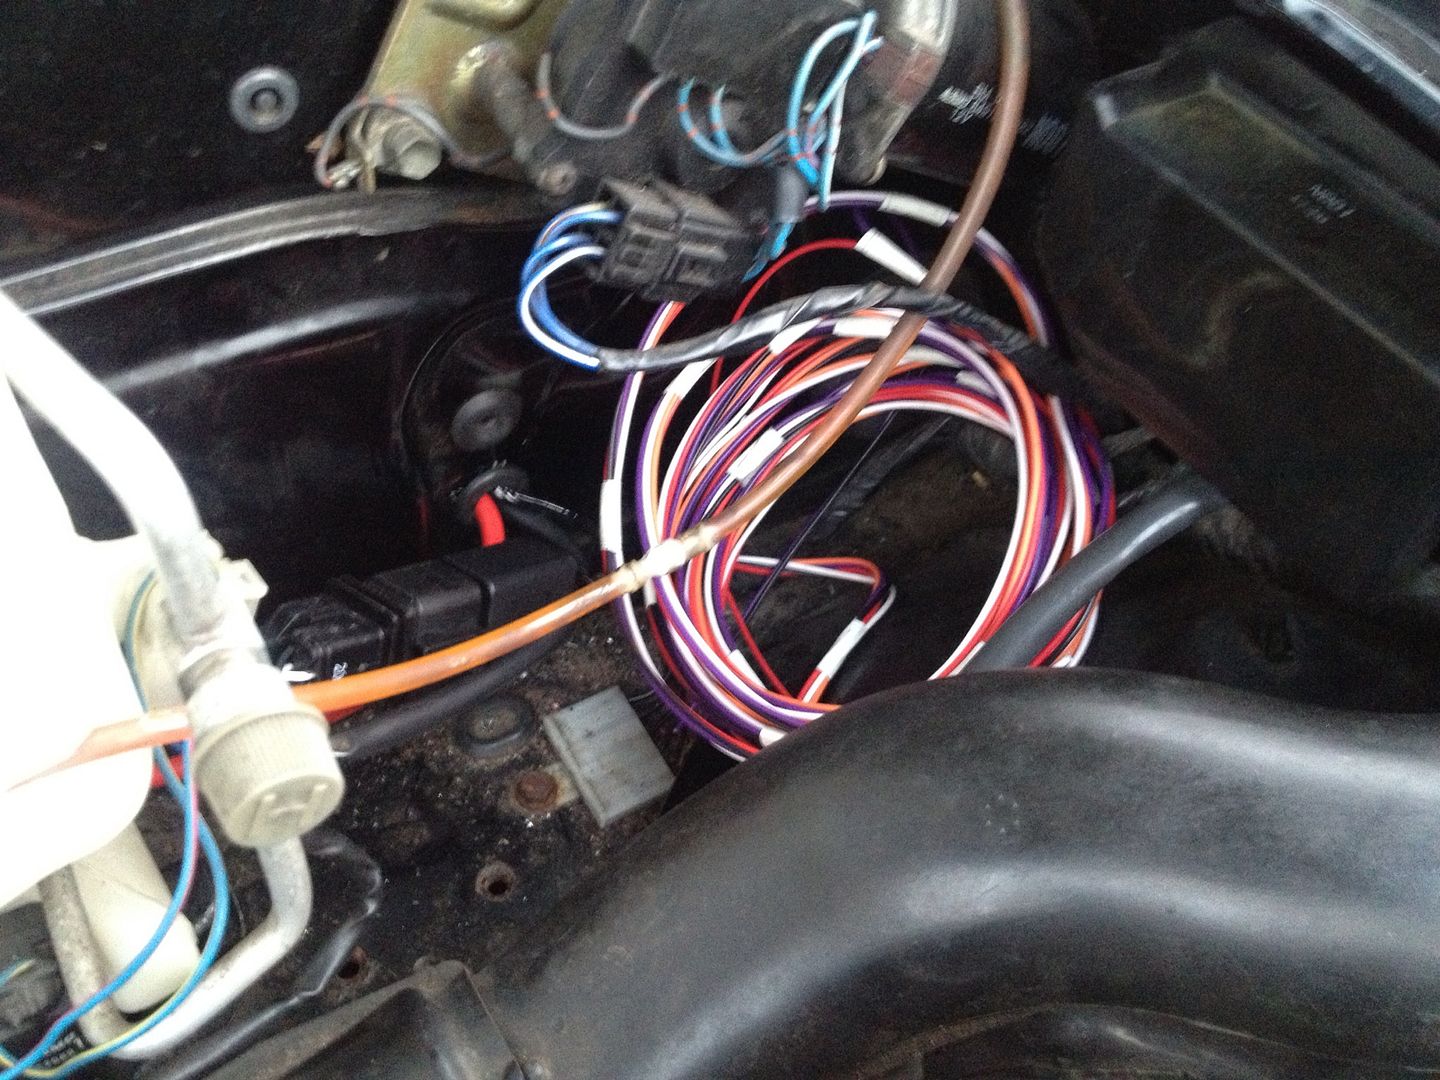
O) Run wiring through the bulkhead for the IAT, TPS, and O2 sensors
O) Install and wire three new gauges

Guess what..........

4031a7cf73534053ef31c877bda35227.jpg


Have you guessed?

4413dde9825853d57a4932f79ab7ab8c.jpg


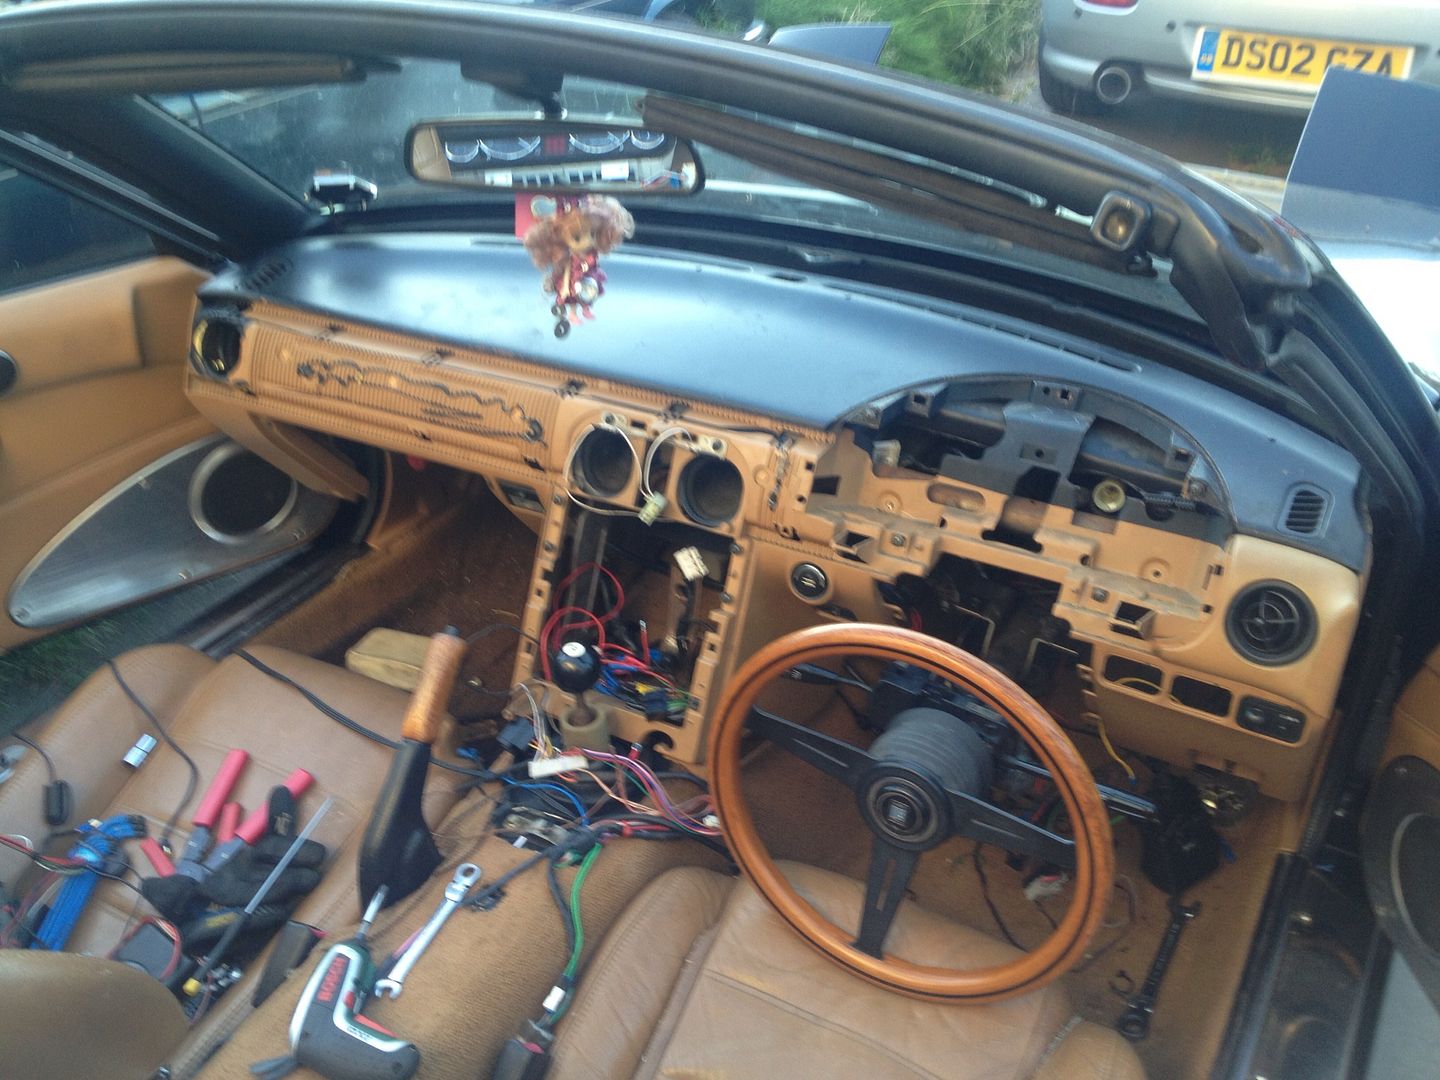
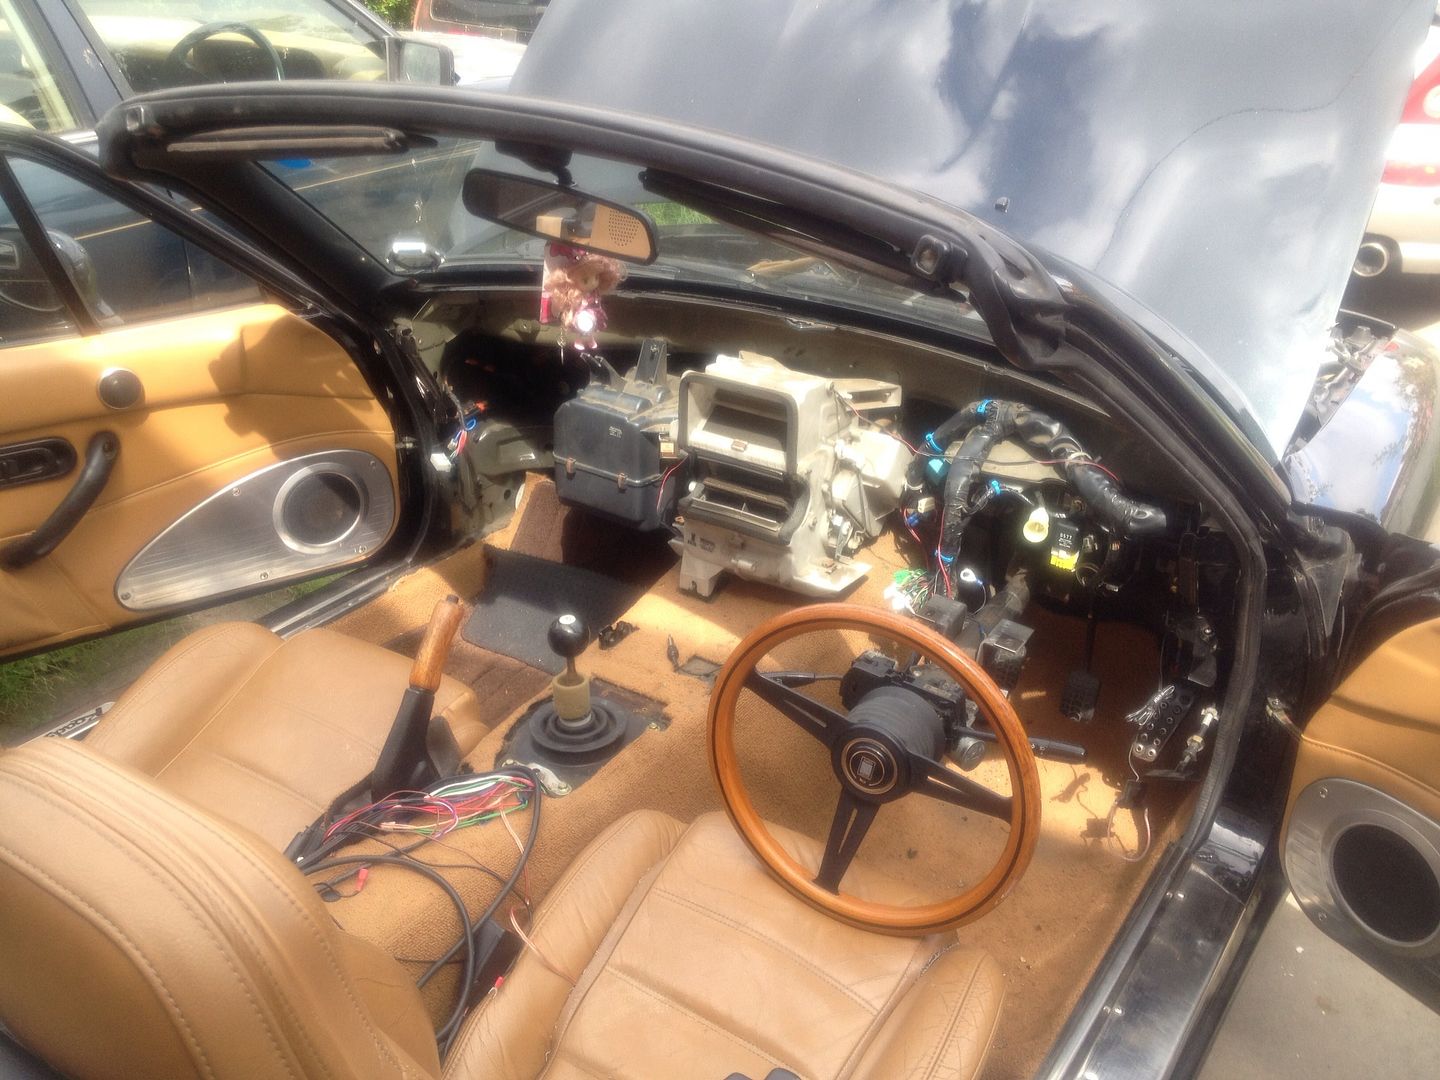
Yep ! Dashboard is out of the car!

d24c4be67eecd7447e89b0521259c49a.jpg


I wonder where this wire goes........

While its out I've also discovered the fog light wiring is, well, atrocious. The previous owner made a bit of a fudge of it and for some reason he took the screws out of the fuse box. Easy fix though!

Bad light stopped play at about ten ish. The jollity will recommence tomorrow
 
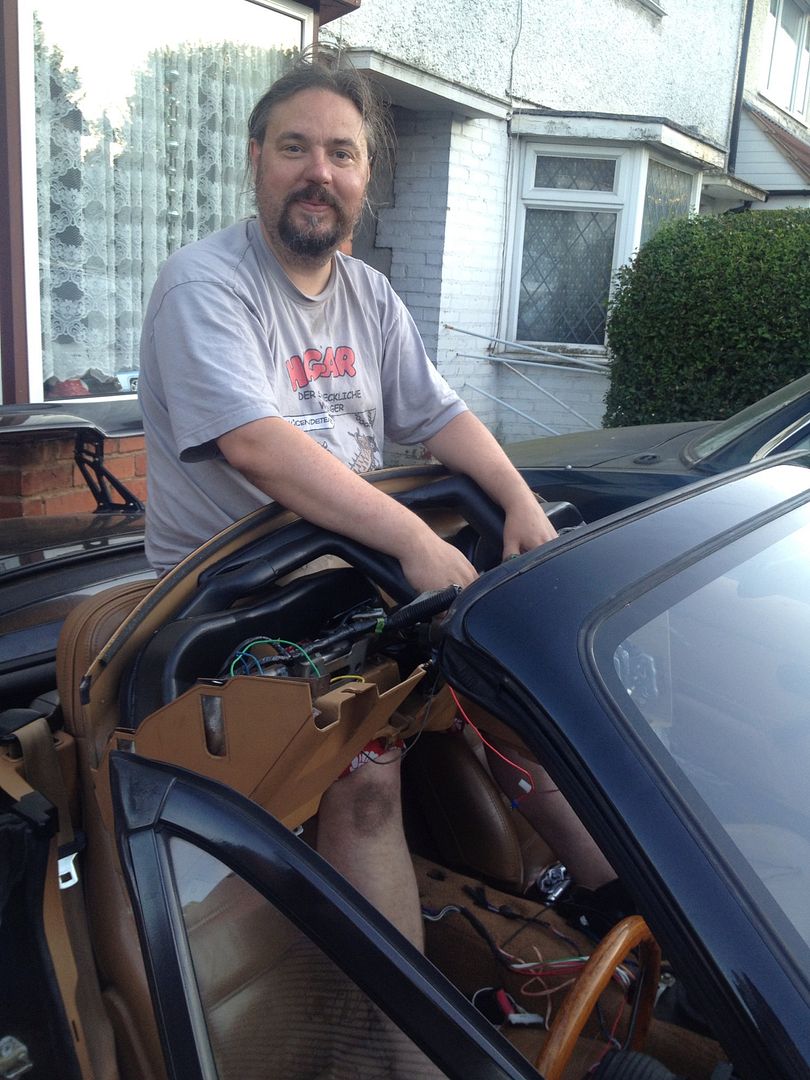
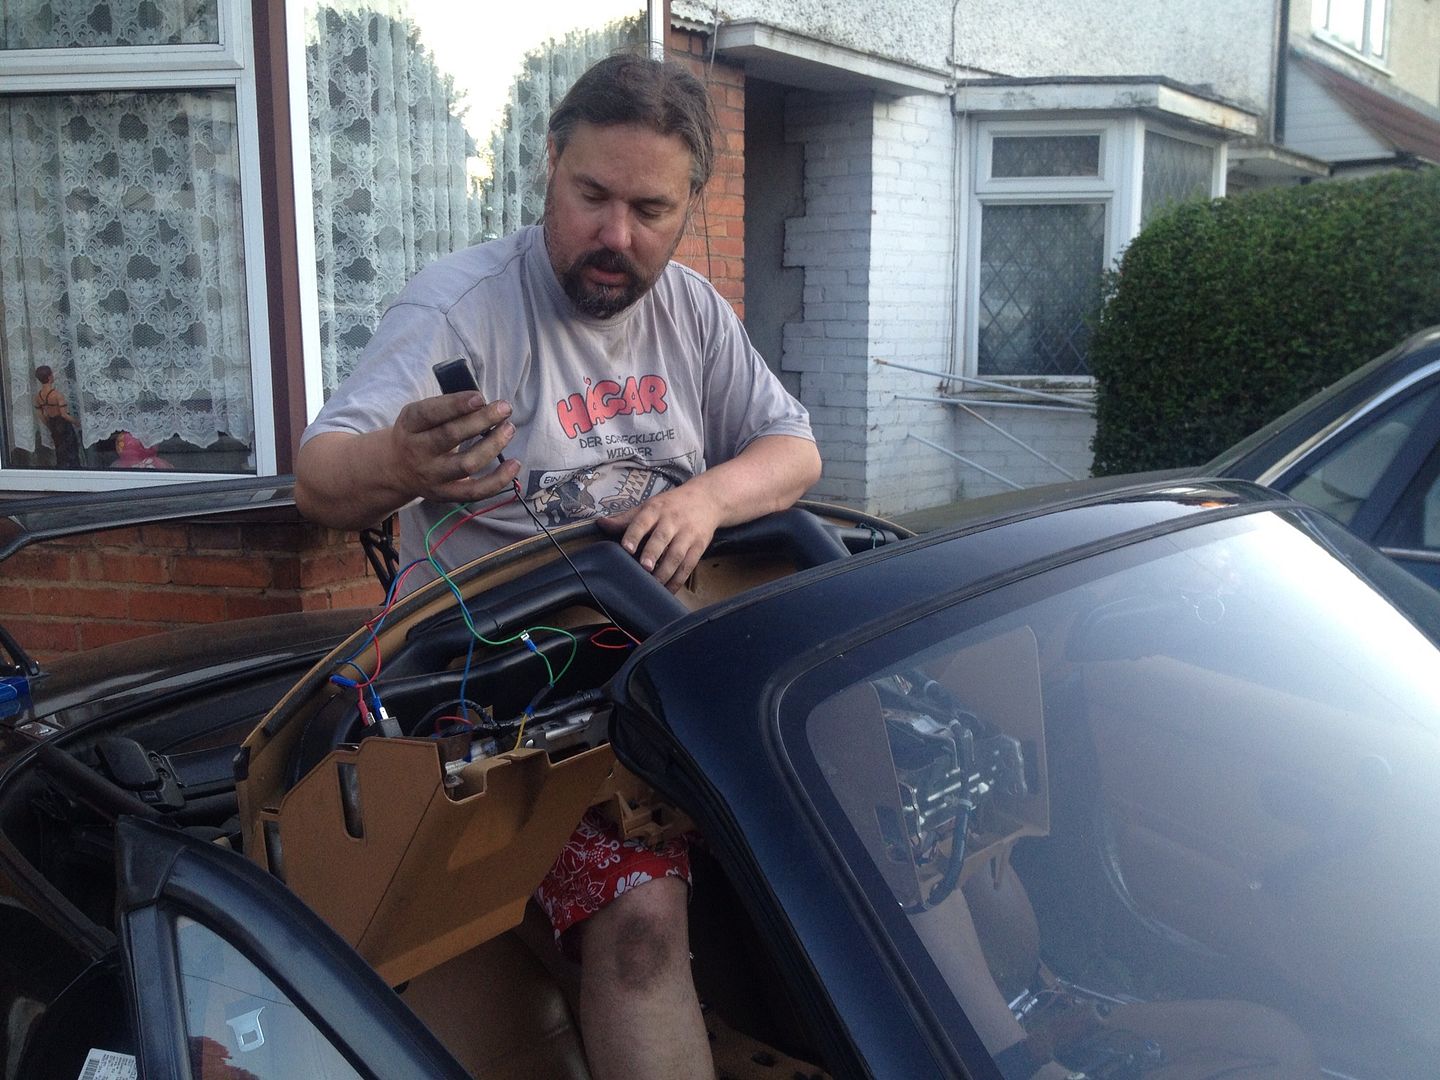
#244 ·
Back out there today for round two.

54ad10fbbf0aa8fd46b3758c94d25391.jpg


Believe it or not this is after an hour of tidying the previous owners wiring! Looking much better than it did. Still a few loose ends to tie up though.

Next up the wiiiiiiideband.

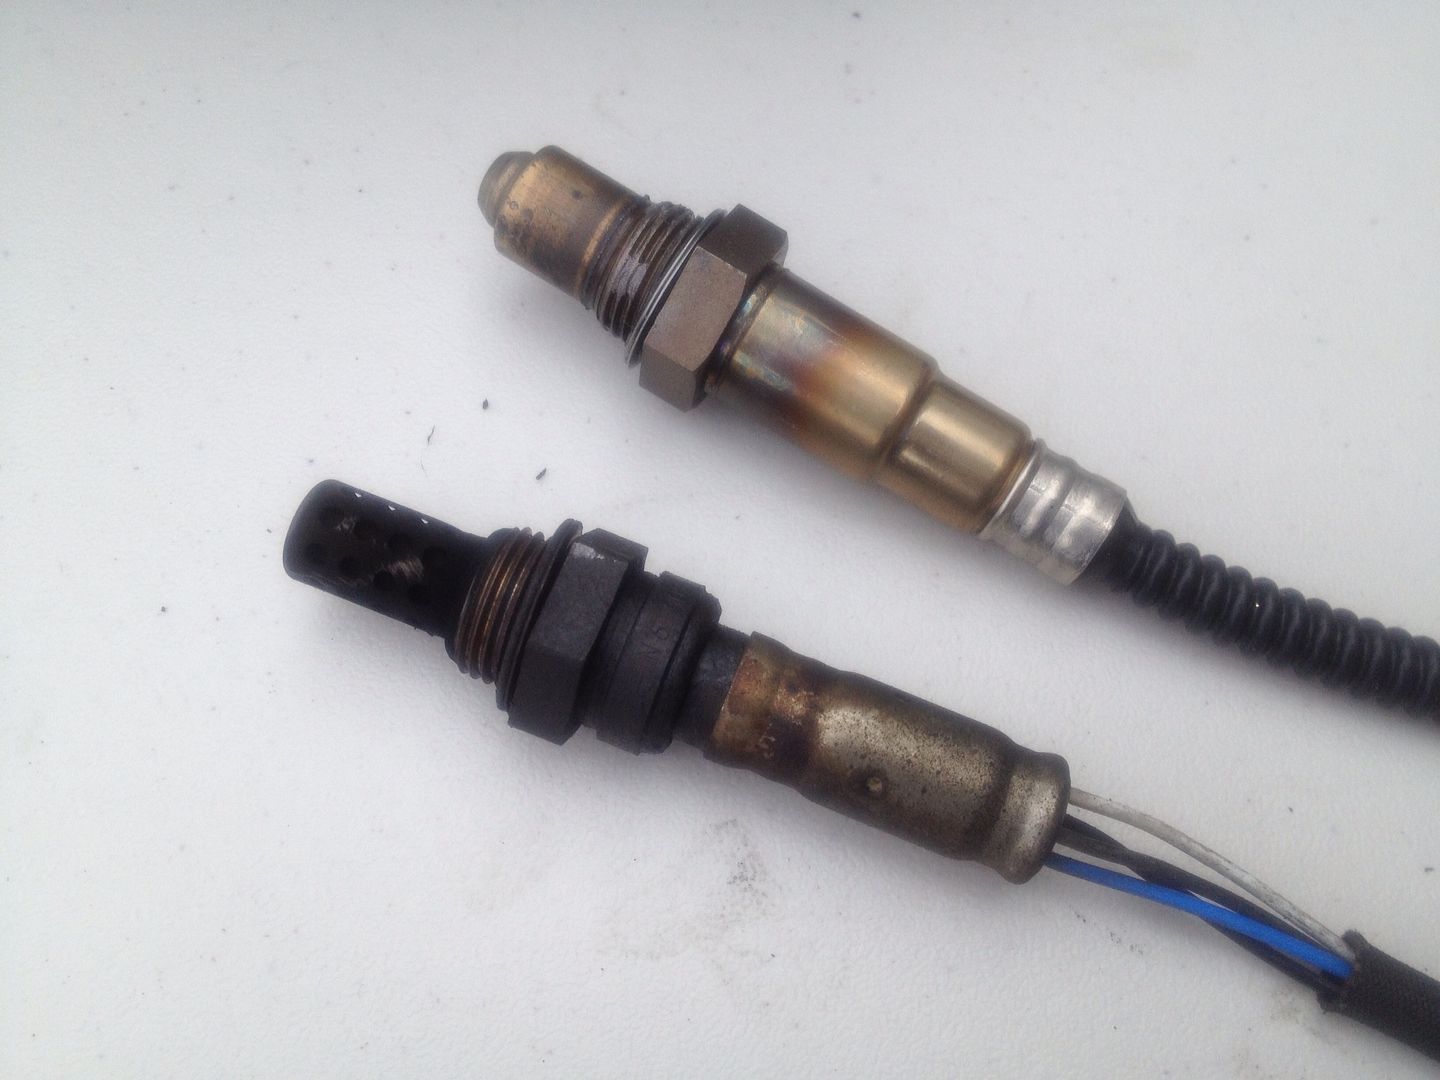
08d3bac1bd7009f426015d4afd080545.jpg


Lets play spot the new one!

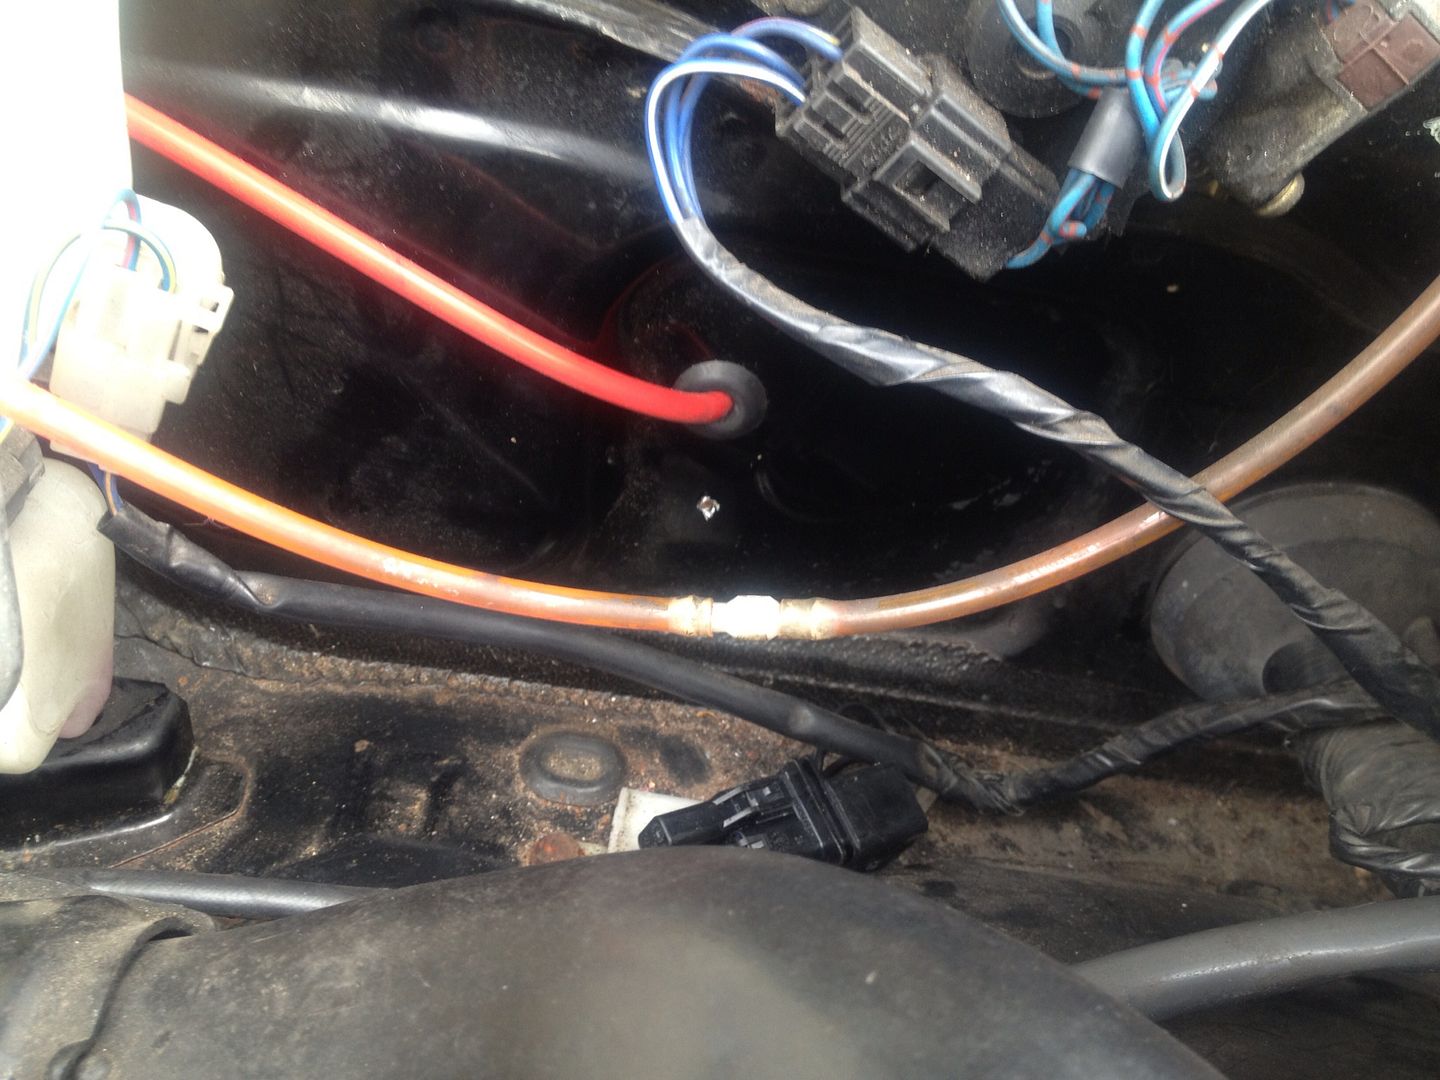
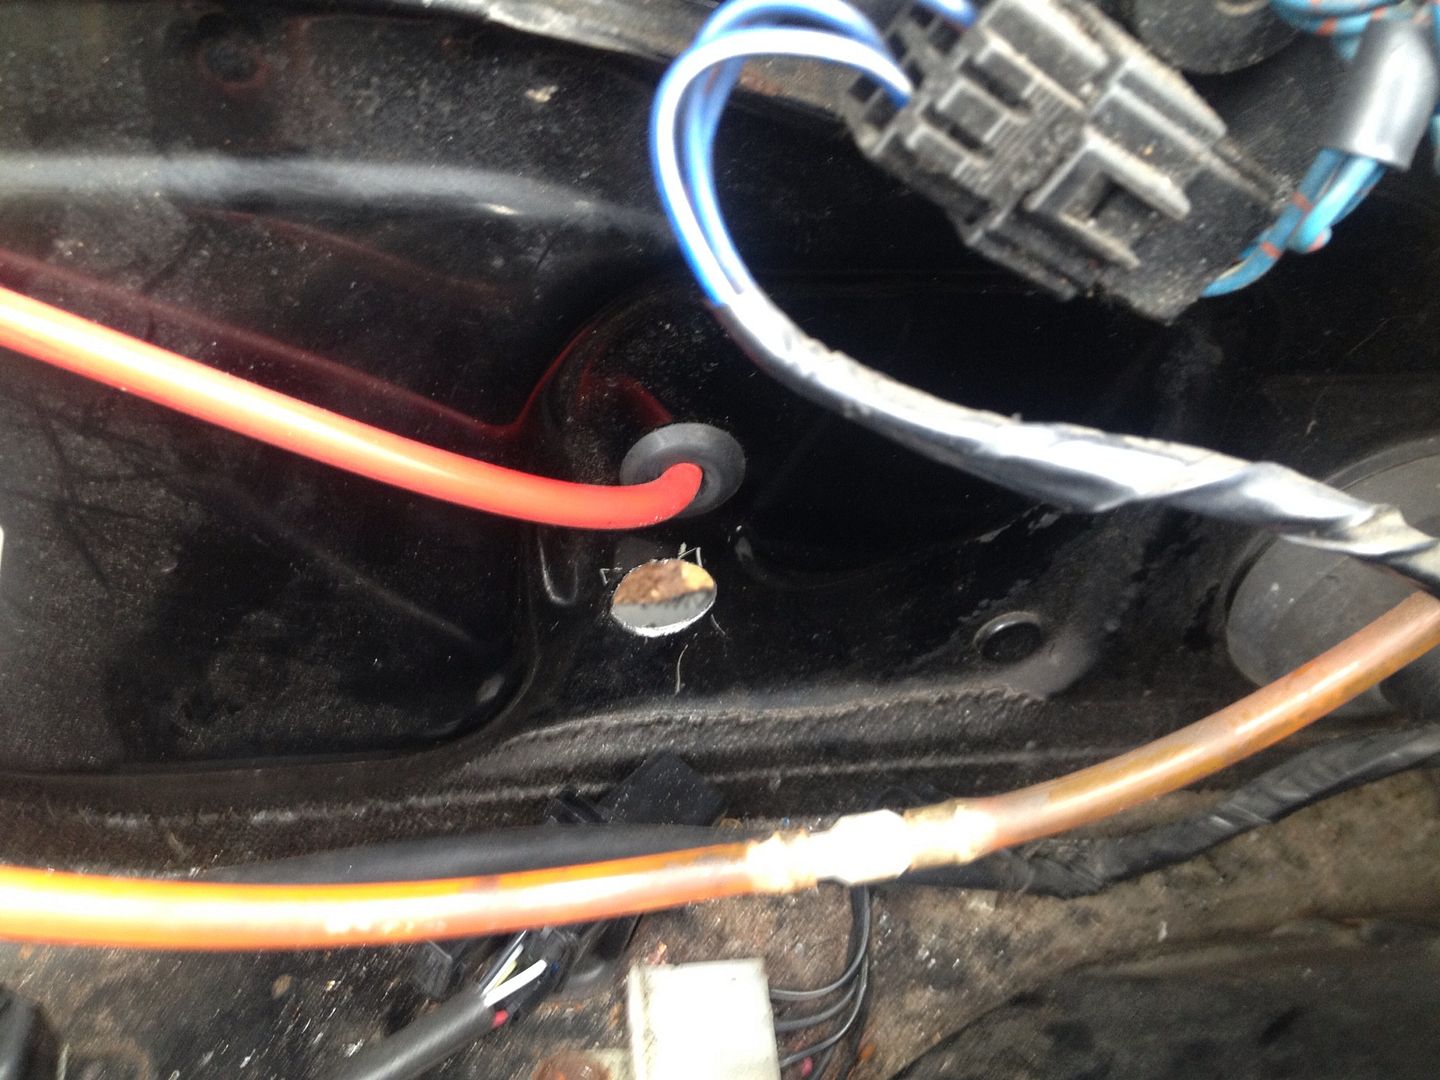
The MTX-L has a really fat connector. So I had to make a 20mm hole in the bulkhead to pass it through. There is only one tool for this job!

51d13f1fa808af85321daf9a31256e5b.jpg


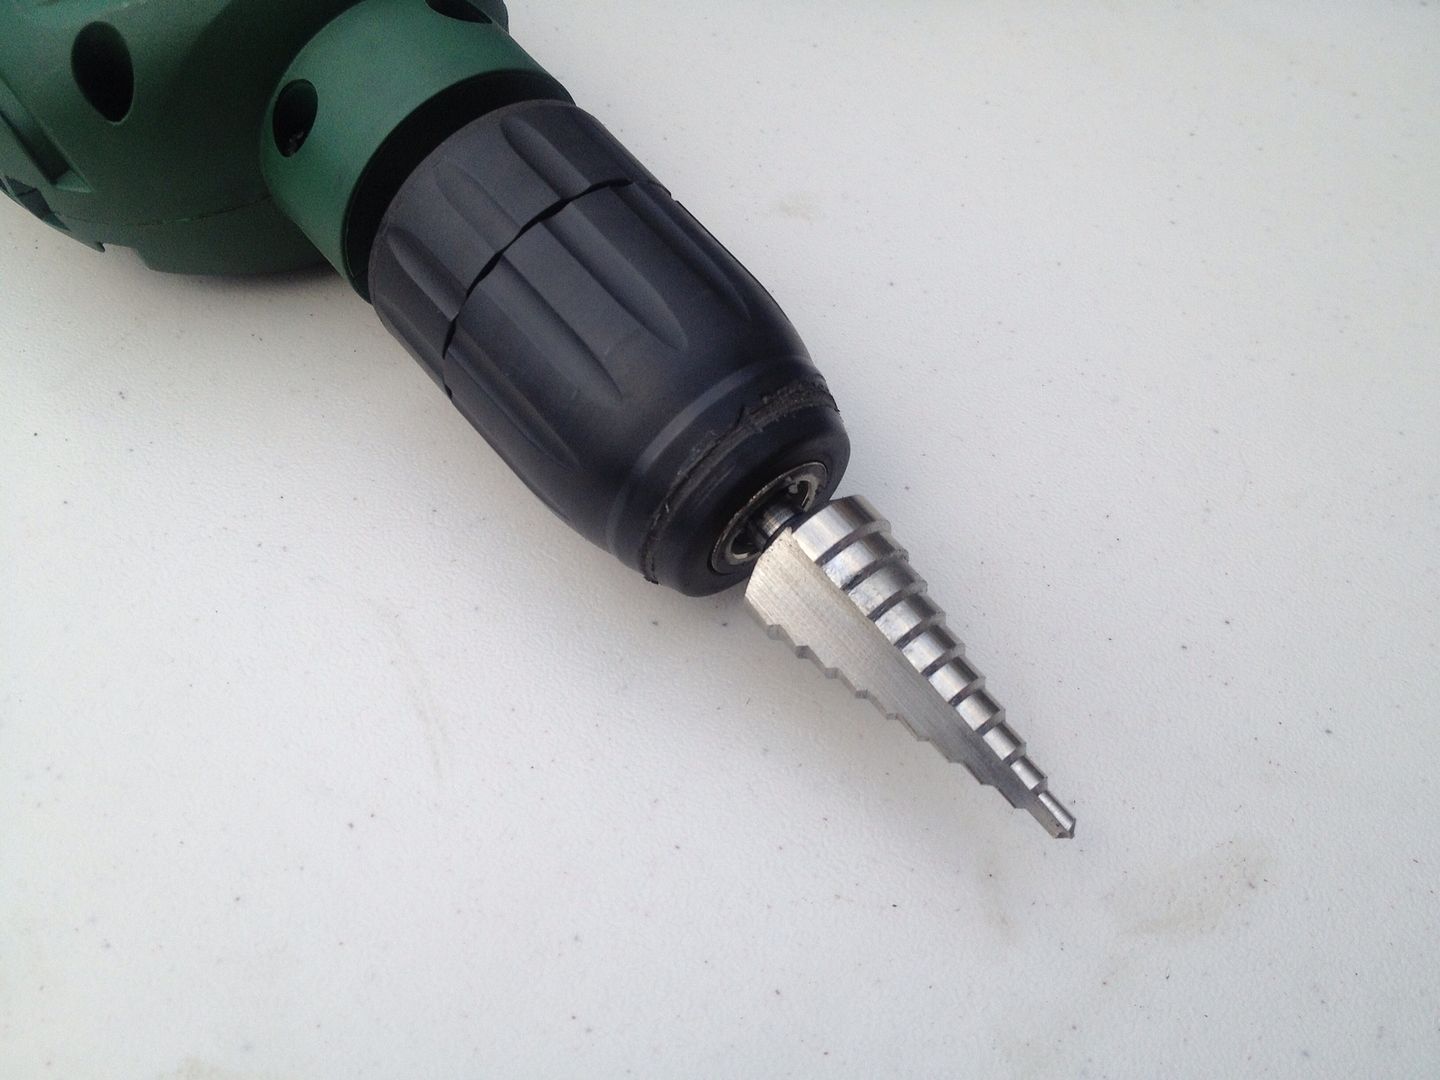
Step drill. If you don't have a step drill in your armoury, get one, ASAP. Bloody brilliant wee things!

af95704ab29ced4a87d59179b3f22ba2.jpg


Pilot hole..... Placement looks good. No need to change drill bit just keep going.

0c0088f372b09989520eb3195d9eca12.jpg


Hooge hole!

bf33b3377b509e1fcce74b39354e4f86.jpg


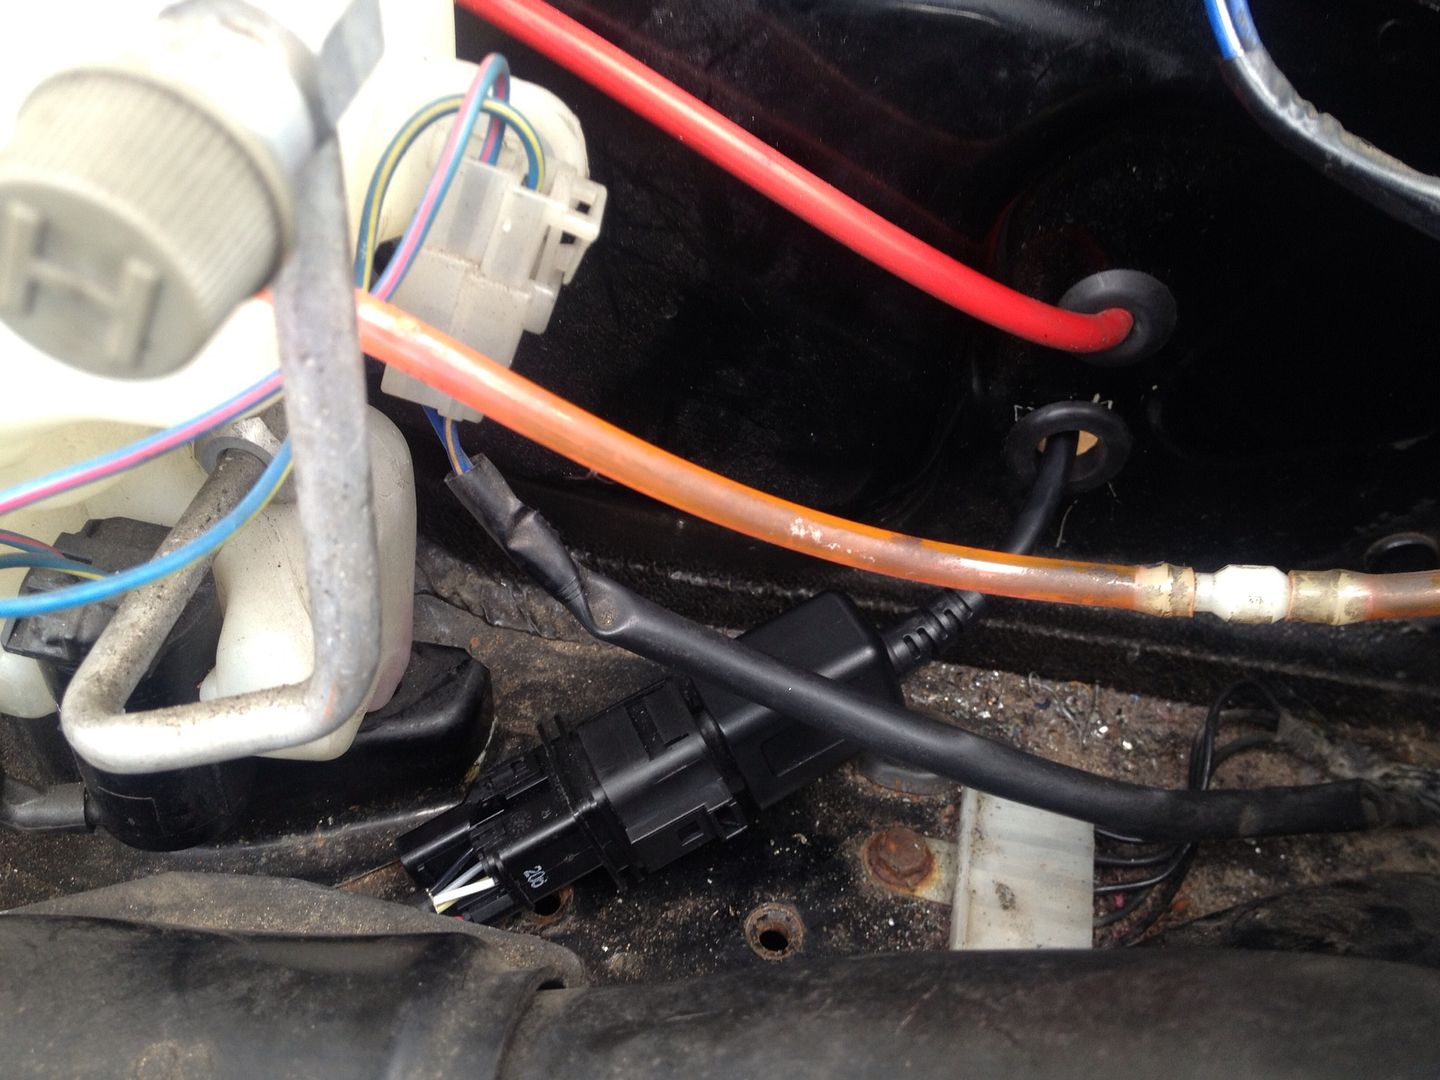
Plus grommet! Yay :D

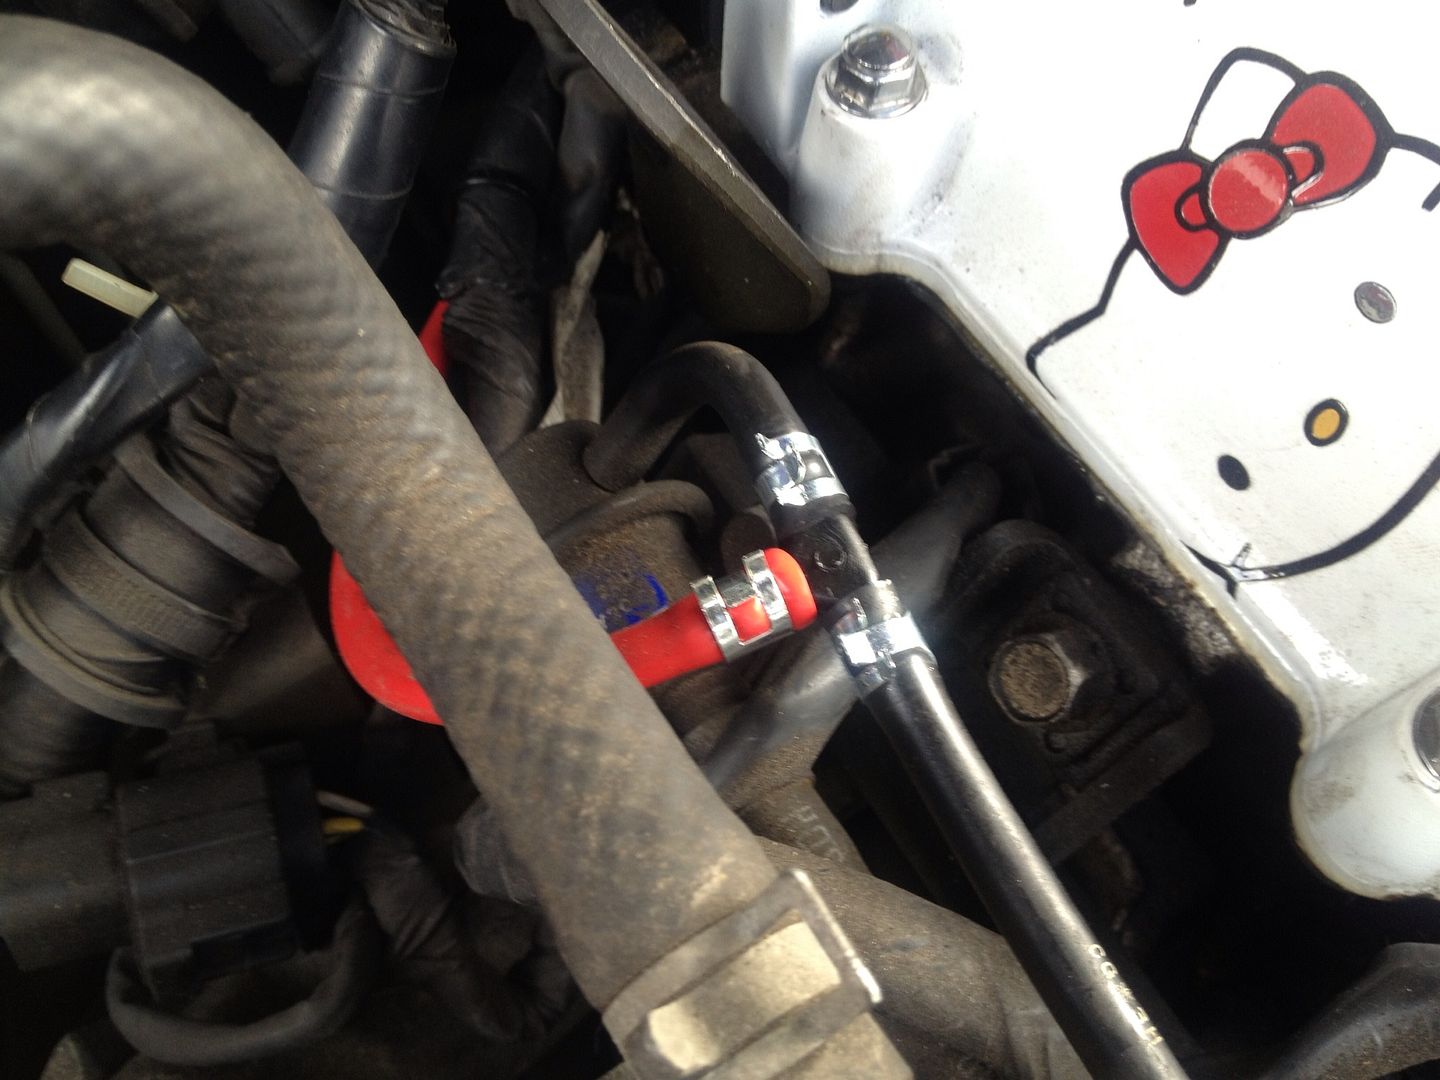
Another small job. T the map vacuum pipe into the FPR vacuum pipe.

67f729fe1c66a096118bc478609f621d.jpg


What's the best way to wrap a wiring loom in self amalgamating loom tape?

d75d0688f1dcf247b78dc60a64a58d48.jpg


Attach the loom to something nice and solid so you can put tension on it while you wrap.

0b8f69d1f80fcfbdf5049bded916e858.jpg


Daughter loom in. Excess neatly coiled away for later.

Then it was time to put an end connector on the car side of one of the daughter loom branches.

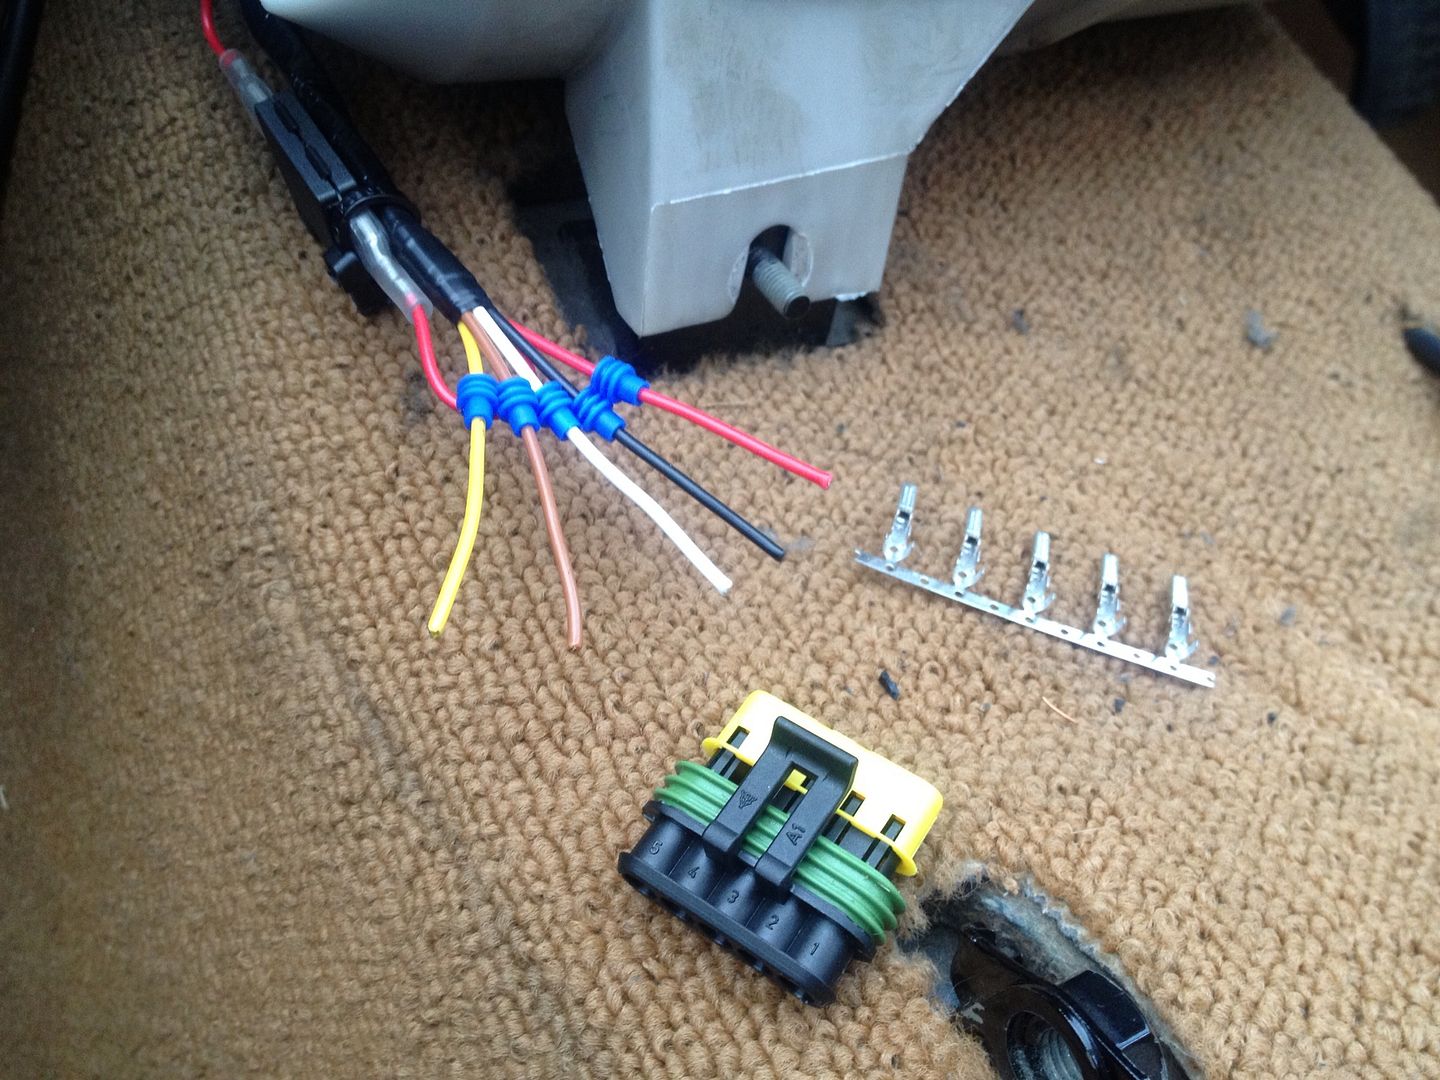
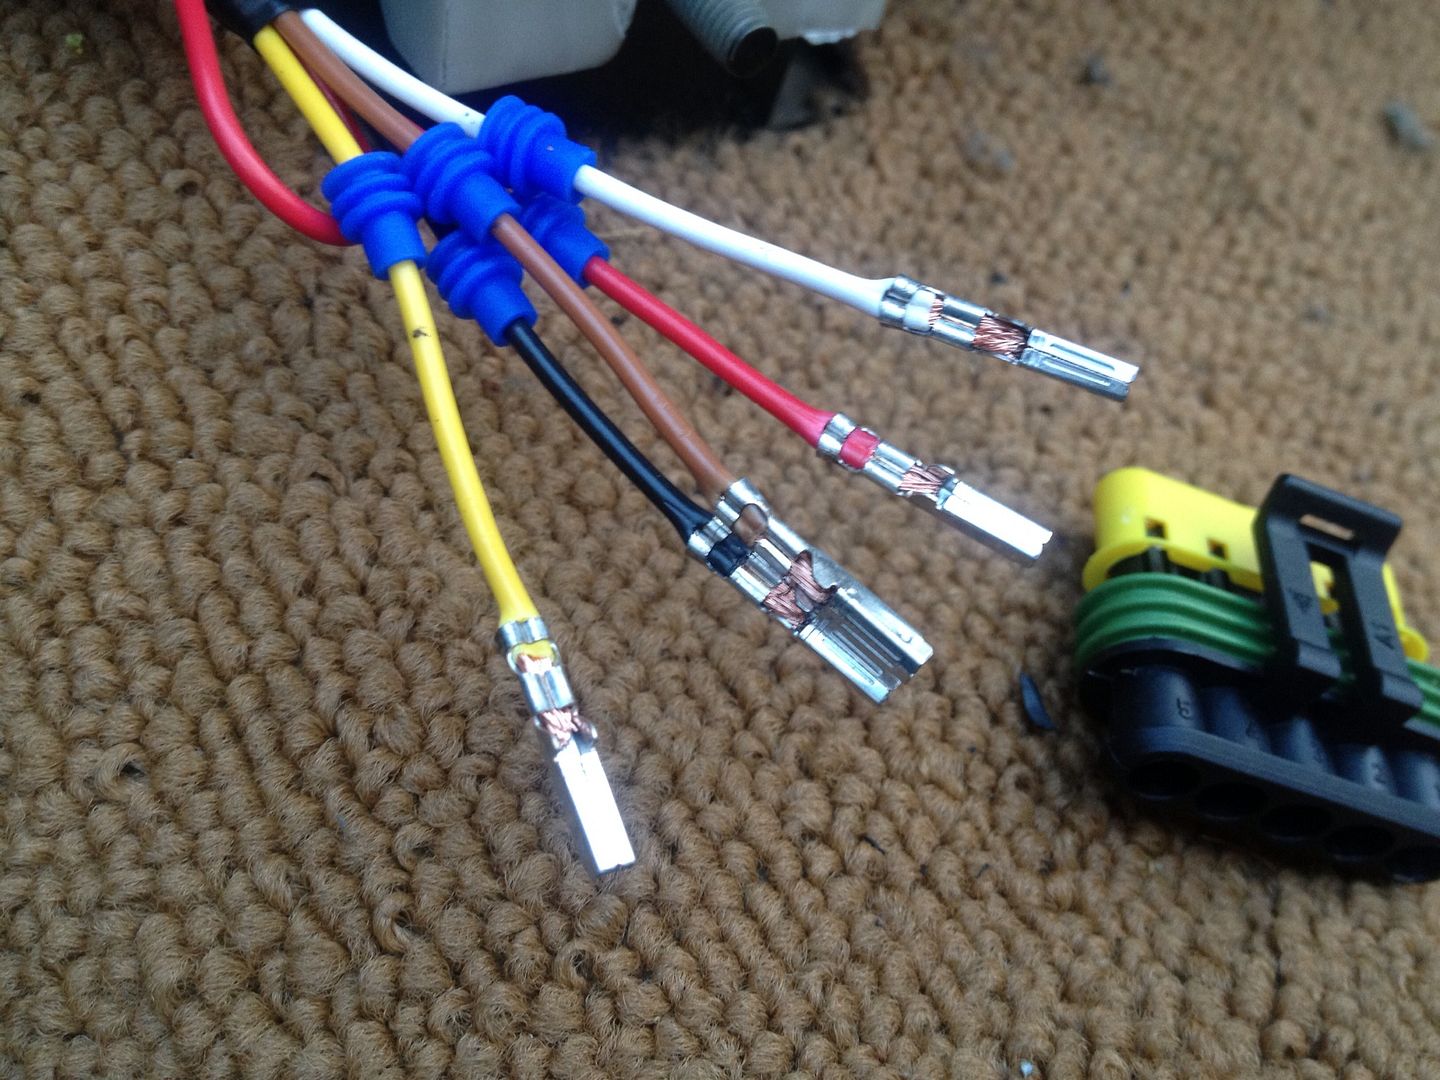
f57cd5e4c75e5b309e5a2496ee0c696d.jpg


First the seals get slid on. It's really fookin annoying when you forget to put these on!

cfe9c40b4e1b84be99a085d2562b41f3.jpg


All five connectors crimped on. The new crimping tool I brought makes a really neat job of these. Much much better than doing them with pliers!

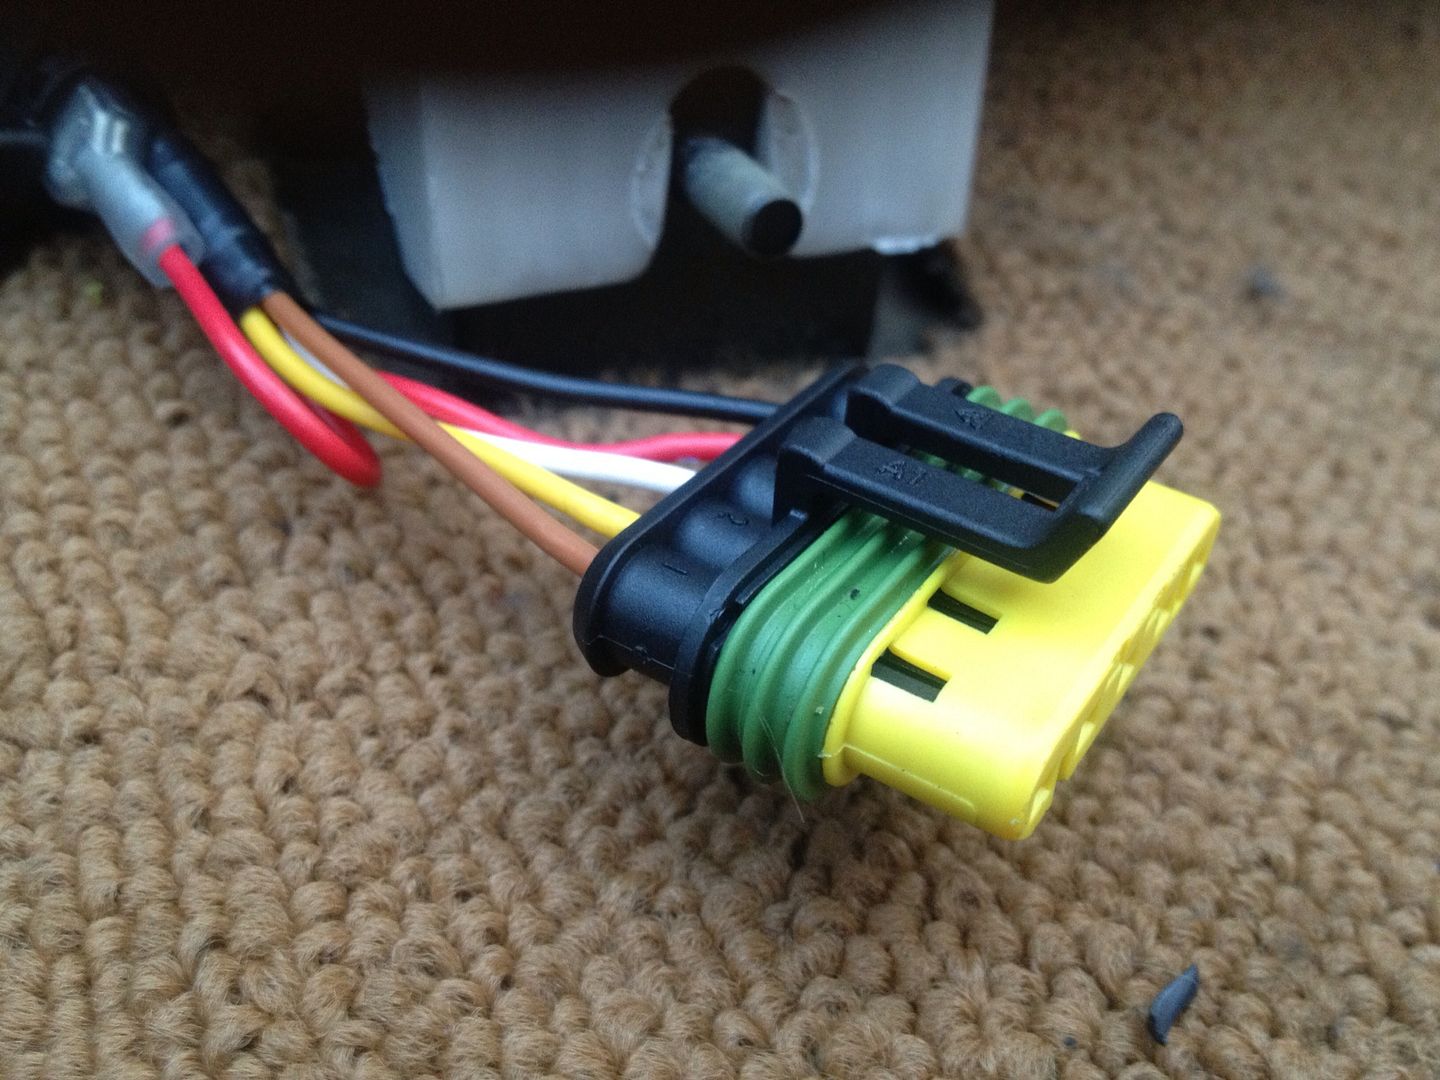
2193a5a48ef6174b3eddb711481de9bb.jpg


Connectors clipped into the housing. Job done. Nice and neat.

Looks like I'm walking to work on Monday. I don't want to rush about too much. I've got a lot of repairs to make on the dashboard loom before I Repaint it and put it back in. Plus I'm removing the three core mains wire that has been used to run the connection to the rear fog. So a new run to the boot is needed alongside tidying the fog light switch wiring.

Small steps.......