
(You may have read this on another forum. I'm cheating and copy n pasting it. Sorry!)
A bit of an intro and hopefully a thread to come back to and update with our adventures.
![Image]()
Hi everyone!
![Image]()
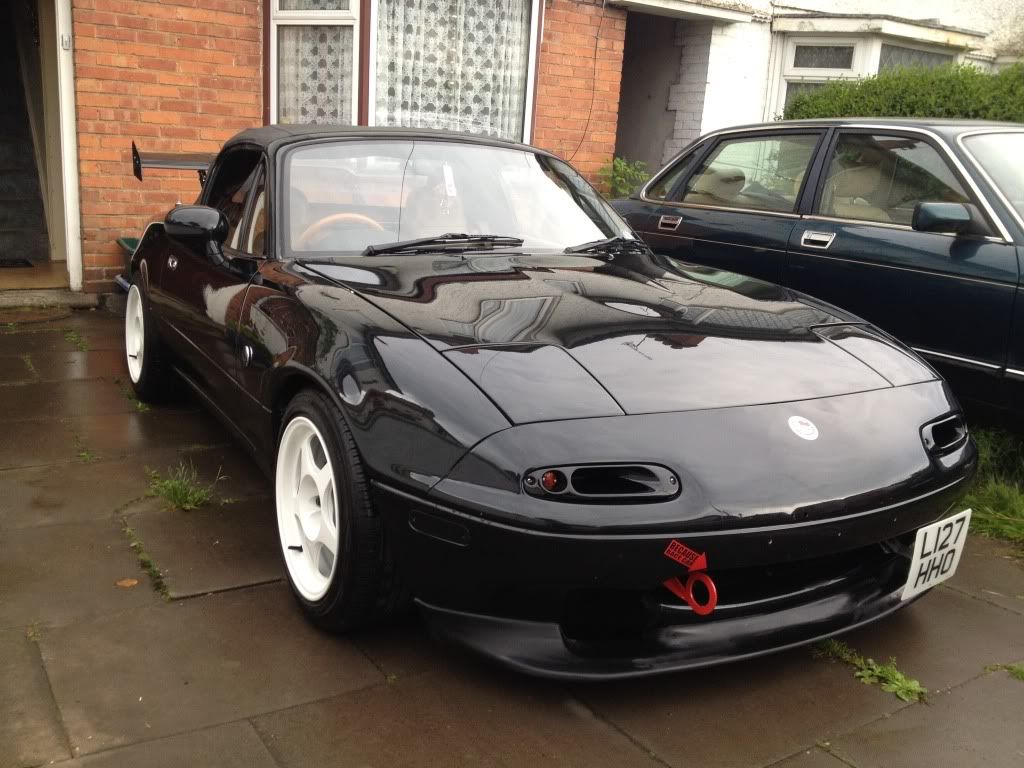
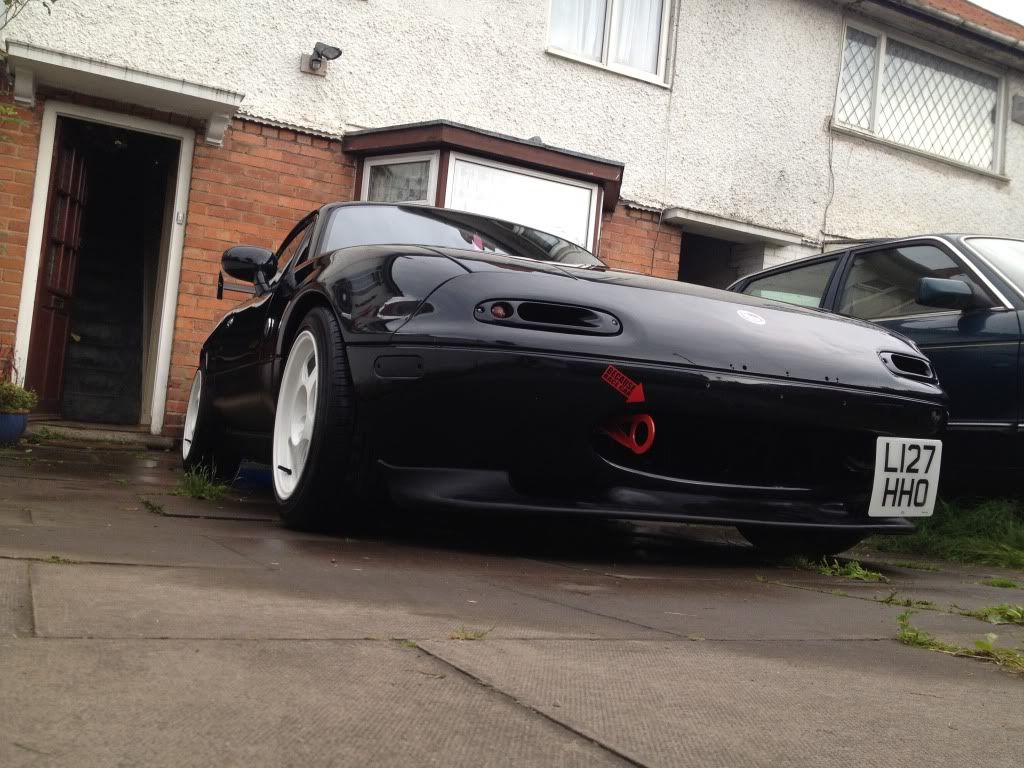
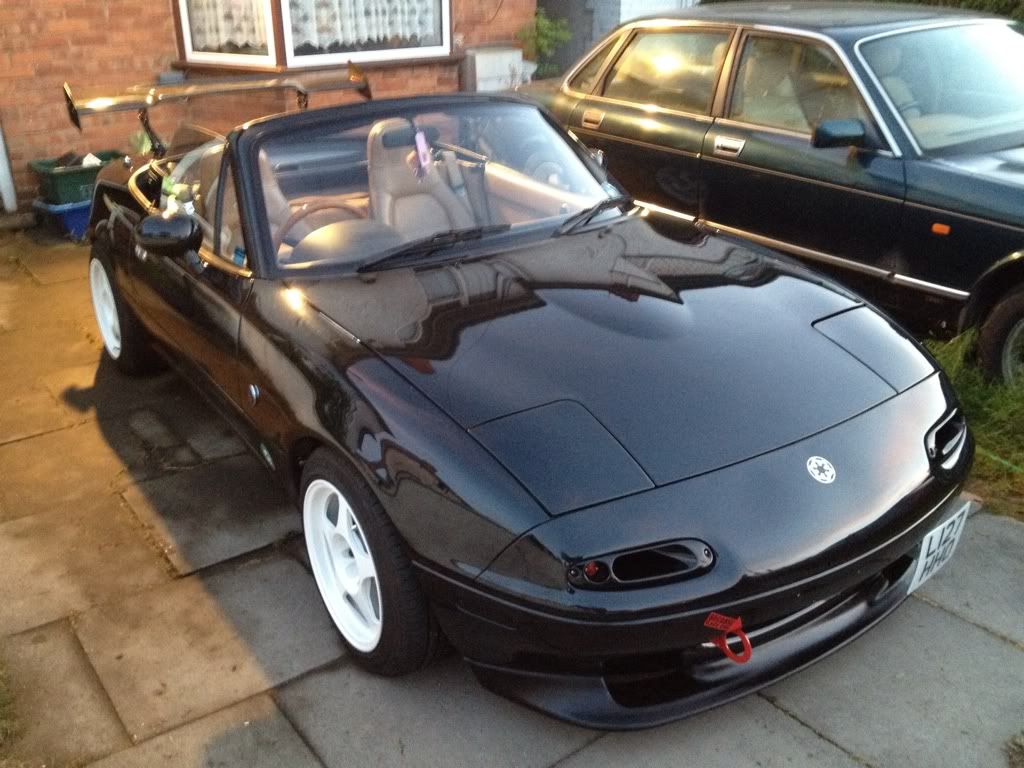
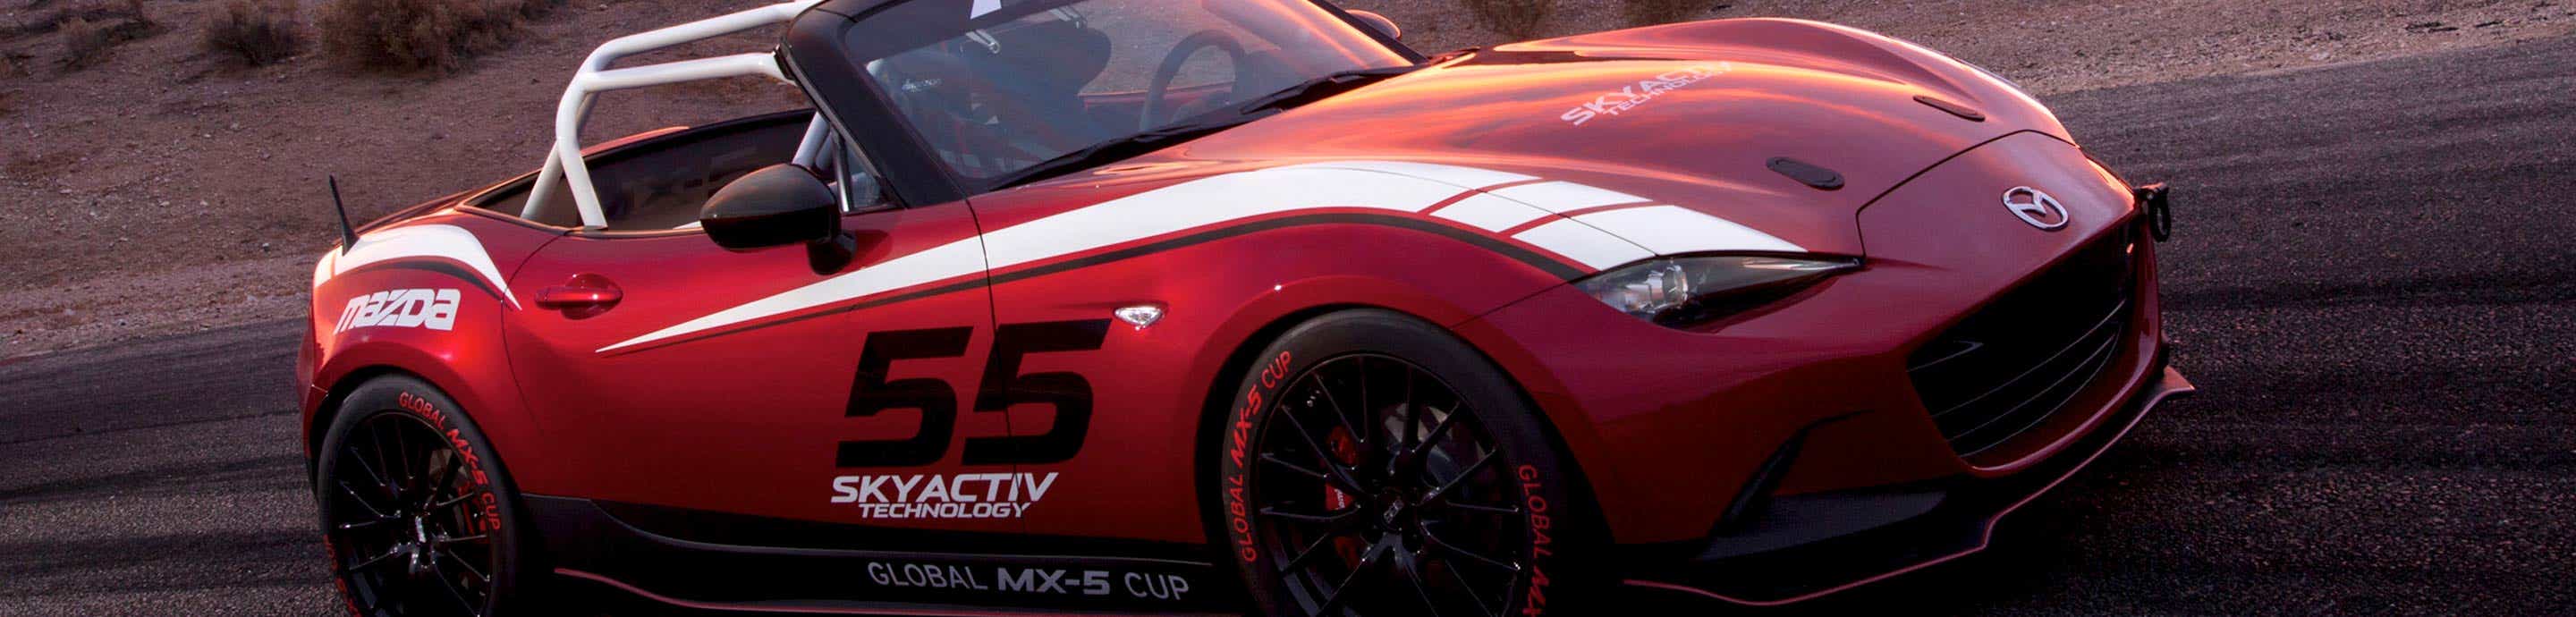
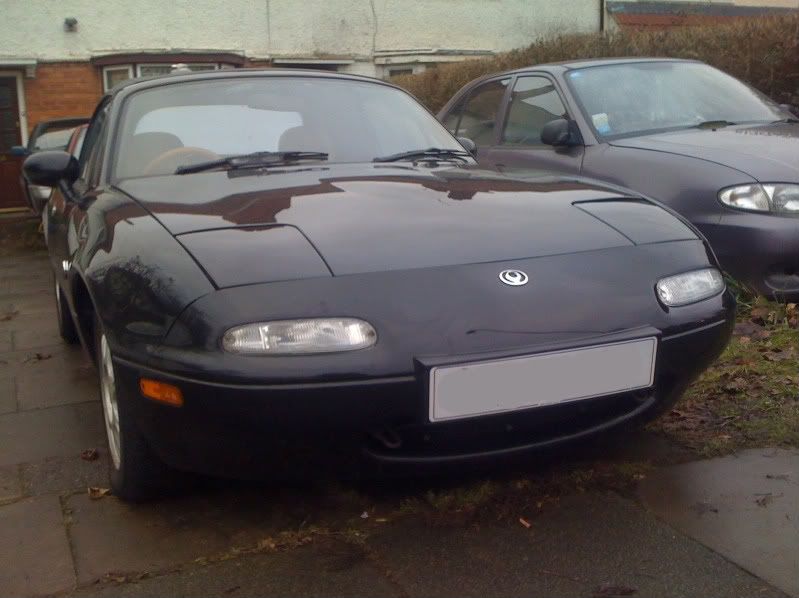
As pictured in her AutoTrader advert.
![Image]()
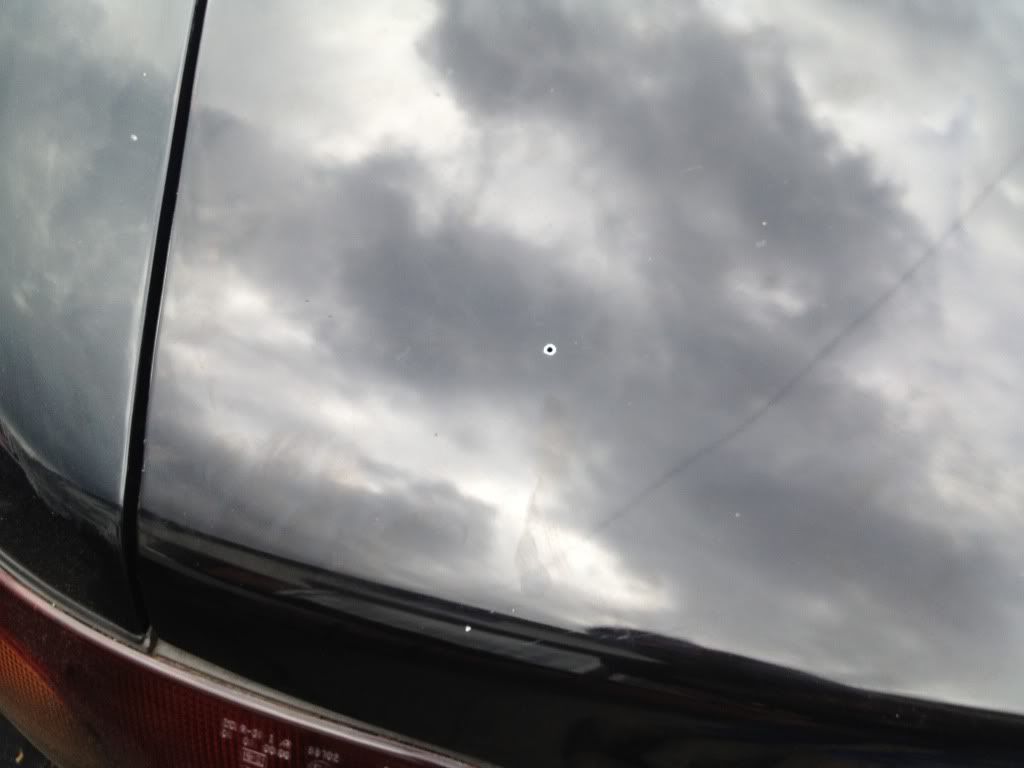
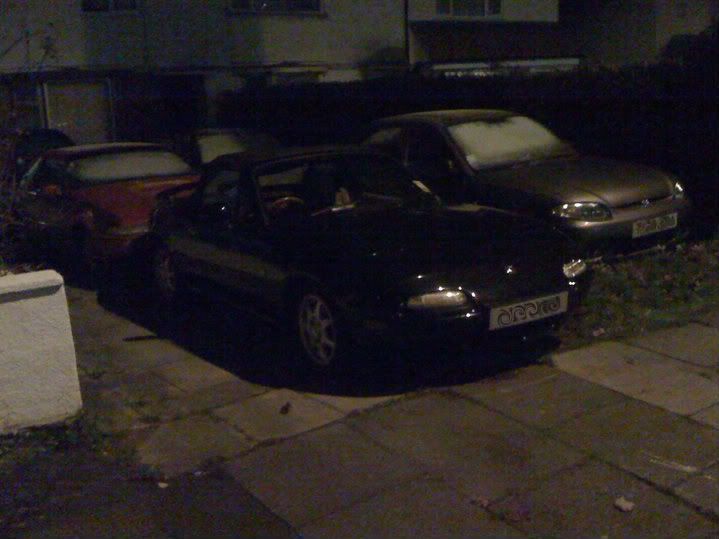
The conditions I brought her in. A masterclass in breaking every rule of car buying. Dark, Raining, Car with no history, Test drive to the end of the road and back.
Oh well. I'm handy with a spanner. I'll forgive myself for buying with my heart on this one.
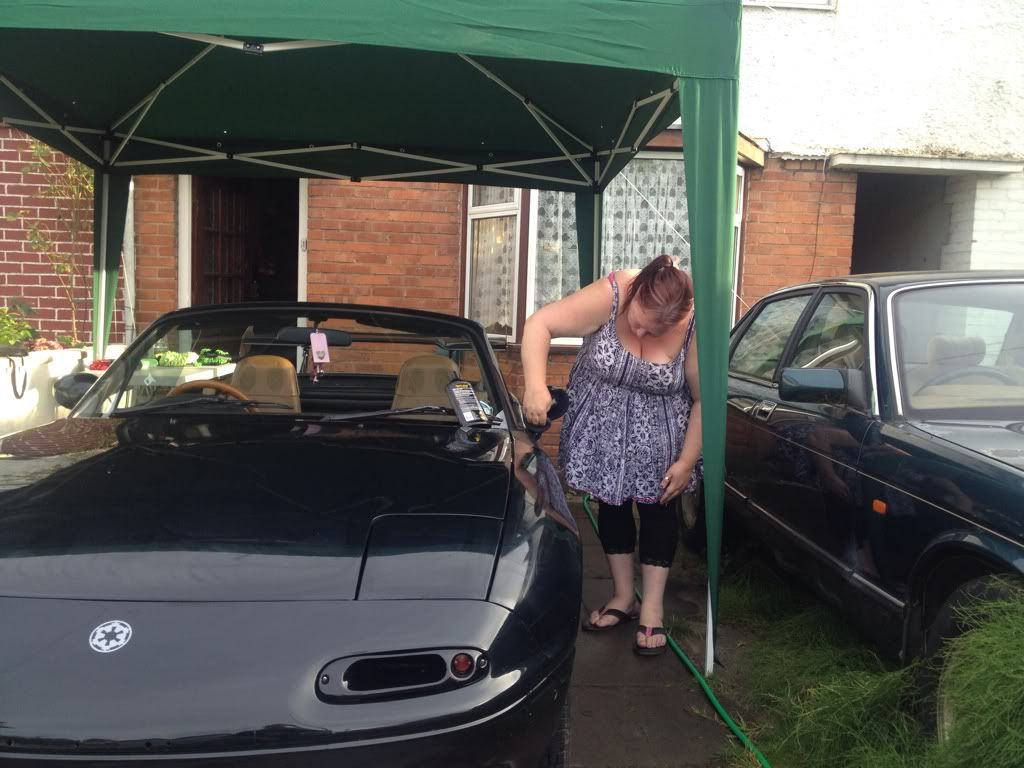
![Image]()
Back home. Managed 87 miles before the snow descended and she got parked up for the Christmas break.
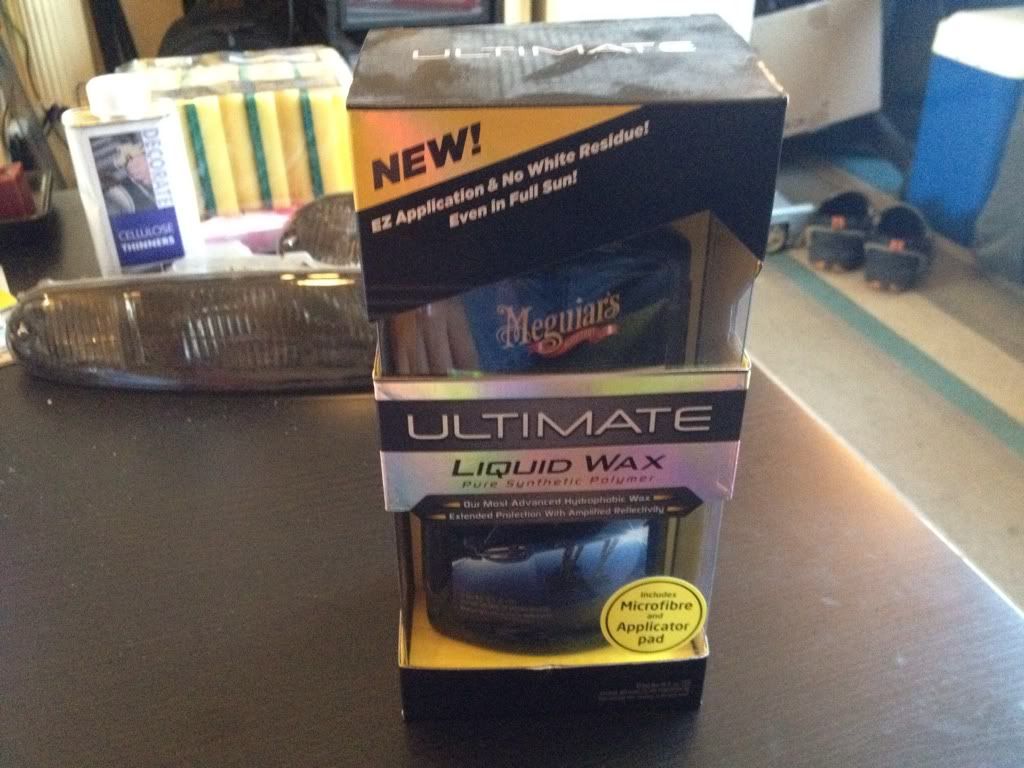
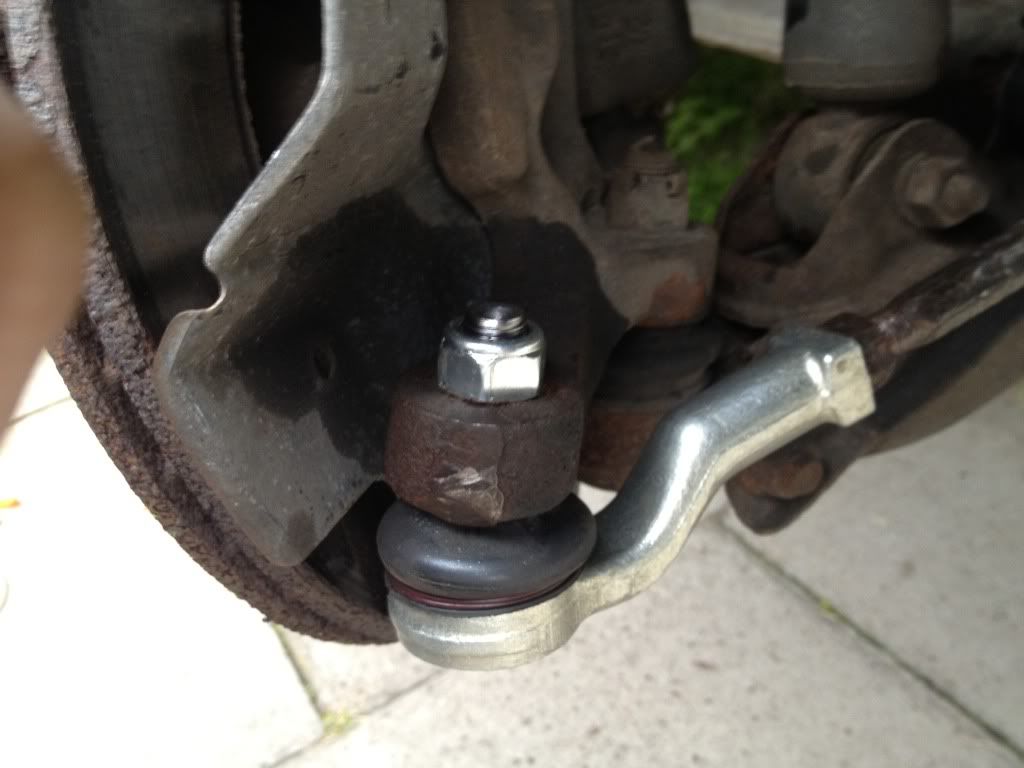
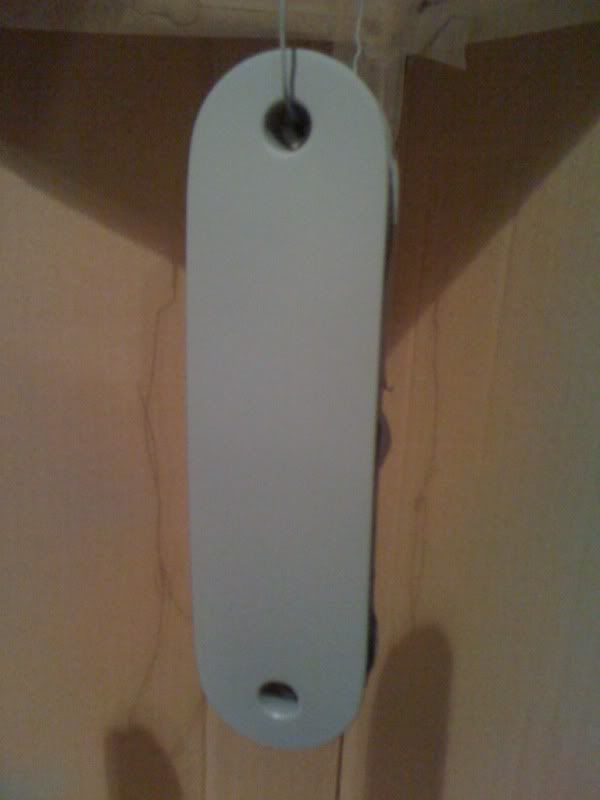
The first change. From this -
![Image]()
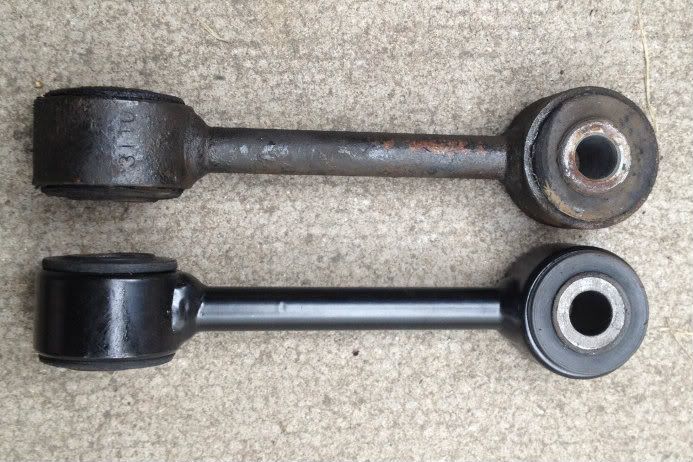
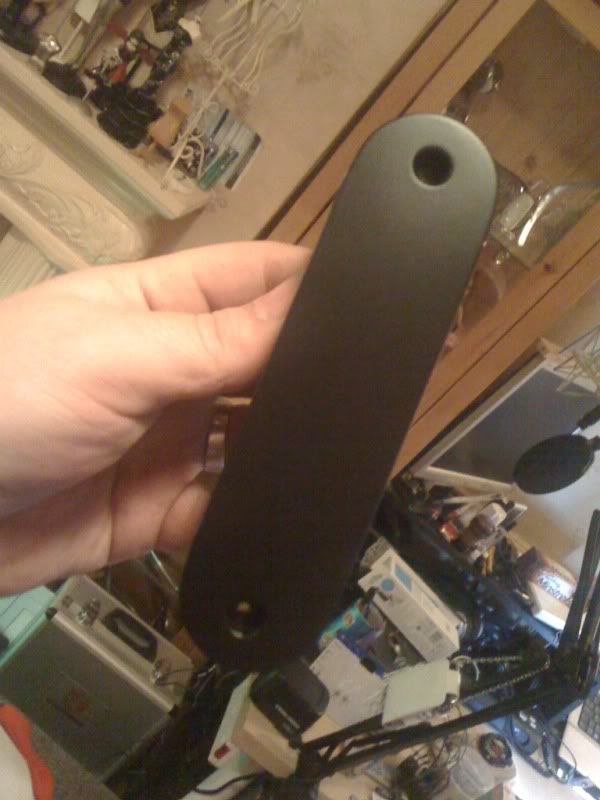
To this -
![Image]()
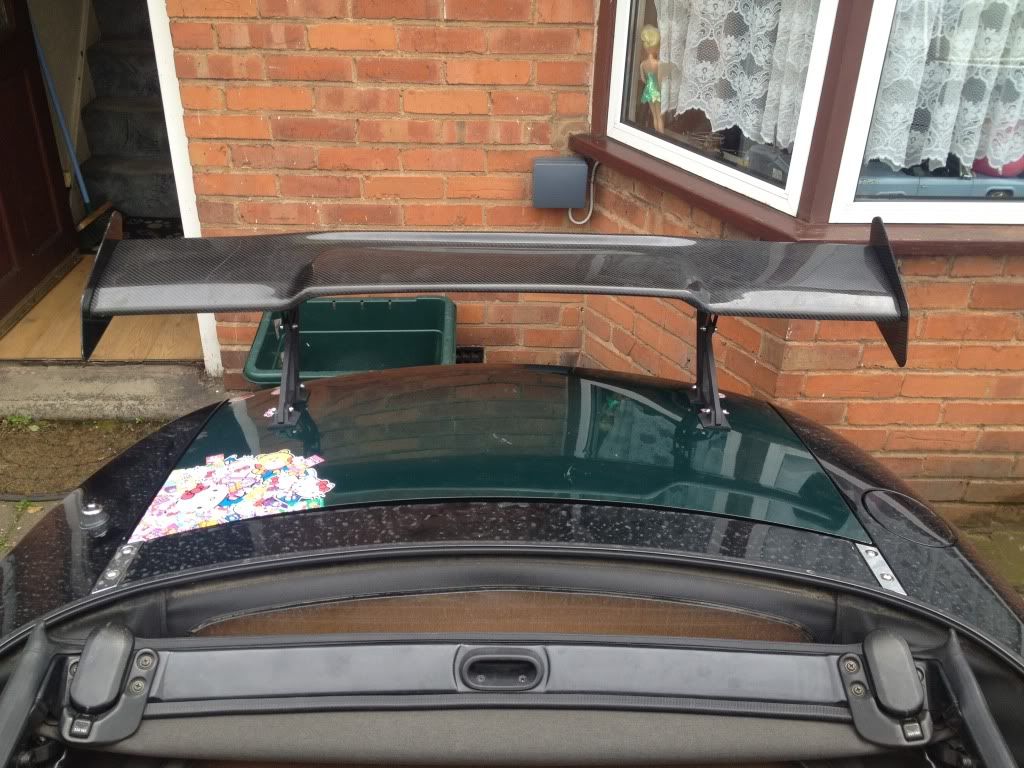
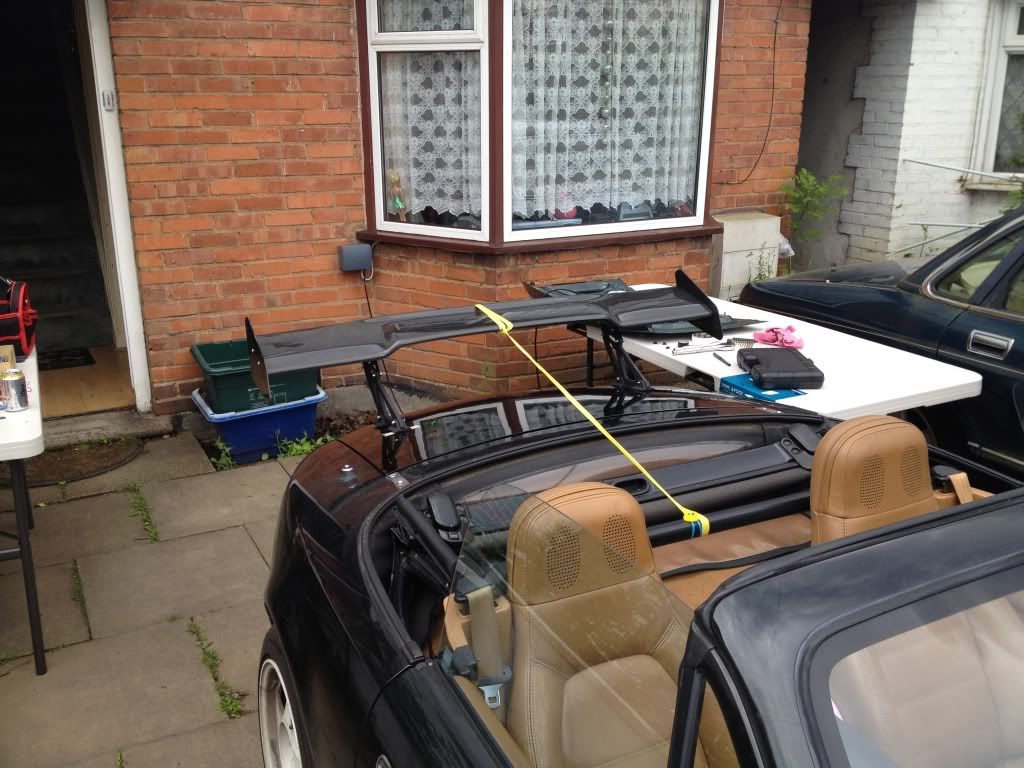
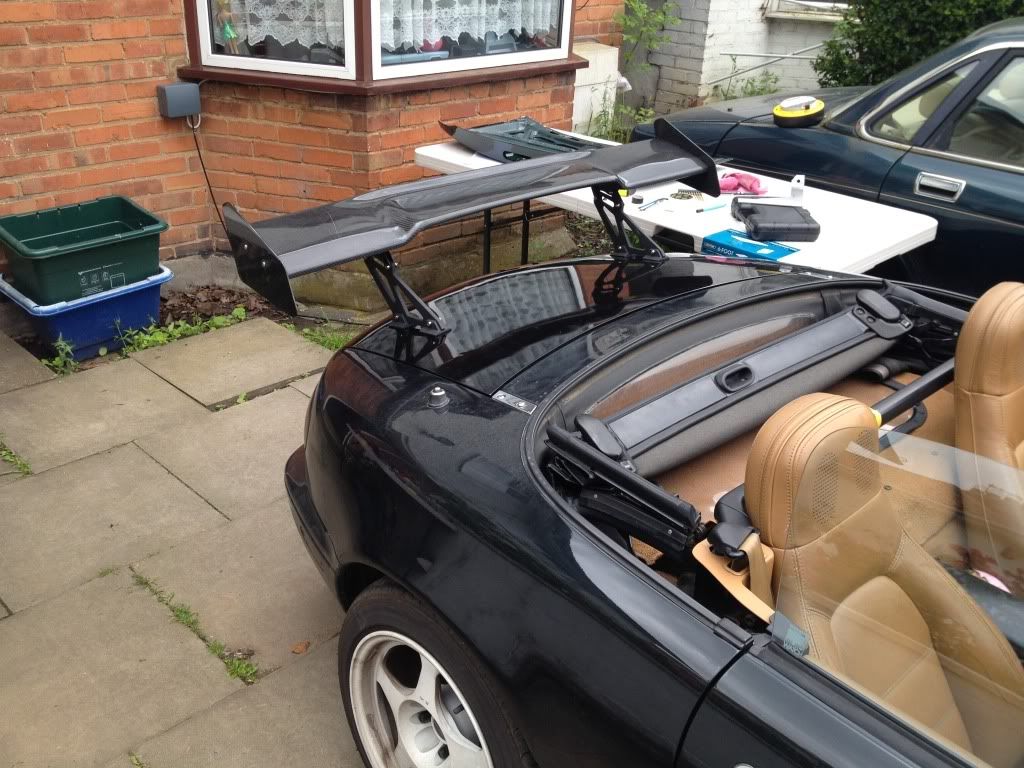
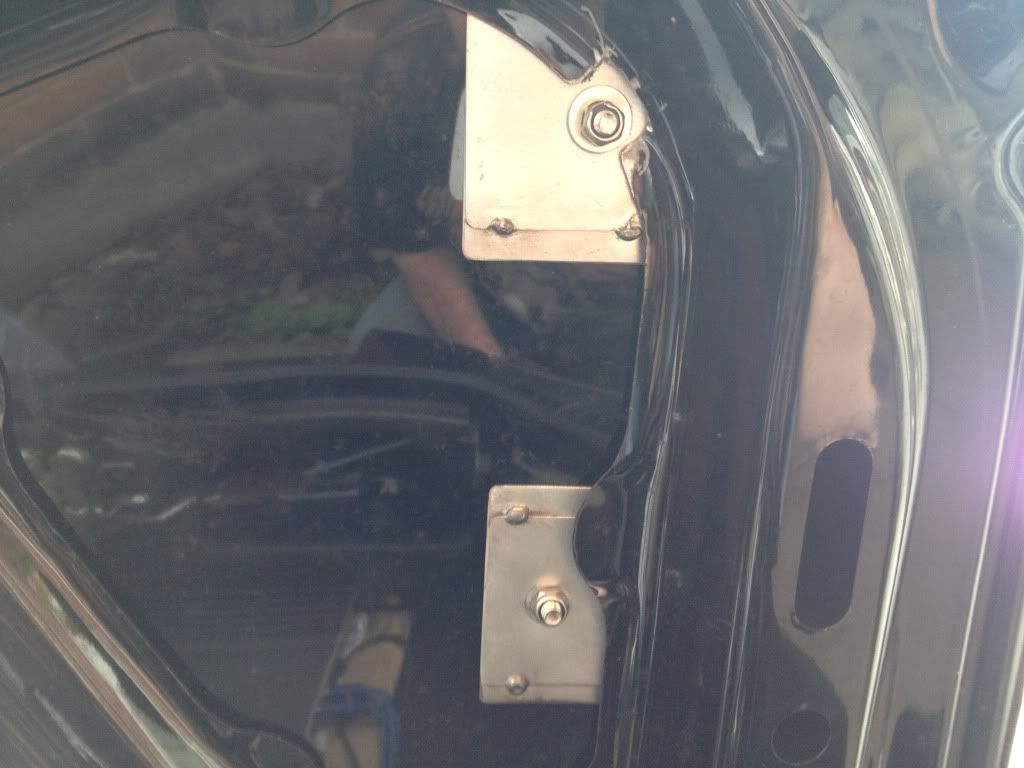
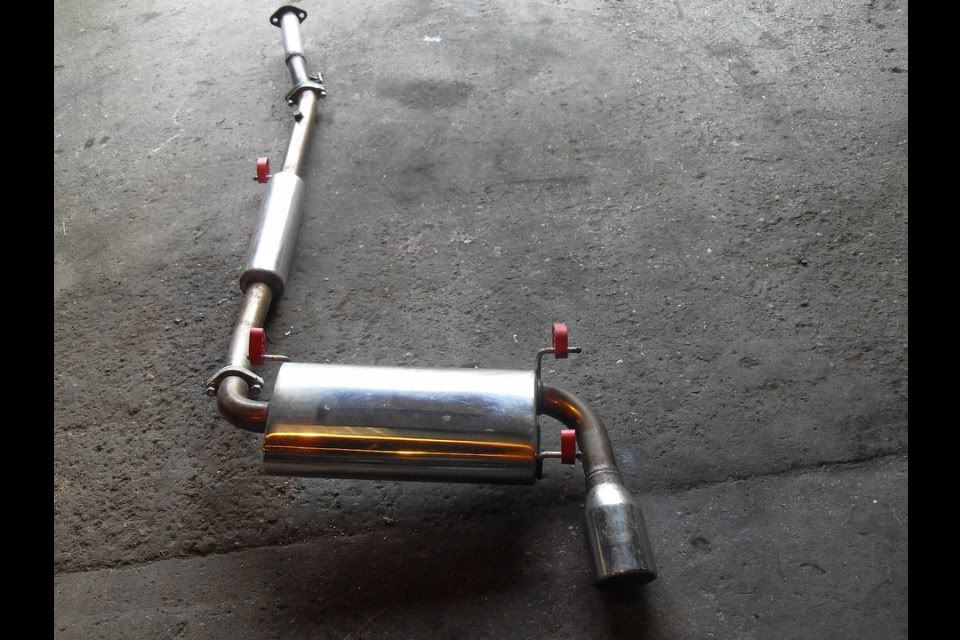
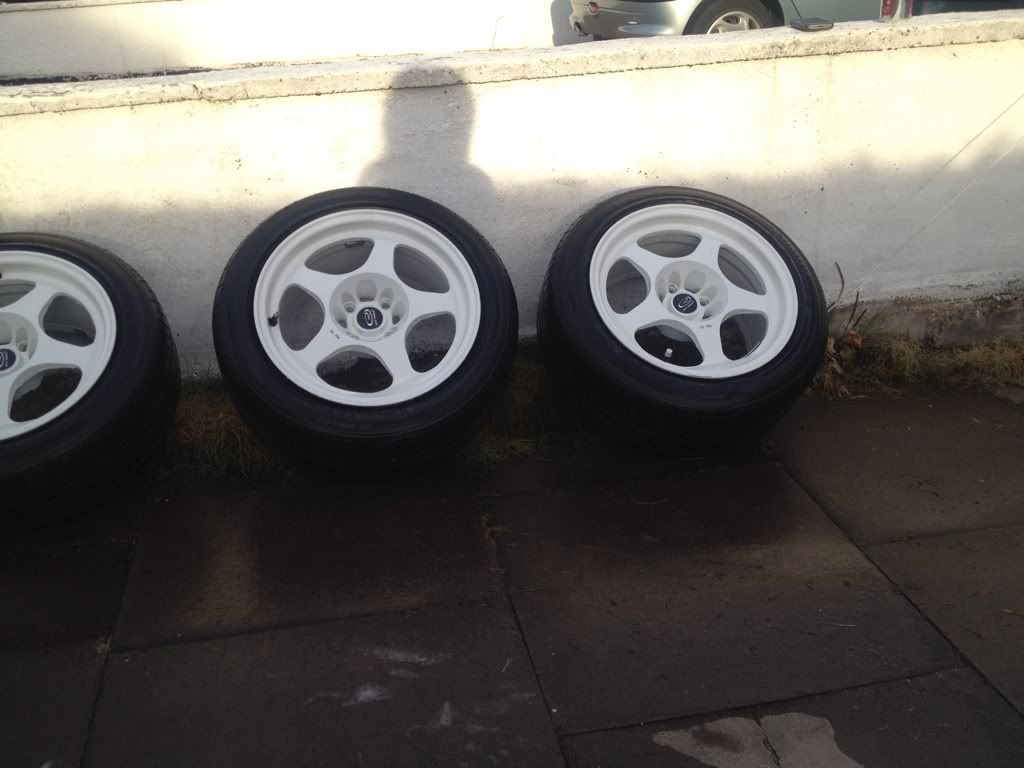
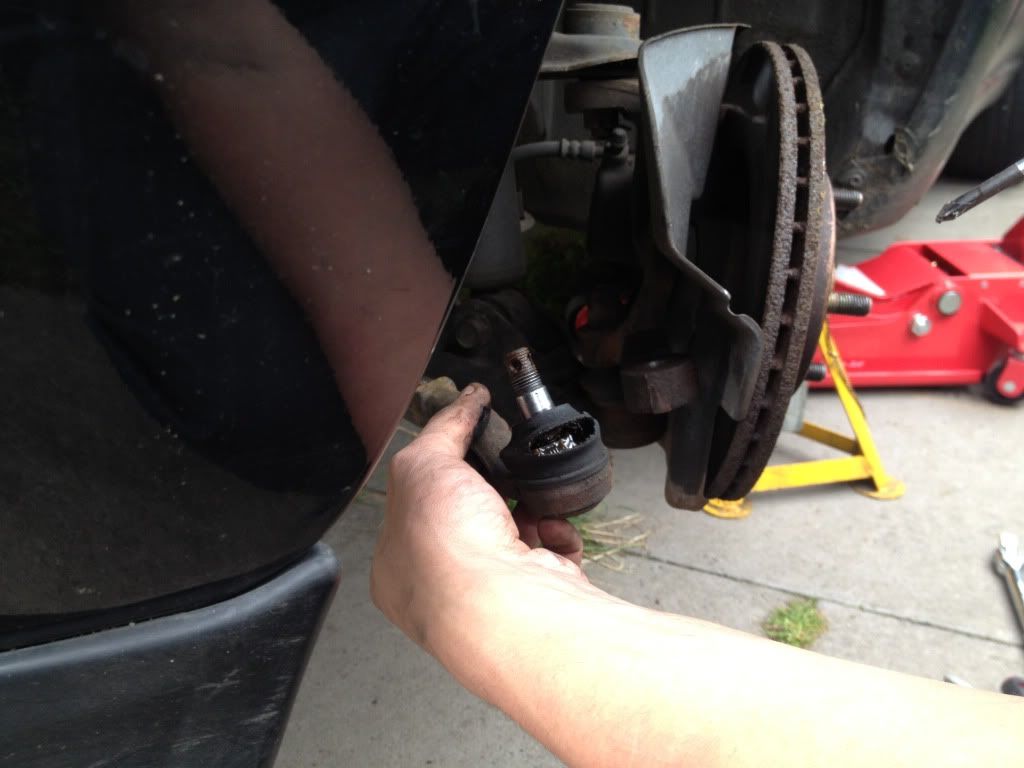
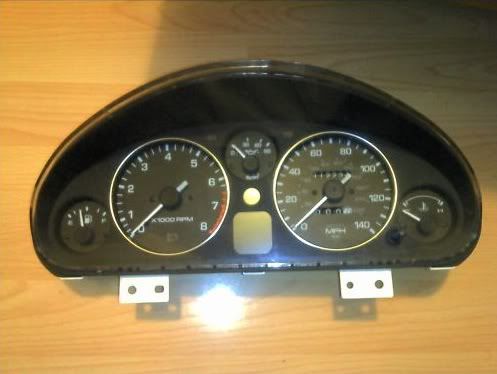
Next, From this -
![Image]()
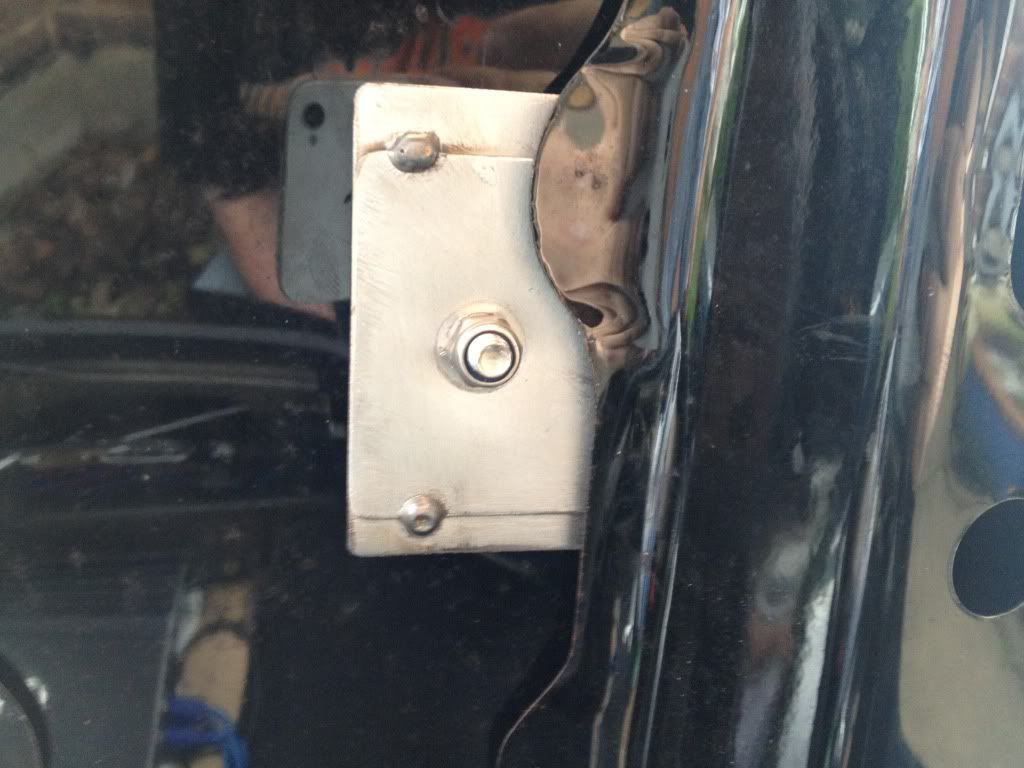
To this -
![Image]()
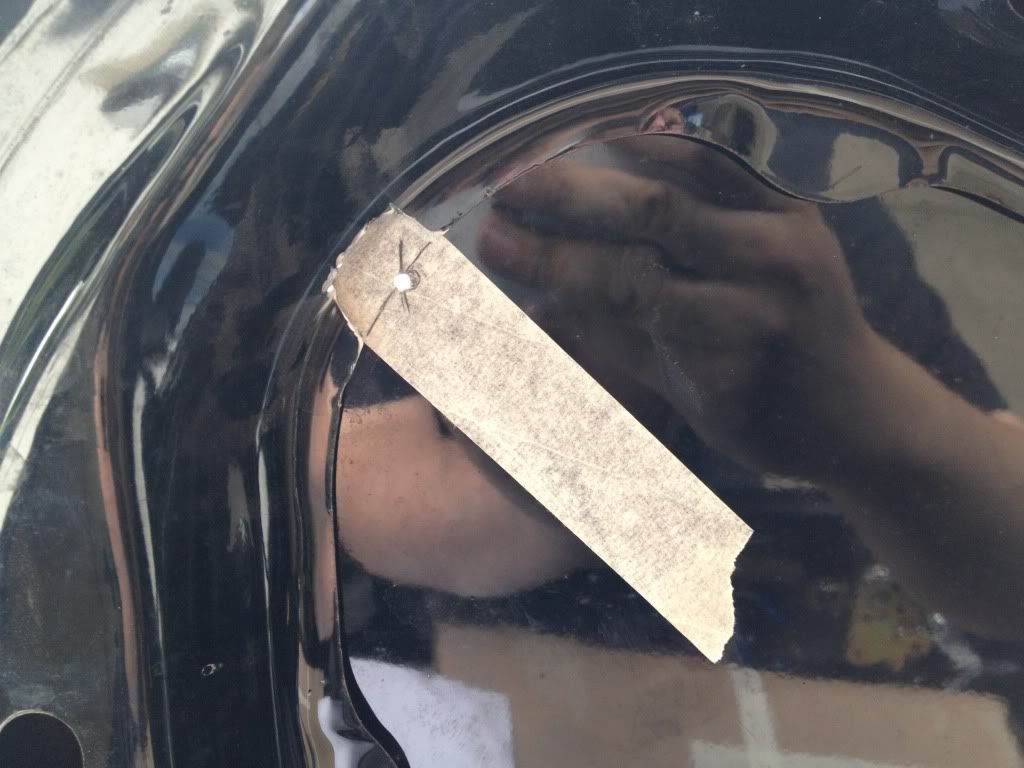
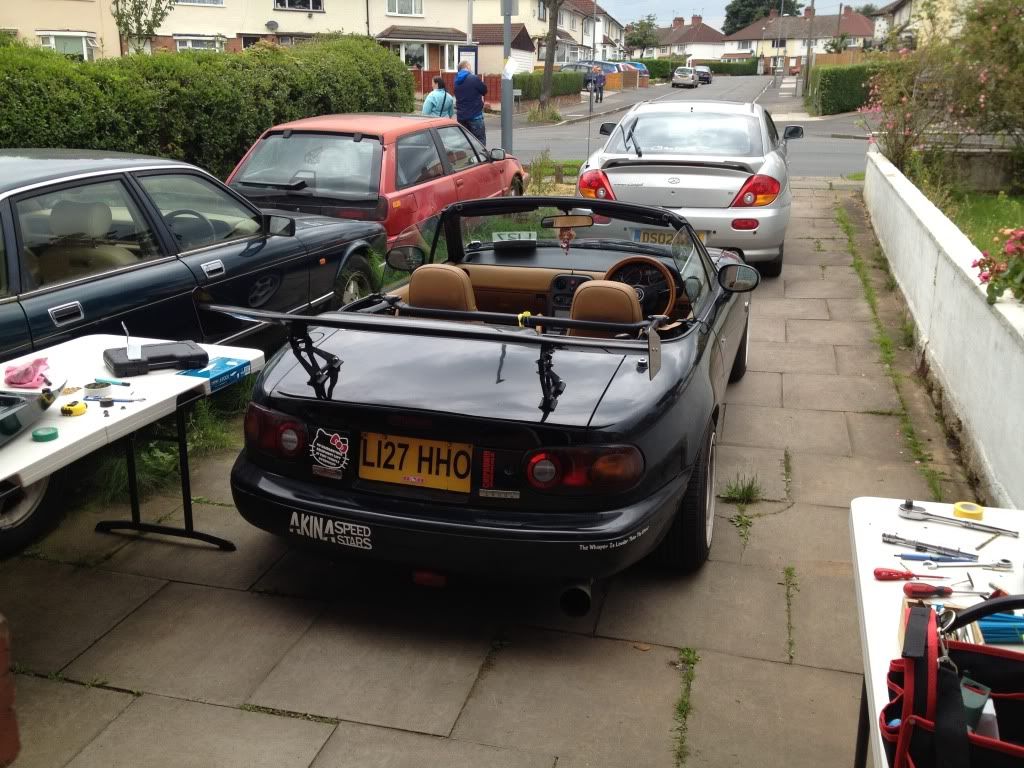
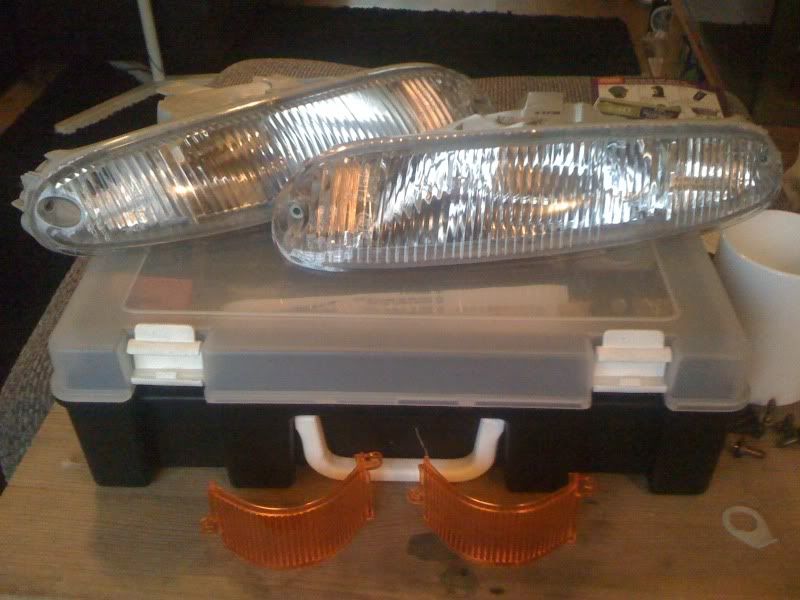
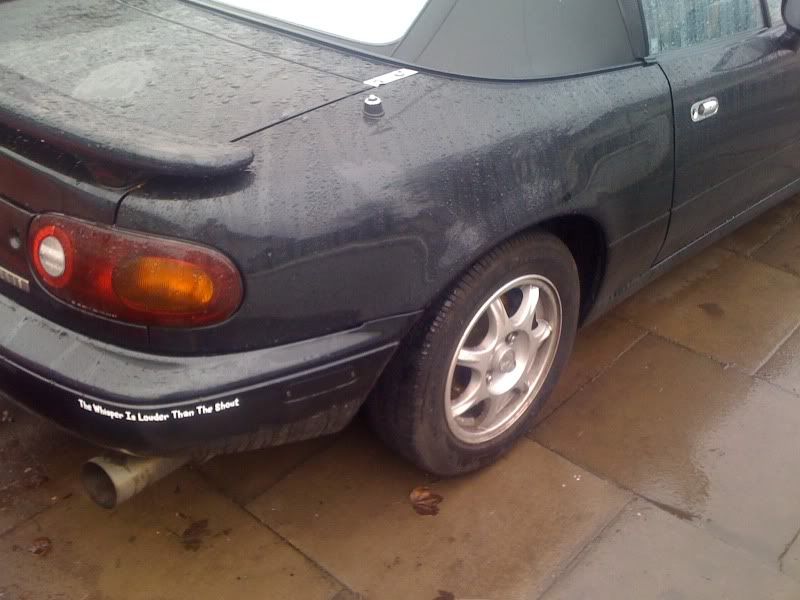
In my opinion all black 5's should be de-tango'd by law. So -
![Image]()
![Image]()
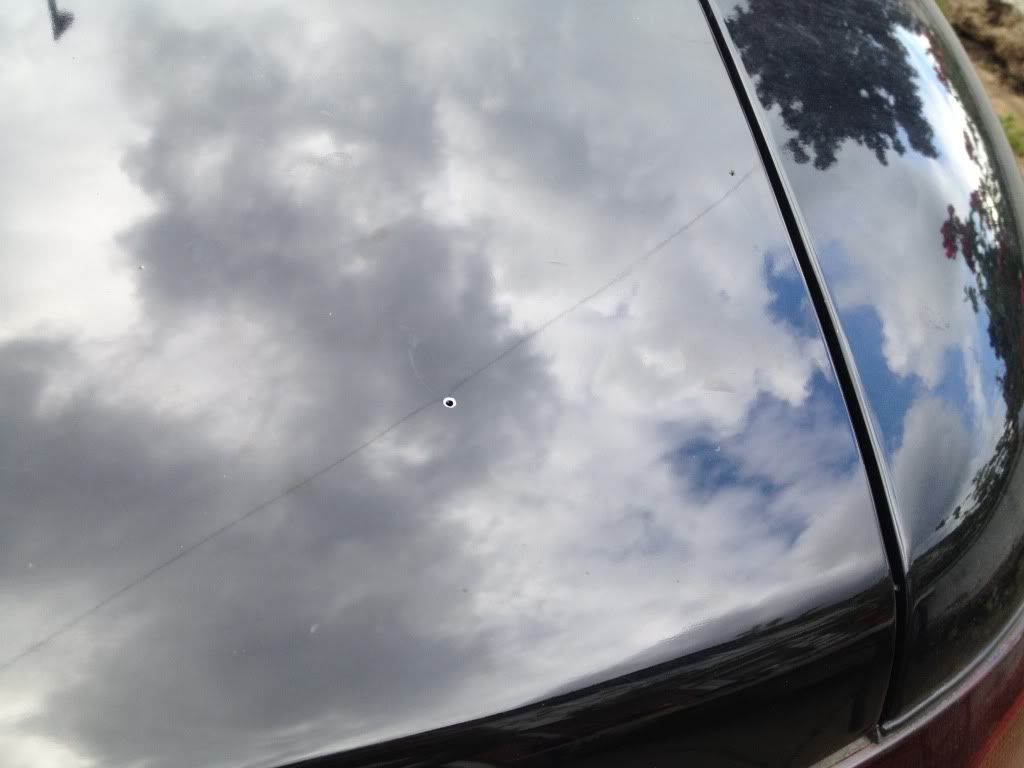
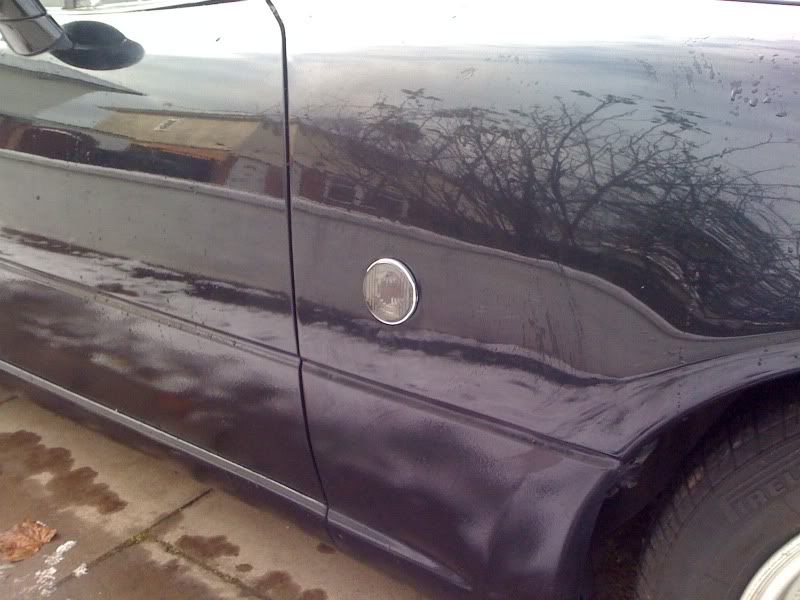
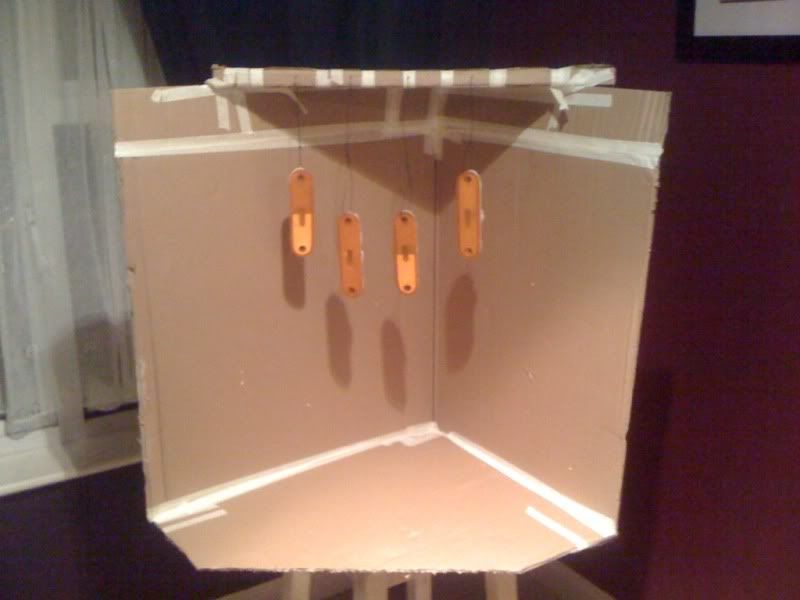
But that makes the reflectors really obvious. Easily solved -
![Image]()
![Image]()
![Image]()
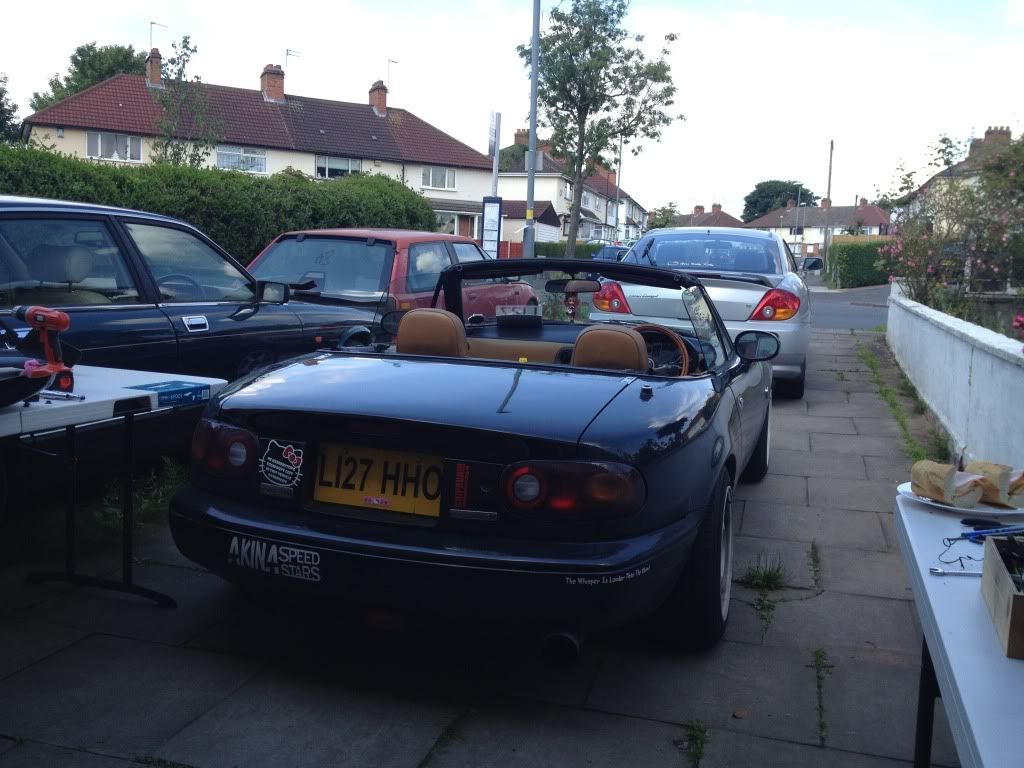
A sticker! Hey it's my midlife crisis and I will include stickers in that if I wanna!
![Image]()
![Image]()
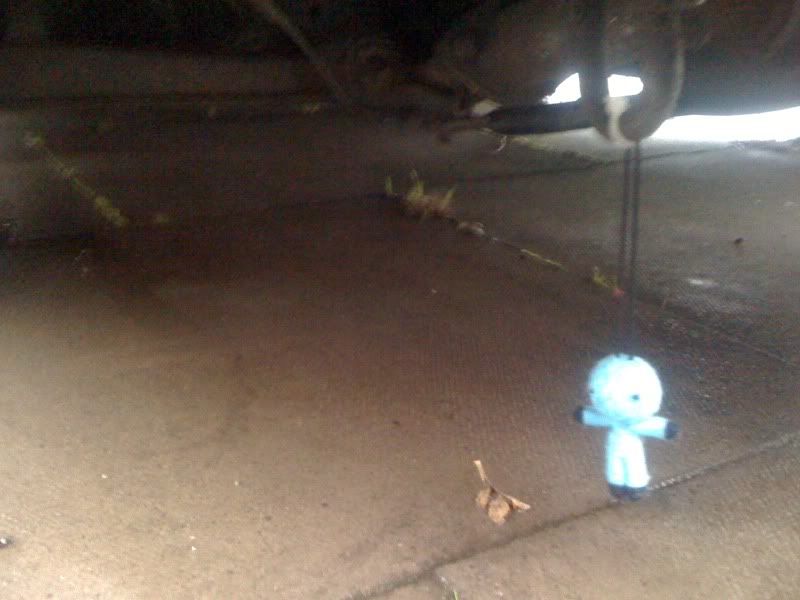
And last for now, a drift charm. I did slide the rear on a roundabout, by accident. No one noticed but I officially have declared it a drift and therefore I am allowed a charm
![Image]()
There is also the blog if you follow such things. it is at http://www.eunos-roadster.co.uk
Cheers!
C
A bit of an intro and hopefully a thread to come back to and update with our adventures.


As pictured in her AutoTrader advert.
The conditions I brought her in. A masterclass in breaking every rule of car buying. Dark, Raining, Car with no history, Test drive to the end of the road and back.
Oh well. I'm handy with a spanner. I'll forgive myself for buying with my heart on this one.
Back home. Managed 87 miles before the snow descended and she got parked up for the Christmas break.
The first change. From this -

To this -
Next, From this -
To this -
In my opinion all black 5's should be de-tango'd by law. So -
But that makes the reflectors really obvious. Easily solved -
A sticker! Hey it's my midlife crisis and I will include stickers in that if I wanna!

And last for now, a drift charm. I did slide the rear on a roundabout, by accident. No one noticed but I officially have declared it a drift and therefore I am allowed a charm
There is also the blog if you follow such things. it is at http://www.eunos-roadster.co.uk
Cheers!
C