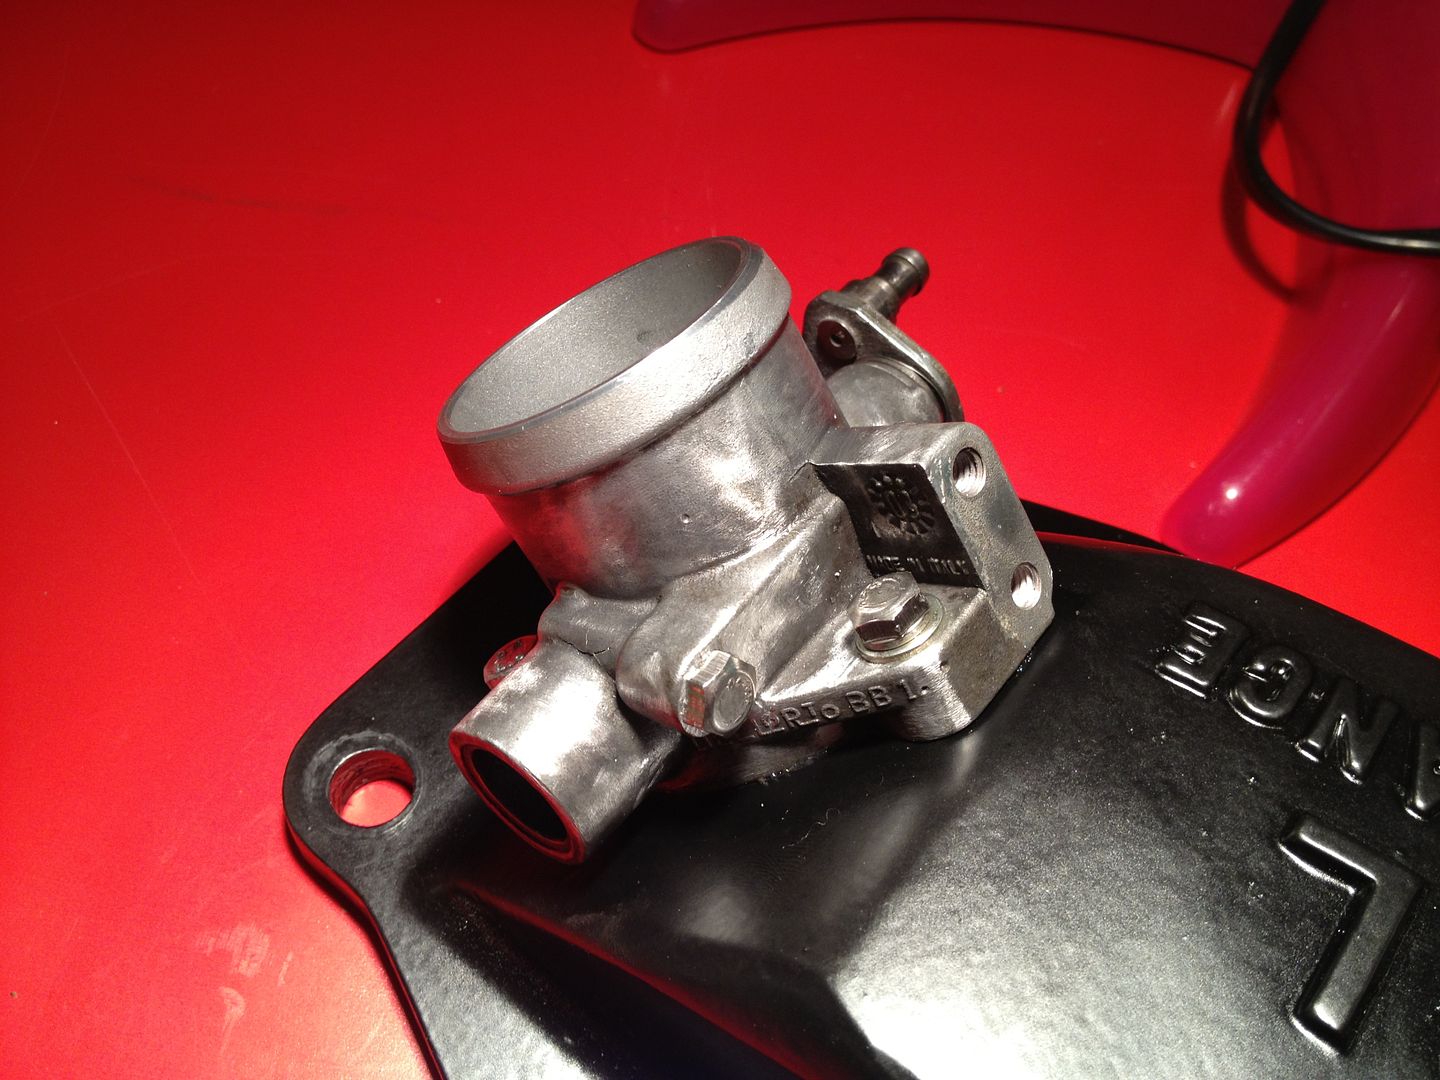
Mazda MX-5 Miata banner

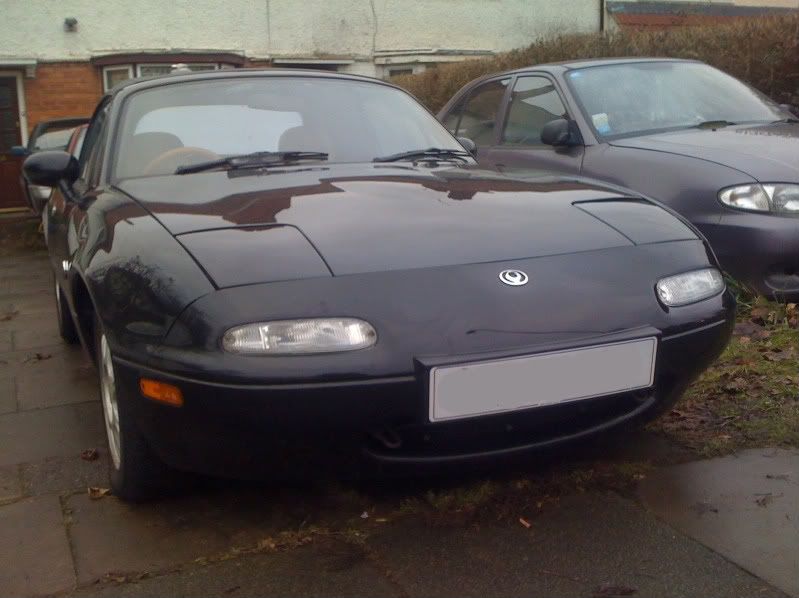
"Whisper" - A Black '94 1.8L Na V-Special

87K views 561 replies 104 participants last post by  Jacksheps  
#1 ·
(You may have read this on another forum. I'm cheating and copy n pasting it. Sorry!)

A bit of an intro and hopefully a thread to come back to and update with our adventures.
Image
Hi everyone!

Image

As pictured in her AutoTrader advert.
Image

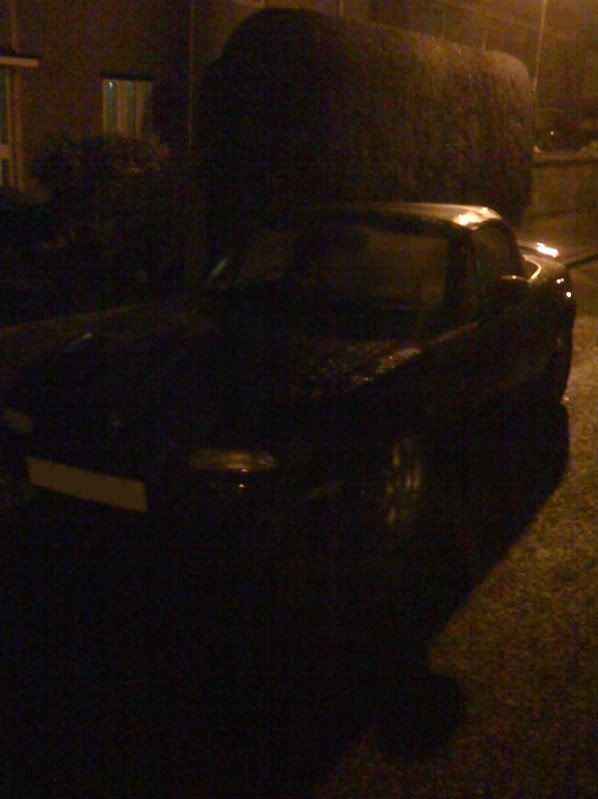
The conditions I brought her in. A masterclass in breaking every rule of car buying. Dark, Raining, Car with no history, Test drive to the end of the road and back.

Oh well. I'm handy with a spanner. I'll forgive myself for buying with my heart on this one.
Image

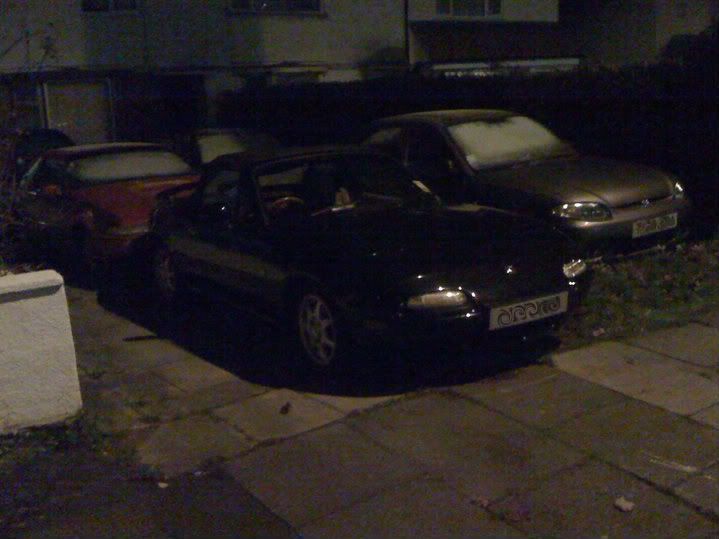
Back home. Managed 87 miles before the snow descended and she got parked up for the Christmas break.

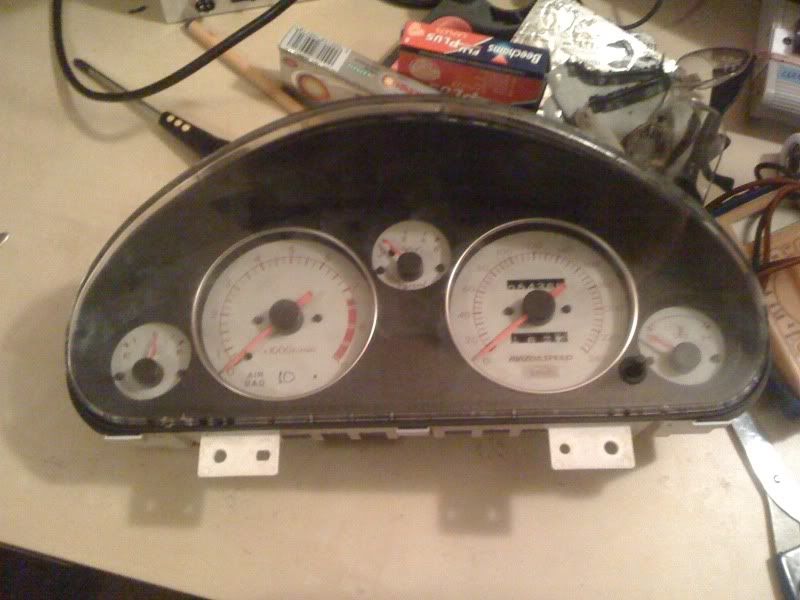
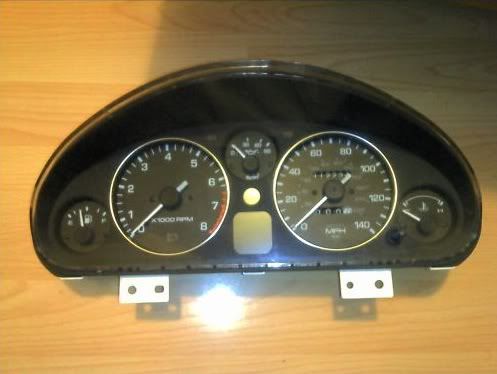
The first change. From this -
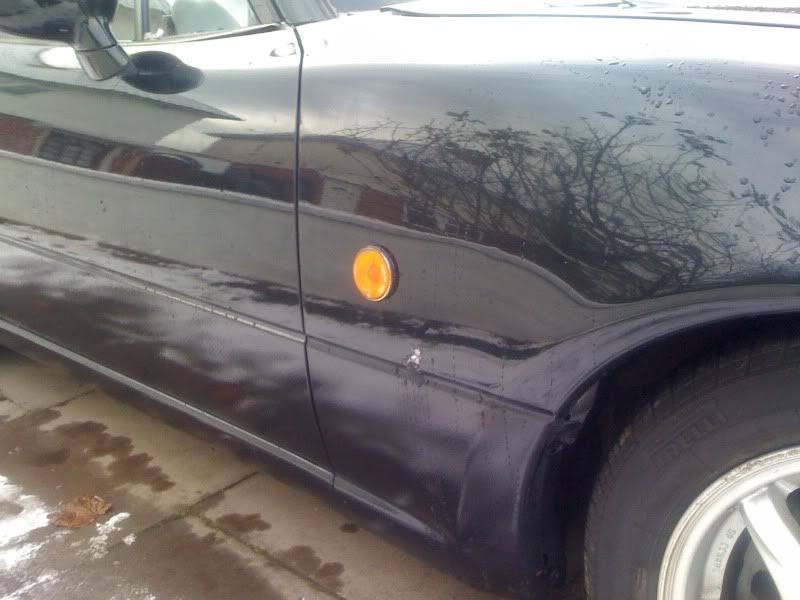
Image


To this -
Image


Next, From this -
Image


To this -
Image


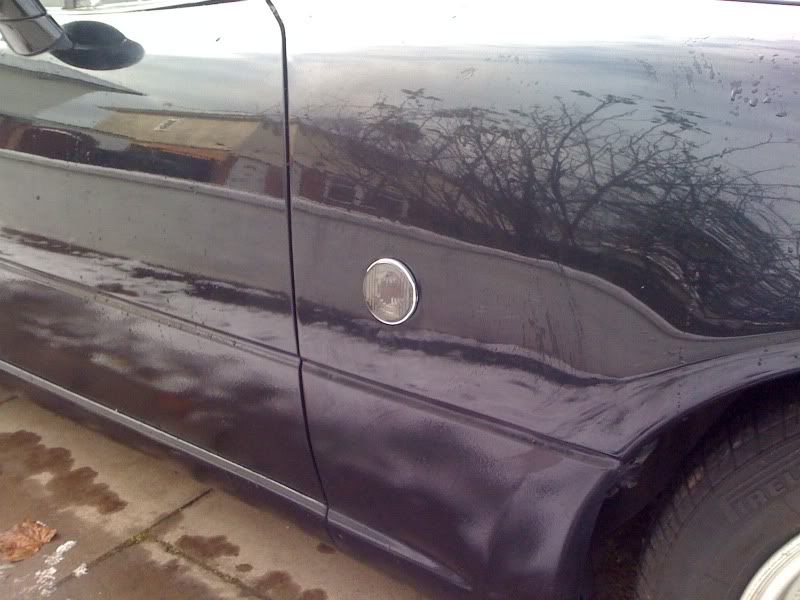
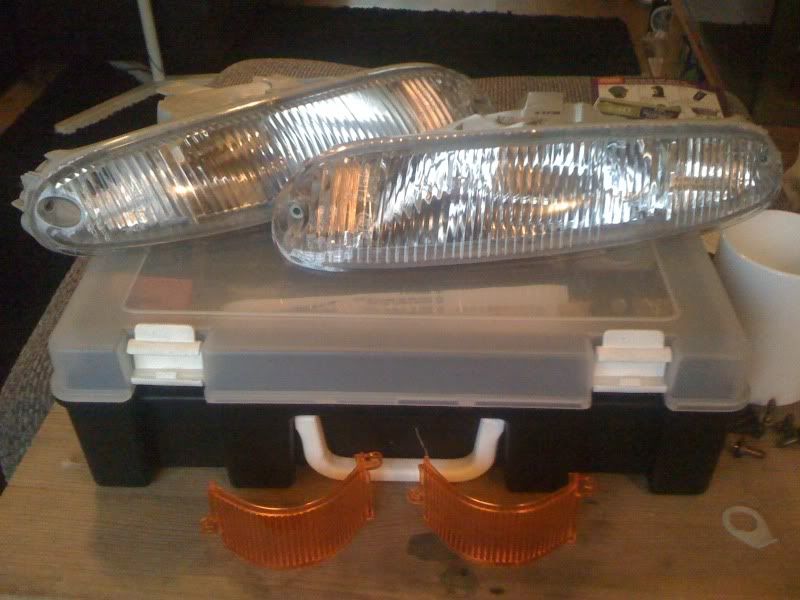
In my opinion all black 5's should be de-tango'd by law. So -
Image


Image


But that makes the reflectors really obvious. Easily solved -
Image


Image


Image


A sticker! Hey it's my midlife crisis and I will include stickers in that if I wanna!

Image


Image


And last for now, a drift charm. I did slide the rear on a roundabout, by accident. No one noticed but I officially have declared it a drift and therefore I am allowed a charm

Image


There is also the blog if you follow such things. it is at http://www.eunos-roadster.co.uk

Cheers!
C
 
#194 ·
Cheers for all the kind words folks
Image


Time for a leeeeitle update...

I've known since I first pressed the loud pedal in an MX5 that this car needed more power. I came from my Big Lazy four litre Jag and my 170bhp turbo bonkers Volvo 480 into the MX5. I was so disappointed with the power.

Plans were drawn up to one day, some day, when the boat comes in, buy a Moss M62 charger kit and have at it. Bit of a pipe dream really.

Then one day not long ago the much beloved and I were discussing my upcoming birthday. She's just had a nice little bonus from work. Nothing banker sized. A three figure amount. She said she would split it with me for my birthday and we joked about how it was a shame it wasn't enough to buy the M62 kit because she's really like to have been able to FI my car for me. (Yeah, she's a keeper).

About four hours later my FB went 'ping' on my iDevice. Someone in the P5 group had posted a sale thread for an MP45 charger with all the TRL brackets.

If I added a few beer tokens to my 'birthday money'.........

Oh crap......

Rude not to really........

So!

My missus has brought me a supercharger for my birthday (5th of April by the way, you still have time to send a card)

Beer tokens were exchanged and the kit landed at Cerberus towers.

I span the charger by hand and it sounded like it was full of sand. Looked at the seller's pic of the charger that he sent me before I brought it.

Image


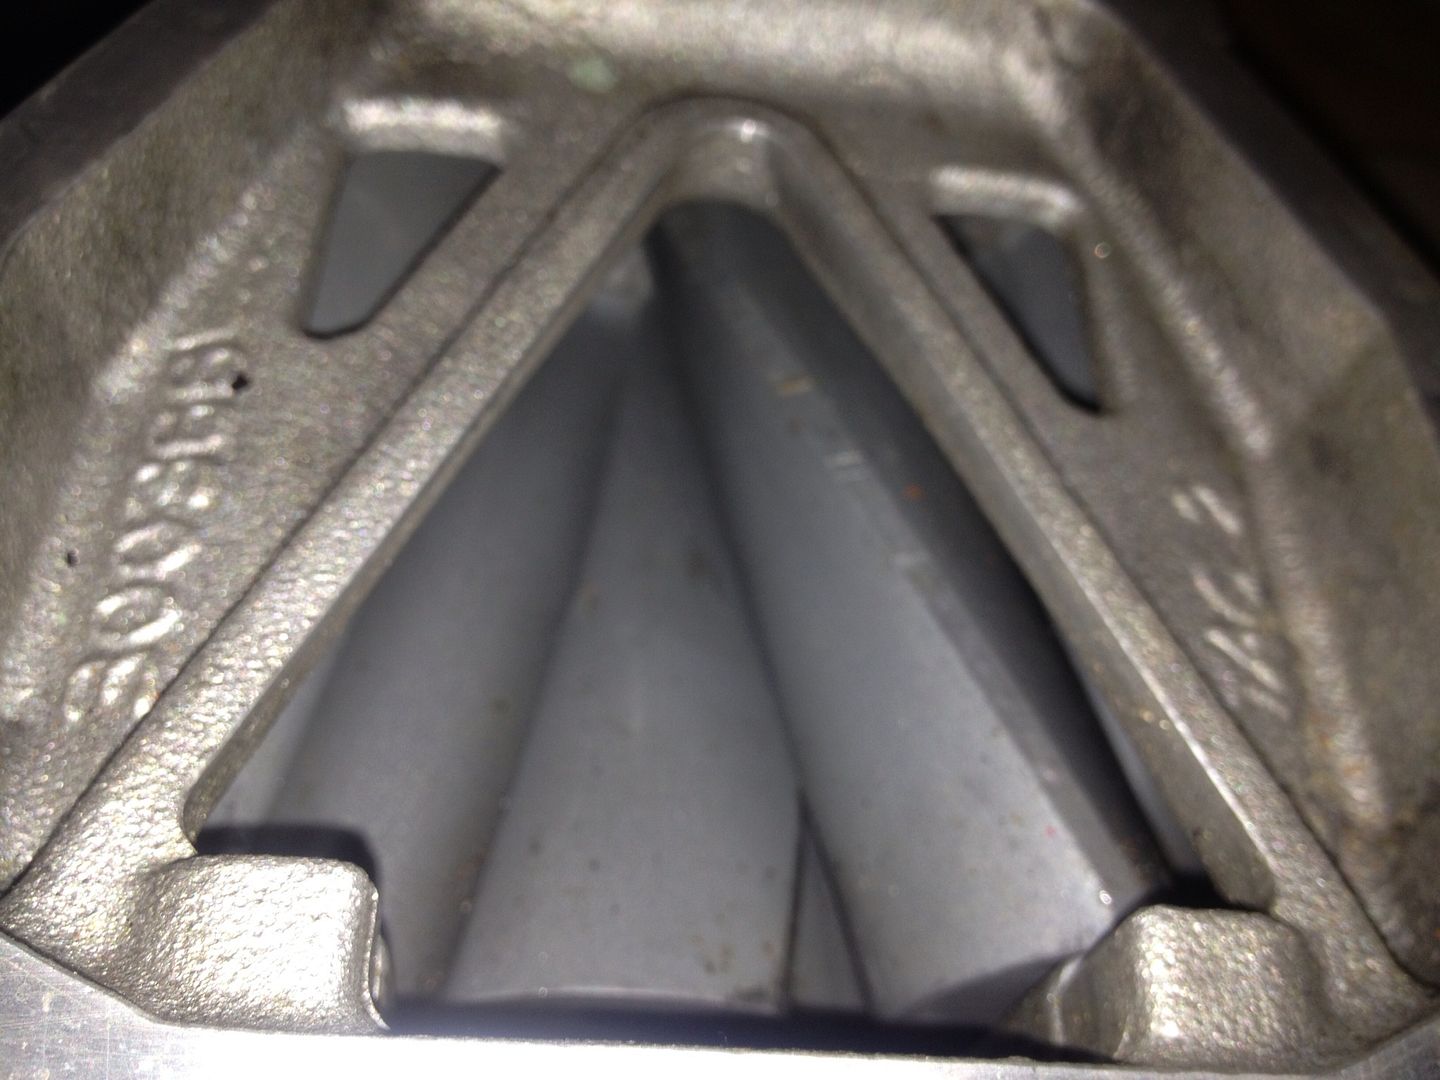
He's fitted it up and run around with it fitted. With no blanking plate over the outlet! Naughty! It's full of dust and bee's!

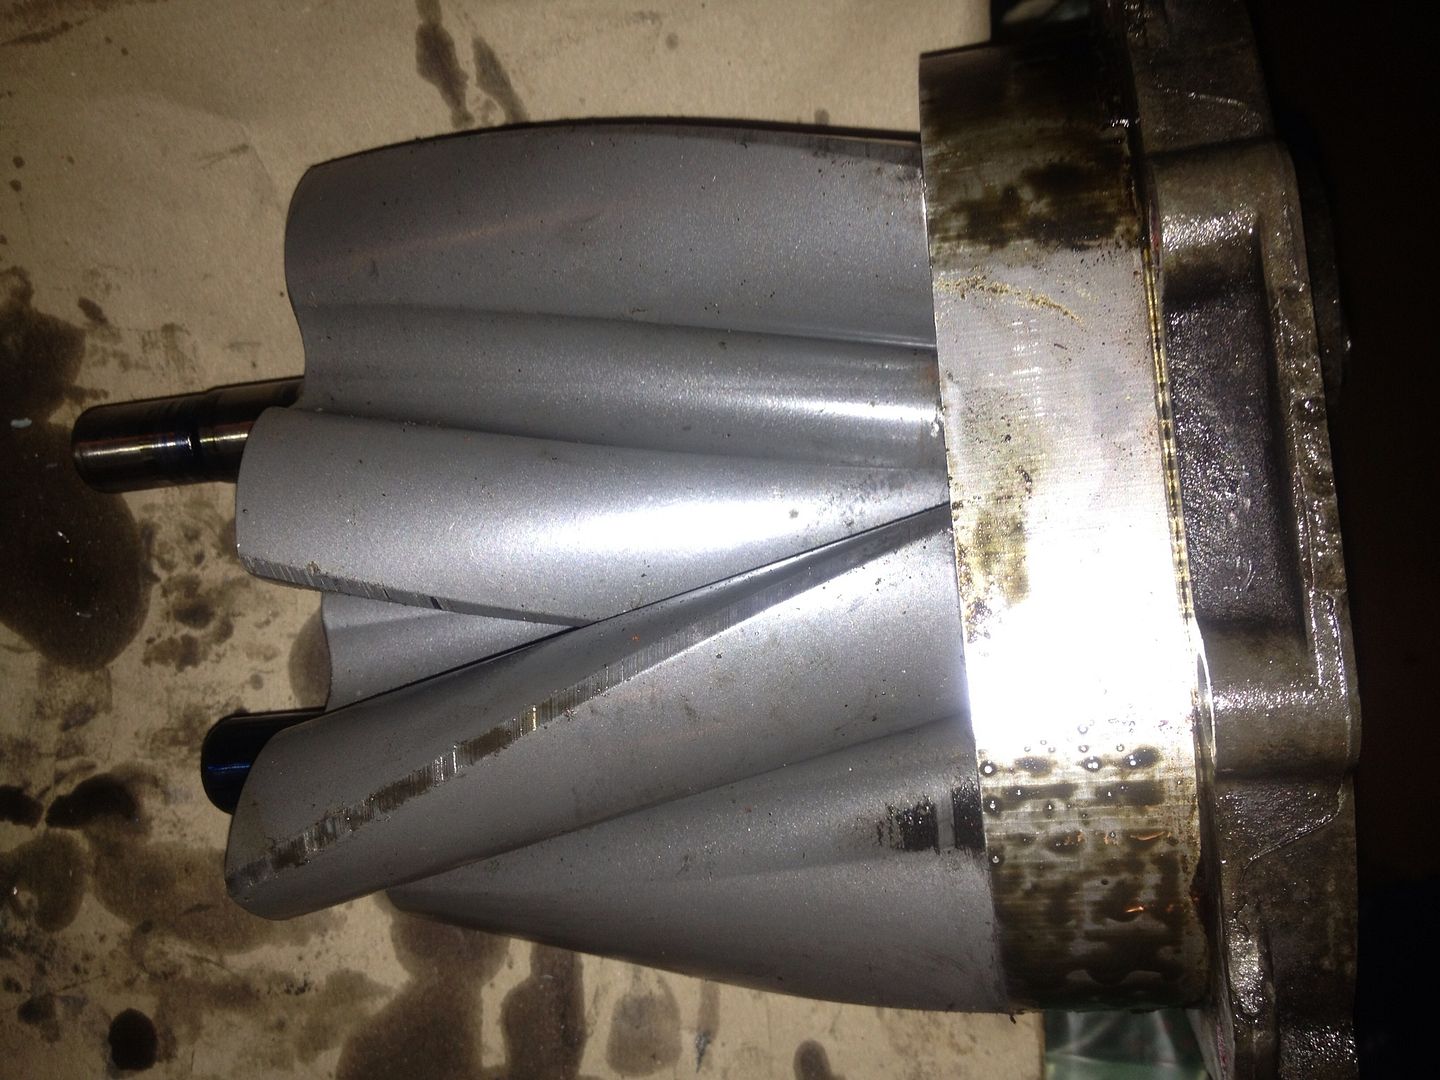
So that made up my mind. It would be broken down and cleaned. Very gently so not to upset the Teflon coating. The tips of the rotors did show some scoring.

Image


The rotor lobes looked fie but filthy.

Image


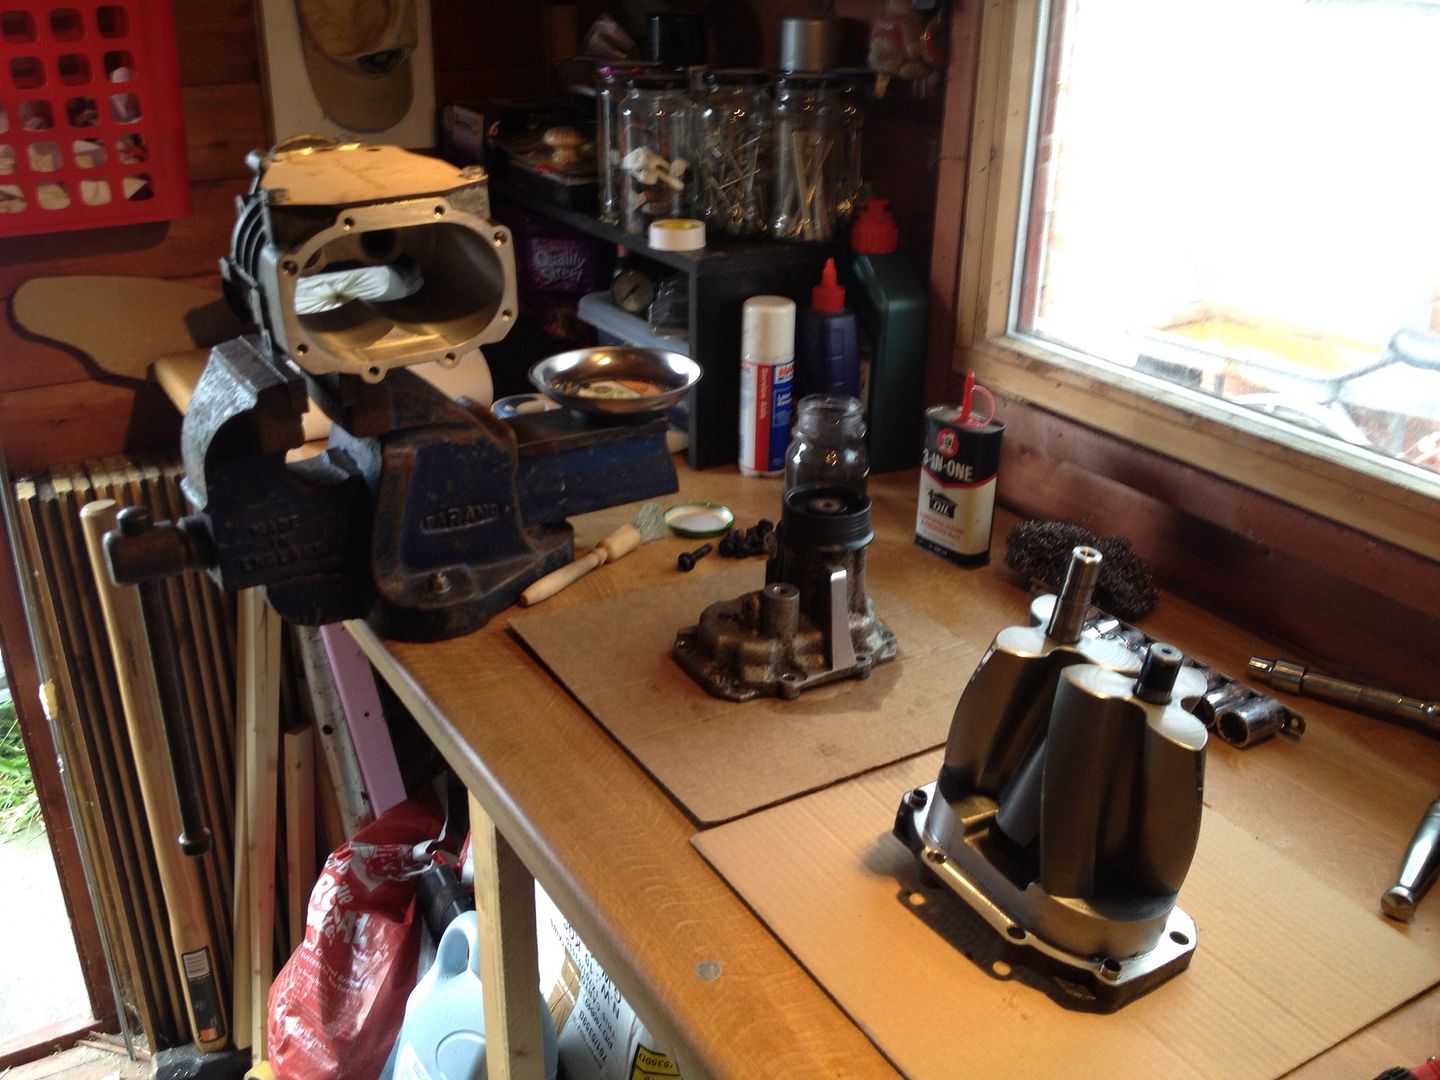
So I began the strip down.

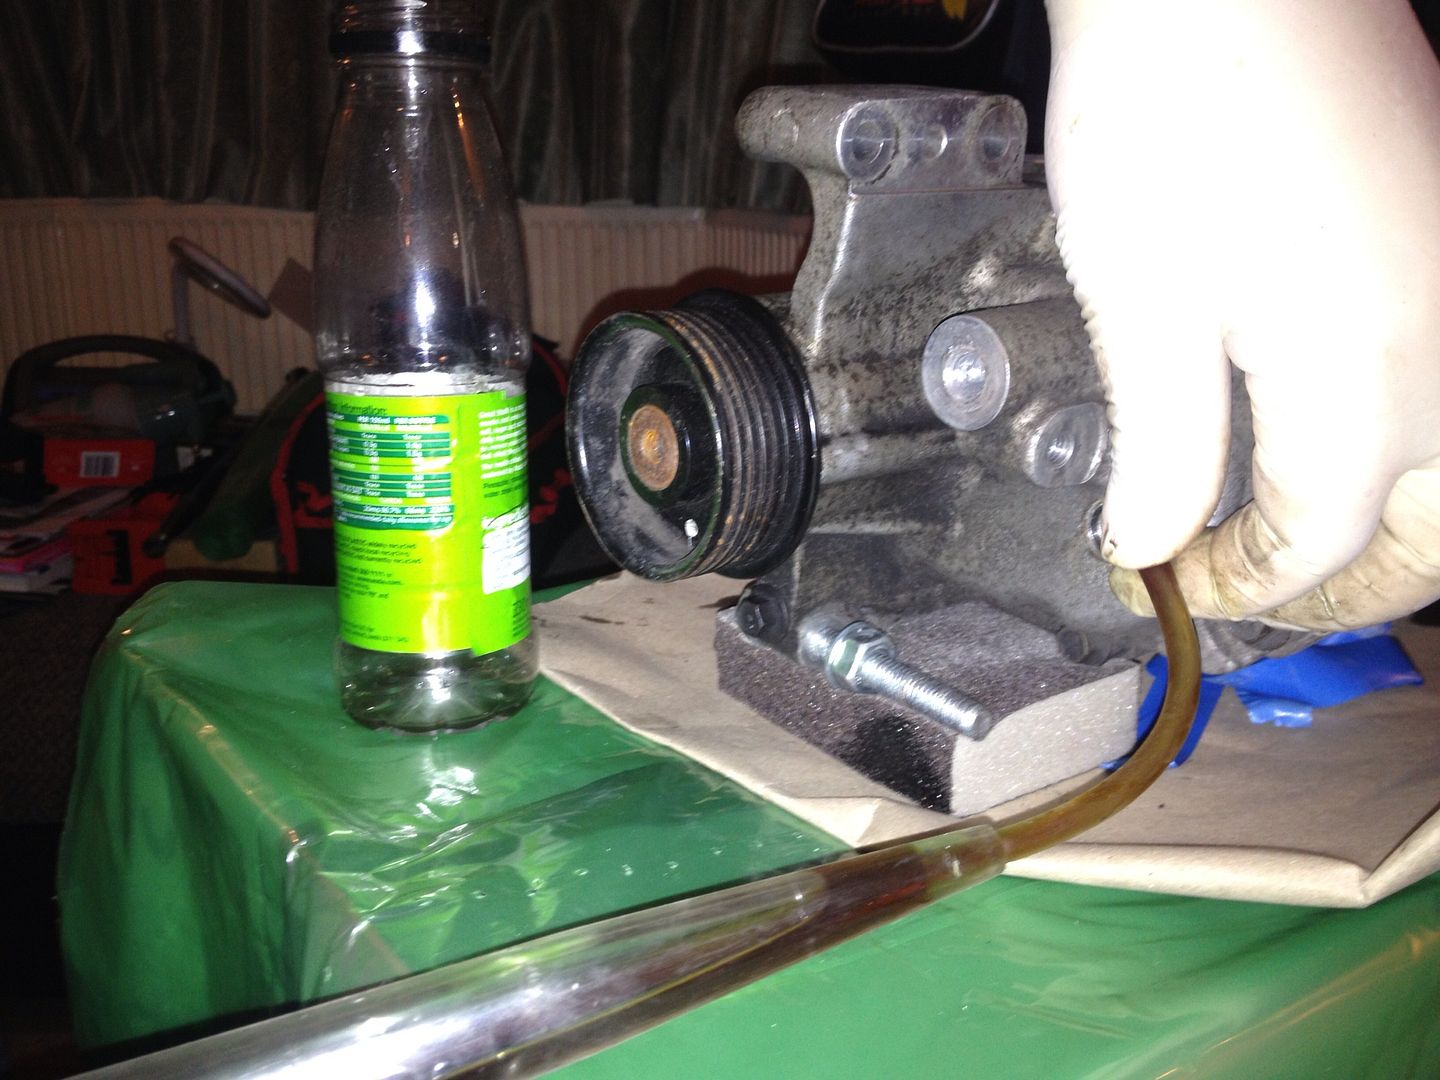
Nose fill plug out. Nose oil siphoned out

Image


It was black as your hat and it stank to high heaven. Not like any fluid I have ever removed from a car. Supercharger oil smells BAD! I am so glad I an changing it. It was spent.

Ok so that's the charger made safe.... Cover me! I'm going in!

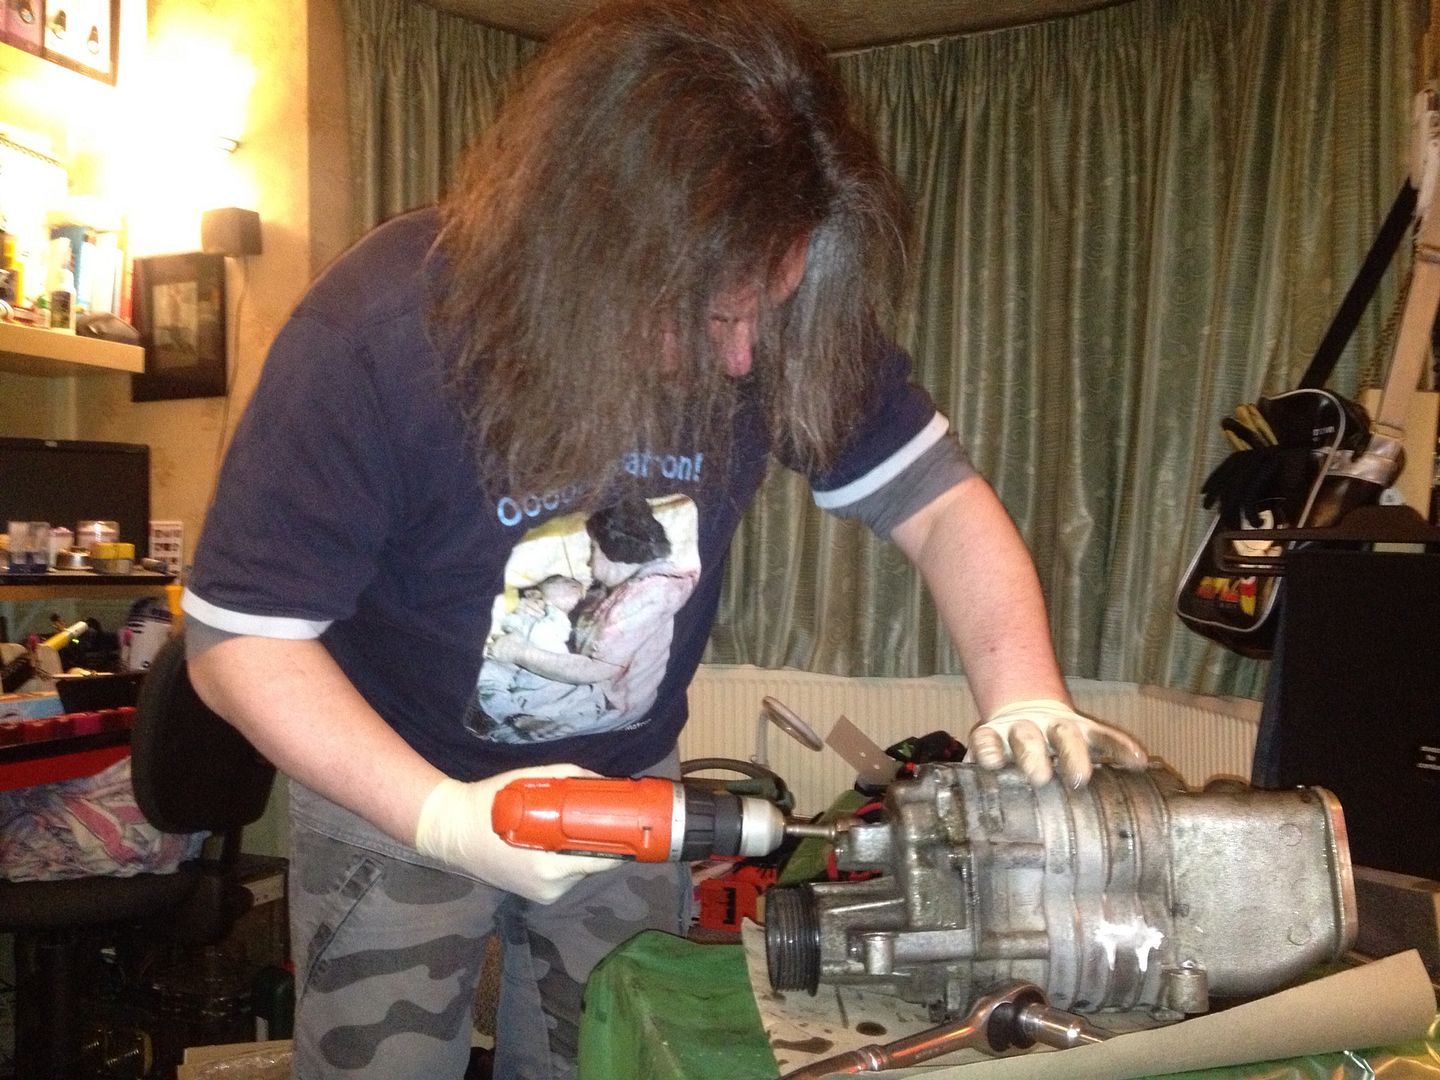
Image


Yes that is our living room. Yes it cost me many many boyfriend points.

Image


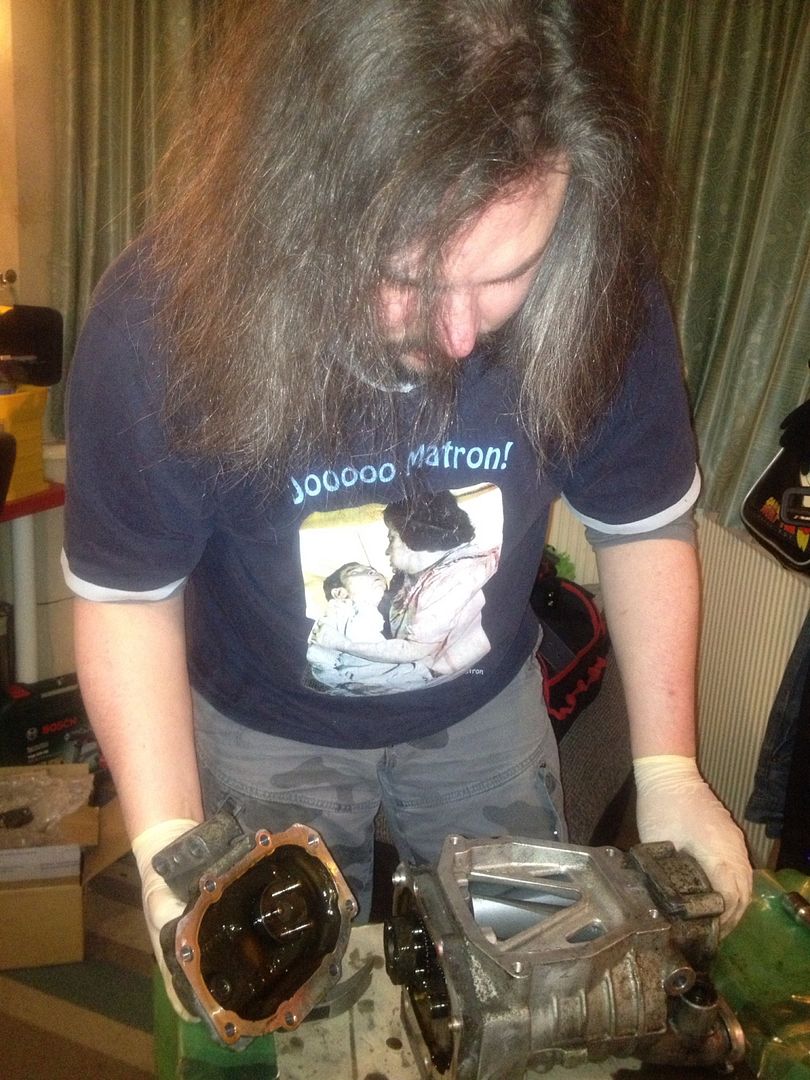
<Nicolas Cage> I want to take his nose, off. </Nicolas Cage>

Nose coupler looks in good shape.

Image


Now the easy part. Slide the rotors out of the casing.

Nope....

It's a mini charger. For reasons best known to BMW they drive their water pump from a power take off on the back of the charger.

"Hey Wolfgang do you think this superchargenspitzenfraud creates enough parasitic load mein buddy"
"Well no Heinz I don't think it does!"
"Vell then let us bolt zee vater pump on zee back using a shoddy pair of gears that vill strip and cause catastrophic coolant system failure"
"Ha yes! That will teach the capitalist pig dogs!"

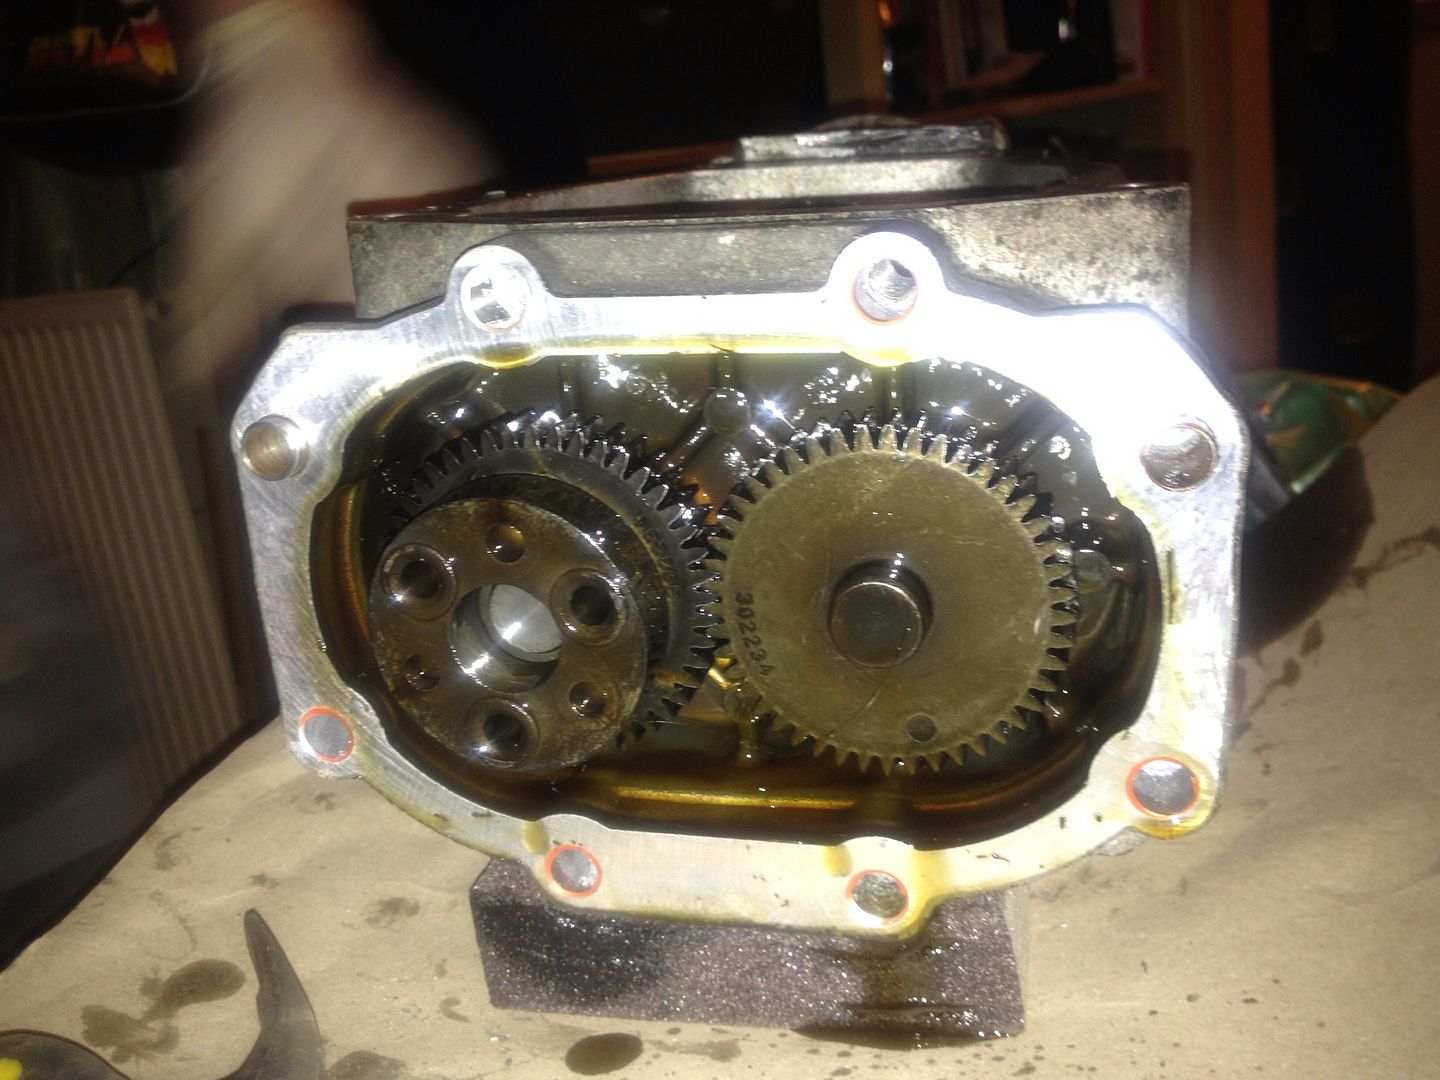
First up, remove the PTO (Power Take Off) I removed the rear drain plug and extracted the sum total of sod all oil. This is common on the mini. The PTO case leaks. The gears run dry, get shredded and the PTO fails to T O the P.

Four bolts to remove the PTO plate, revealing...

Image


The small PTO gear that is pressed onto the end of the rotor shaft. Which is in perfect condition! Marvellous! That can go onto eBay to help out an estate agent with a broken Bini!

But I couldn't slide the rotor out of the case because the gear is pressed on and I needed a puller to... well... pull it off!

So that stopped play for the day and I retreated ot the sofa to grumble about not having the right tools for the job.

Until, at midnight, inspiration struck.

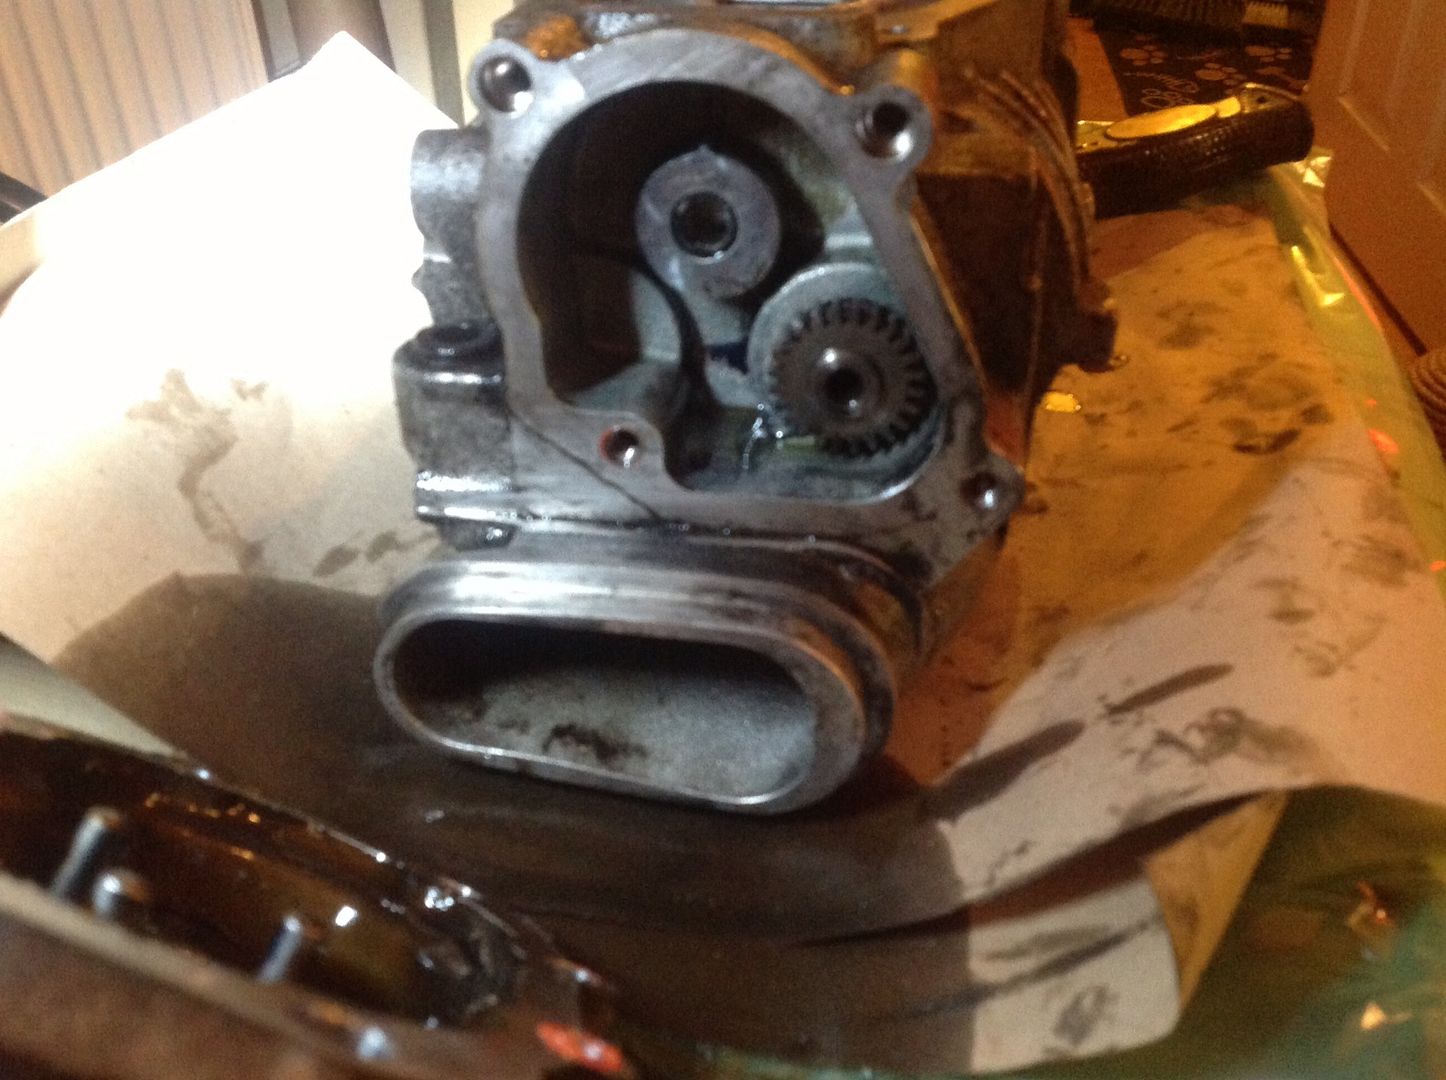
Remove front cover bolts. Extract rotors as far as you can till the gear jams against the case. Then tickle the rotor shaft with a big effin hammer. Drifting the shaft out of the trapped gear.

Image


Ta Daaaaa!

Image


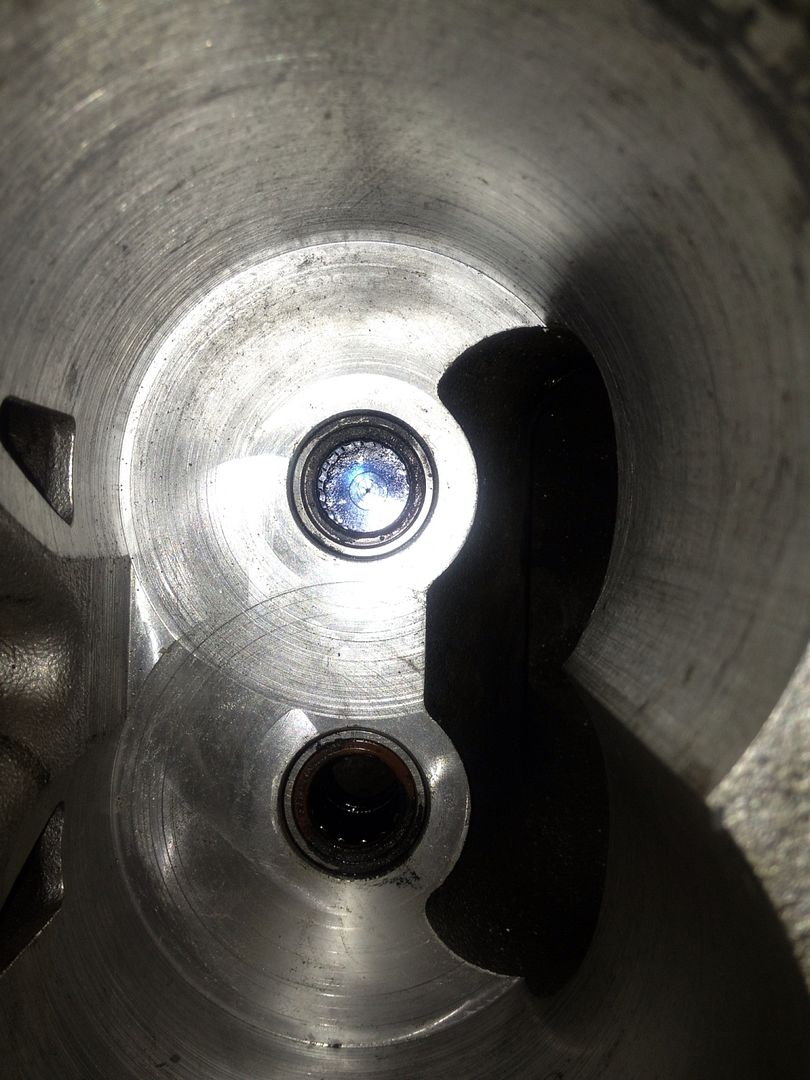
Some slight scoring in the case

Image


No huge gouges tho. Ok so it's not pristine but I don't believe it's bad enough to be considered a problem. This is a 30k charger after all!

The rotors and case were cleaned up using Extra Sensitive Skin Baby Wipes, which seems to have done the trick without melting the teflon.

Just awaiting some some gasket replacement goo (Which Steve is donating to the project. Thank you!) and the charger will be reassembled. The PTO will be replaced with a plate. Which I will make. It won't have the gears fitted or be refilled with oil.

The nose will be reassembled with replacement oil. It's coming from an eBay seller so should be here in a few days. I'm hoping the fresh version doesn't stank as bad as the used stuff!
 
#195 · (Edited by Moderator)
OMG! False starts a-go-go!

If you have, squirreled away, the supercharger_cad_drawings.zip with some dreams of some time in the future using the drawings to produce yourself some outlets and brackets and shizzle....

DON'T!

no... really...

DON'T

They are bloody useless.

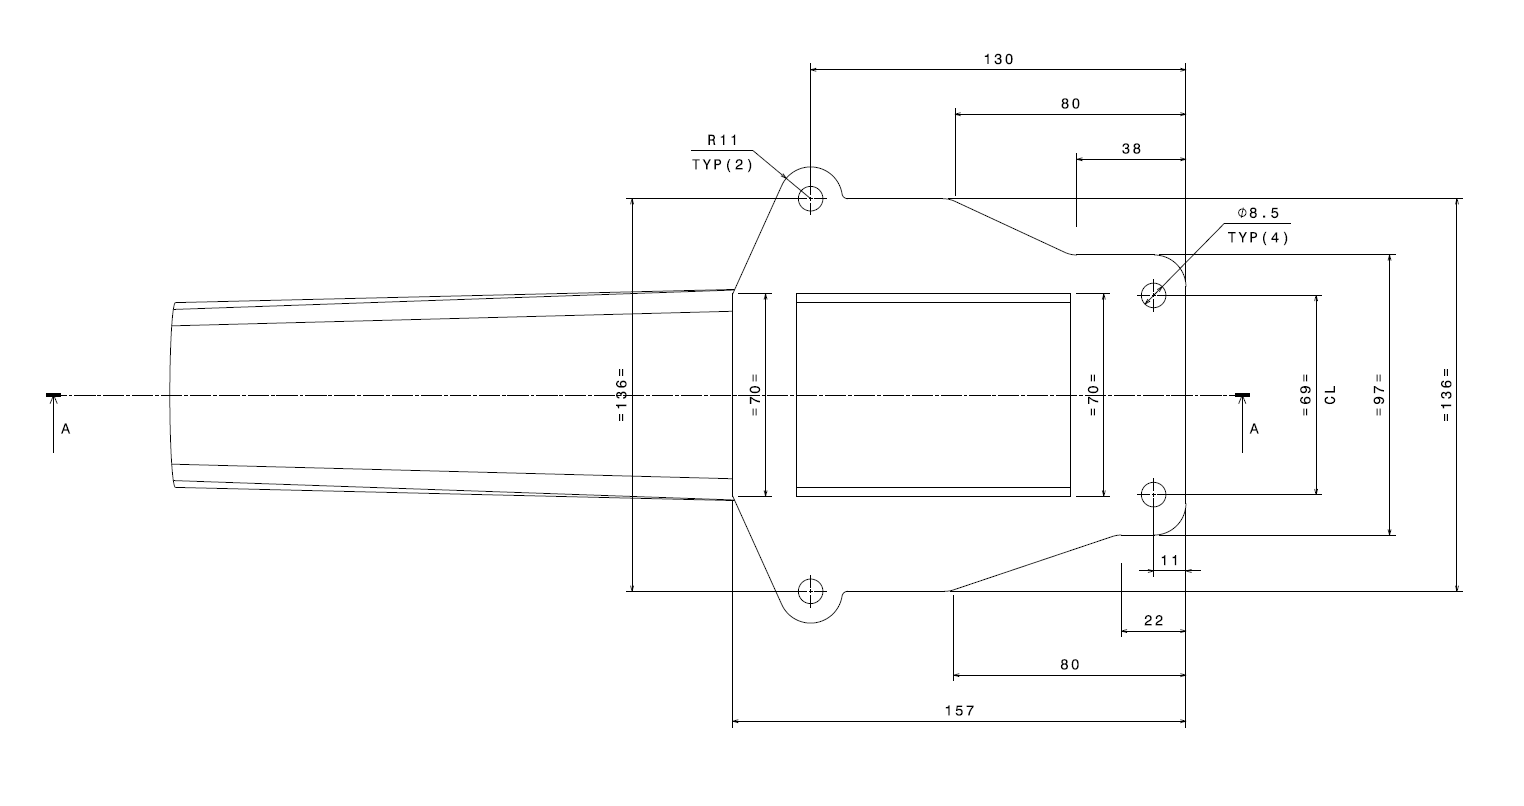
This is the one I used to make an outlet cover. Keep the poop out of the rotors while I lop off the unwanted bracket. Yes I could tape over it but I have a lazorrr and it would be the work of but a moment to make a blanking plate.

Image


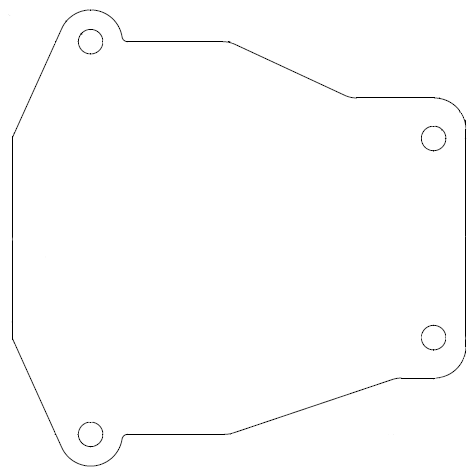
Easy. Take that drawing. use the measurements to cad up a plate. Bosh!

Image


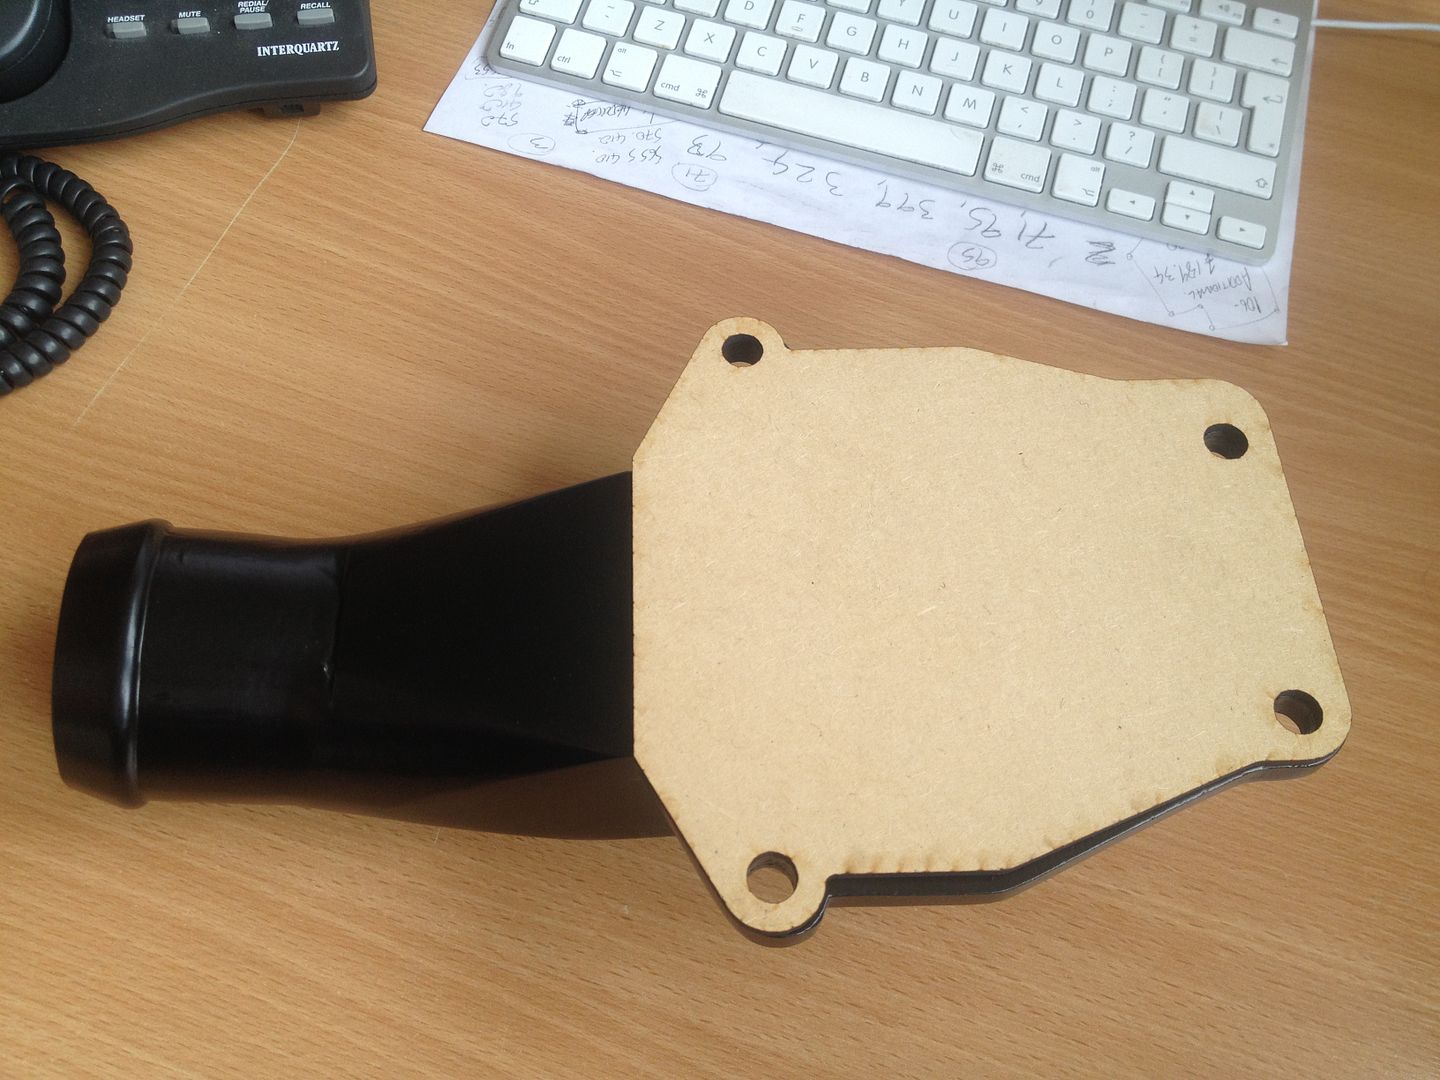
Chop from nice flat mdf on the lazorr. Take it home. Doesn't match up to the four bolt holes in any way shape or form.

Ok, next day, take two. Perhaps the picture is good but the measurements are apocryphal? I can export it into the cad package. I'll do that then. Import the pdf into the cad package. Remove all the extraneous info. Print on the lazorrrrr.

Take it home.

Nothing lines up, not a bolt hole, not a damn thing.

I should put masking tape over the outlet, I really should.

No!

Dammit I have started I will finish!

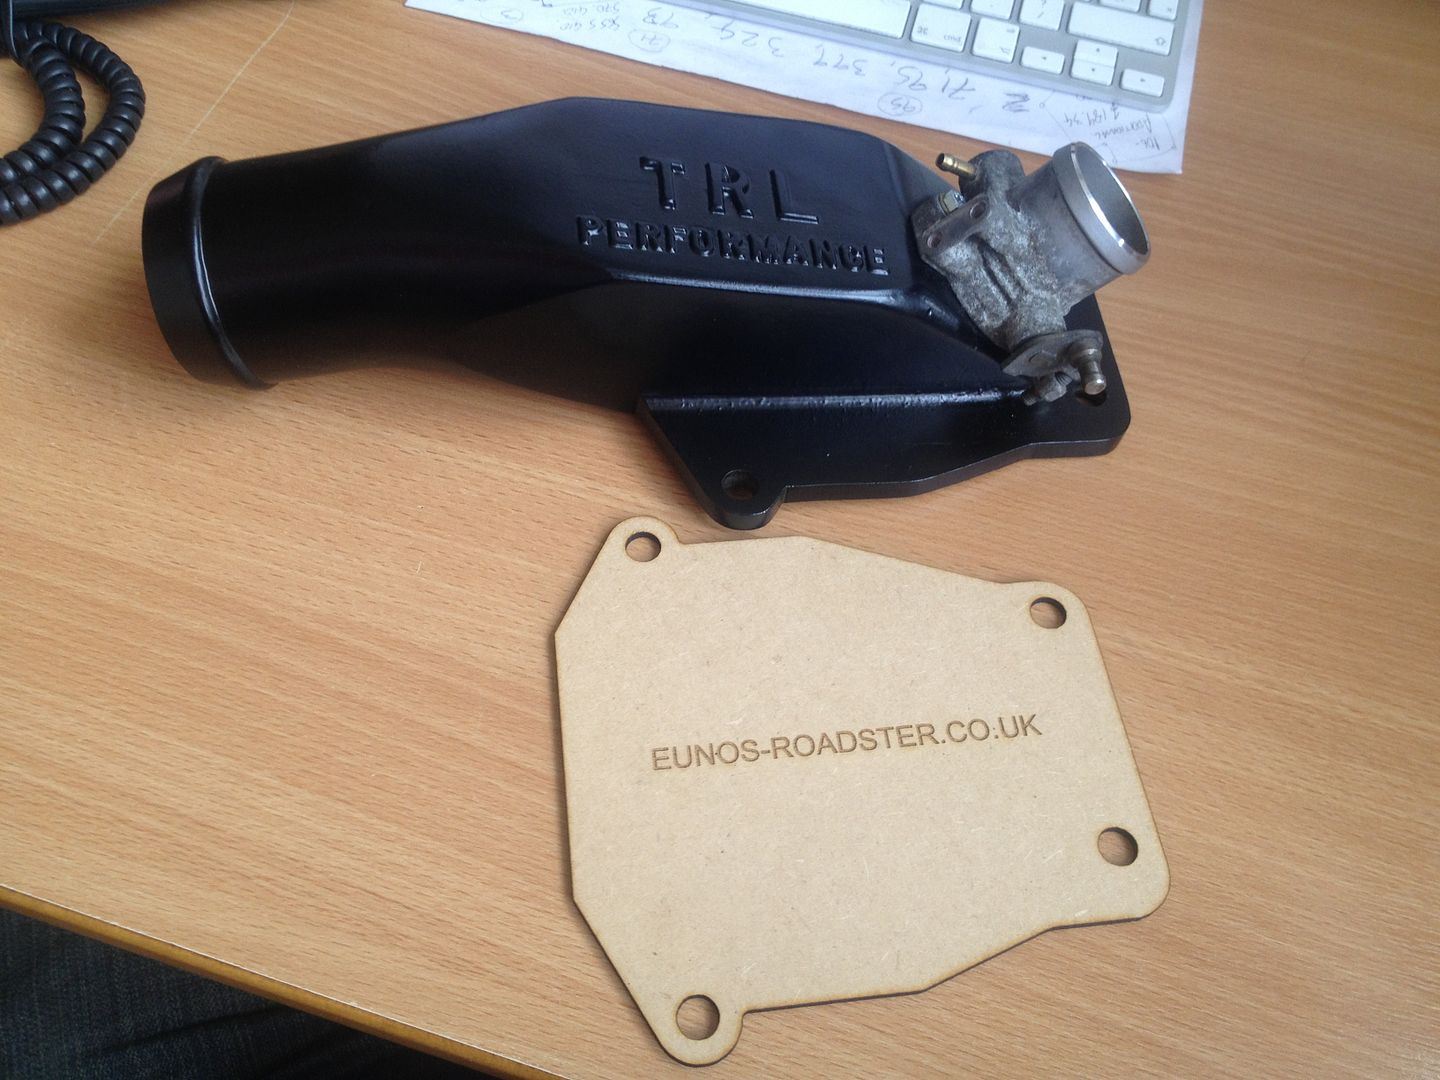
Took the TRL outlet into work with me. Drew round it with a crayon (they wont let me have pointy things). Measured all the bolt holes and sides etc. Compared it to the pdf. When I finished laughing. Printed to the lazorrrrr.

What I should have done is taken my own measurements straight off the charger. Honestly, whoever made this PDF was on drugs.

Image


Image


An exact copy ish. So if that doesn't fit I have bigger problems because the TRL one won't fit either.

Sometimes being clever and doing something the flash way isn't smarter and faster. It's just a way to show how stubborn you can be.

Image
 
#196 ·
What I should have done is taken my own measurements straight off the charger. Honestly, whoever made this PDF was on drugs.

Image
You should've tried the old Mr Bean trick when he was at the dentist, and spun the drawing around the opposite way, then upside down and finally upside down the right way round, you know all angles covered lol

Thoroughly enjoying your build of this supercharger and ever so slightly envious, or should that be ever so hugely envious! Fantabulous!

Image
 
#202 · (Edited by Moderator)
I skipped a whole step. It was worth it, the testing was far too amusing not to share as soon as possible. Is it wrong to chuckle every time I play the video back?

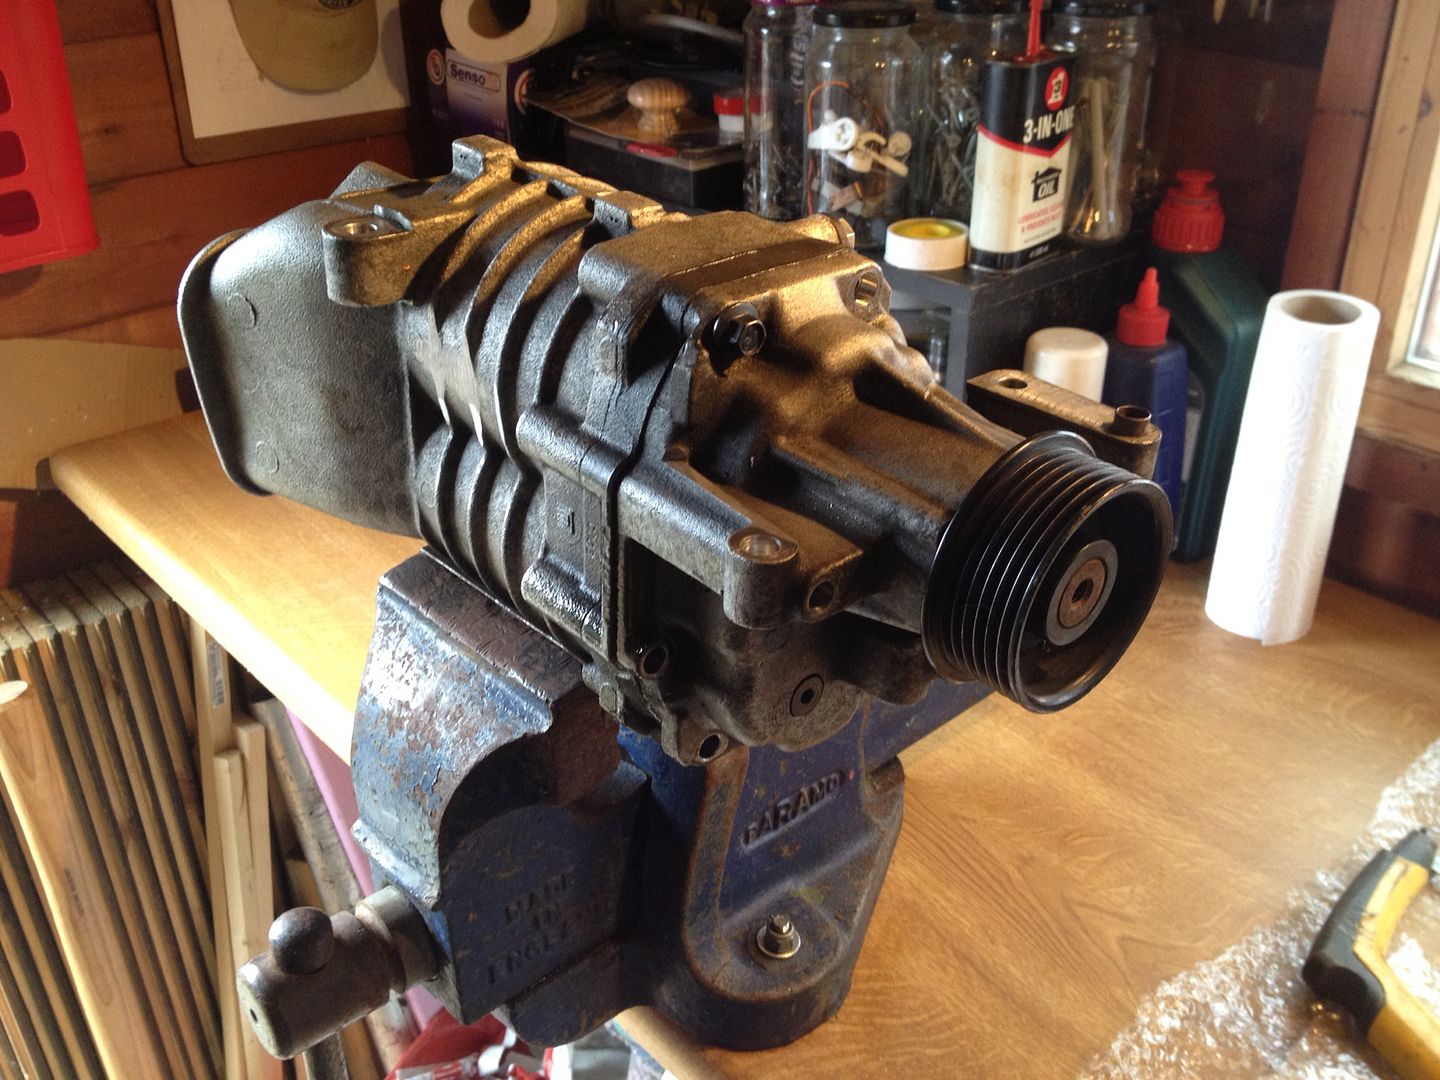
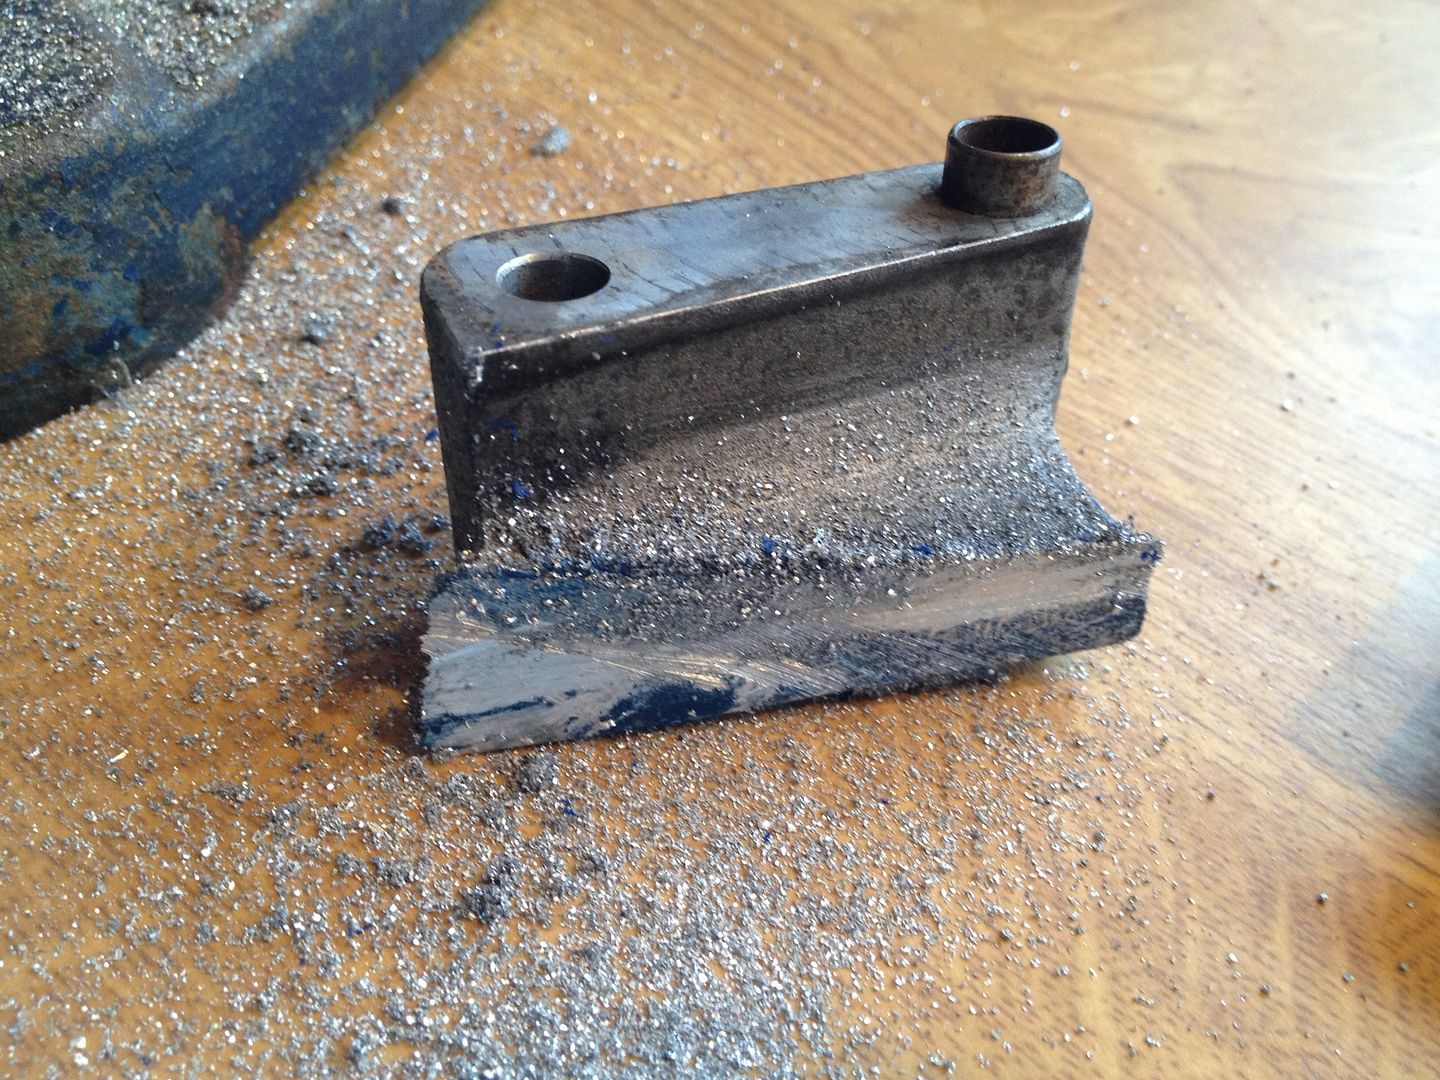
To get to that stage There were a few things to get done. Including chopping a huge lump off the charger!

Image


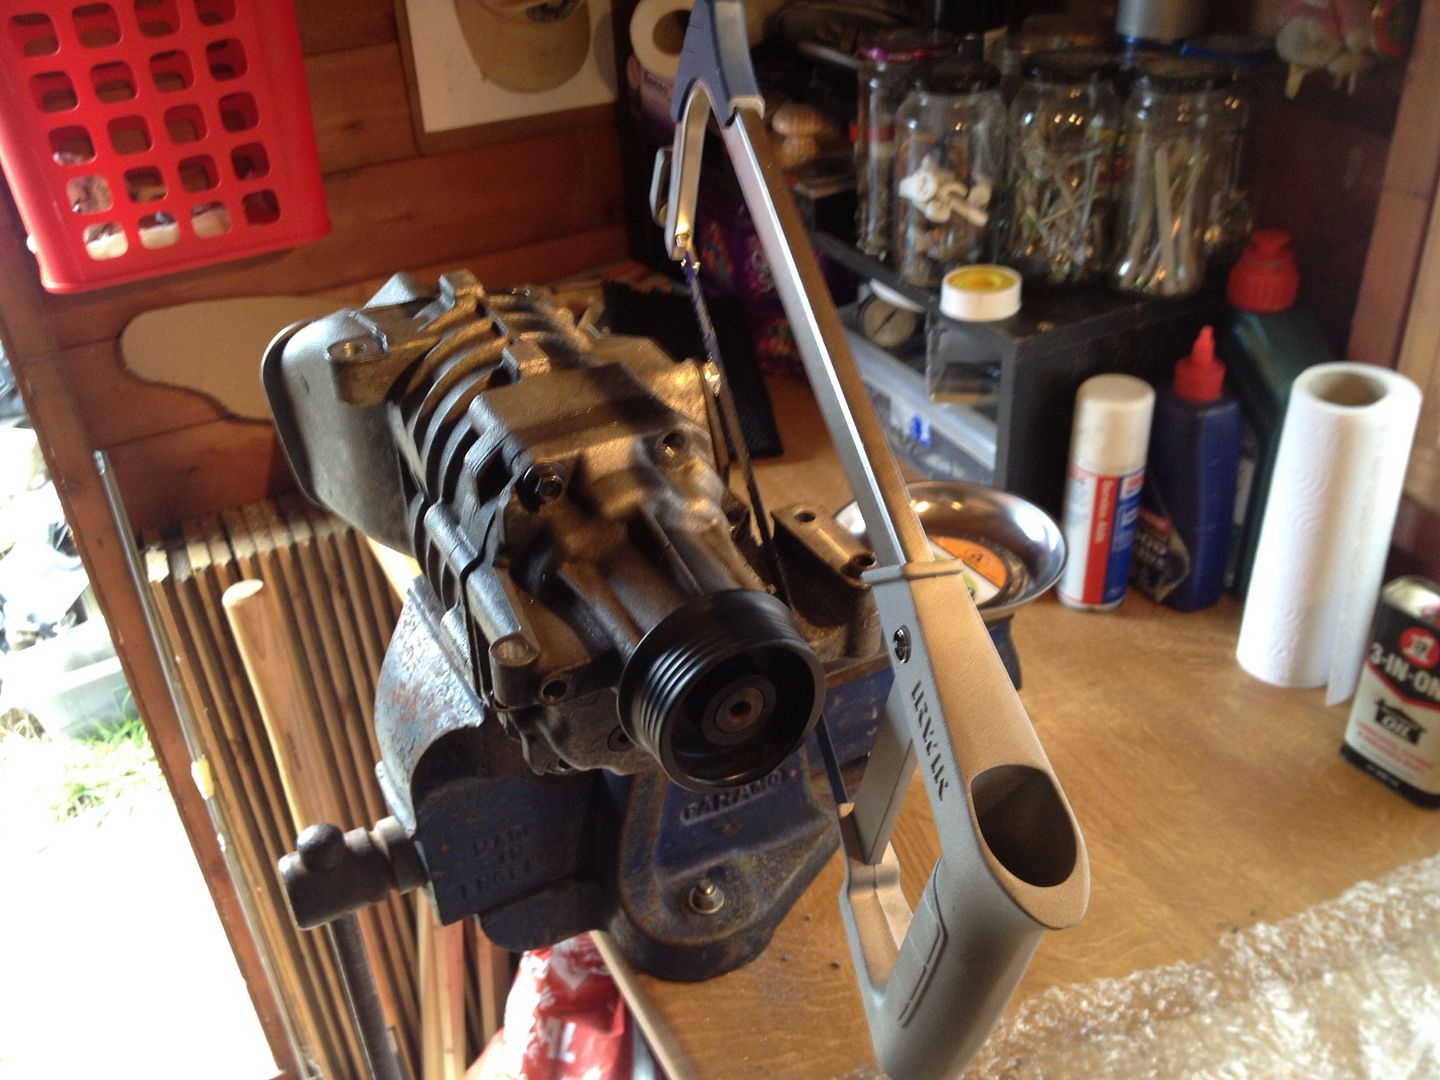
Outlet blanking plate attached and charger secured in the vice. I'd even brought myself a new hacksaw frame just for the job.

Image


Deep Breath!

Image


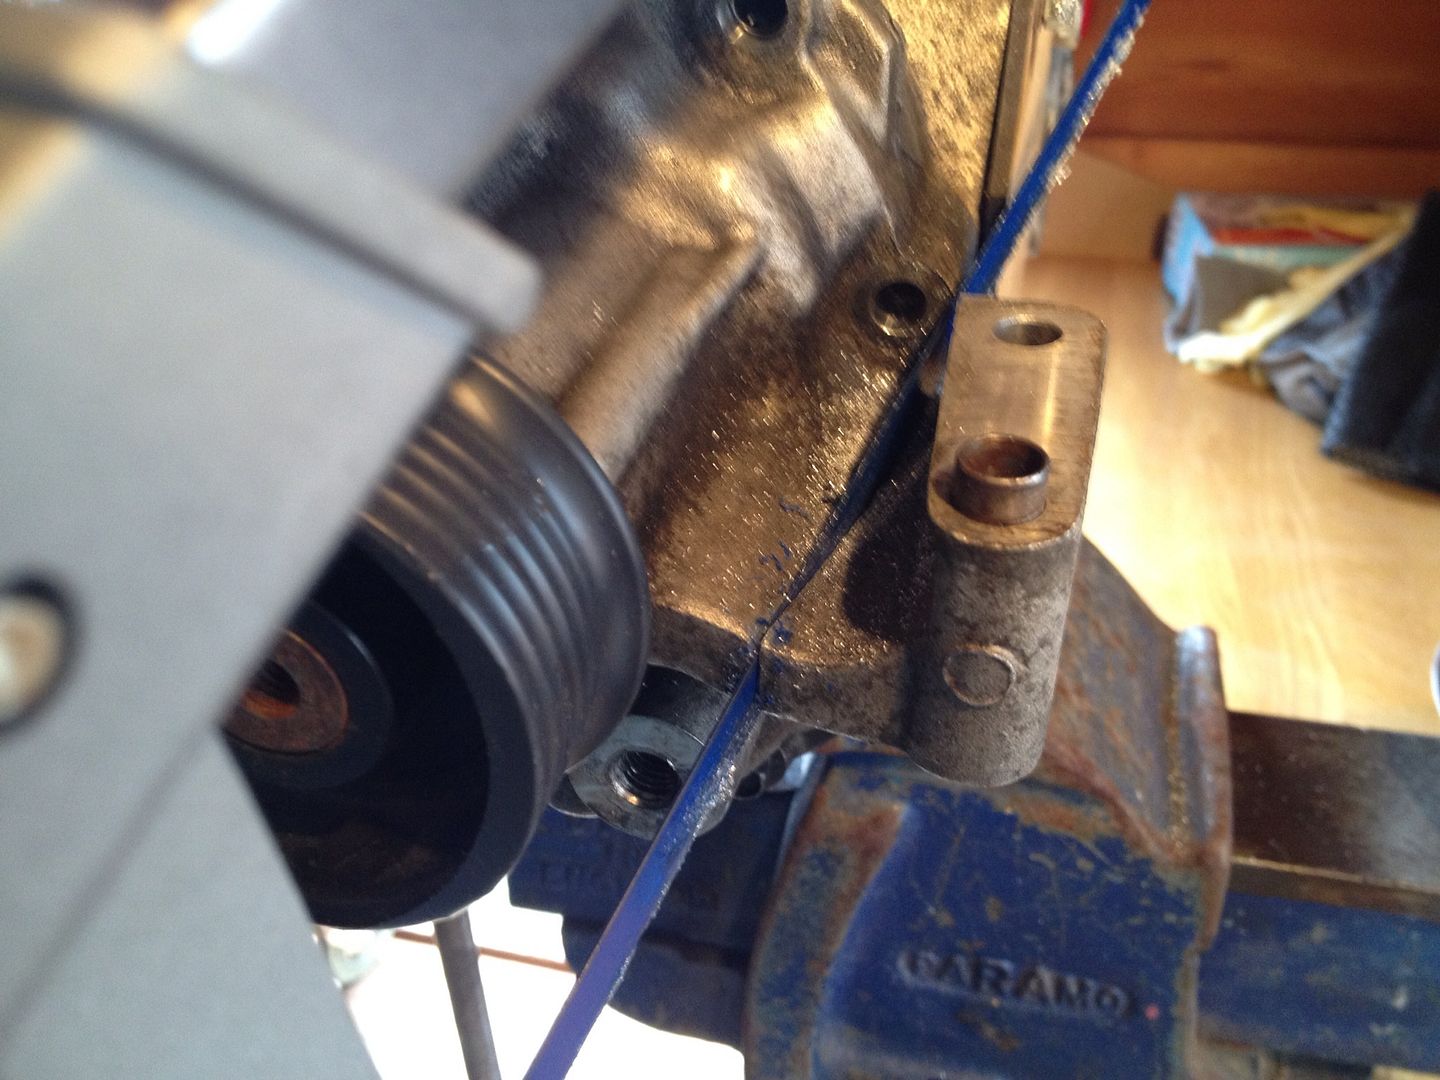
Going well!

Image


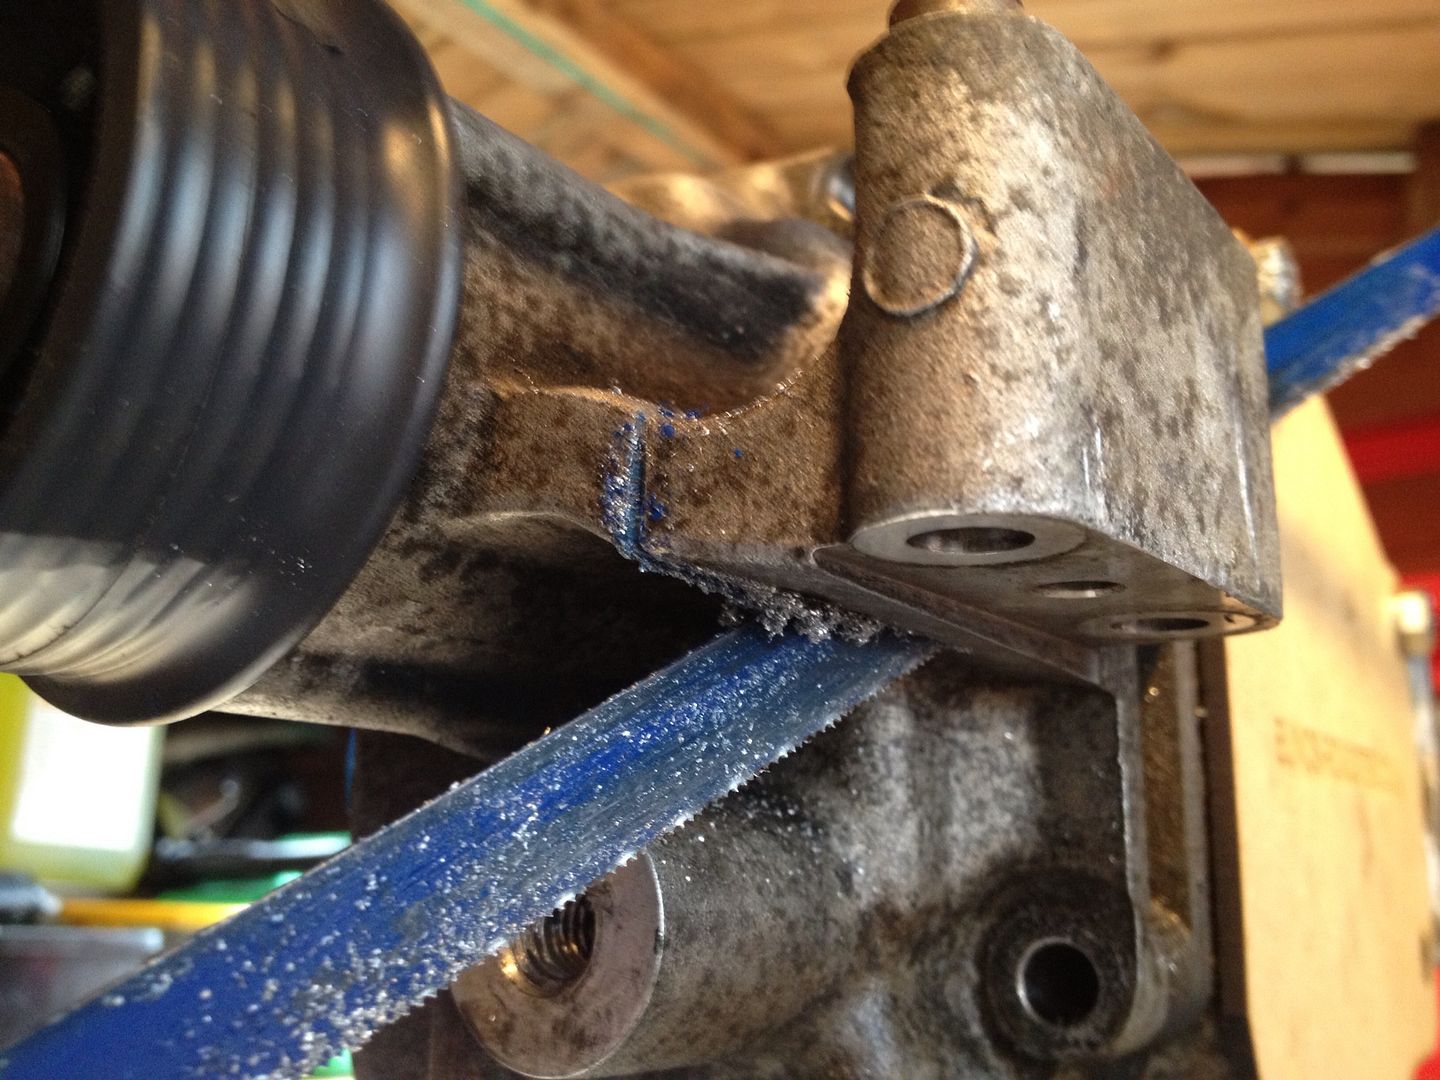
The secret is to let the blade do the work. If you force it the blade will wander off line.

Image


Aaaaaand Boom goes the dynamite.

Image


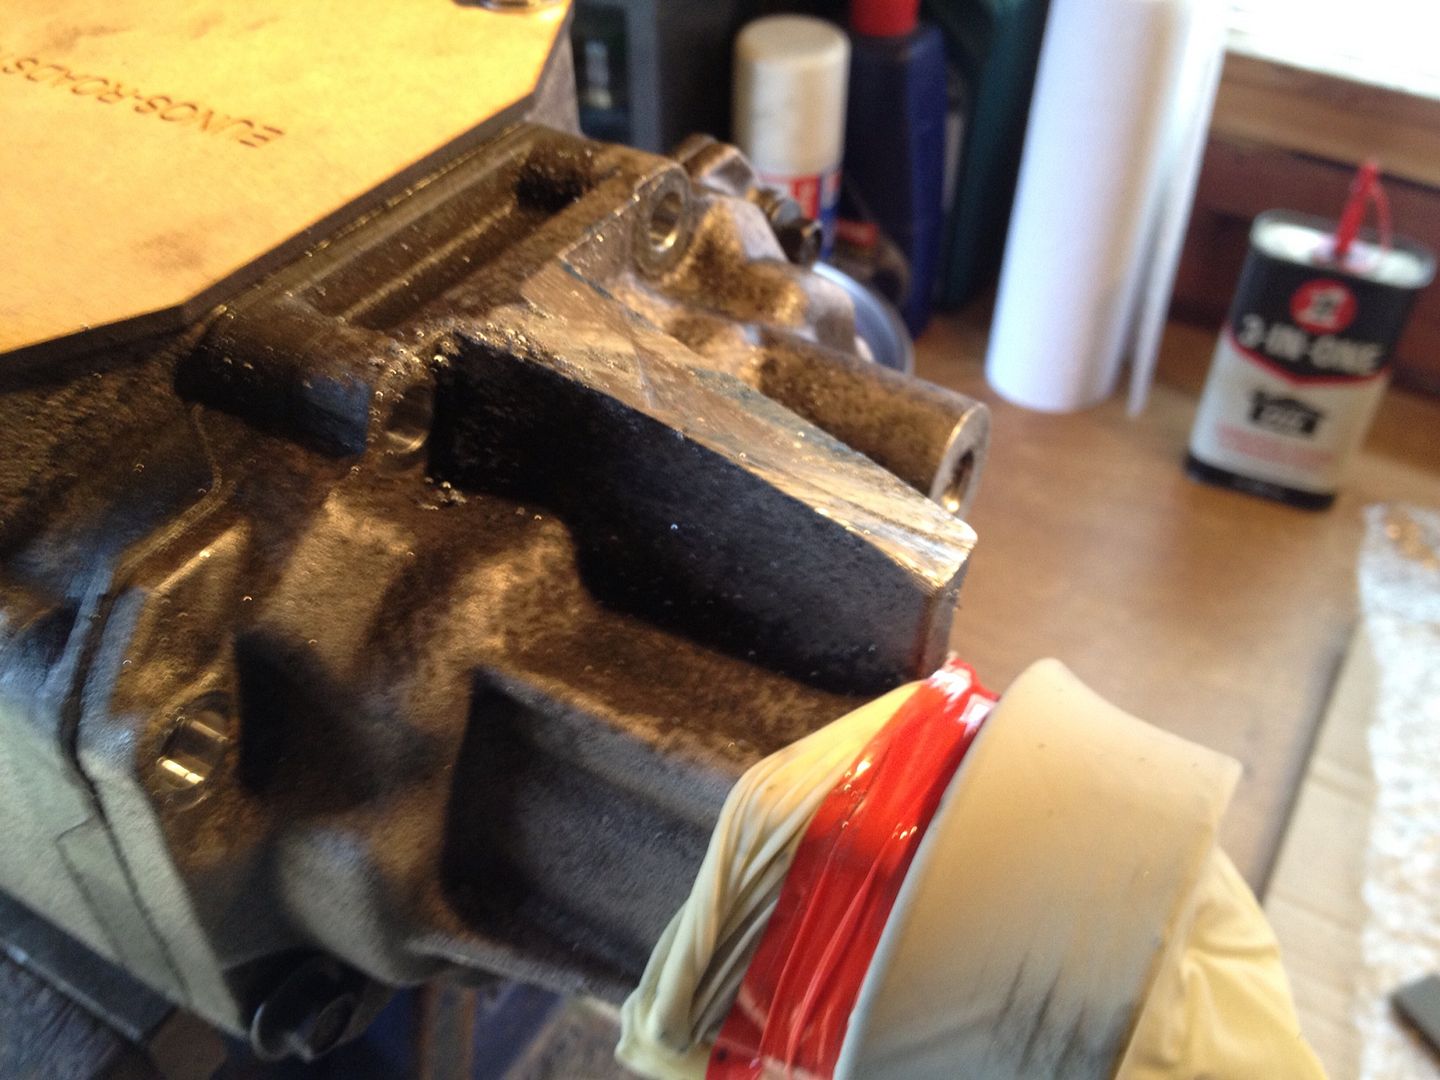
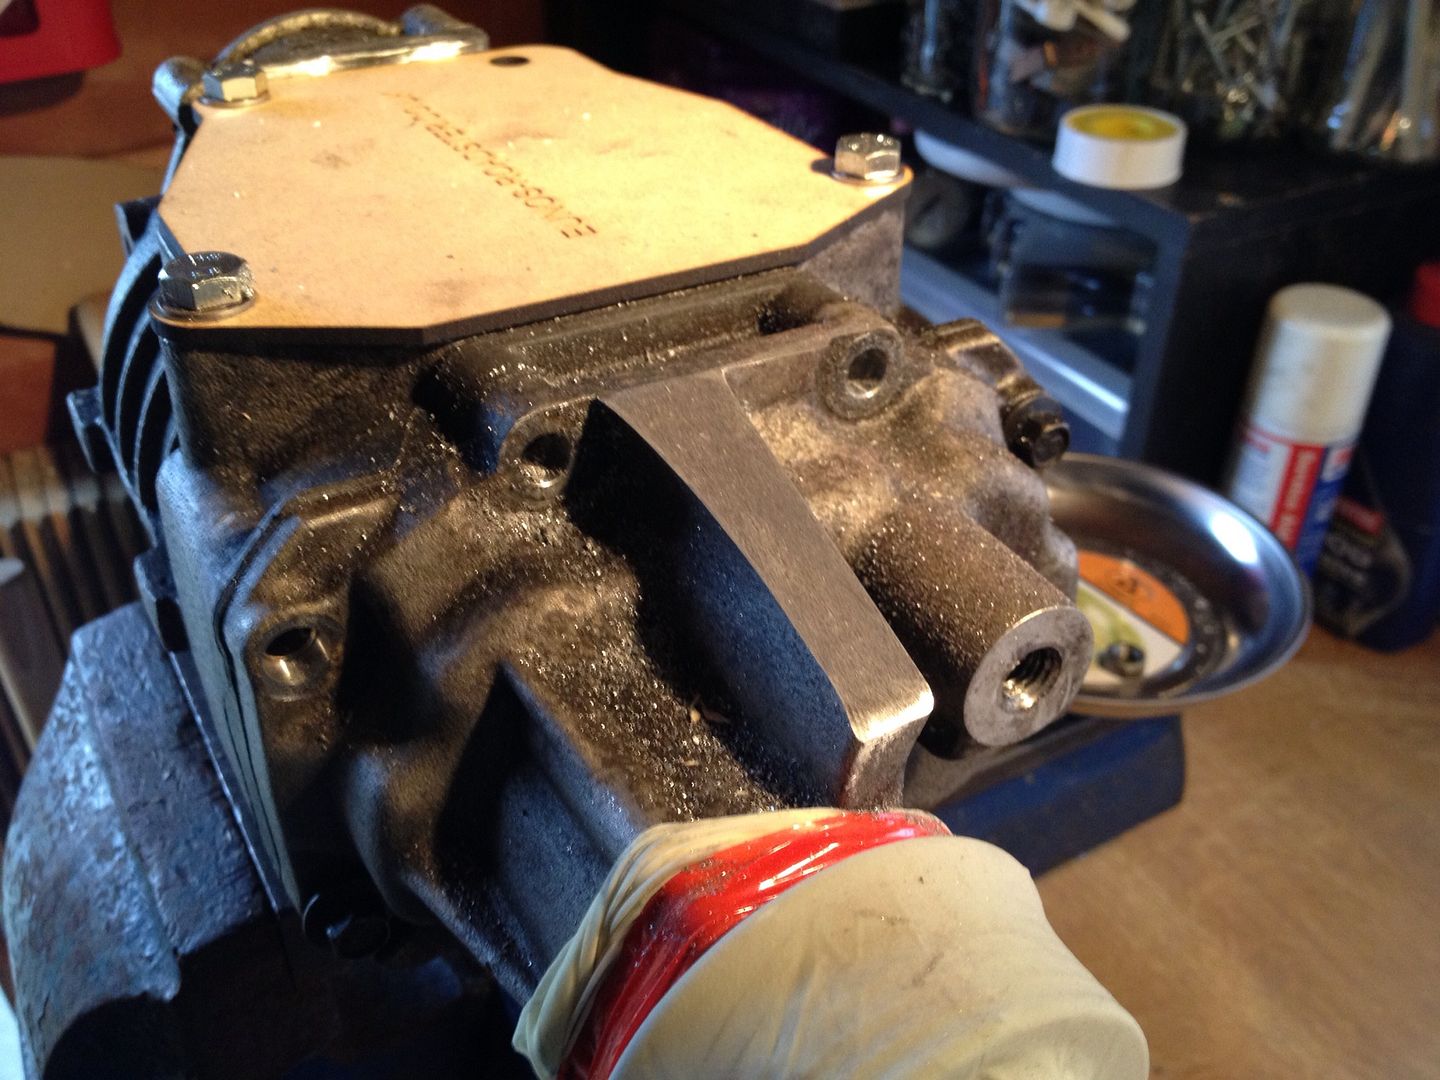
The cut went pretty straight not too much cleanup to do.

Image


Ten minutes with a hand file. Job done.

Image


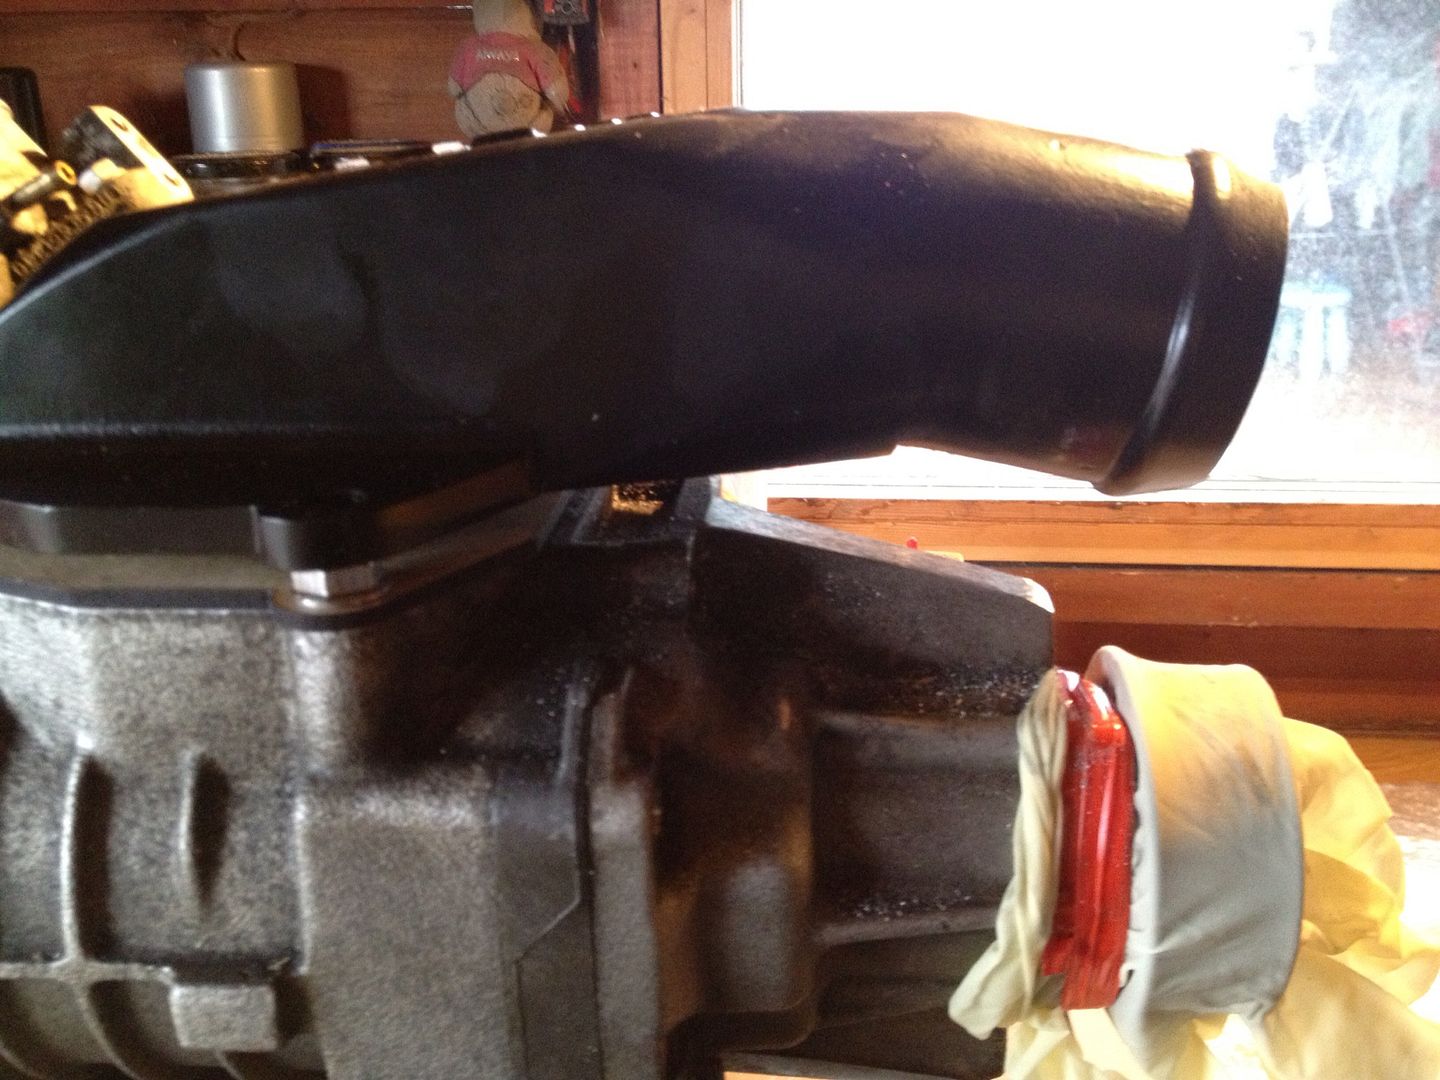
The outlet pipe rested in place. You have to subtract the height of the bolt heads but as you can see there is now plenty of clearance.

With that done it was time for a final clean and then on to reassembly.

Image


The blanking plate did it's job no swarf found it's way into the lobes. A final pass round with the baby wipes and it was good to go.

Image


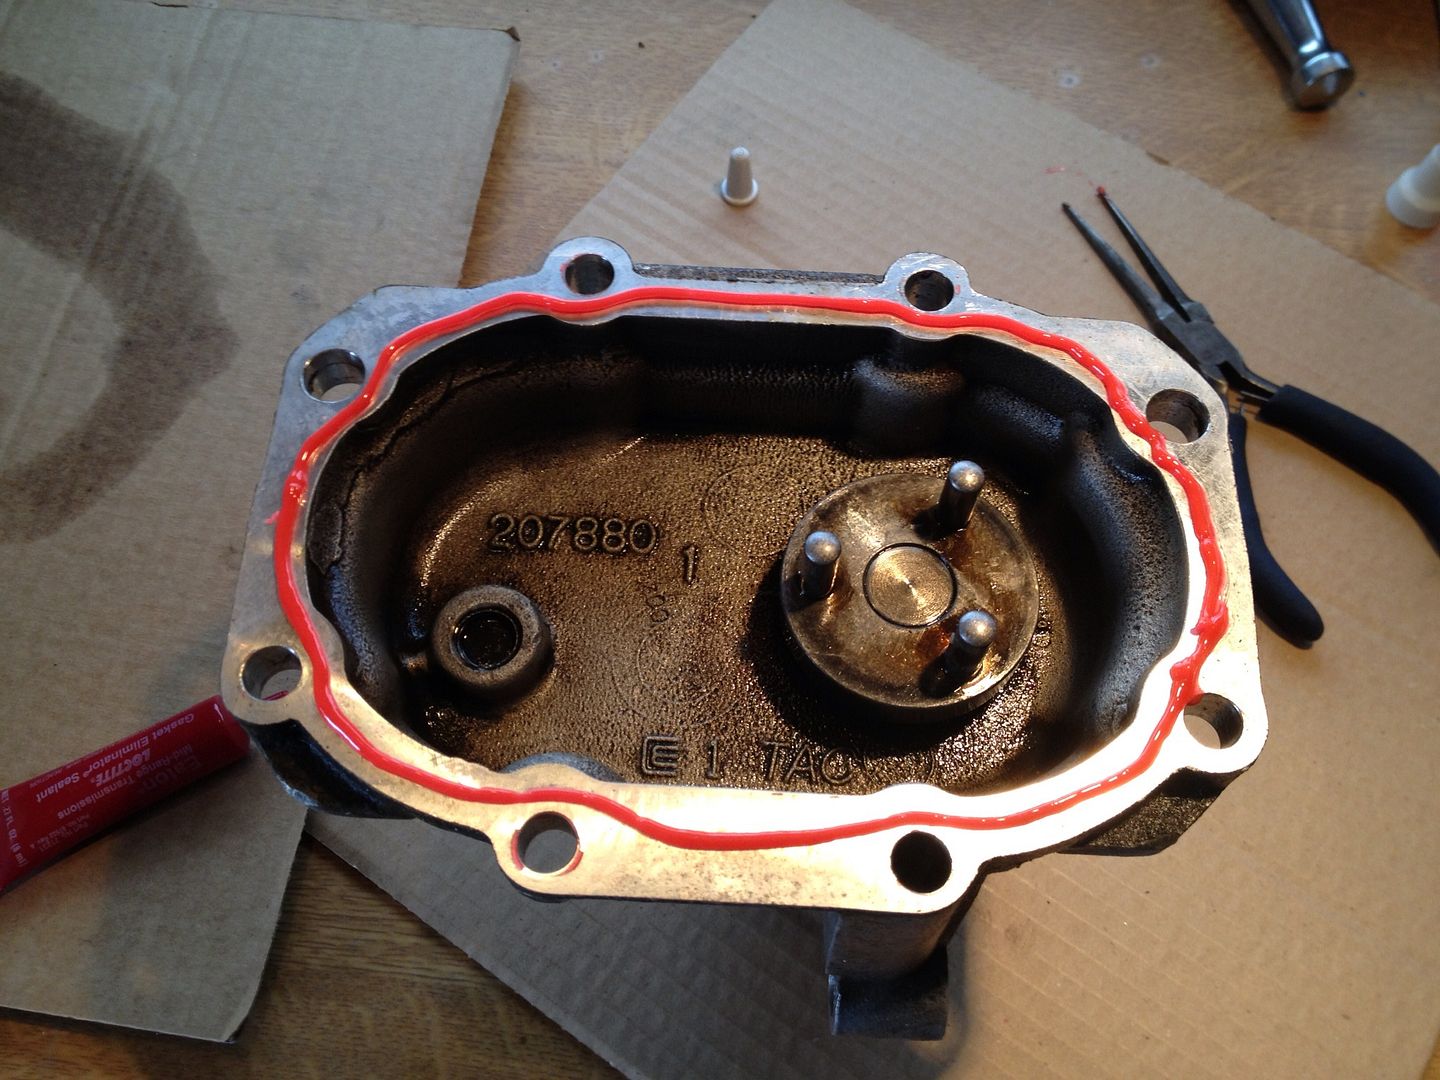
Speshul red gasket goop as supplied by Steve (Raydar27) Many thanks for that mate. One of the hens teeth of this operation.

No pictures of reassembly. You have seen them all before really and I didn't have a hand free. All the nose bolts were tightened to 20lb/f (as per some thread I found on turbomiata. Got to love trusting strangers on the internet)

Today's task. Make an mdf version of the rear blanking plate. It won't work on the final install but it will keep the poop out of the rear housing while I work on the mounting and I will be able to draw round it to make the steel version.
 
#203 ·
That cut is so clean, looks like there wasn't a bracket there in the first place
Image
I'd also like to congratulate you on your 10,000 view breakthrough and also would like to point out I had the 200th post on your thread! Its a proud day for me, well that day was a proud day for me, today not so much, but I'm getting there.... Maybe.... Quite possibly not.... But who cares........ I don't really know to be honest.

Anyway, Yeah, Awesome, makes me want a supercharger even more, even just to take it to bits, looks amazing fun, i love exploding things to bits, repairing and rebuilding, 1 of my strange favourites so far was a Dyson DC10 Vacuum Cleaner, was quite interesting to take to bits and I got the thing for nothing because previous owner said it was knackered and well i repaired it so free Dyson for me.... YAY! Anyways I'm rambling now so yeah byeeeeeeee
Image
 
#205 ·
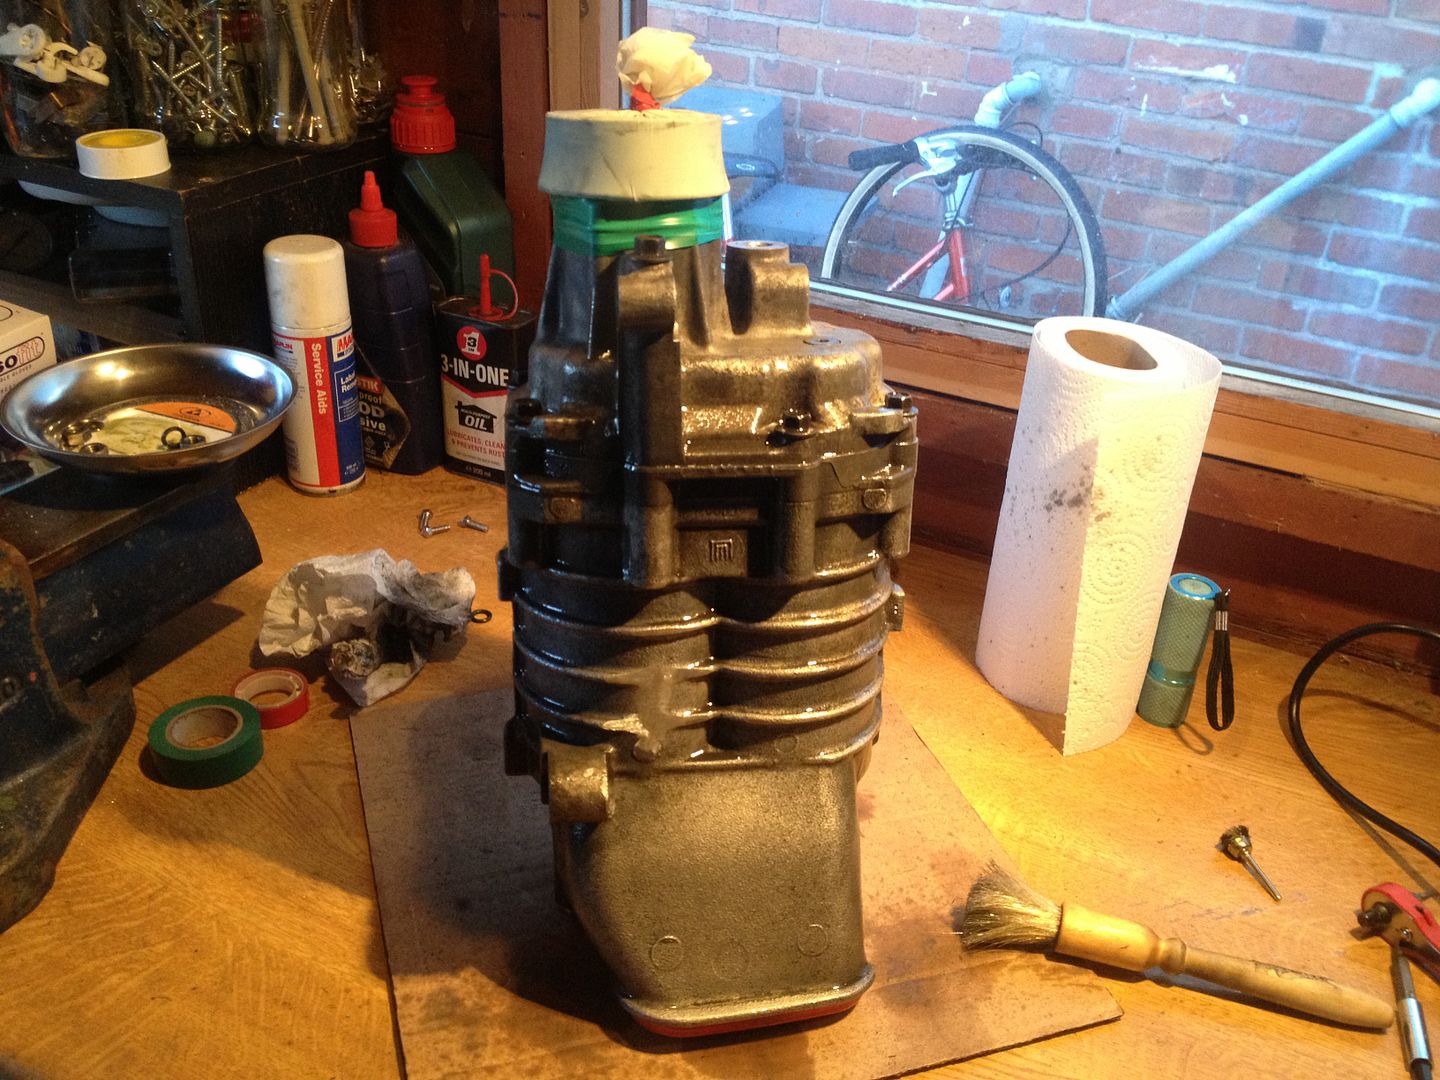
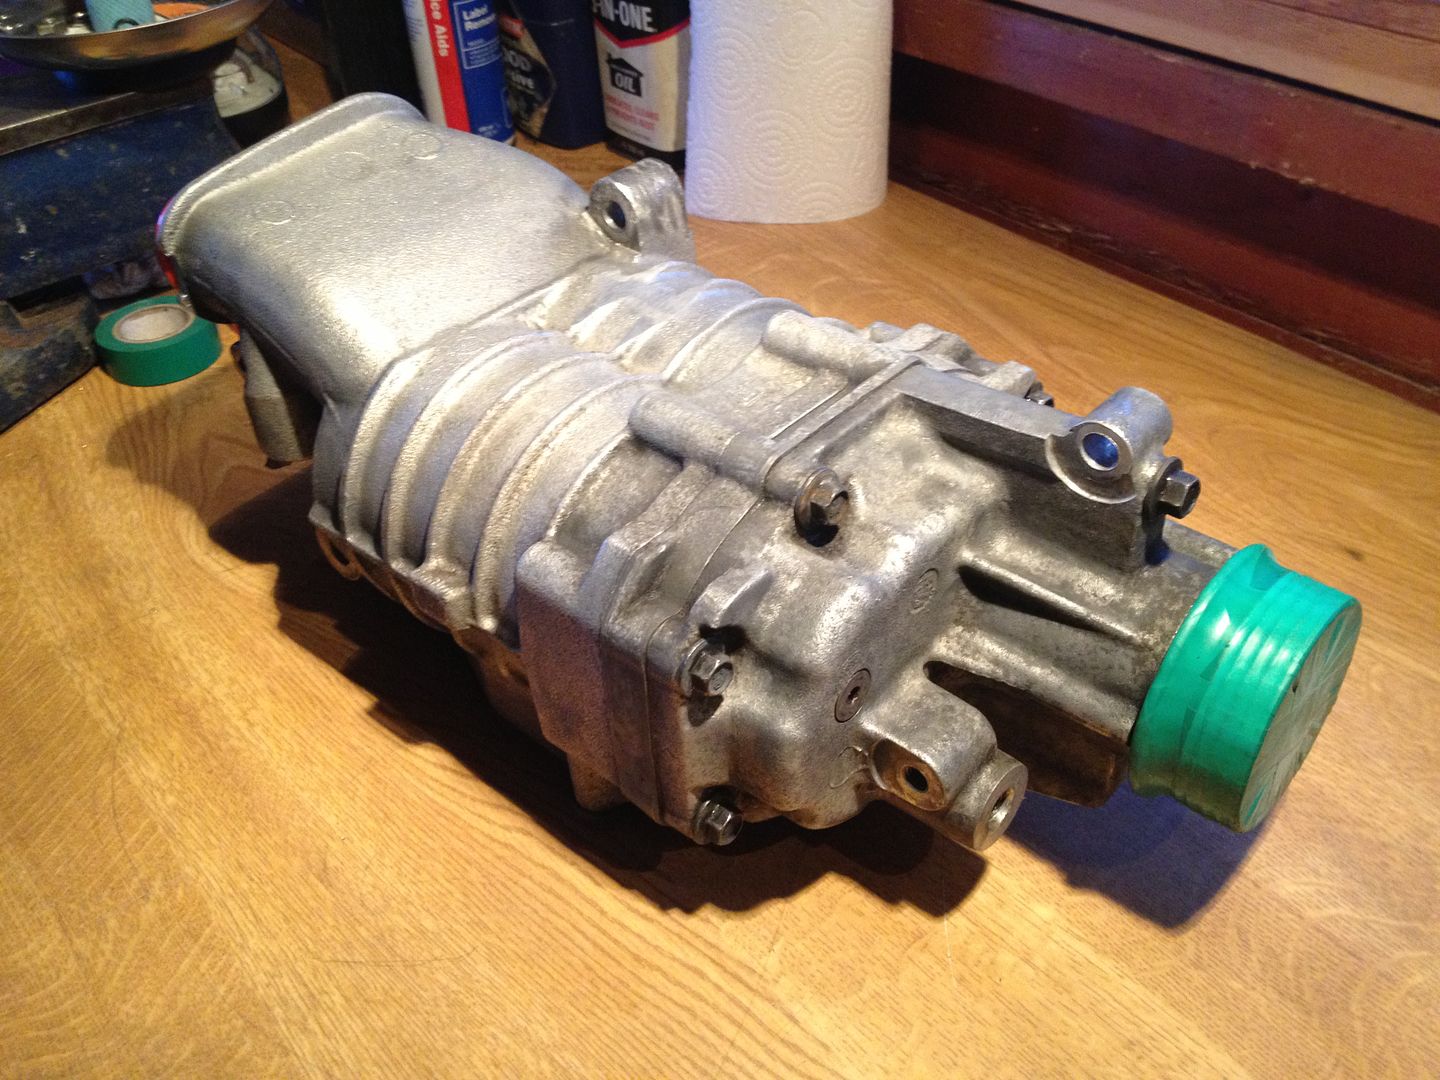
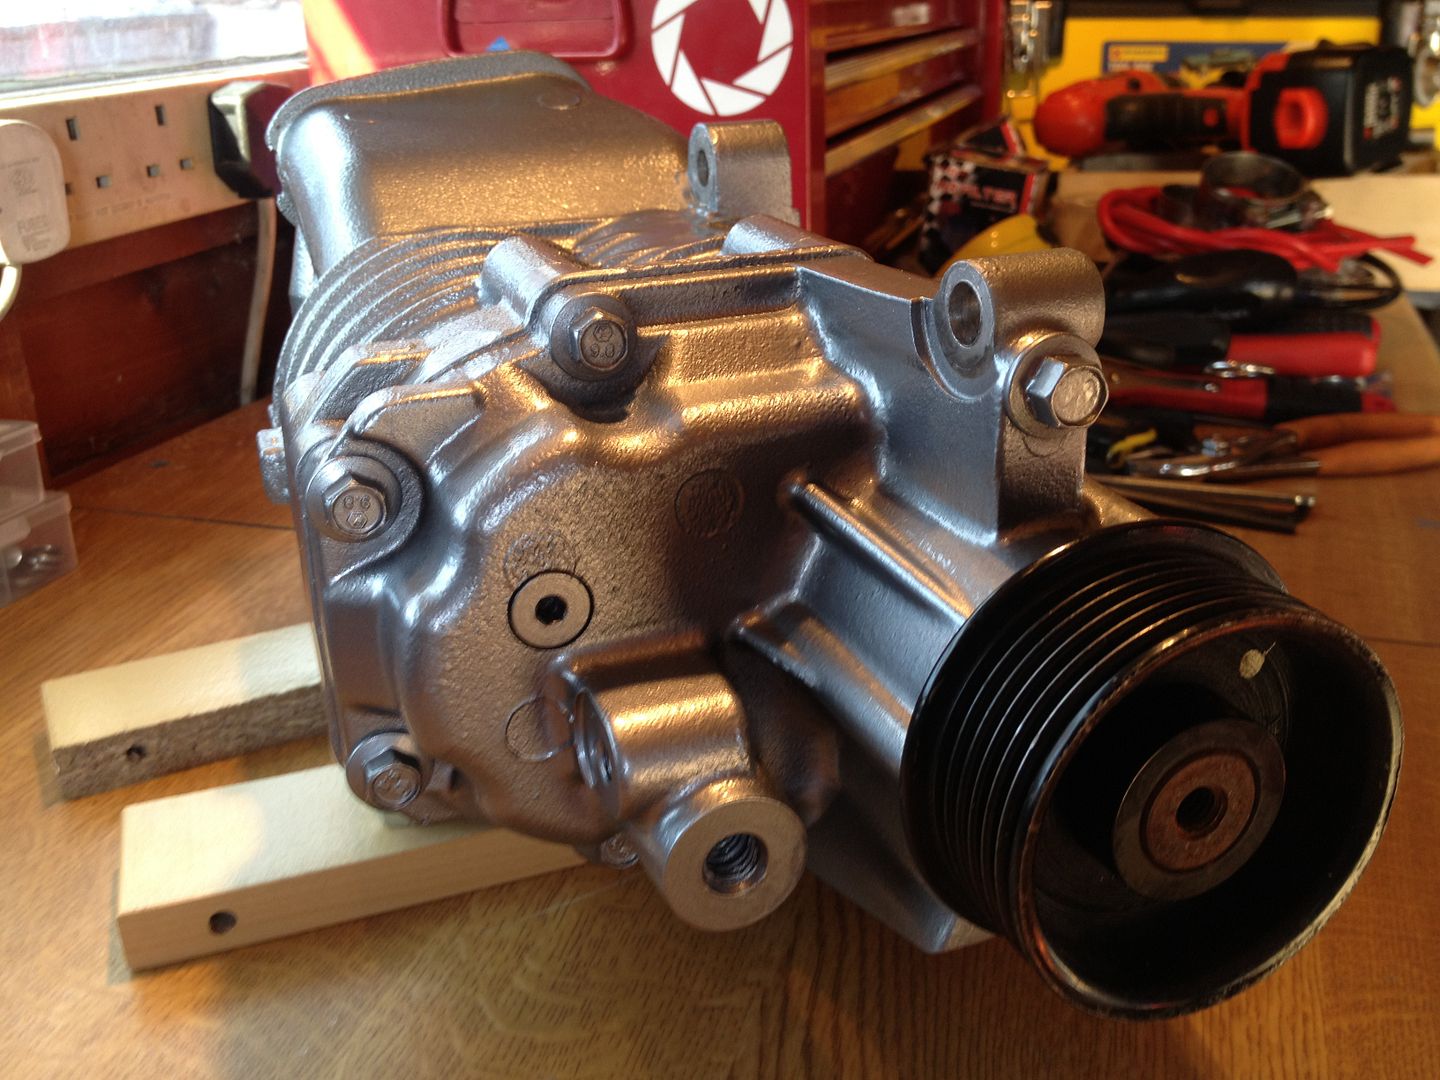
With the charger back together and sealed. Time for a little wash.

Image


Came out ok.

Image


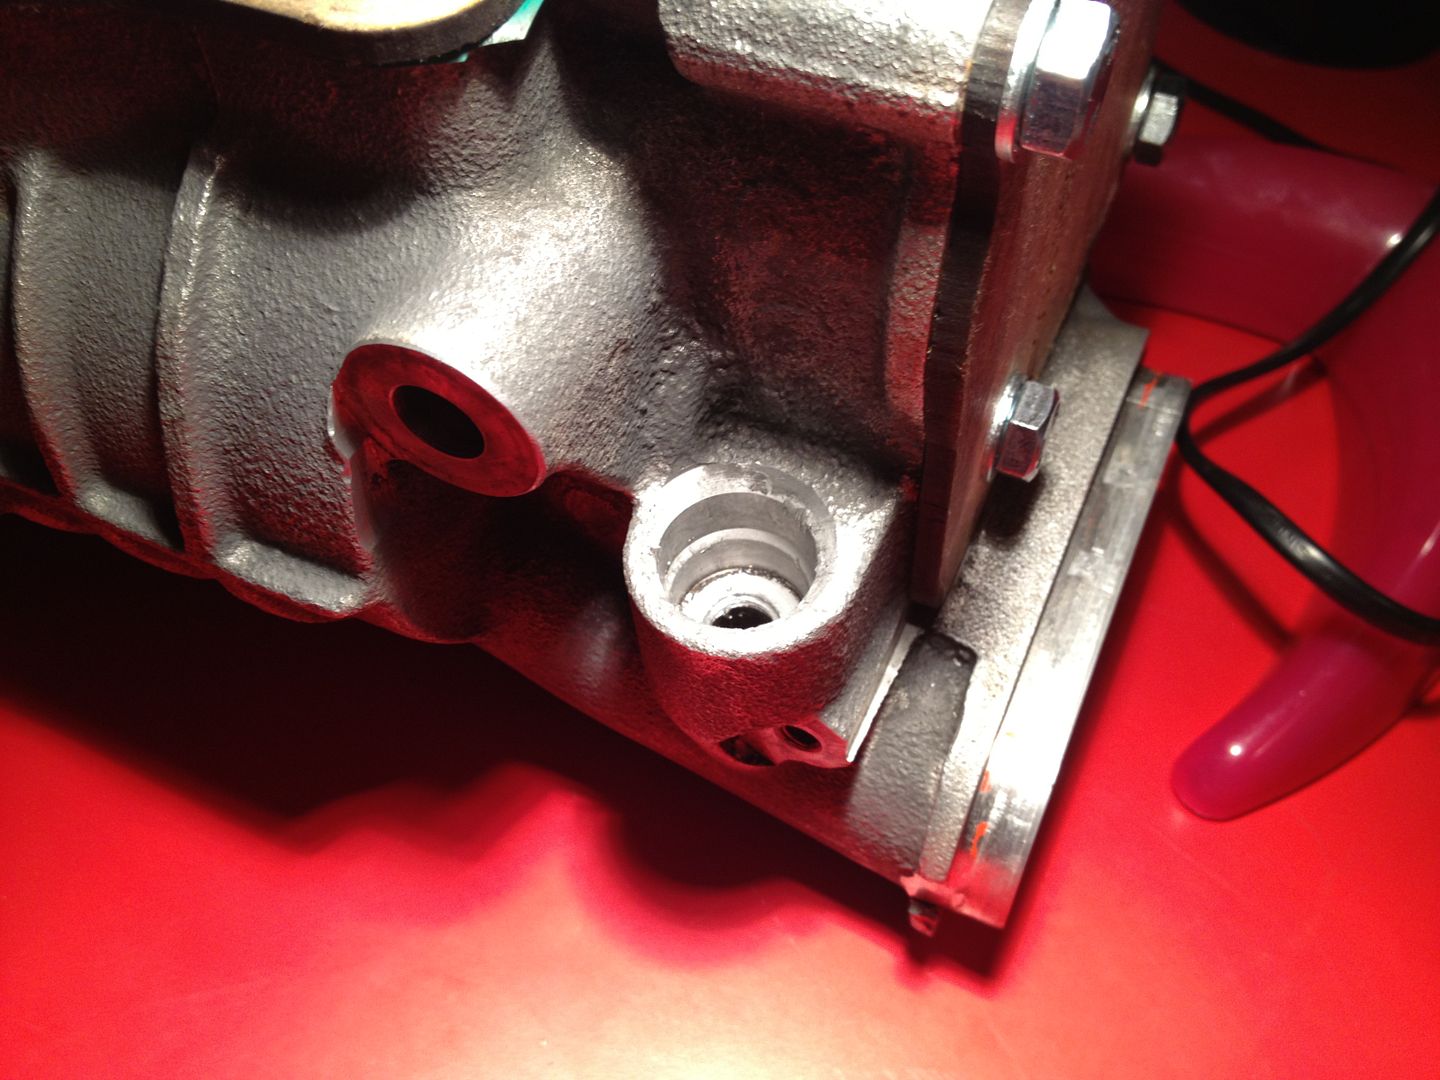
Then I had a little a look at the bypass valve. It needed a little tickle from a wire brush in a Dremmel. The vacuum is set up a little differently with dual throttle bodies. The vacuum nipple on the bypass isn't used. The vacuum instead comes from the intake manifold. So I hacksawed off the vacuum nipple. Drilled out the remains. Tapped the hole. Then plugged it with an rtv smeared bolt of the correct size.

Image


It's the bolt on the left.

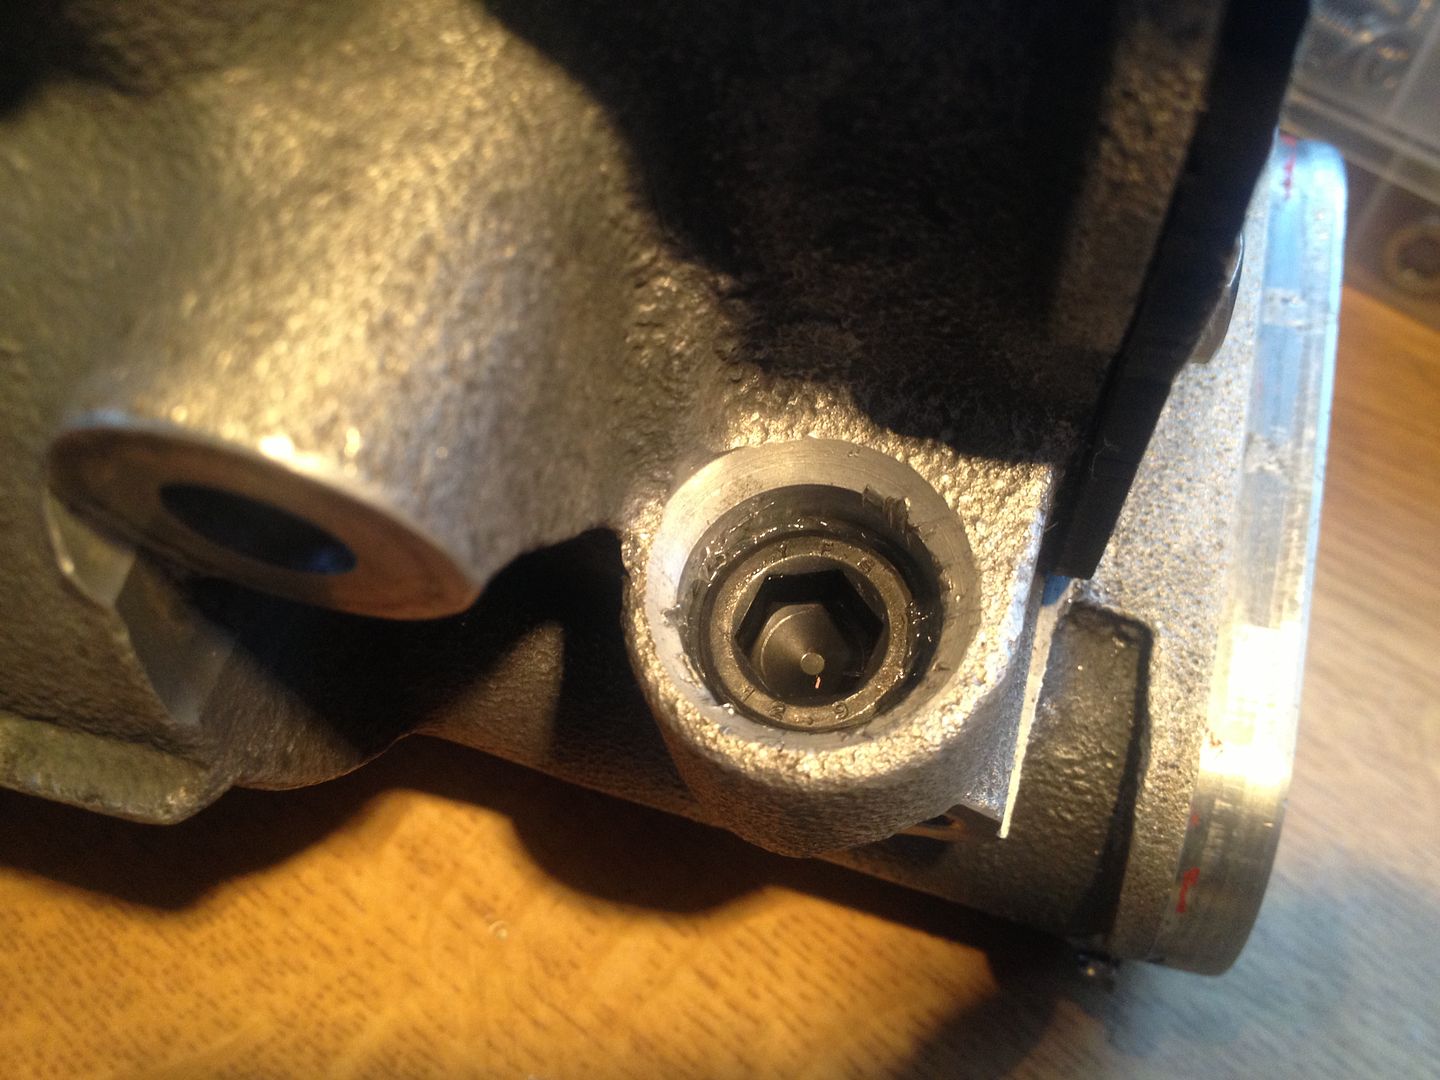
There is another unused hole on the charger. That needs plugging.

Image


I'm going to tap it to M10 and seal it with an Allen head M10 bolt.

Little steps.....
 
#208 ·
I'm going to tap it to M10 and seal it with an Allen head M10 bolt.
Famous last words!

I picked up a nice new set of HSS drill bits. A decently expensive set. Much nicer to use than the usual disposable sort.

I selected a bolt to blank off the hole M10x1.5 The rule of thumb is select a drill bit that is the M minus the pitch. So for the M10x1.5 that's an 8.5mm drill bit.

I had an 8.5 in my shiny new drill bit set so that was easily done.

Then run the tap through it. Simples!

Except my tap kit appears to have been forged from the finest cheese and is utterly rubbish. All it did was chew the first few mm of the hole and refused to start a nice thread.

So in desperation I drilled the hole to 9mm to give it more chance. Which worked in that the tap now cut a thread. Except the thread was utterly useless. Argh.

So I shut the door on it for a few days and gave Shogun a call to see if he had some taps made of real metal. He did! Yay!

We decided the best bet was to drill up to M12 and start again with a proper tap. With a tap of decent quality the job went much more smoothly!

null-18.jpg


One M12 allen head bolt, smeared with RTV sealant and tightened into place.

That saying "A bad workman blames his tools"? It's total bollocks! Without decent tools you just cant do a decent job.

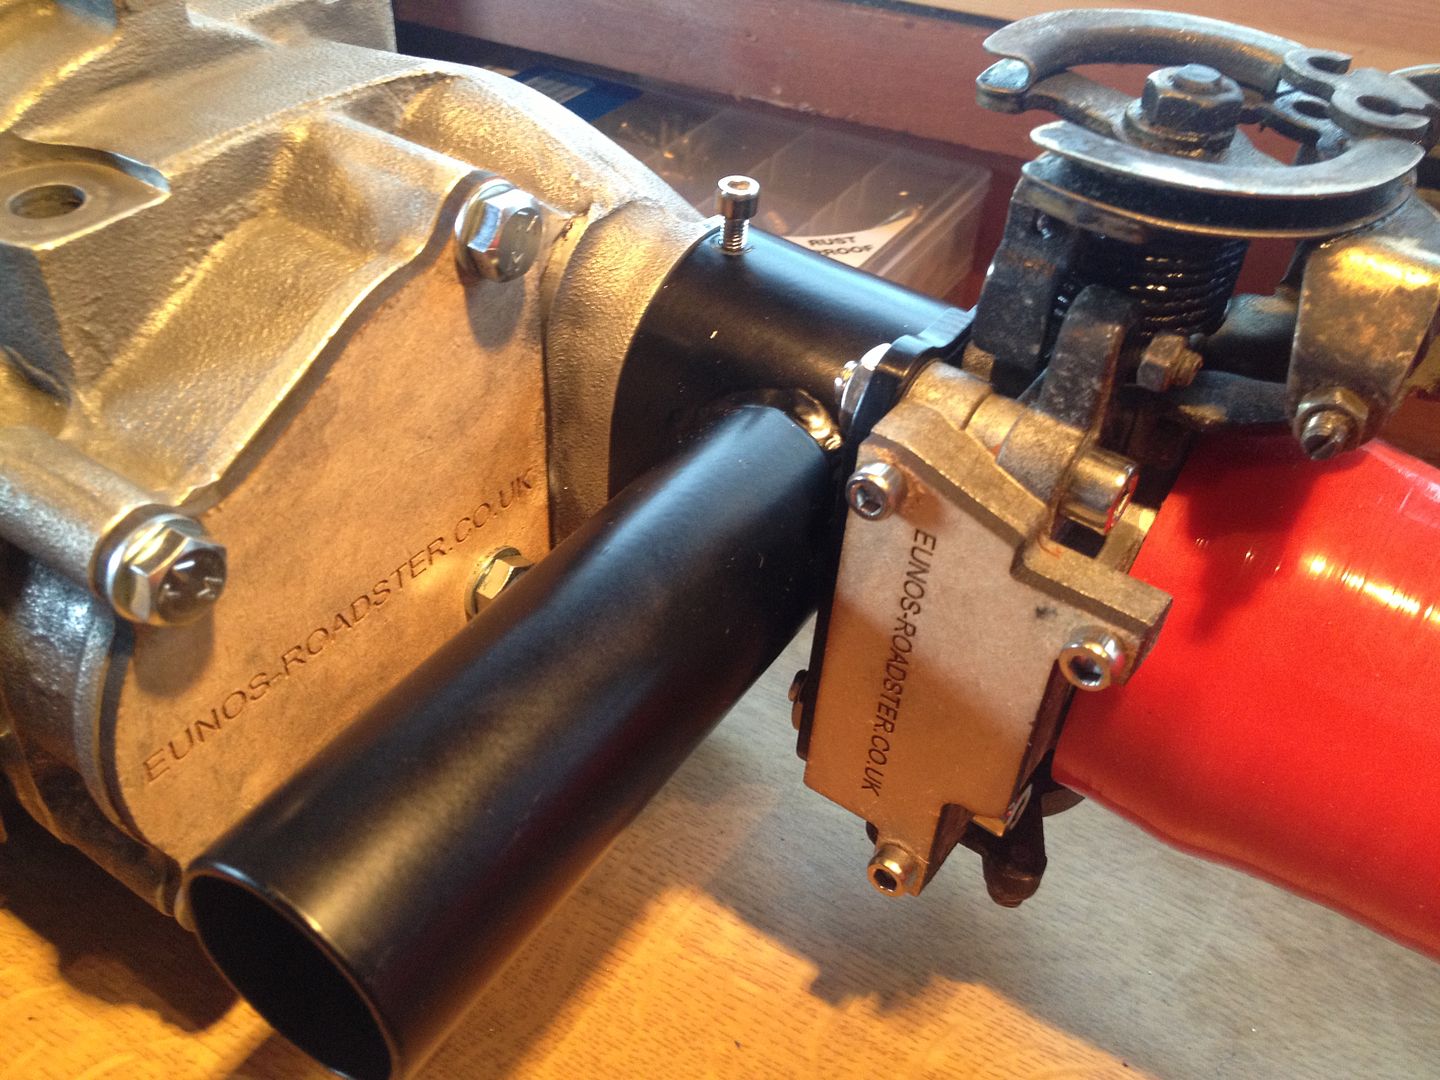
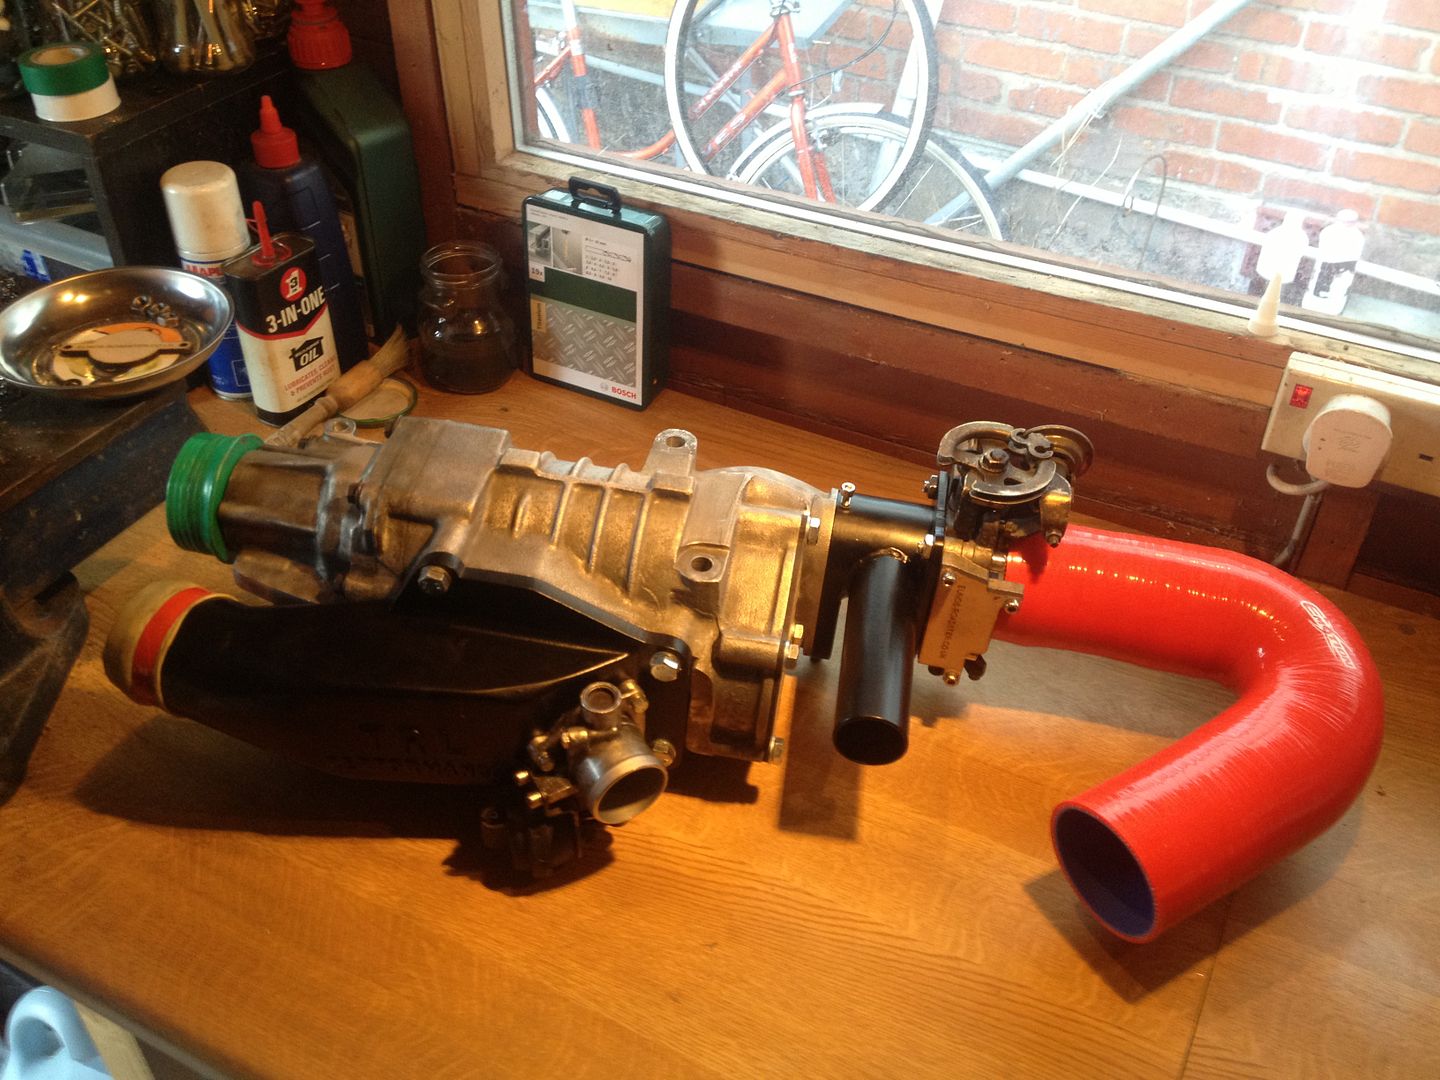
With that done I trial fitted the TRL intake and second throttle body.

null-20.jpg


The MDF blanking plates are the prototypes. The, laser cut, metal versions are on the way :)
 
#210 · (Edited by Moderator)
It was all supposed to be so easy.......

Actually a lot of it has been made very easy. I have to say thanks to some of our own home grown talent. (I'm looking at Valentinik and Raydar in particular because they are the guys who's time I have been taking up!)

I'm in no way forging new ground here with this supercharger.

But....

Oh. My. Gosh. Why is it always parts supply that kills me on things like this.

Ordered a 135degree silicone elbow to fit on the second throttle body to attach the air filter.

null-19.jpg


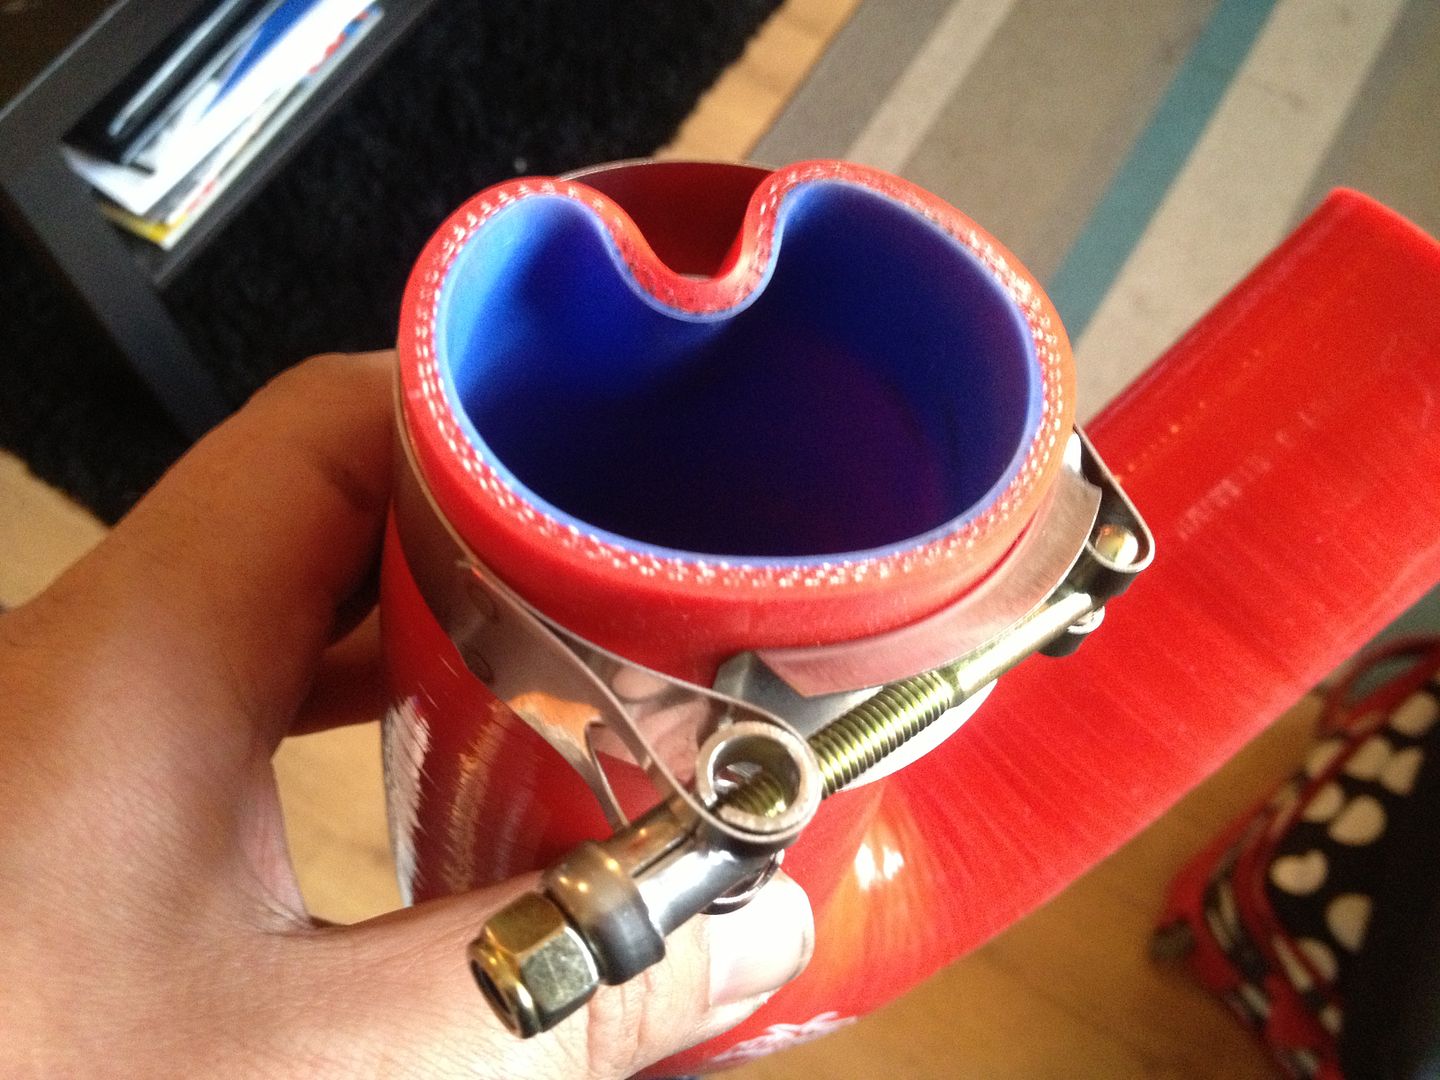
Will need cutting down to clear the bulkhead. To avoid confusion I opted for an eBay seller who sells the pipe with two t clamps included. Saves me making a foul up and ordering the wrong ones right?

null-21.jpg


Seriously?

:wallbash: :wallbash: :wallbash:

So after two days of email tag the seller is now refunding me the grand total of ÂŁ2 for clamps which are too small.

I have measured the pipe and ordered two replacement clamps. Total cost including postage - ÂŁ5 :wallbash:

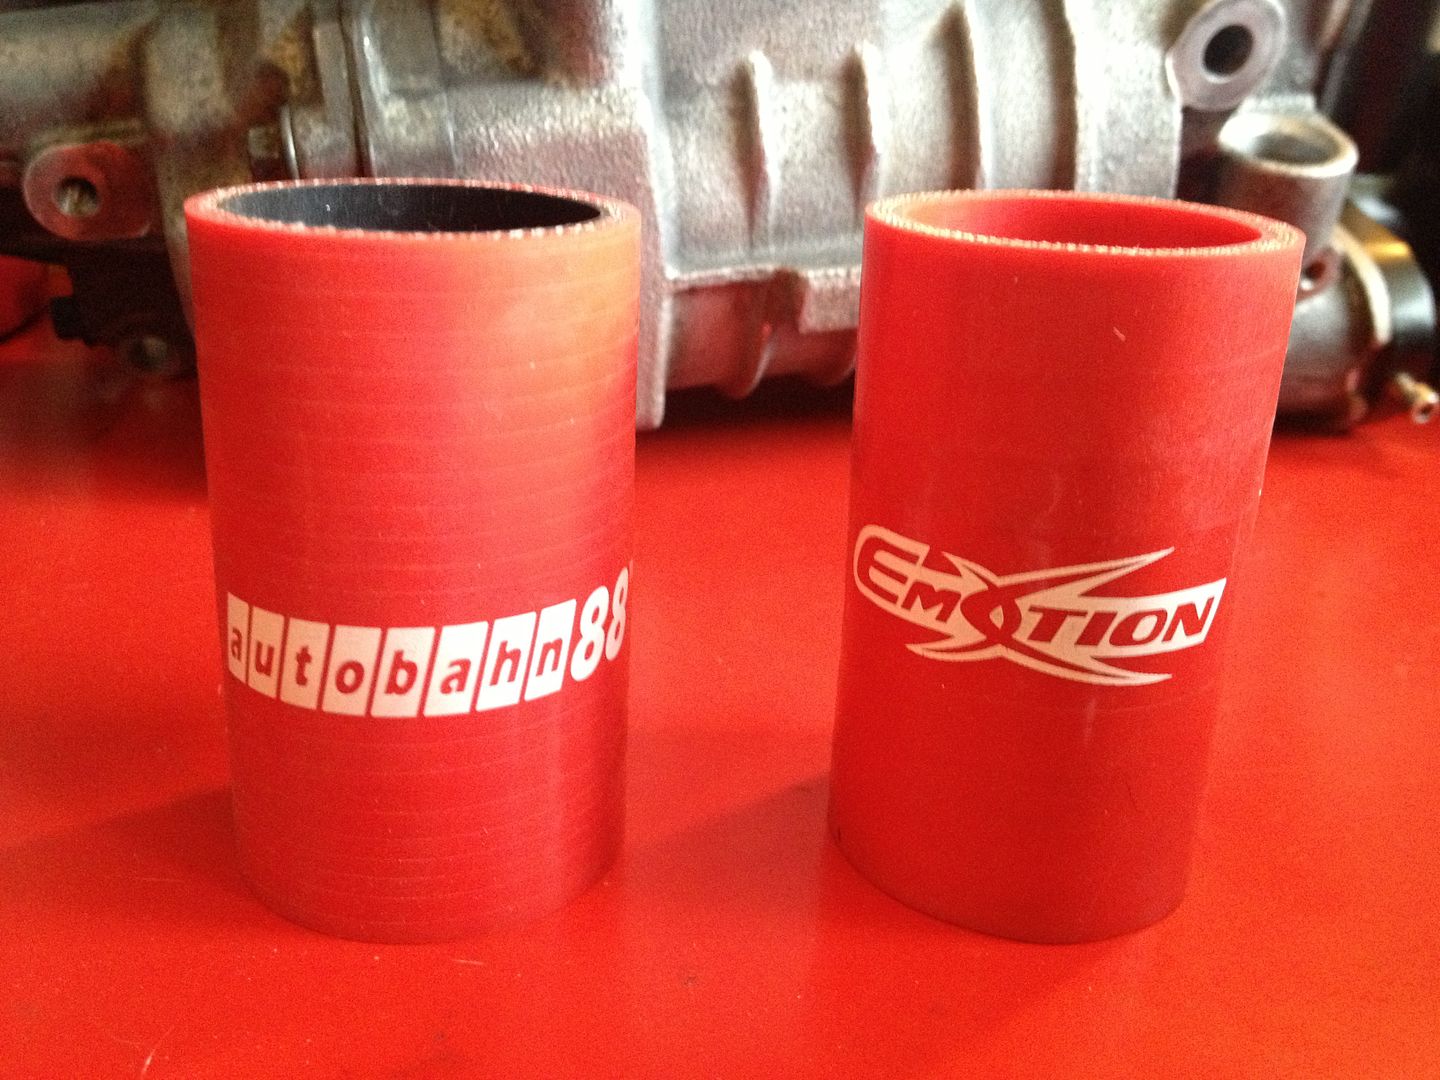
Then there are these little swines

null-22.jpg


The elbow I ordered is branded 'emotion' so I ordered 2 emotion branded pipes from the same listing. Click the box - Quantity 2, sit back and wait.

Ok so the wrongly branded one is fit for purpose, it will do the job. But if you have met me (you poor poor bugger) then you know my OCD was, yes, going *BEEP BEEP BEEP* :wallbash:

Two more days of email tag with seller. "If you don't like autobahn pipe we will refund you ÂŁ3.08". Yes, I'm sure they think that is quite lovely of them. It probably is. But I don't want ÂŁ3.08 IWANTTHECORRECTPIPEYOUGOATFIDDLER!

Then.....

Yes there is more....

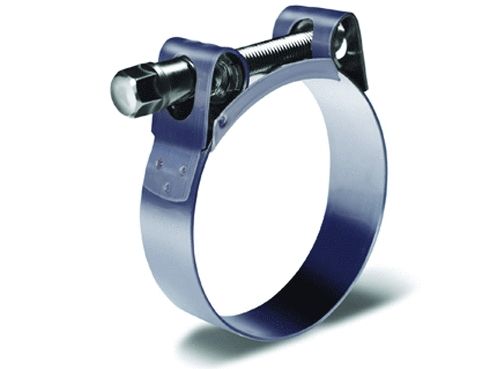
At the same time I ordered some clamps for the 38mm pipe. I was a little too trusting and somewhat lazy and I brought them from an auction that described them as for '38mm internal diameter silicone pipe'

f87b922f-2890-4592-a841-ace9beba3e2c.jpg


Do they fit?

I'll give you all a moment to answer.........

Quite correct, they are, in fact, far too big.

:wallbash: :wallbash: :wallbash:

I obviously need to be a lot more careful with my eBay purchases. I wish there was a high street shop that sold this sort of thing. It is SOMUCH easier to go in and talk to a real person and hold the product in your hand. You get the right thing much more easily and you don't spend half your life and many expensive litres of petrol delivering bits of red card to the sorting office in exchange for your package. I'm sure they are supposed to deliver things to me? Isn't that how that's supposed to go?

All I can think of is Demon Tweeks.... they are in North Wales? About a two hour drive away?

Anyone know of a supplier of silicone hosing and clamps and other bits and bobs in the same genre that have a retail outlet in the West Midlands?

And.
Breathe.
 
#211 ·
I feel your pain with eBay sellers, I don't understand why they can't just supply what they advertise, surely having accurate descriptions matched with correct in the flesh items will lead to repeat orders like any business. It baffles me why they think that shoddy 'any thing will do' will work best for them, I always try to stick with UK sellers as much as possible, I once ordered a small CCTV camera from an eBay seller in China, 3 weeks later a jiffy bag with 3 fake LEGO men turned up, so i contacted the seller and the broken English response I got back was just about legible and eventually managed to get a 2nd camera sent out.... 3 weeks later, some fake LEGO women turn up in another jiffy bag, I tried to contact them again and the responses became more and more illegible so I finally gave up, I just couldn't be bothered arguing with him any more about a ÂŁ5 camera ... I did though then have 3 lovely couples, I then felt the need to build them a LEGO house out of the little sisters old LEGO blocks in the cupboard... I had took a picture but it was on my old, now fried, laptop lol Another thing that annoys me about them is the delivery estimates etc, for example, I ordered a set of tuner wheel nuts for these new wheels and the ebay seller I bought them from had on his advert FREE & FAST DELIVERY on or before Thursday 25th April, 24H Courier.... Now looking at my order once I actually ordered them, it says before the 29th April..... Thats 4 days of a difference, this irritates me highly, I don't like things being late, I'm hoping they do turn up today as I want to test fit my wheels at least, but if they don't then I shall be moaning, even though the delivery is free, the reason I bought from them in the first place was because it was a fast delivery/next day delivery. Pain in thee bottom!

Rant over.... apologies for clogging up your thread with my empathetic moaning :soapbox:
 
#213 · (Edited by Moderator)
Anyone know of a supplier of silicone hosing and clamps and other bits and bobs in the same genre that have a retail outlet in the West Midlands?
Ashley Exhausts usually carry this sort of stuff? Do a search on Ebay for MX5 Cage and they are the ones selling bits of bent tube that you can make up into your own cage, think their ebay ID is pepper performance or something. They are in Walsall somewhere, give them a call they are usually quite helpful.

Edit - here they are and they have a few silicon bits etc on their ebay pages

http://stores.ebay.co.uk/PepperPerformance/Silicone-hose-Alloy-Joiners-/_i.html?_fsub=4349367015&_sid=359821205&_trksid=p4634.c0.m322

Russell.
 
#214 ·
Anyone know of a supplier of silicone hosing and clamps and other bits and bobs in the same genre that have a retail outlet in the West Midlands?
Ashley Exhausts usually carry this sort of stuff? Do a search on Ebay for MX5 Cage and they are the ones selling bits of bent tube that you can make up into your own cage, think their ebay ID is pepper performance or something. They are in Walsall somewhere, give them a call they are usually quite helpful.

Edit - here they are and they have a few silicon bits etc on their ebay pages

http://stores.ebay.co.uk/PepperPerformance/Silicone-hose-Alloy-Joiners-/_i.html?_fsub=4349367015&_sid=359821205&_trksid=p4634.c0.m322

Russell.
Top tip, Thank you! Have added them to my favourite sellers list :)
 
#216 ·
Well that's me back from my holibobs! Seem to have brought some sunshine back with us too ;) Did ya miss us?

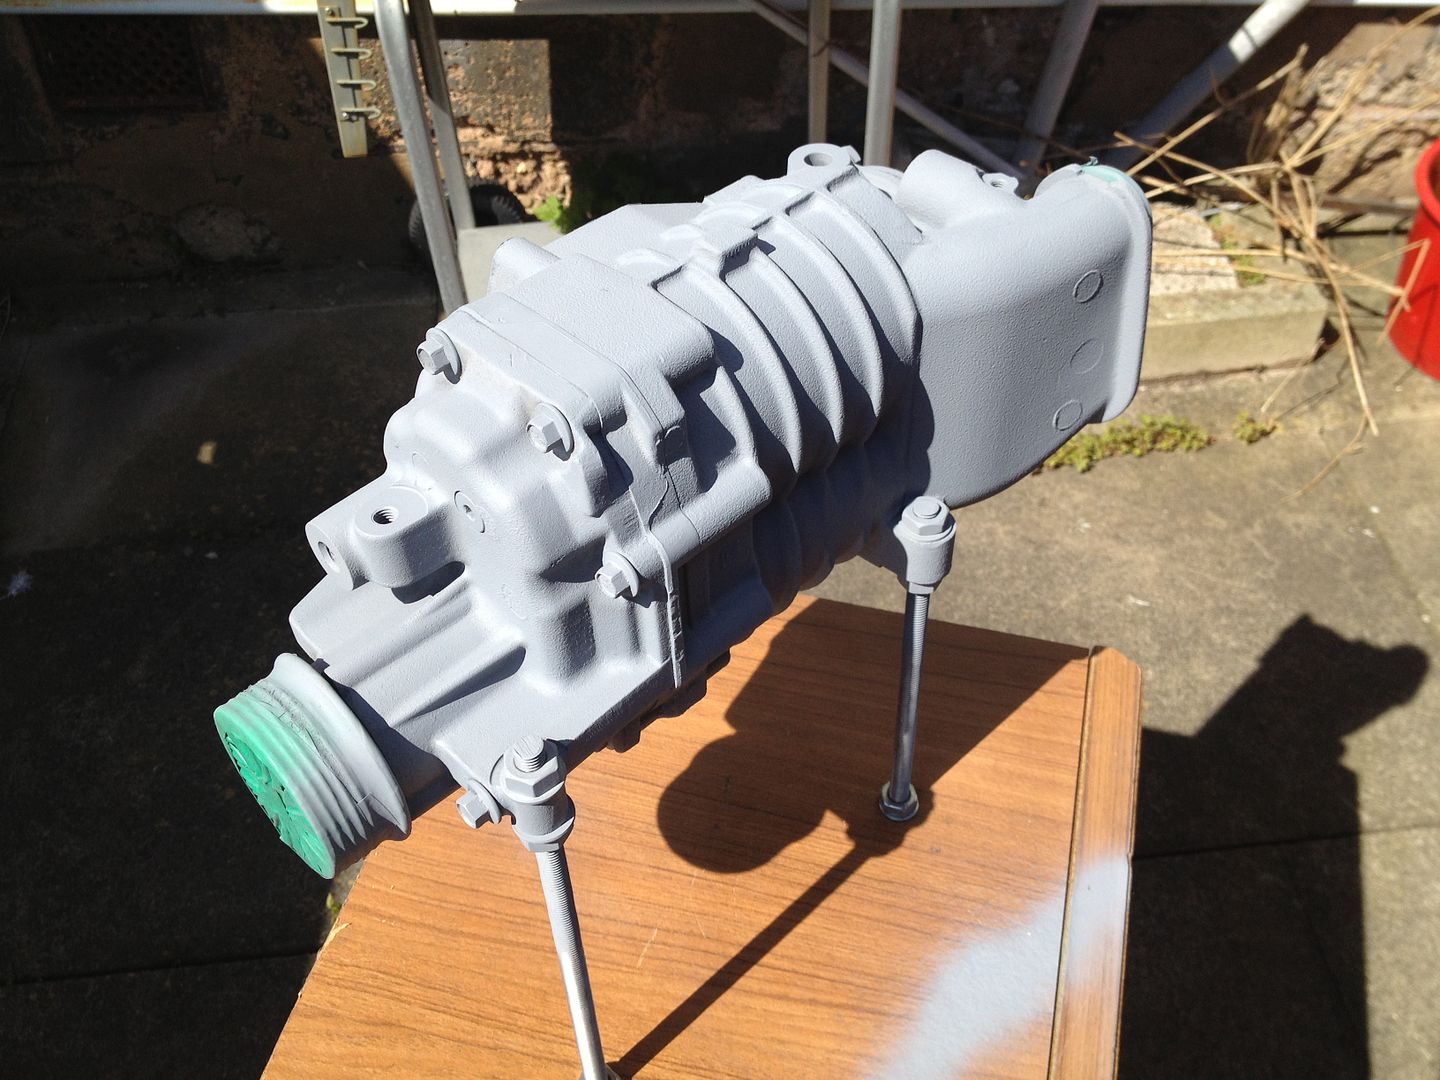
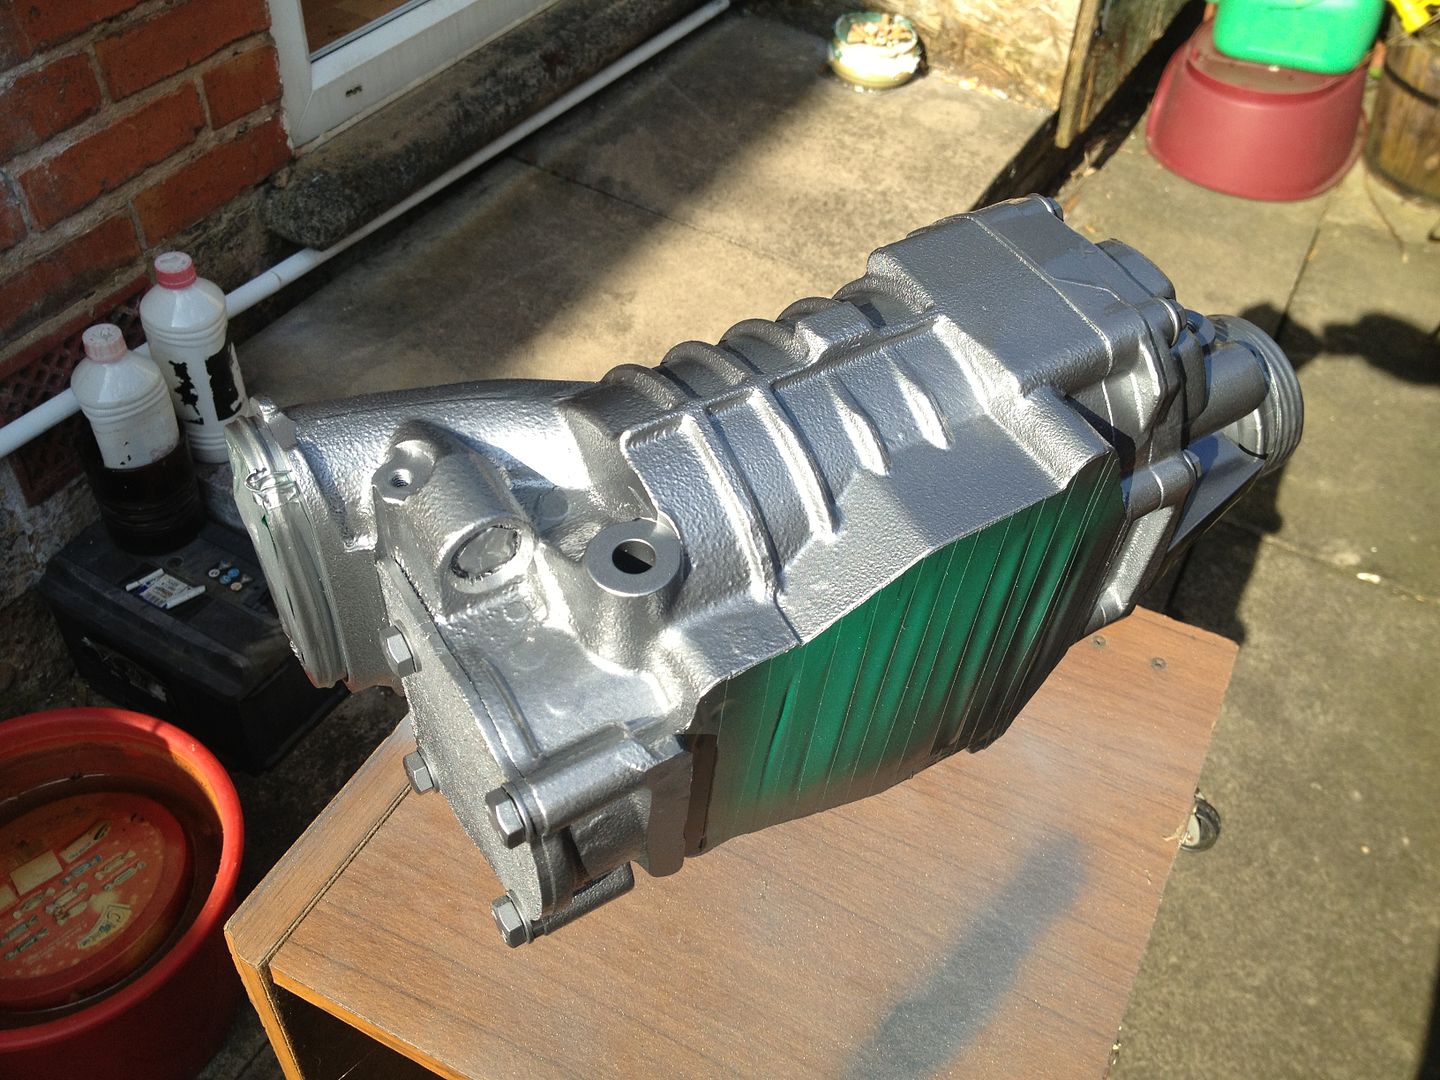
Painting weather!

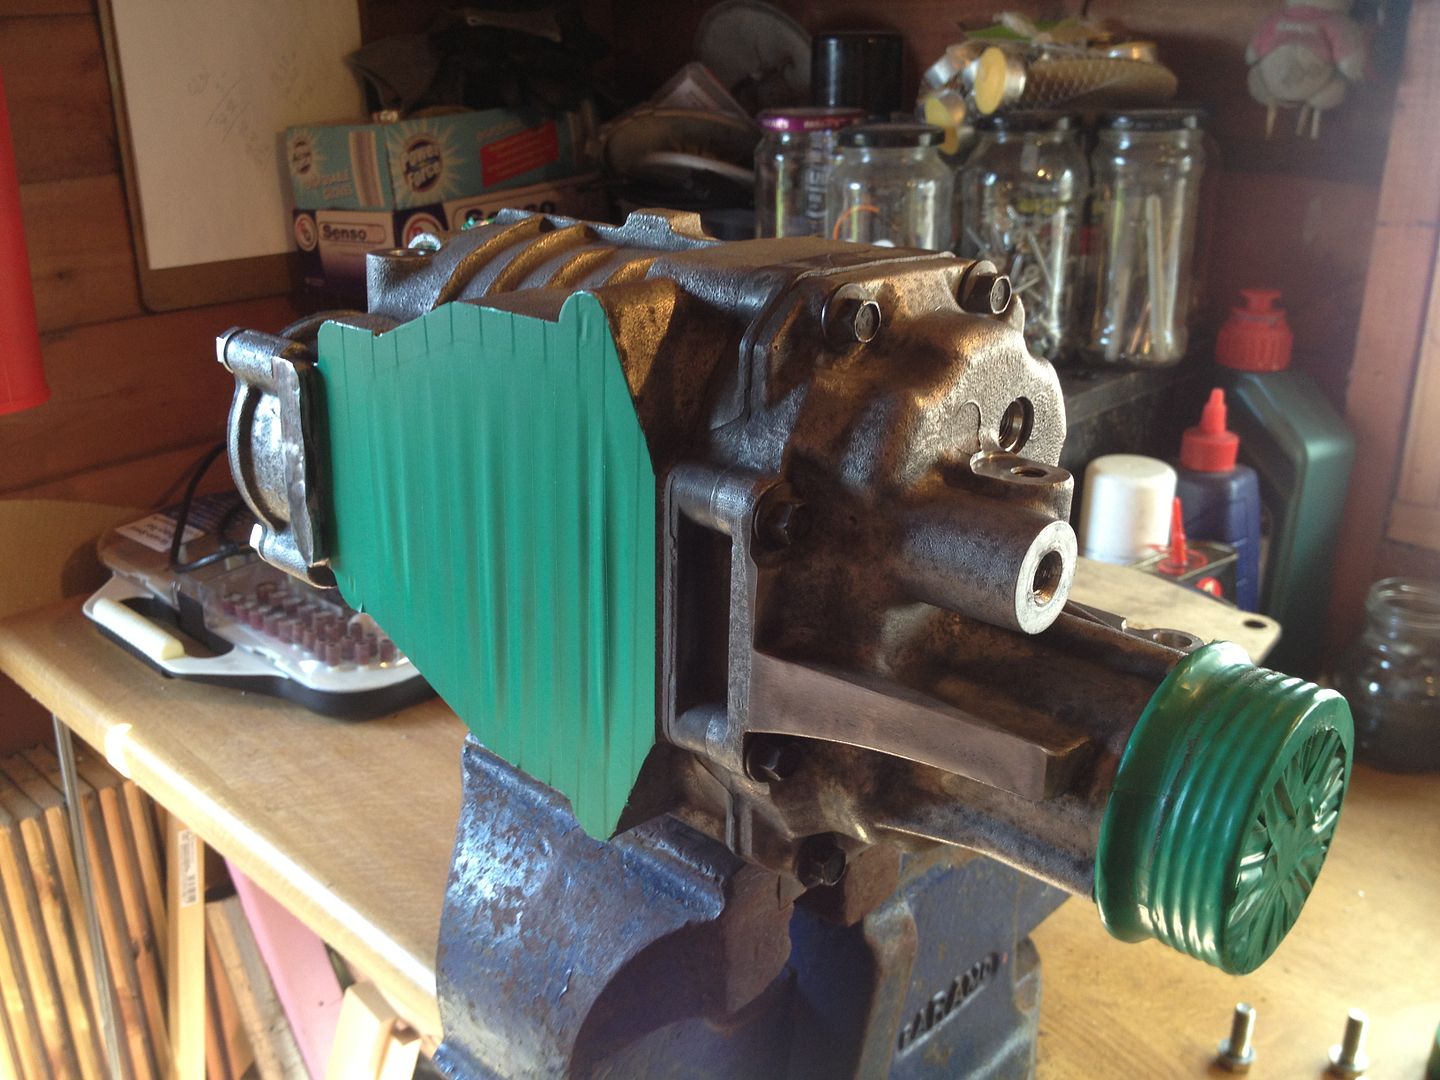
Best get the charger masked up then....

null-25.jpg


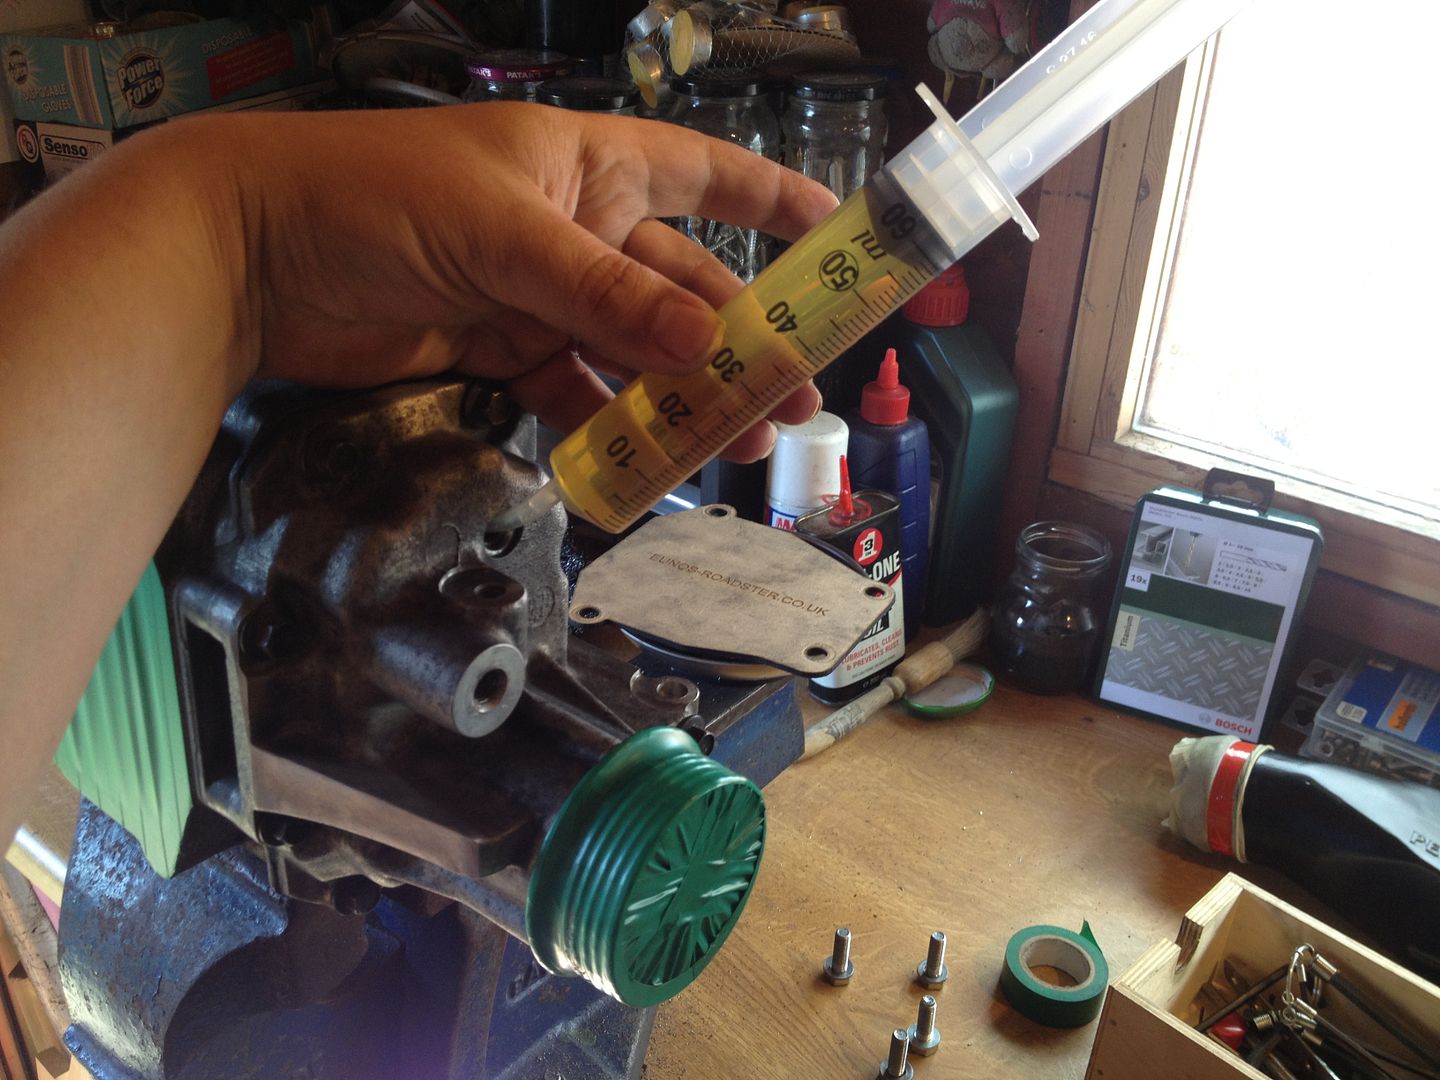
Plus the new nose oil may as well go in. Saves me disturbing the drain plug after paint.

null-28.jpg


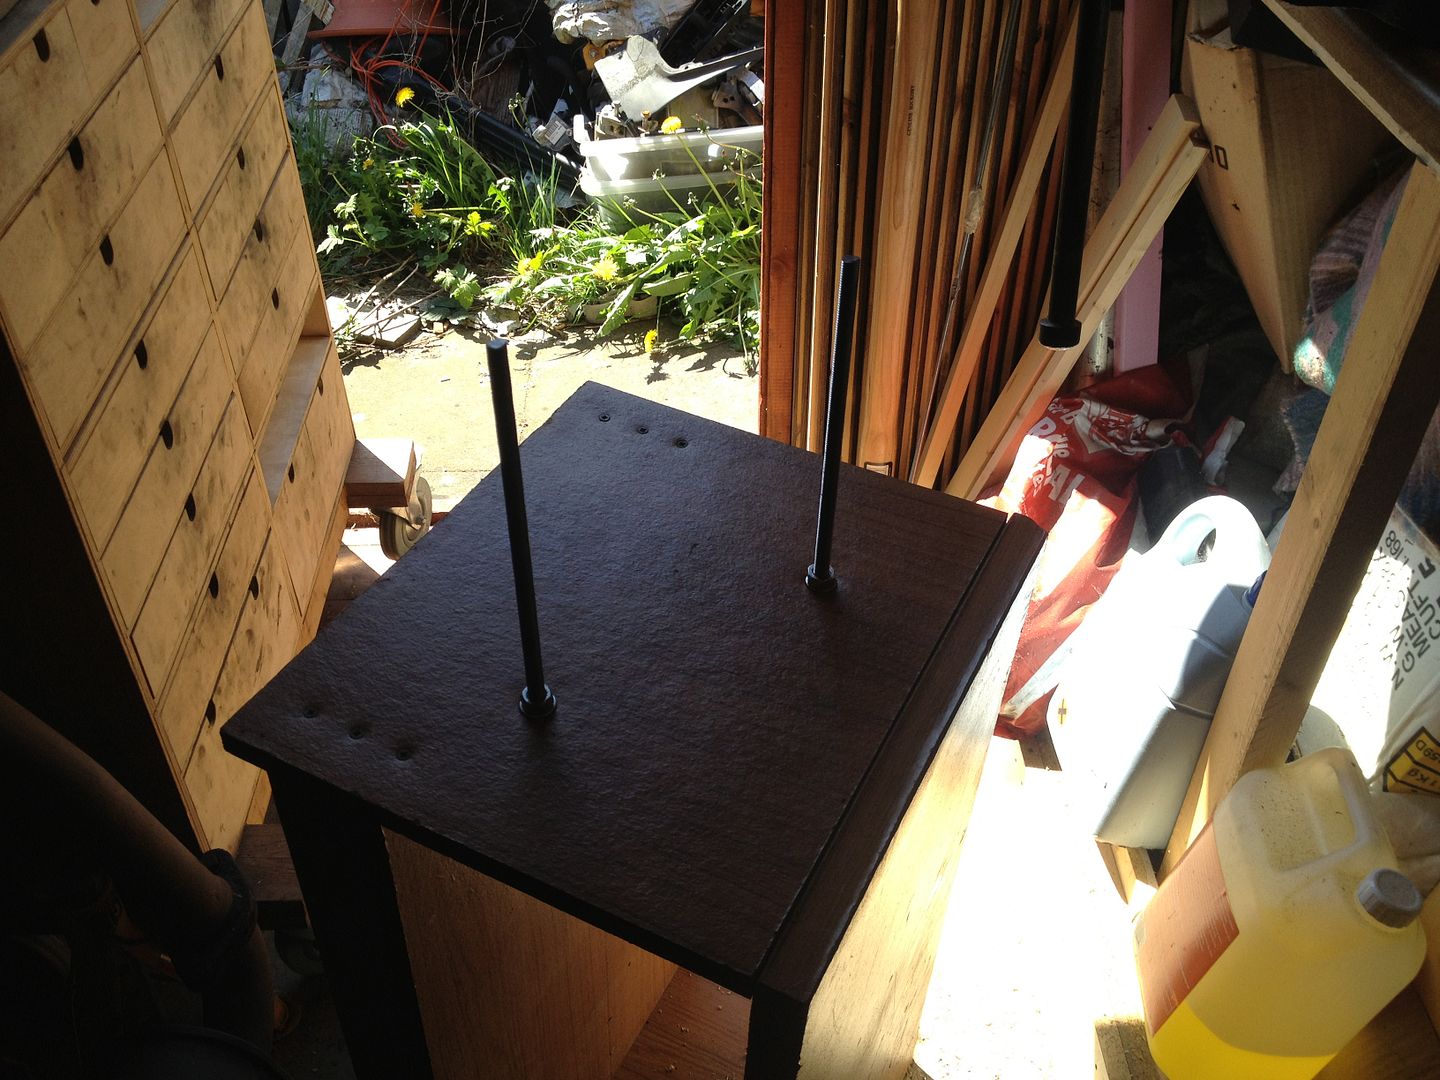
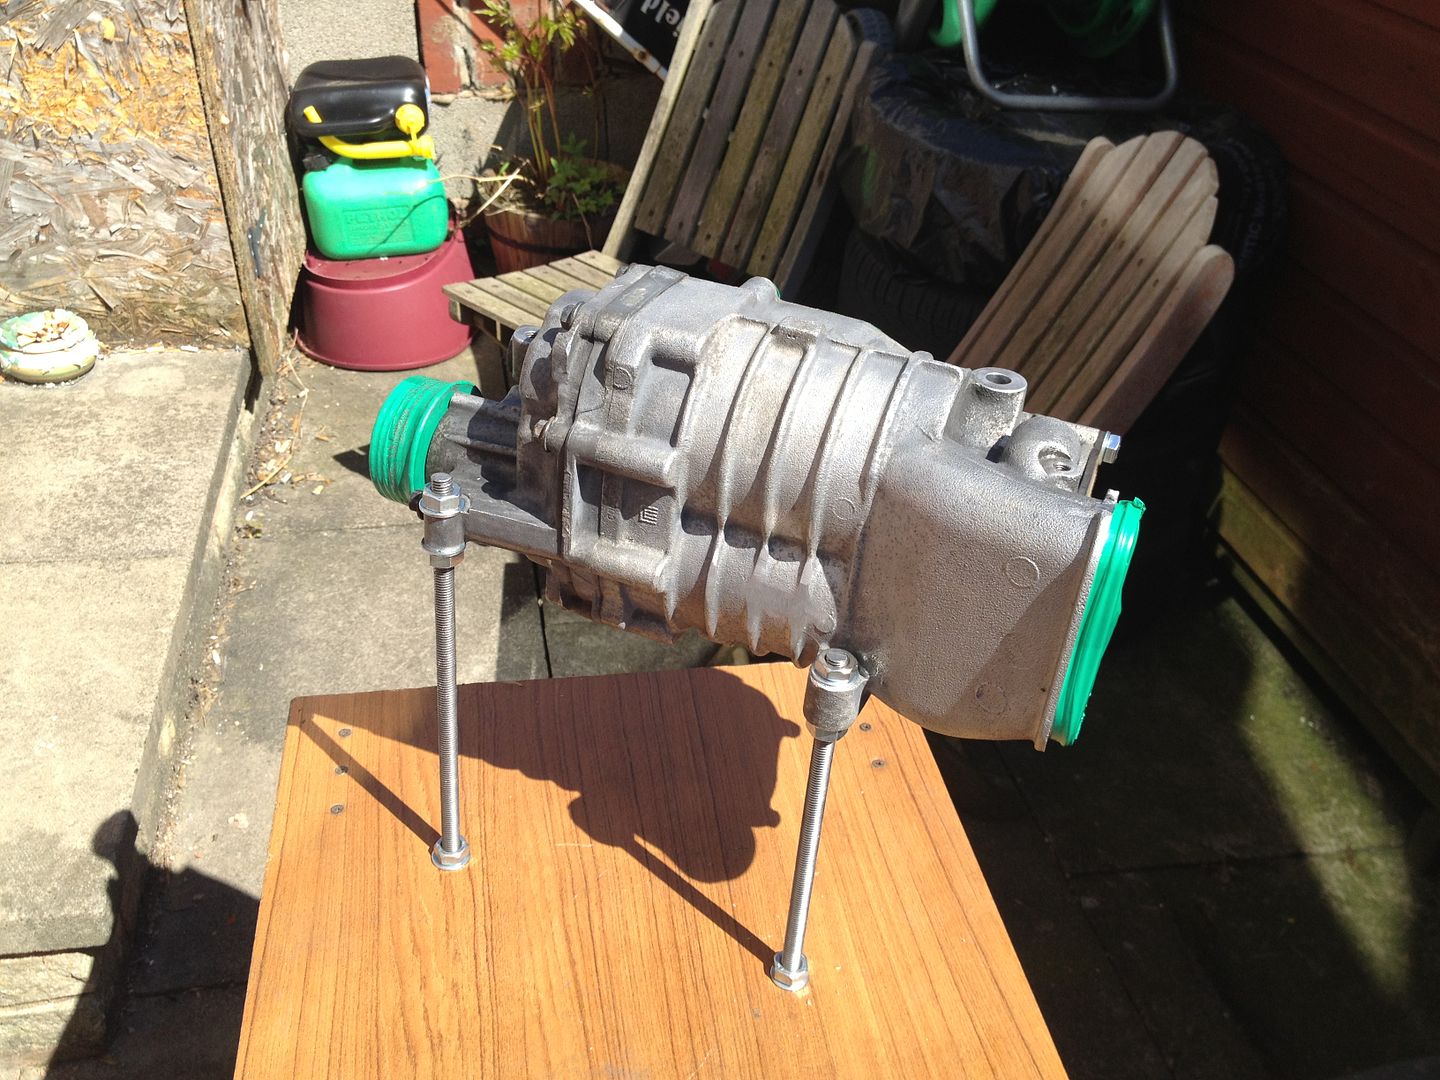
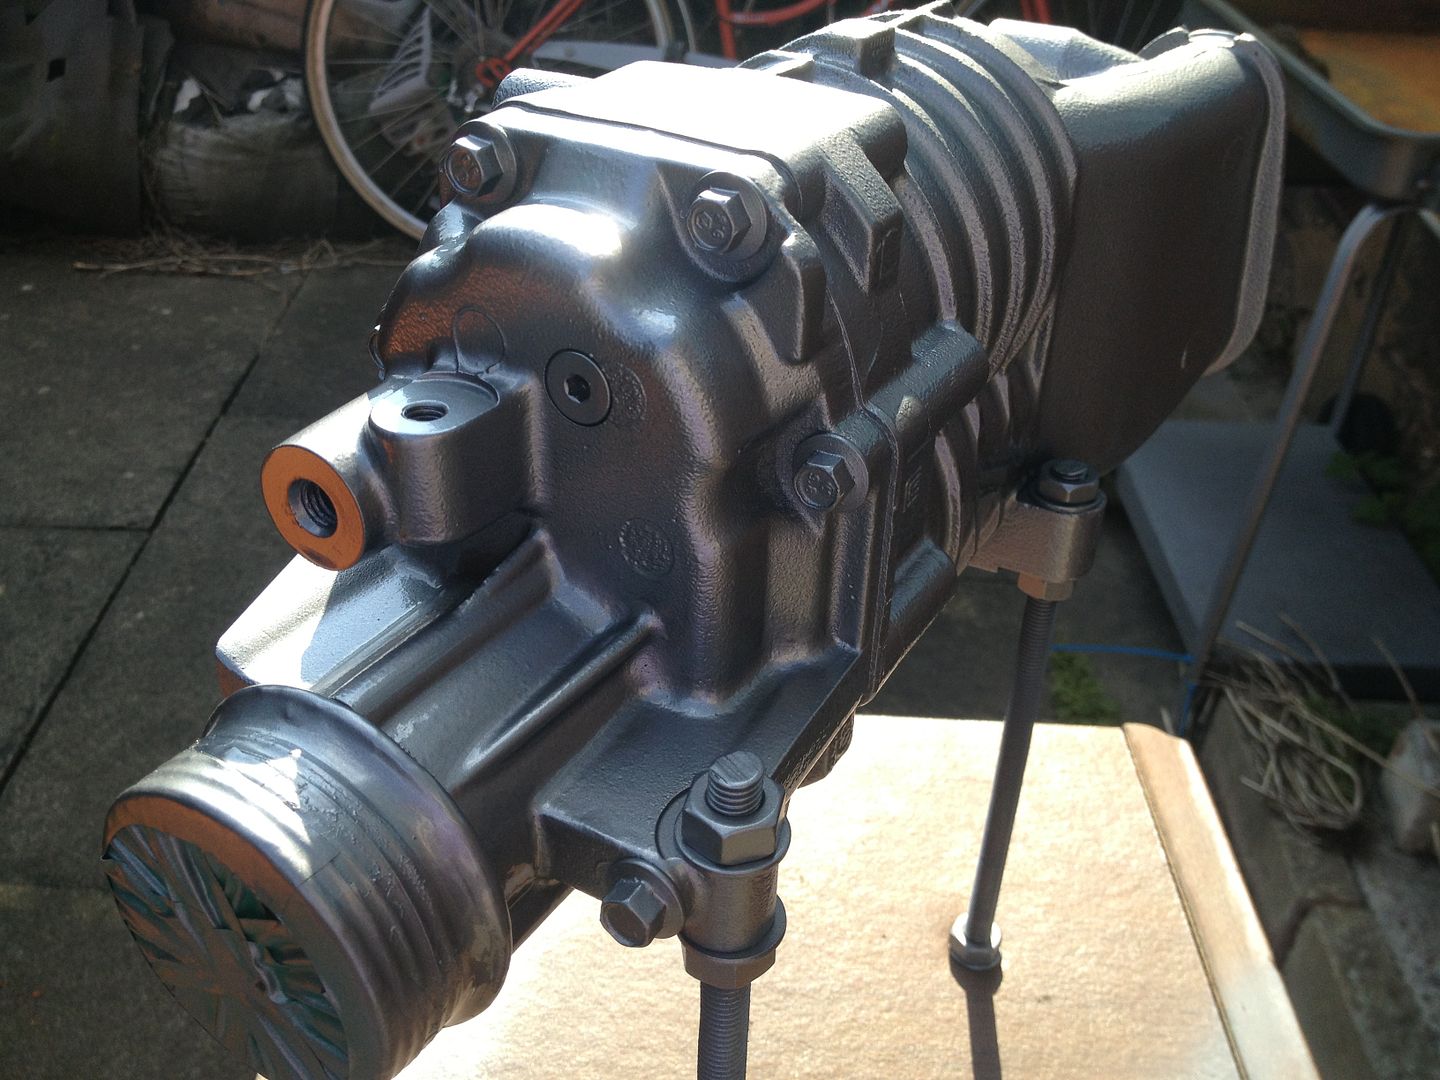
The next question was how on earth to hang the charger for painting. Inspiration began at two lengths of threaded rod. But what to suspend them from? Then I spotted an old wooden tv stand I have in the corner of the workshop.....

null-32.jpg


null-34.jpg


Bring on the primer!

null-37.jpg


It's had a couple of coats and seems to have covered well. Will be left for a few days now to go off before I apply the top coat.

Unfortunately I spent a bit of supercharger funds on jumping a quad bike over sand dunes in the Sahara. Which will slow down parts supply for a month or two. Oh well!

null-5.jpg


It was worth it :D