Mazda MX-5 Miata banner

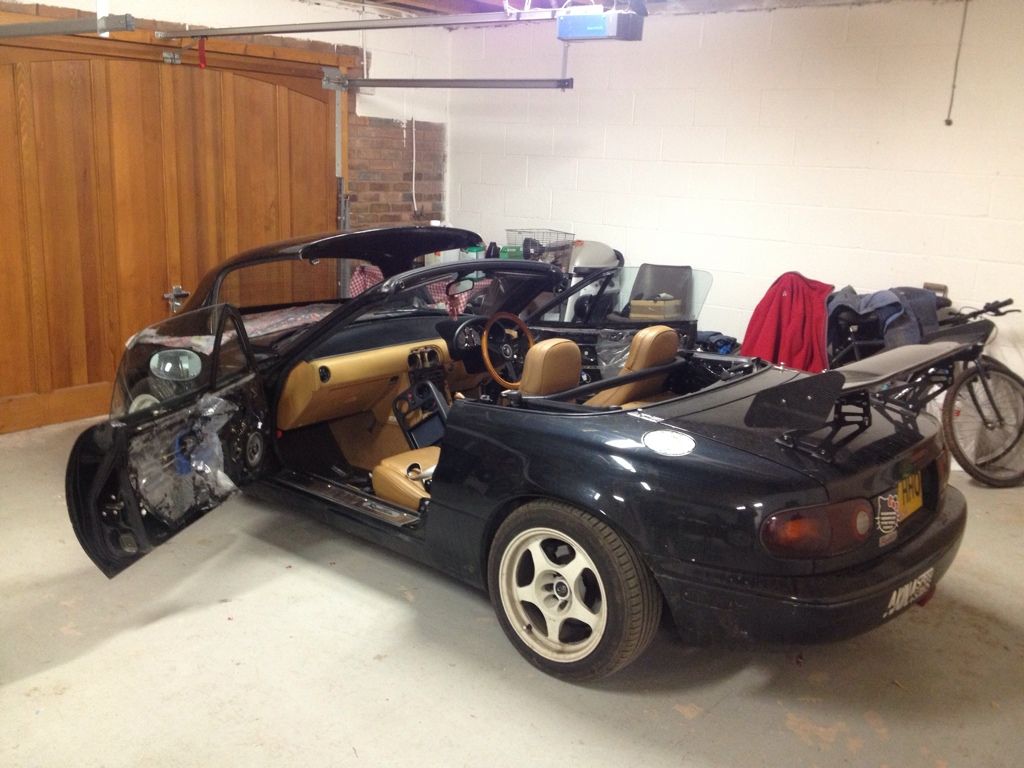
"Whisper" - A Black '94 1.8L Na V-Special

87K views 561 replies 104 participants last post by  Jacksheps  
#1 ·
(You may have read this on another forum. I'm cheating and copy n pasting it. Sorry!)

A bit of an intro and hopefully a thread to come back to and update with our adventures.
Image
Hi everyone!

Image

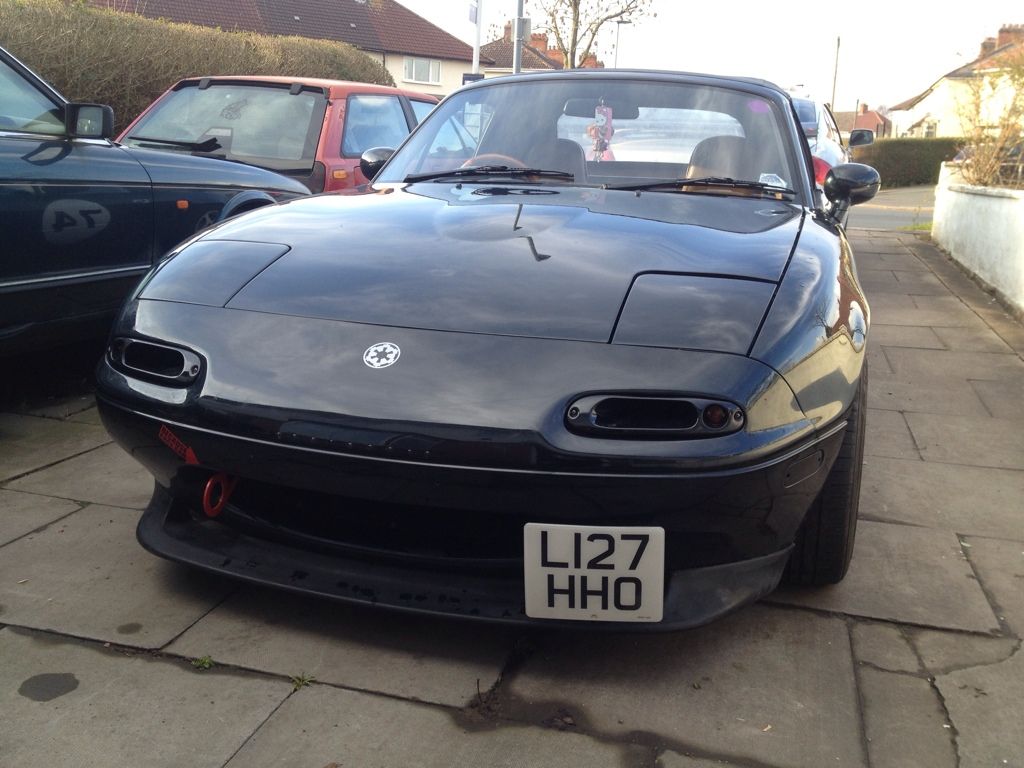
As pictured in her AutoTrader advert.
Image

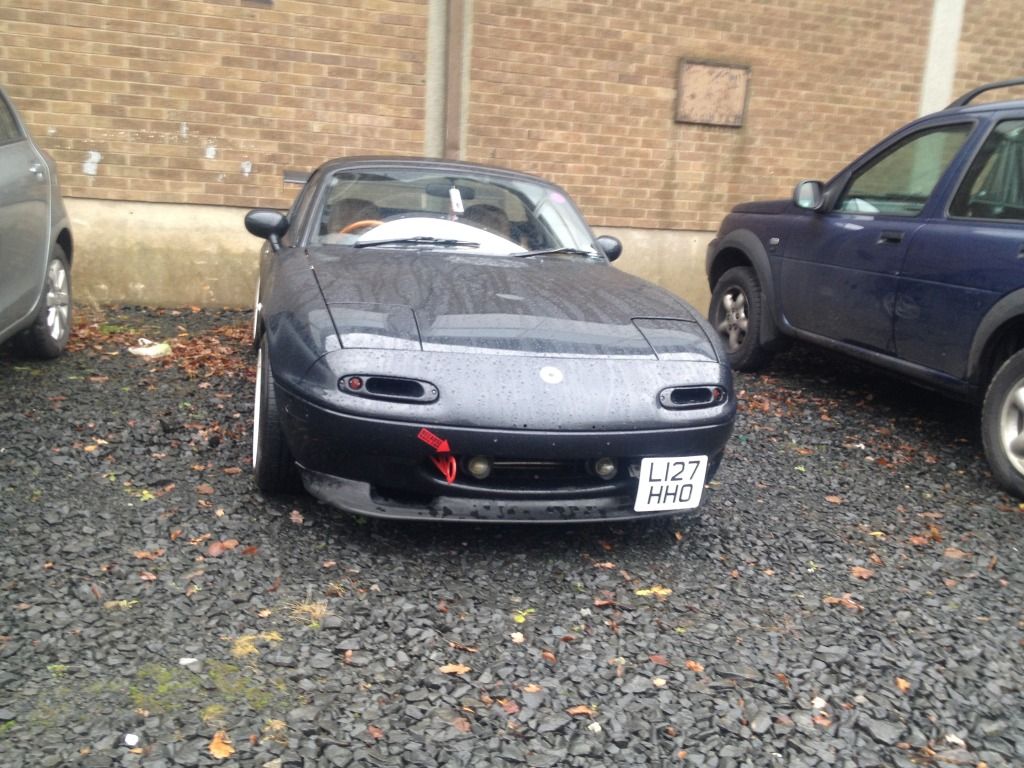
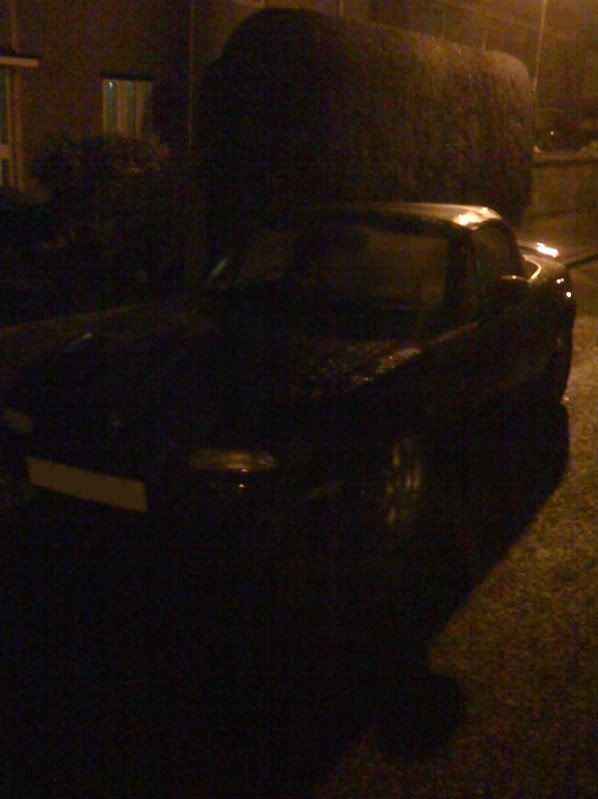
The conditions I brought her in. A masterclass in breaking every rule of car buying. Dark, Raining, Car with no history, Test drive to the end of the road and back.

Oh well. I'm handy with a spanner. I'll forgive myself for buying with my heart on this one.
Image

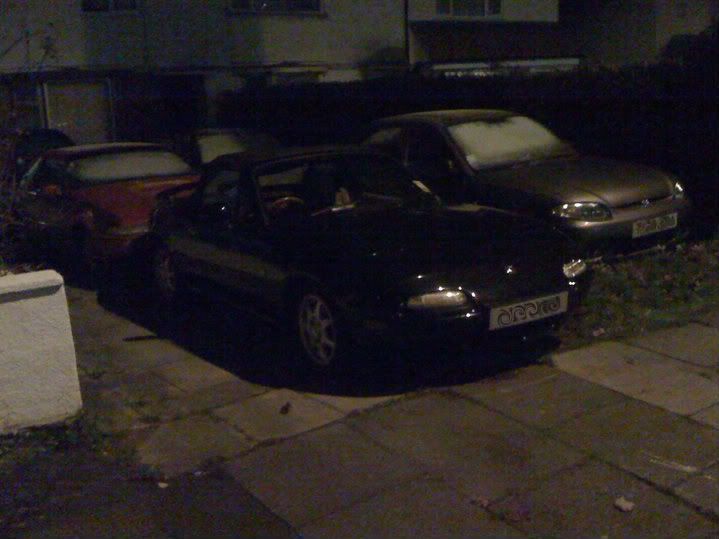
Back home. Managed 87 miles before the snow descended and she got parked up for the Christmas break.

The first change. From this -
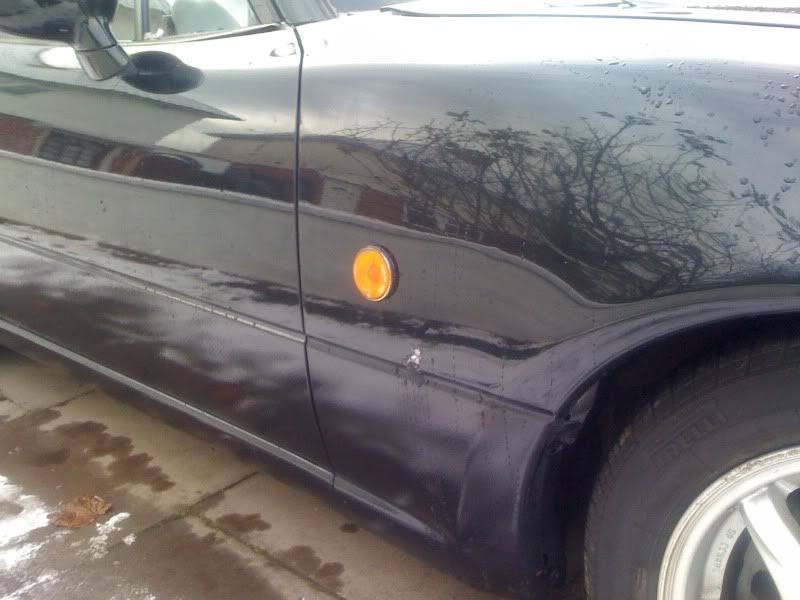
Image


To this -
Image


Next, From this -
Image


To this -
Image


In my opinion all black 5's should be de-tango'd by law. So -
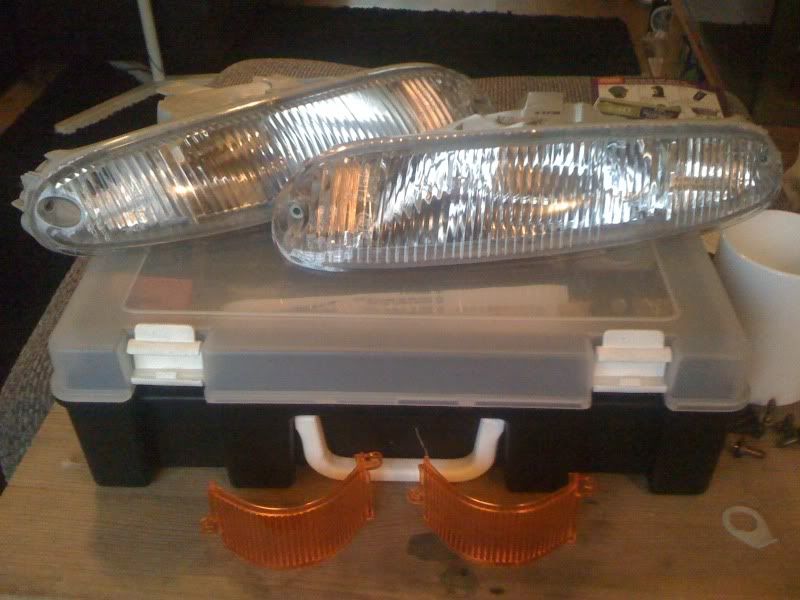
Image


Image


But that makes the reflectors really obvious. Easily solved -
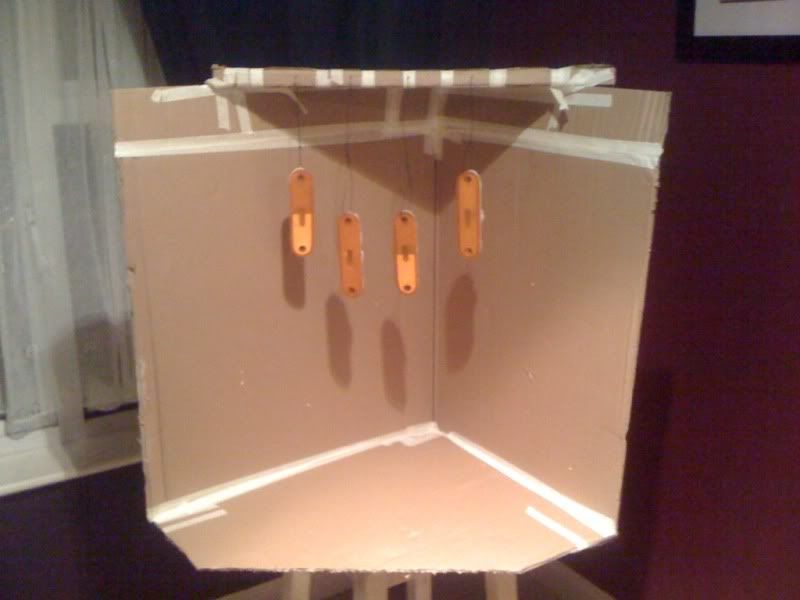
Image


Image


Image


A sticker! Hey it's my midlife crisis and I will include stickers in that if I wanna!

Image


Image


And last for now, a drift charm. I did slide the rear on a roundabout, by accident. No one noticed but I officially have declared it a drift and therefore I am allowed a charm

Image


There is also the blog if you follow such things. it is at http://www.eunos-roadster.co.uk

Cheers!
C
 
#163 ·
Why can't I ever do anything the easy way??
Image
Image
Image


I have recently added to the car....

An OEM hardtop
A set of OEM Fog Lights

I really wanted to hate the hardtop because hardtops are for sissies. Turns out I really quite like it.

I knew I would like the OEM fog lights....

Image


Image


Is it just me.....

or do they look a bit......

You know.....

Image


Shit

Oh but it gets worse. So much worse.

My car is a 1994 JDM spec. So there isn't one connector behind the dash for the front fogs and one for the HRW in the hardtop. Oh no! It's ONE six pin connector. You can plug in a 6 pin fog switch and not be able to use the HRW or plug in a 6 pin HRW switch and not be able to use the fogs. Or you can find a switch P/N: MZ-N021-V7-237

Image

(the one on the left)

It's JDM or USDM only and because only four people in the world ever spec'd a MK1 in Japan or USA with a hardtop and front foglights it's as rare as rocking horse poop.

I never ever ever chop off multi plugs and rewire then to after market switches. That's a bodge and I shall have none of it.

I have found a supplier of the switch HERE (not cheap)

I could just bin the foglamps and start looking for a 6 pin hrw switch. But even they seem to be a bit rare.

Aaaaaaaaargh! Bloody car!

Image
 
#164 ·
Hardtops rule. They look better, and stiffen the car up. Win win IMO.
Image
 
#165 ·
Epic thread, unsuprisingly im not too keen on the hello kitty stuff but i do like the spirit of it
Image

Get rid of the fogs, i have them and i'm not a fan, but not so much that i could be arsed to take them off and have a swith in the car that doesnt do anything. From reading through this though i guess you'll keep them on just for the challenge of having both the heated window on the hard top and the fogs........
 
#167 ·
If you cast you mind back up the thread you may remember the loss of my beloved HKS exhaust.

The HKS was replaced by a standard exhaust. Thank you to Shogun for the donation.

That failed due to rust after a week

The standard exhaust was replaced by another standard one. Thank you to Mozza for that donation.

I took that off after a week and replaced it with a full system that I purchased form Simon.

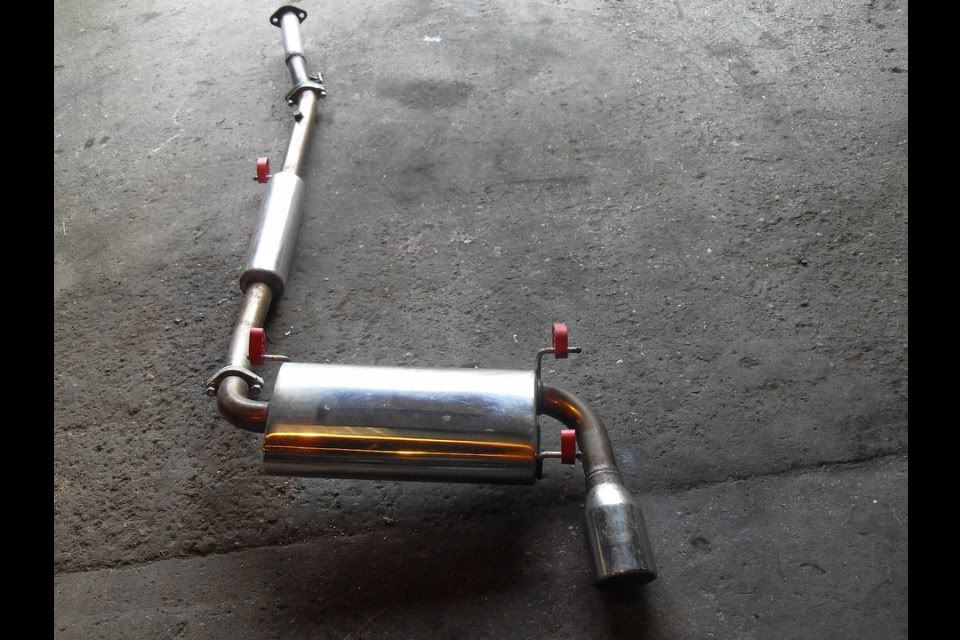
Similar to this one
Image


All except for the tubular manifold. Which was for a 1.6 and had to be sold. Sucks cos it was bloomin pretty!

but.....

(Come on, it's me, you know there is always a but)

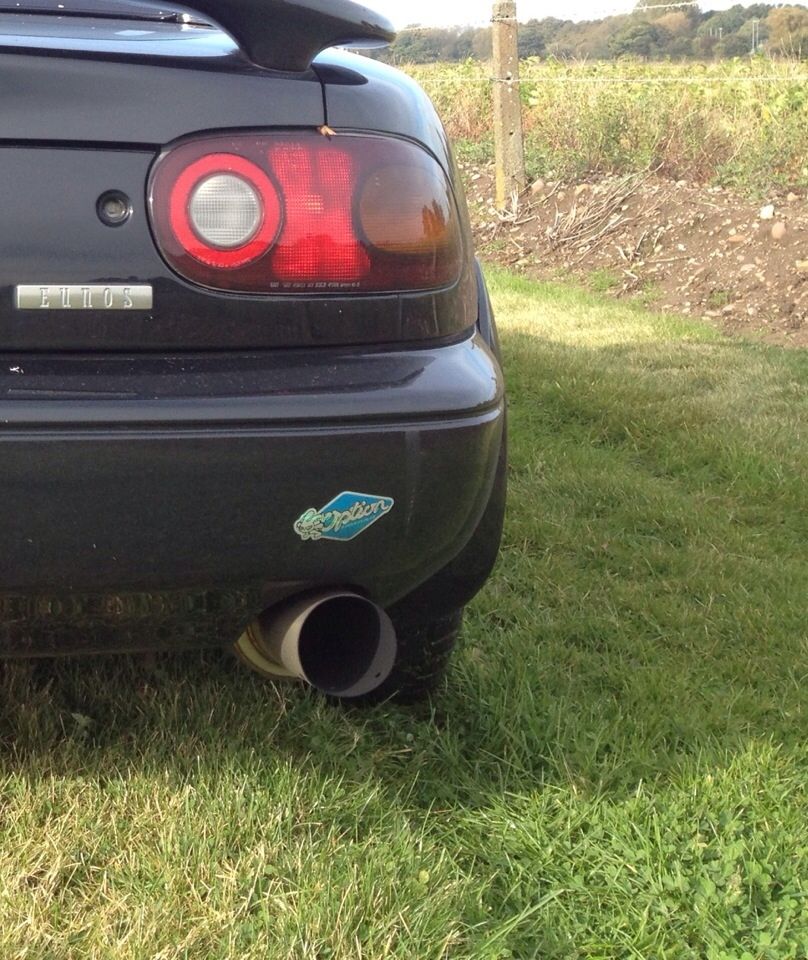
I never really have bonded with that stainless catback. I don't really like the tip and because I am a fashion victim and run hellalow I keep twatting the centre section hanger on pebbles and lint.

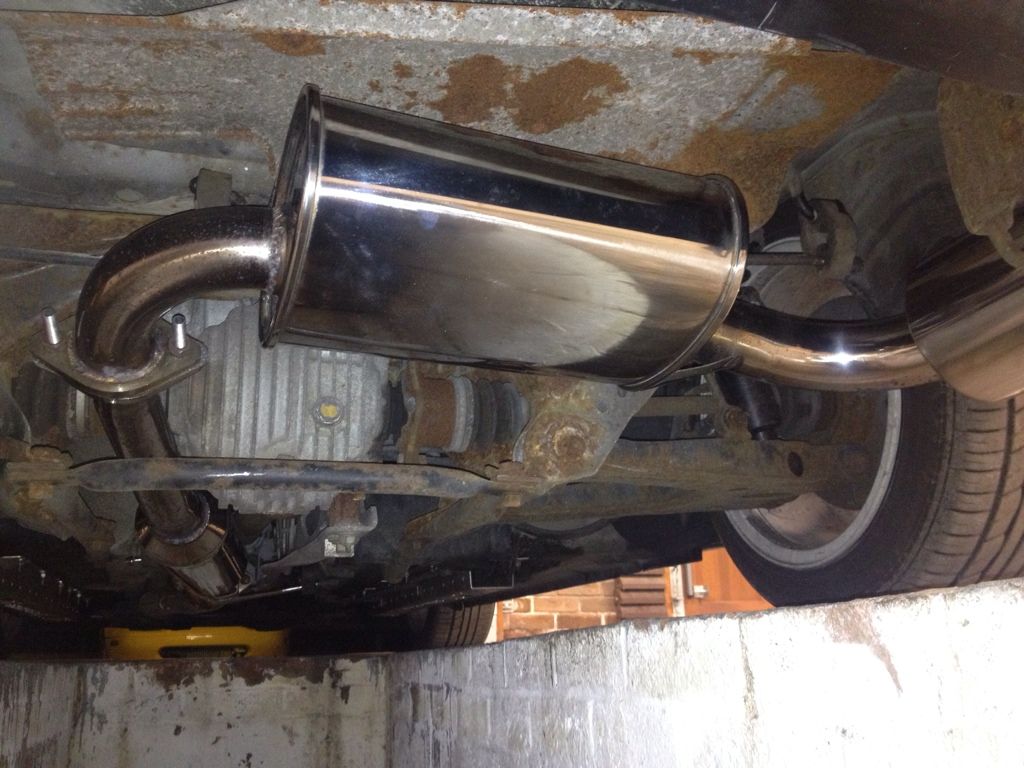
So when I saw this

Image


Advertised on the forum and located in Sutton Coldfield. I sprang from the blocks like Linford Christie reacting to a very spicy curry in a faraway lavatory situation. I was first in a queue of many.

Met the seller last night. Talked him onto joining P5's and collected my new exhaust.

Image


It is, in fact, the quitesimilarlookingottheHKS exhaust that I considered buying from eBay america

Image


Mine has seen a few miles since it was as shiny as that.

Image


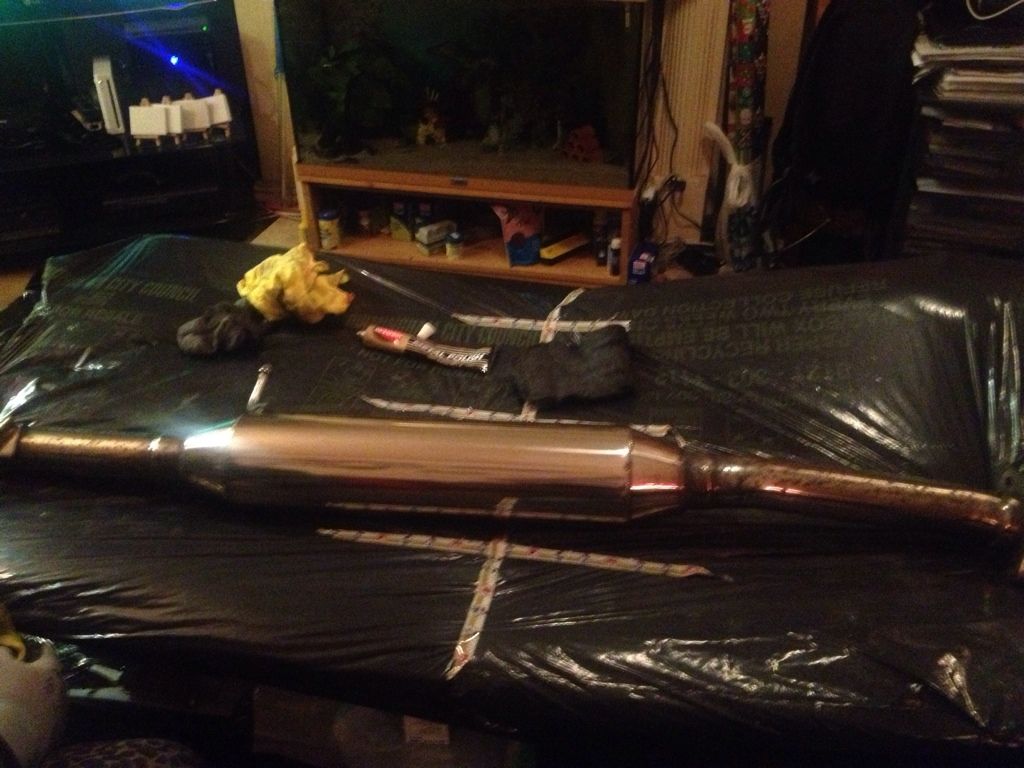
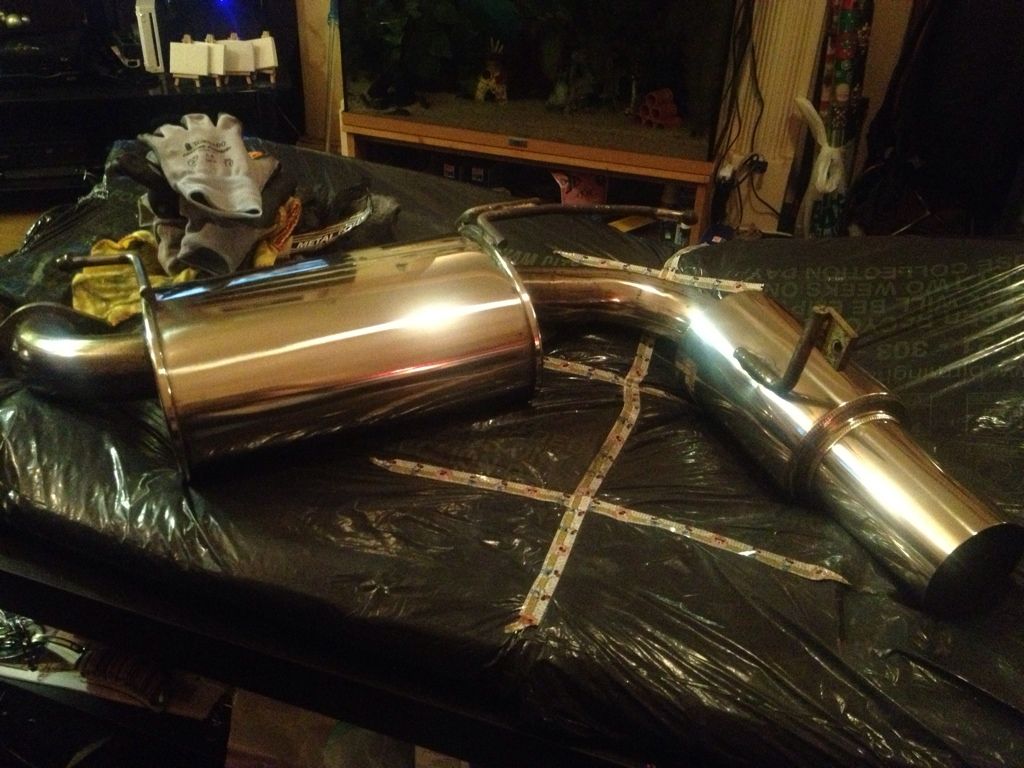
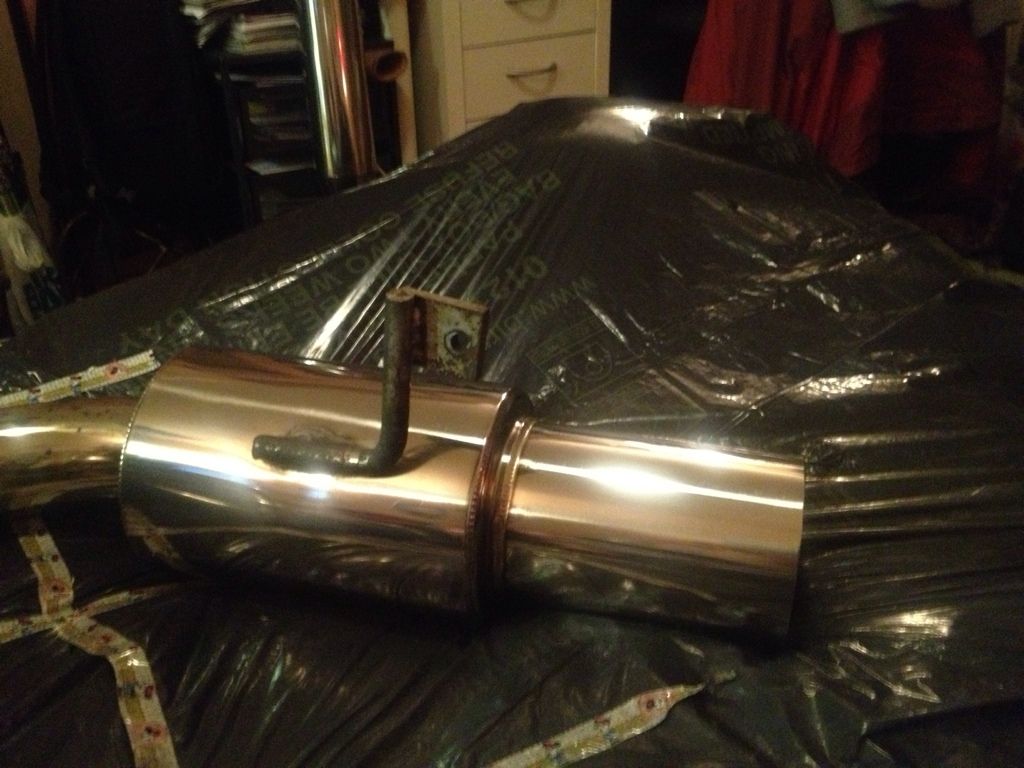
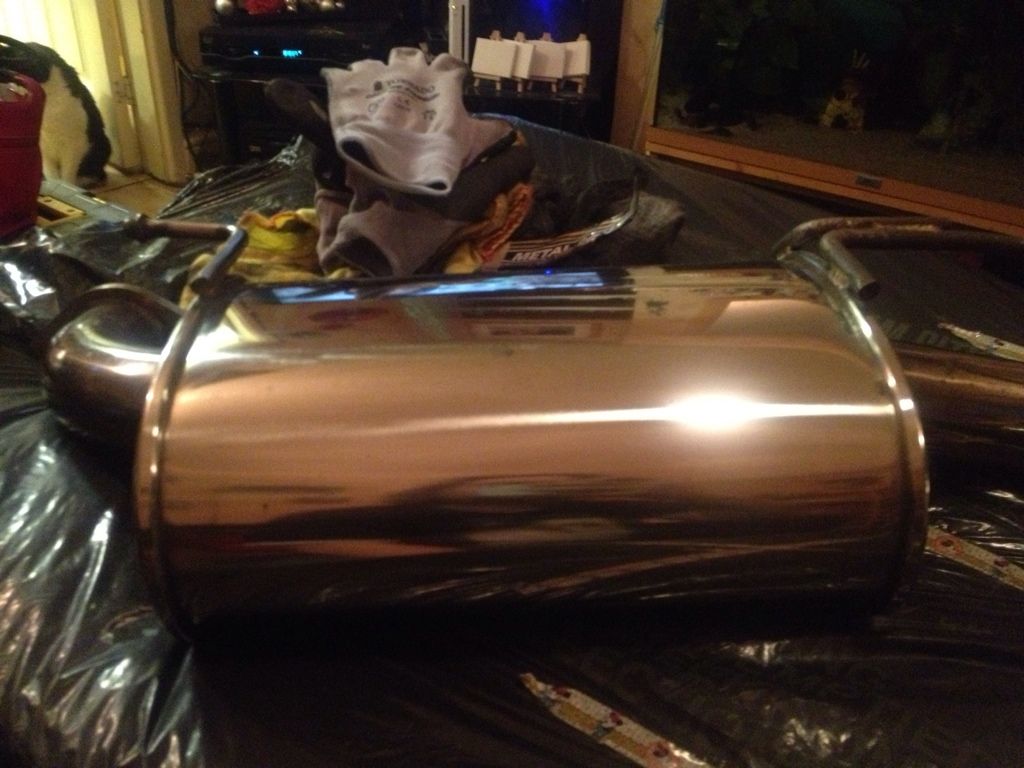
Certainly not in bad shape at all. But we could do better. So we cleared the coffee table. Slipped a sleeping bag into two binbags and set to with fine wire wool and autosol. Just the sort of romantic Sunday afternoon that we like here at Cerbie towers.

Before
Image


After
Image


Before
Image


After
Image


After
Image


After
Image


Just got to get the lil bugger bolted up in place now!
 
#169 ·
I've developed a lot more patience now that I am a grumpy old man. But, yeah, it didn't extend to polishing the hangers. LOL

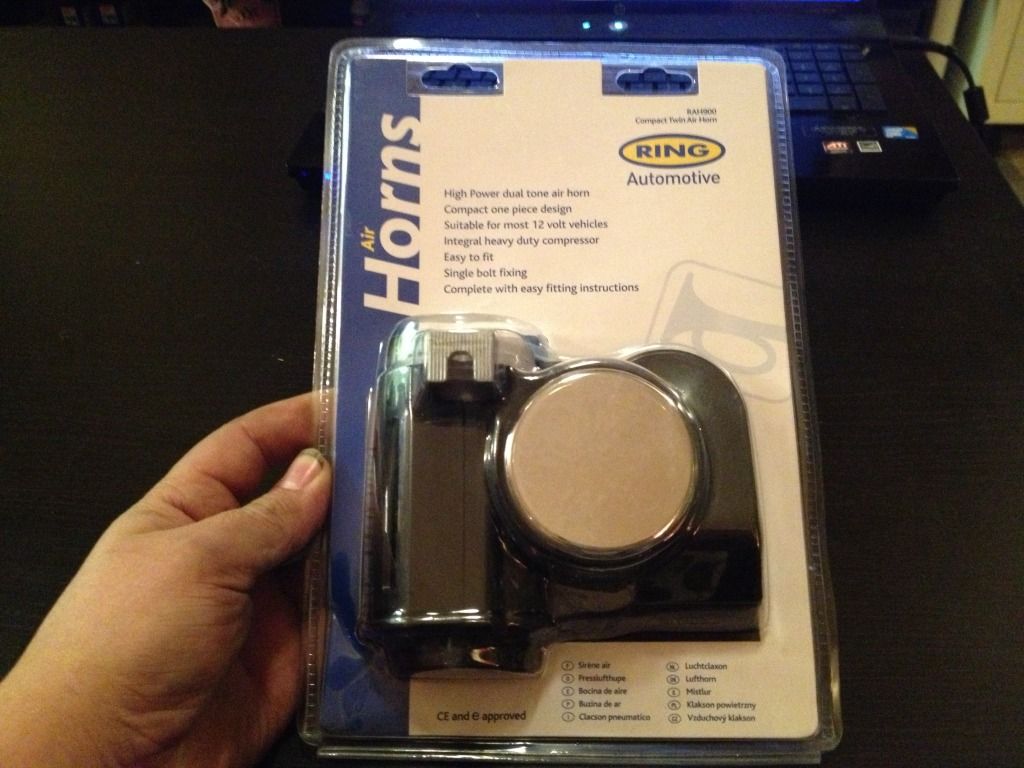
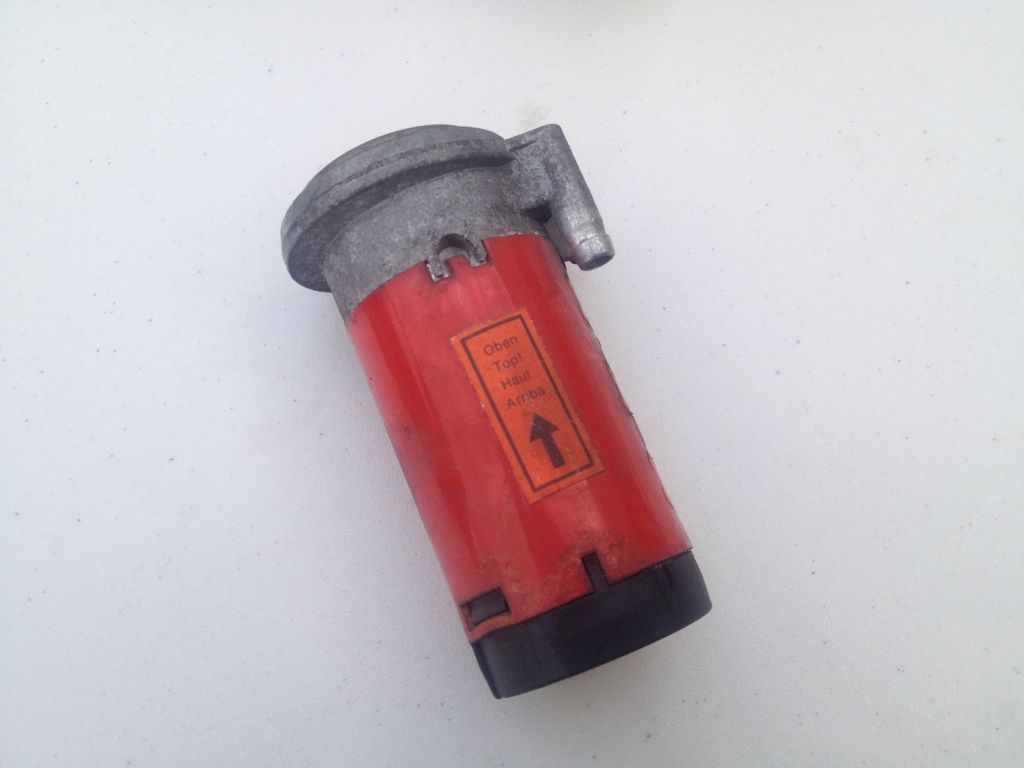
A previous owner had fitted an air horn to my car. But one of the air horn trumpets has always refused to make noise.

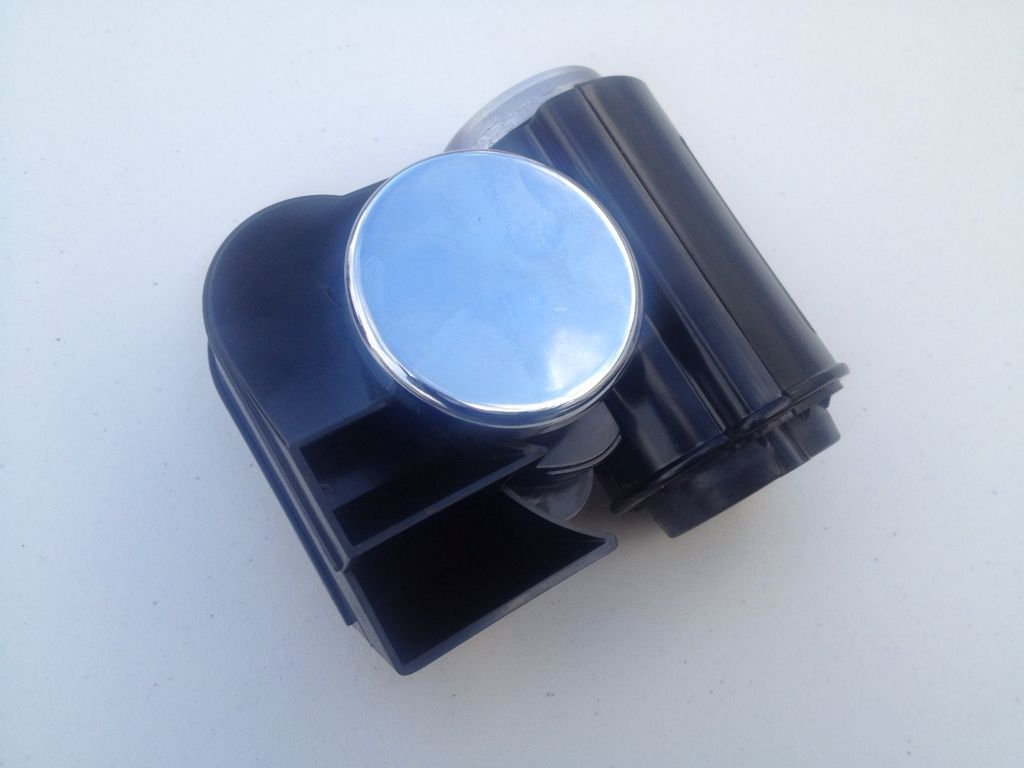
I've been looking around for a Steibel Nautilus. I spotted this :

Image


in Halfrauds today. It looks like a copy of the Nautilus?

Worth a try. Can't be worse than the rather lame squeaky parp I have now!
 
#172 ·
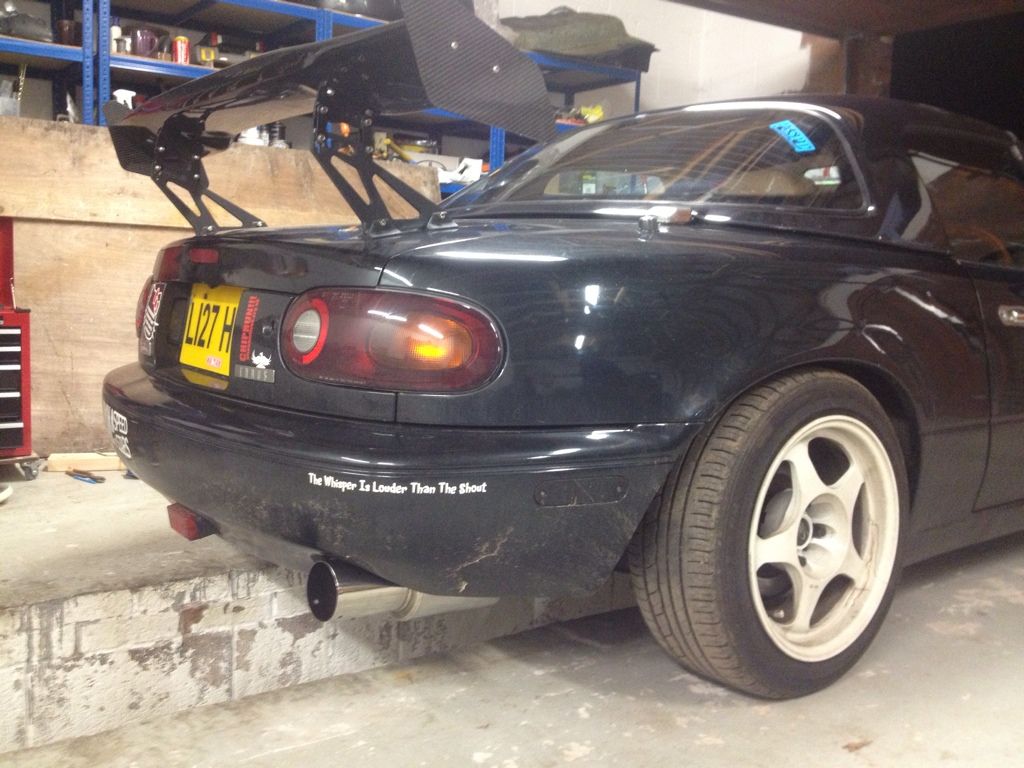
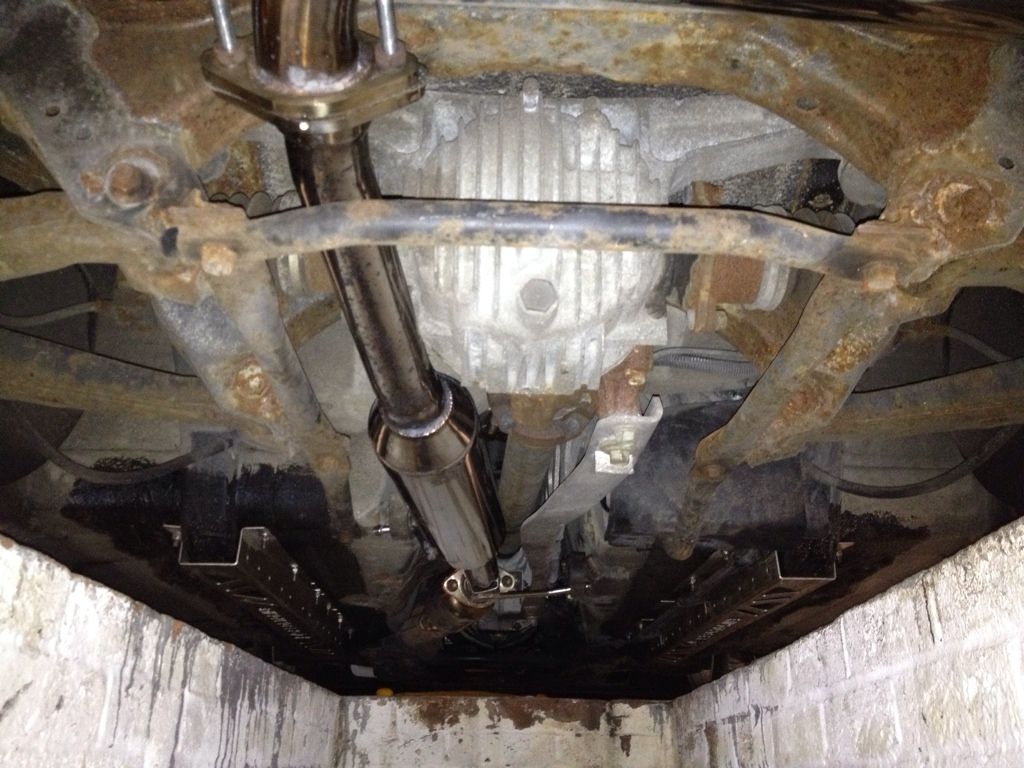
The new zorst is on! Kinda! Sorta!
Image


Image


Looks good eh!

Image


Shiny!

Image


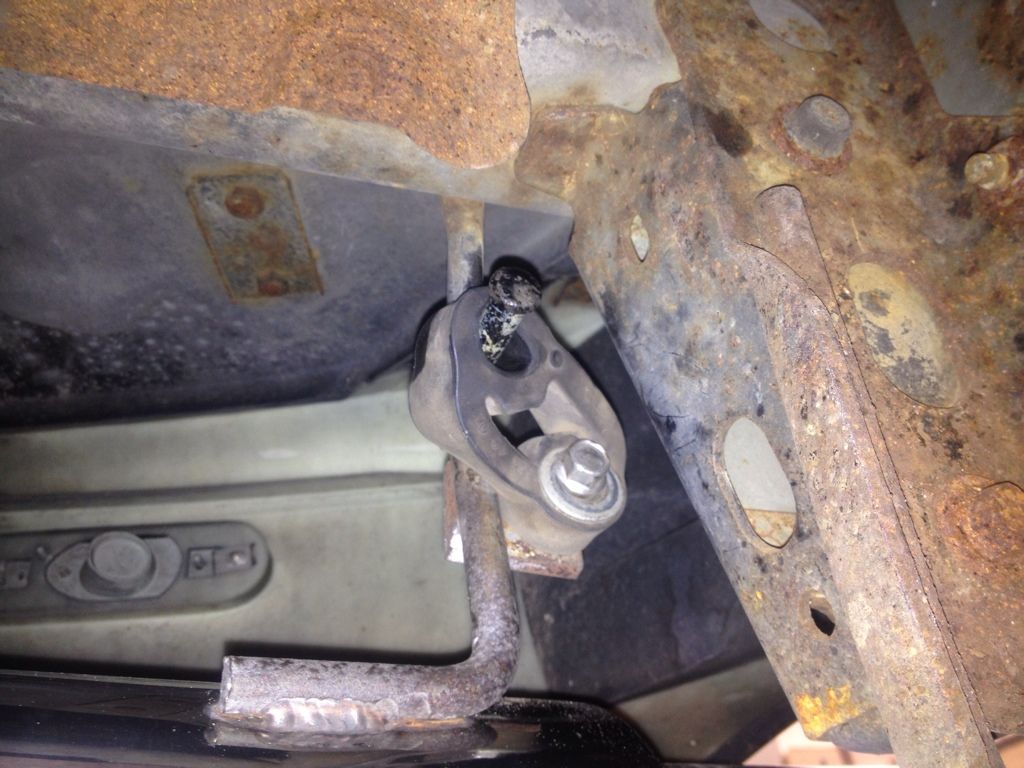
But.............

Image


That can't be right can it!!

Sounds nice tho. Much more bass :thumb:

With huge thanks to Greg for the borrow of his pit. Which made fitting the zorst MUCH easier, and warmer, but slightly damper.
 
#176 ·
At last a day with no rain! I hope this is a good omen for the rest of 2013!

So off out I went to replace my broken air horn with my Stebel look alike!

The air horn had been installed by the DPO but they had made quite a nice job of it. It has a proper fused, relay switched, circuit feeding it. Result, saved me adding it!

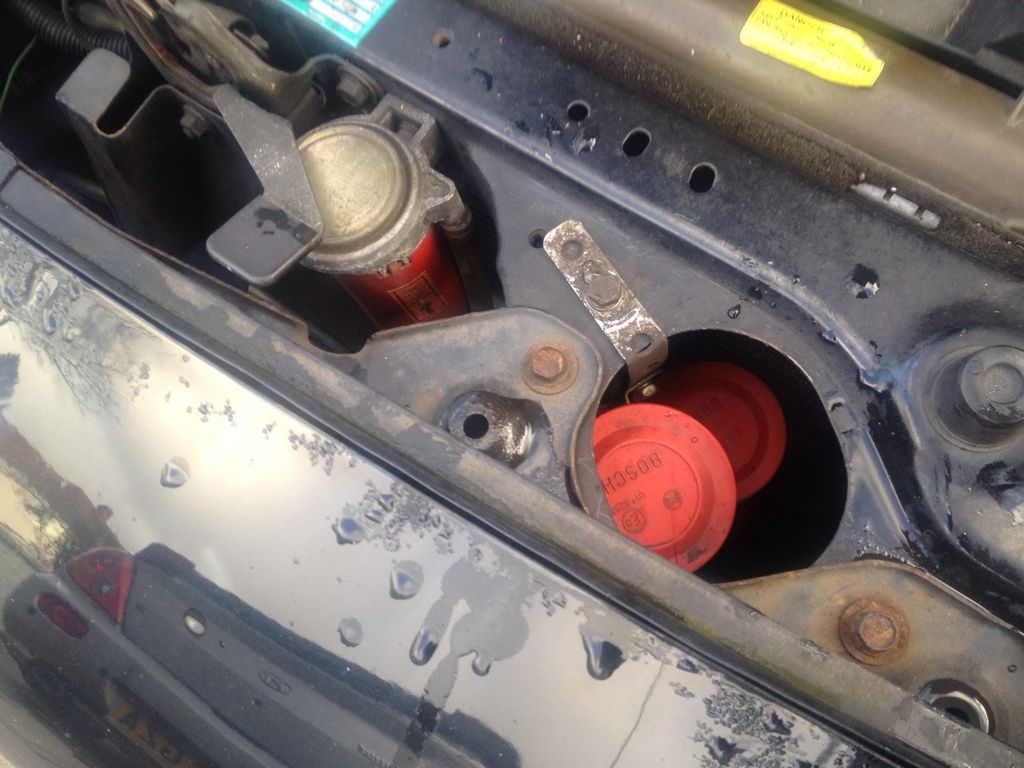
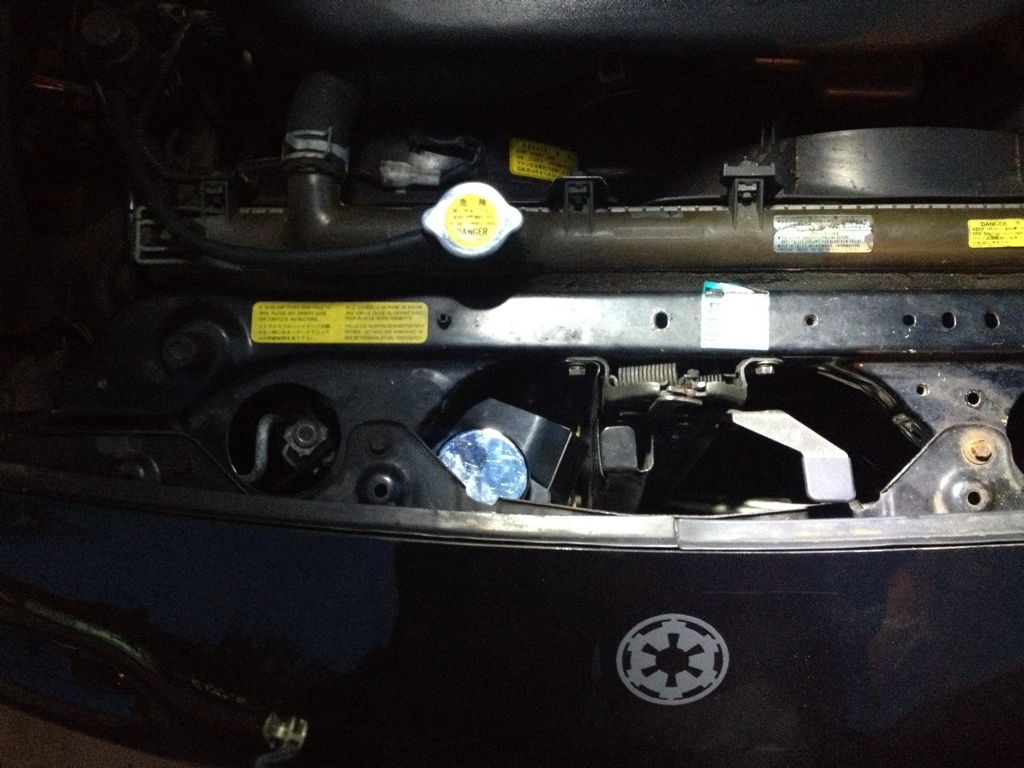
The compressor and horns were neatly tucked in front of the air con rad.

Image


The work of but a moment to extract the horns.

Image


Followed by the compressor.

Image


Then I had to figure out how the heck to mount the new one.

Image


The horns are built into this one so it wasnt going to fit back in the same location as the first compressor. The first compressor had a label on it showing that it must be mounted upright. I'd long since binned the packaging for the new horn but I assumed it too would want to be upright.

An hour passed. The bonnet latch got taken out. The passenger headlamp got removed. I damn nearly took the front bumper off. Could I find a location to mount the new horn, upright, in front of the air con rad? Could I bollocks to buggery!

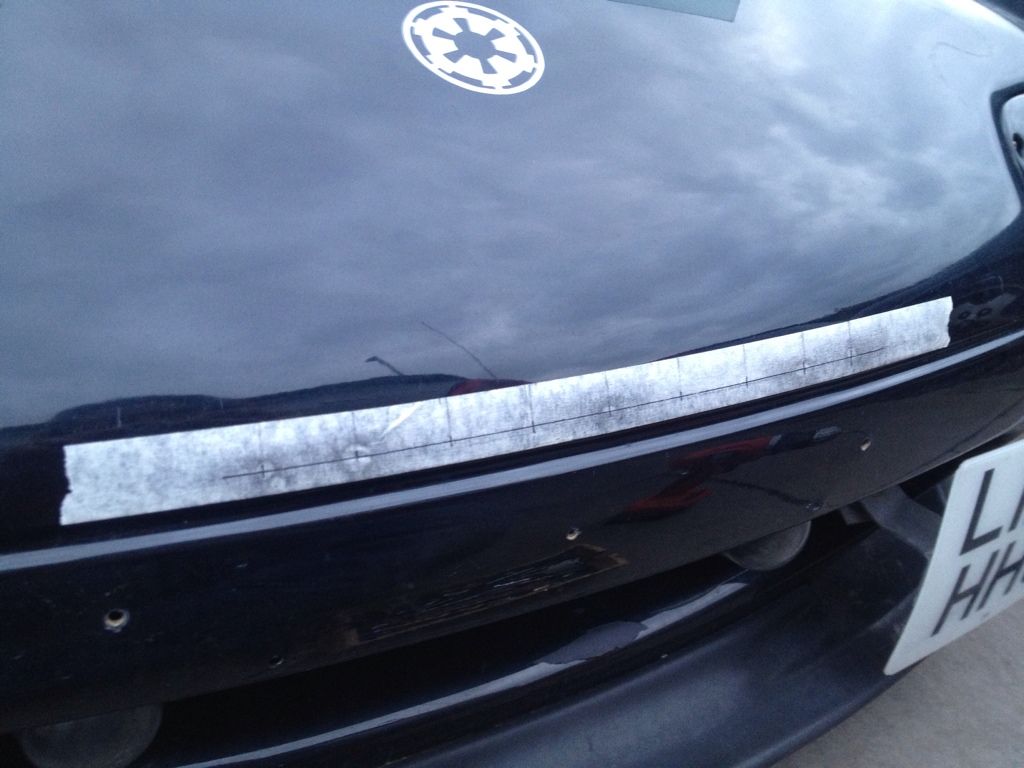
In the end I found a compromise position. Mouting it just behind the power steering reservoir. I applied some paper tape and maked up the location of the required mounting hole. With the drill in hand I got cold feet. Sure I could mount the horn there but it would be far better ahead of the air con rad instead of muffled inside the engine bay. There had tro be a way.

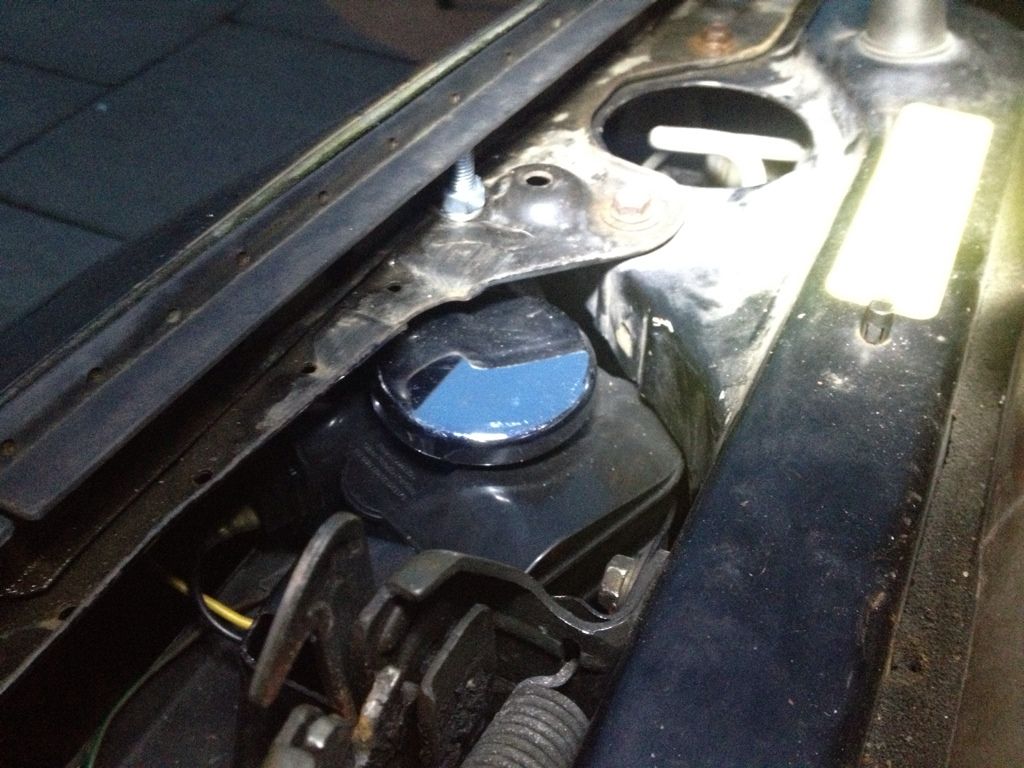
I took the paper tape off and stopped for a cup of tea. With the grey matter suitably lubricated by the Earl Grey. I found a location that could work, in front of the air con rad. But the compressor would be mounted horizontally.

I put the horn on it's side on the table and fed it 12 volts. It still went *PARP* on it's side. Plus the trumpets would be pointing down so no chance of them filling with water.

That would have to do then.

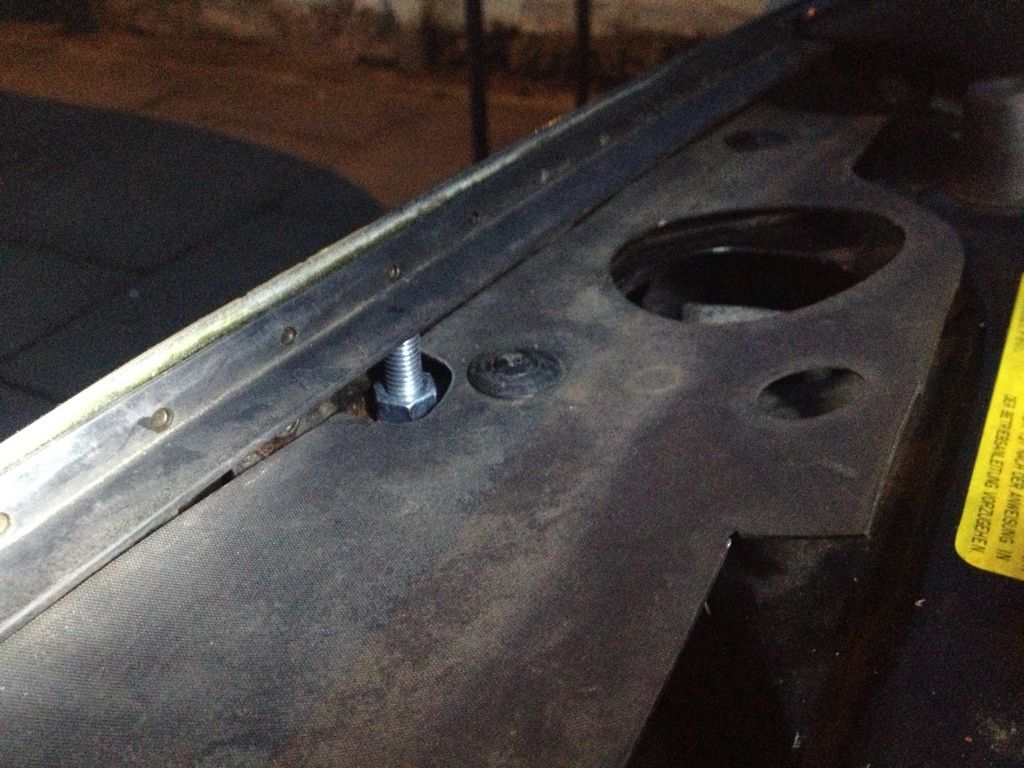
After an hour and a half of 3D Tetris trying to find a location. It took 5 minutes to drill the hole, bolt the horn in place and attach the wiring. Luckily I didn't have to make any wiring changes at all. The existing wiring was the perfect length.

Image


Image


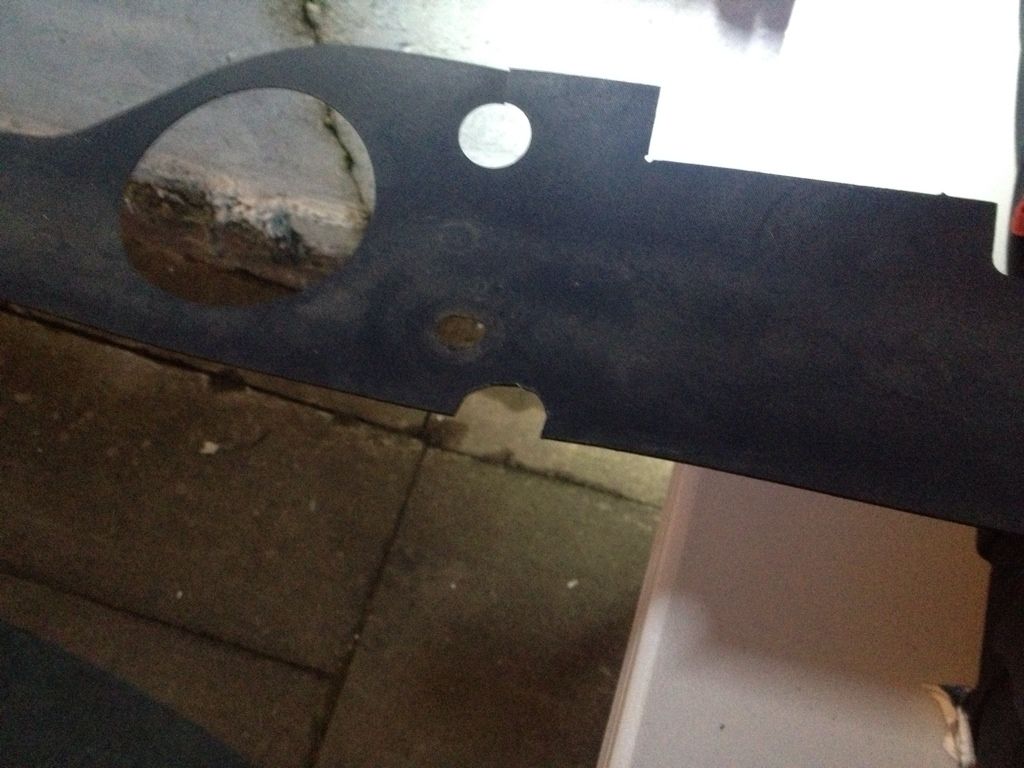
A quick alteration to the the cover doodad.

Image


and it was fitted back in place.

Image


Just have to see how long it lasts mounted horizontally I guess.

*PARP*
 
#178 · (Edited by Moderator)
With the Christmas tree down some reality is slowly returning to Cerberus Towers and a few days off last week we decided to have some quiet days pottering about the house.

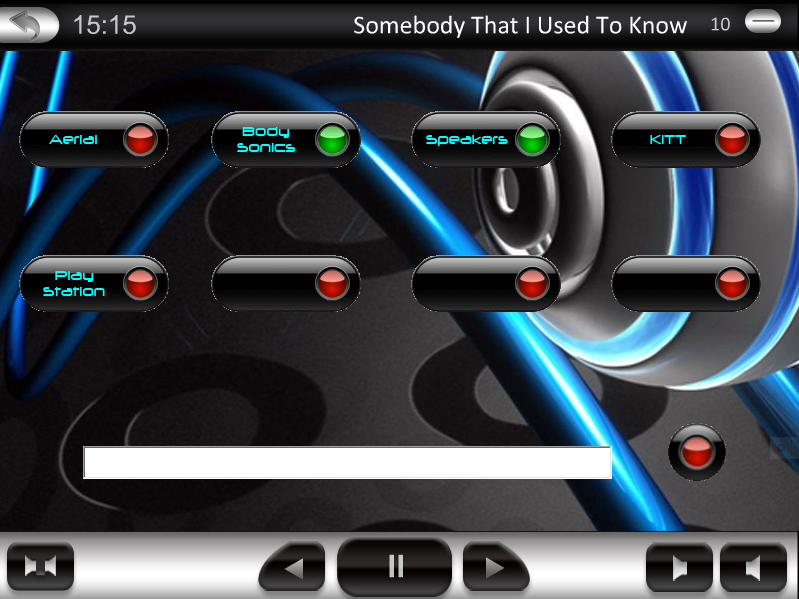
So I made myself busy with some graphics for the car pc and some new software.

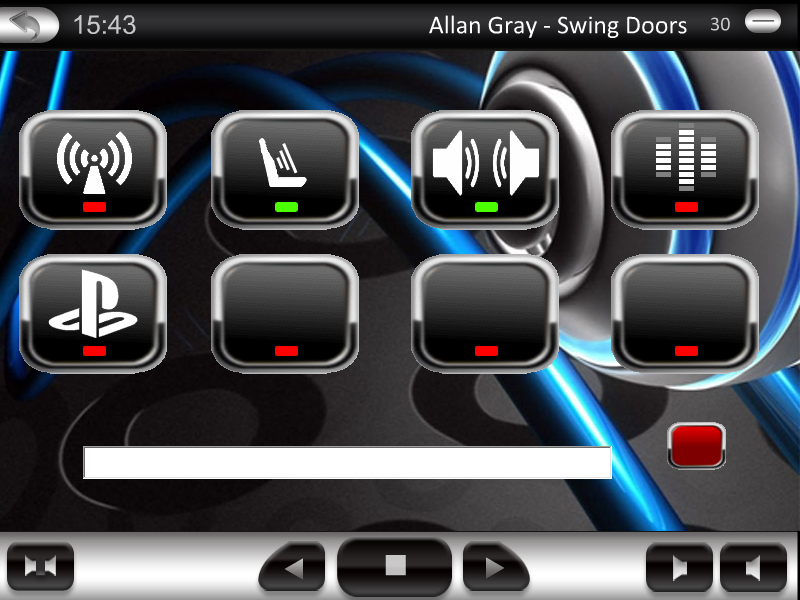
First up, New buttons for the front end. The original buttons from the FreeICE project (The front end I use and the project I am part of) have become a bit of a mish mash because the focus has been on getting the core code stable. Took me a morning to knock up some better buttons based on a standard button outline that I created.

Image


Much nicer than the old ones.

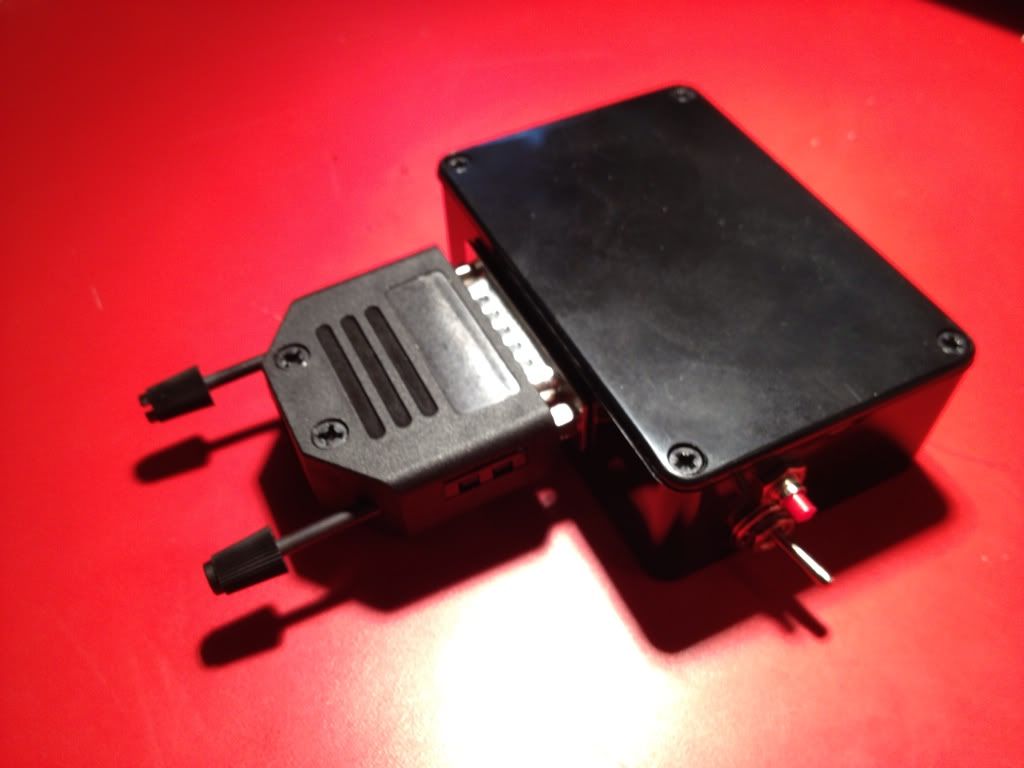
Then on to the K8055 relay control board. For those not keeping up that's the box of tricks that allows me to interface with 12Volt relays via USB from the car pc.

Image


The application that I wrote to control the relays was looking a bit past it.

Image


New buttons were needed! This is what I came up with.

Image


I was going for something with icons rather than wording. I'm not sure I hit the mark with them but they are better than the old ones.

Next up was the real challenge.......

To listen to the radio one had to click to the main menu, hit the relay app icon, hit the aerial button to raise the aerial, then back to the main menu, then hit the radio icon.

Pain in the bum!

So I coded a plugin that intercepts the hitting of the radio icon and sends the relay control app an F6 key-press. I then rewrote some of the relay control app so that it will listen for key-presses and if it sees an F6........

The grade A students have already figured this one out. Automatic aerial raising whenever the radio app is started!! 8)

It only took me three days to figure out how to do it and get the code written and bug free.

But now I can listen to the radio without having to pull over and press a million buttons.

Well it pleased me........
 
#179 ·
Not much happened to the car lately. Been too cold to wield the spanners. But the list of niggles is growing. As soon as the weather is above freezing I will have to fix the central locking
Image


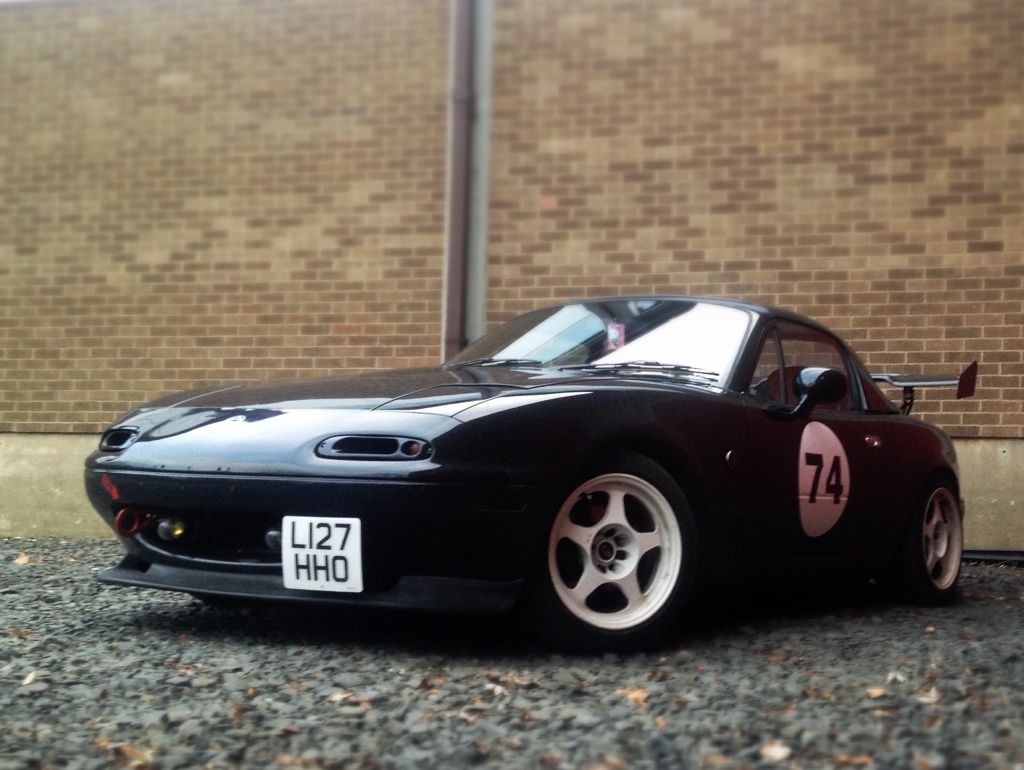
I finally took the leap and had some door roundels made up. Thanks to Valentinik for sorting these for me
Image


Excuse the use of TiltShift but I quite like this picture

Image


Still can't decide if I like the roundels. Might try them without the numbers. Will live with them for a few more weeks and see how I feel about them.
 
#181 ·
Now I'm aware that I don't actually know you, never met you and have only read about your car on here but here are some pictures....

Image


Image


Every time i see a Hello Kitty item of any sort i instantly think of your car and I smile, you have indelibly linked Hello Kitty brand with your car in my mind now, congratulations! Lol

Thank you,

Robert
 
#184 ·
Snow..... Seriously? Snow...!

Forrrrr fuuuuuuuuuuucks sake!

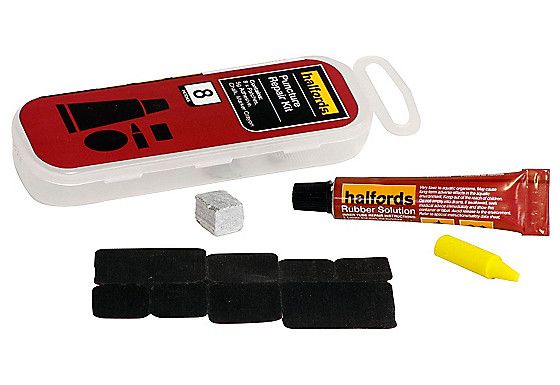
Don't care. Hardtop is staying off. I don't care that the roof has holes in it.... I got one of these

Image


at the weekend and I'm going to do epic win roof repairz with it. So.. there... #SCREWYOUJOHNKETTLEY

I still need to do a load of important jobs like-
The cam cover gasket which is leaking like a waterfall
Change the oil. Because it is well overdue.
Change the spark plugs because they are ancient.
Put a proper passenger door lock solenoid in because the one in it now is frankensteined.
Strip and regrease both door glass systems
Replace the drivers door glass mechanism because the wire is frayed to buggery.

These jobs mostly involve being out in the cold and therefore I am ignoring them.

Besides I can always find things to do indoors to make it look like I am achieving something......

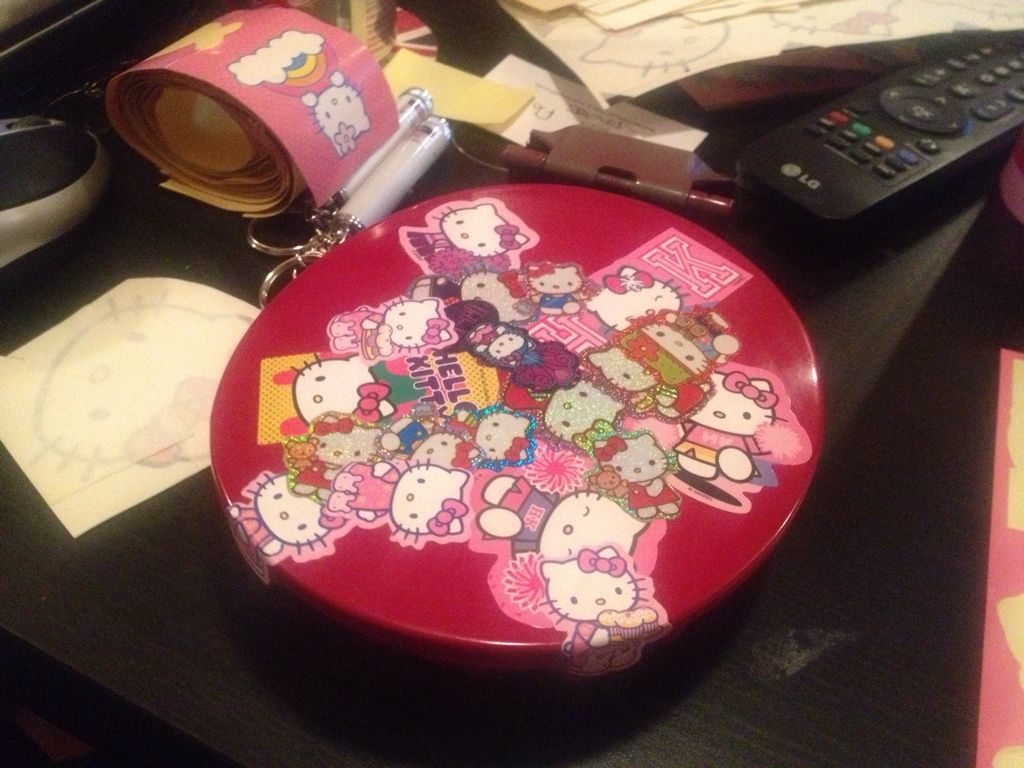
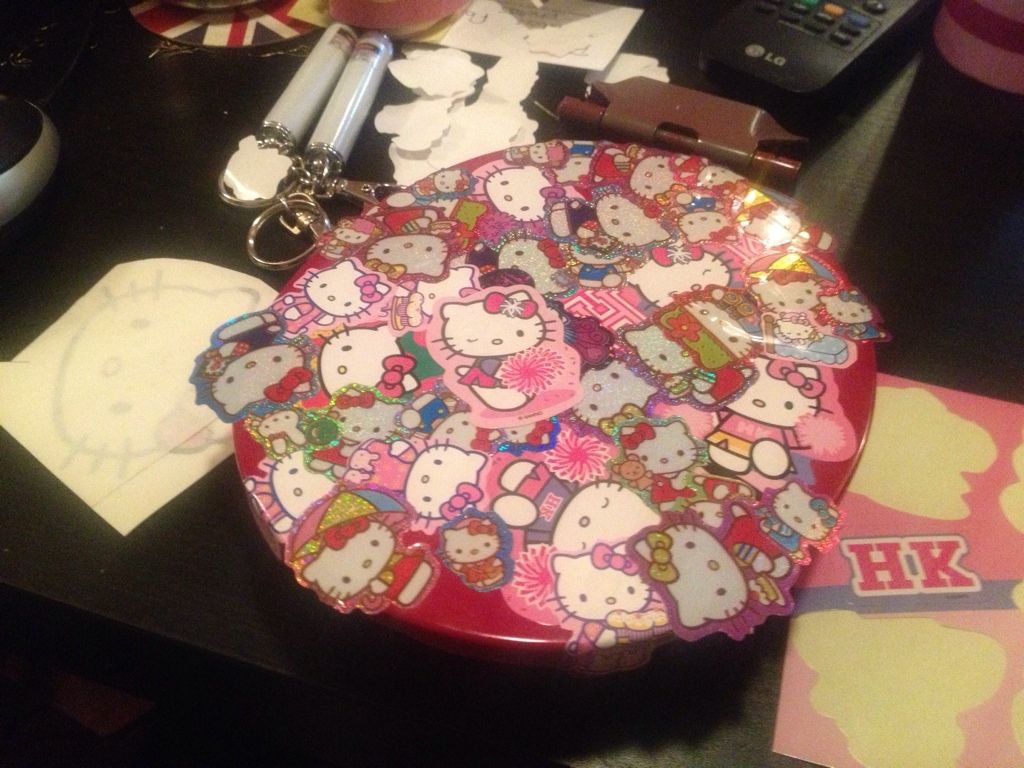
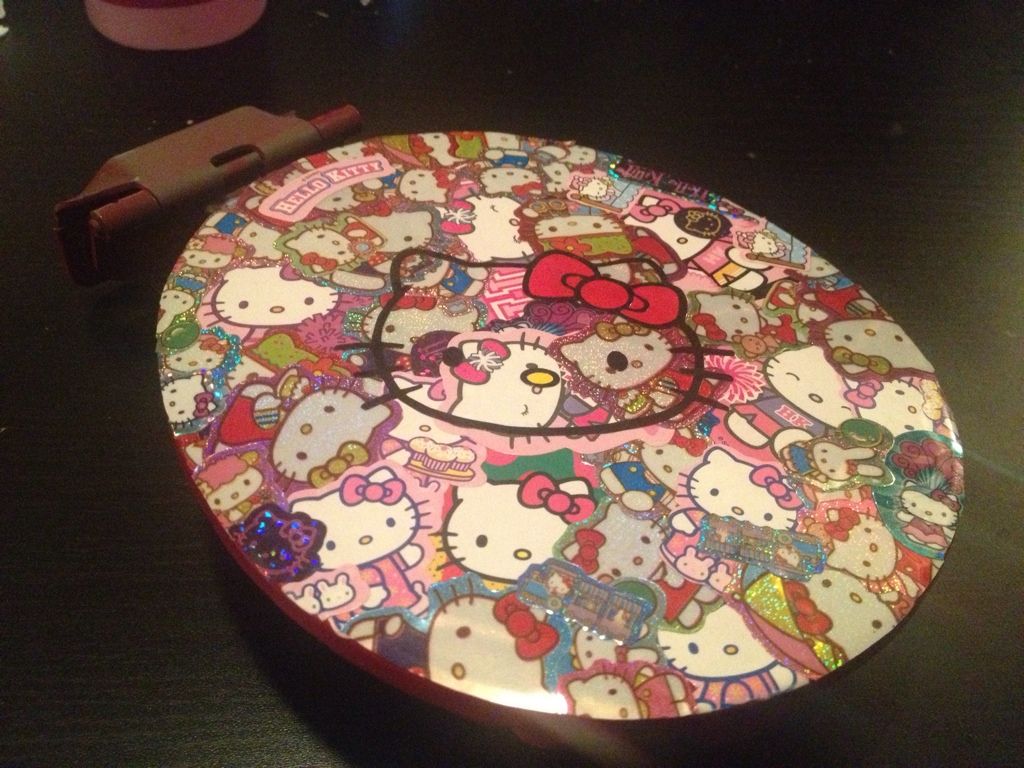
Remember the HelloKitty fuel lid?

Image


It was made of awesome and winning. Hand stickerbombed, 3 coats of PVA and then 3 coats of UV resistant lacquer. It lasted a month and then the whole thing faded to white.
I haven't even taken a picture of it. It is that awful looking!

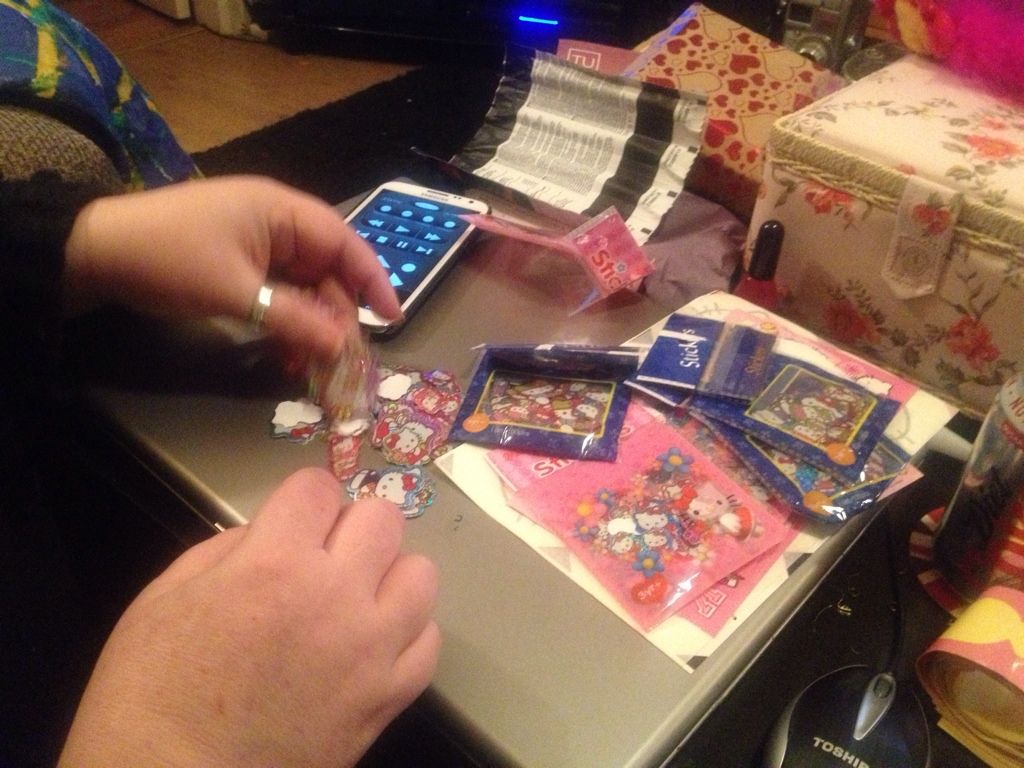
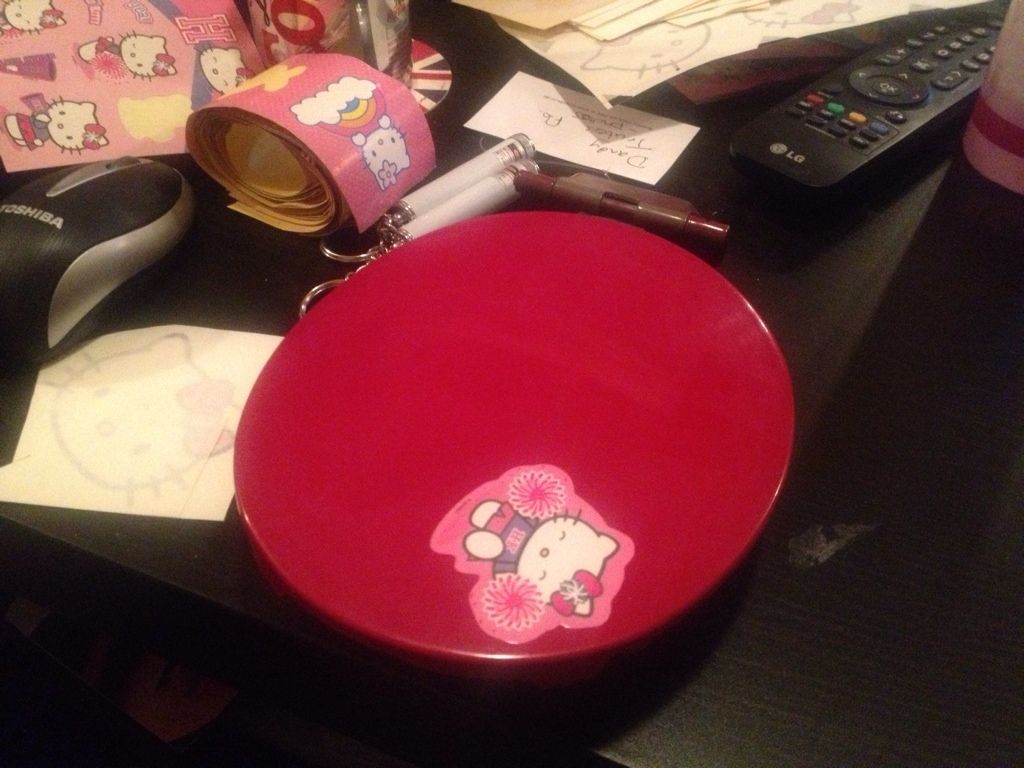
Quiet Sunday night in, Bottle of wine, good film on telly, a third fuel flap and 10 bags of Kitty stickers.........

Seems rude not to eh...

Image


Image


Image


Image


Image


Needs to be lacquered.

With a lacquer that actually DOES resist UV rather than one that pretends to! If you know of such a lacquer then please do give me a shout!
 
#185 ·
"But wait!" I hear you cry. "How did your passenger door solenoid become frankensteined?". Of course you would be quite correct to enquire. I'm pleased to see you have been paying such close attention!

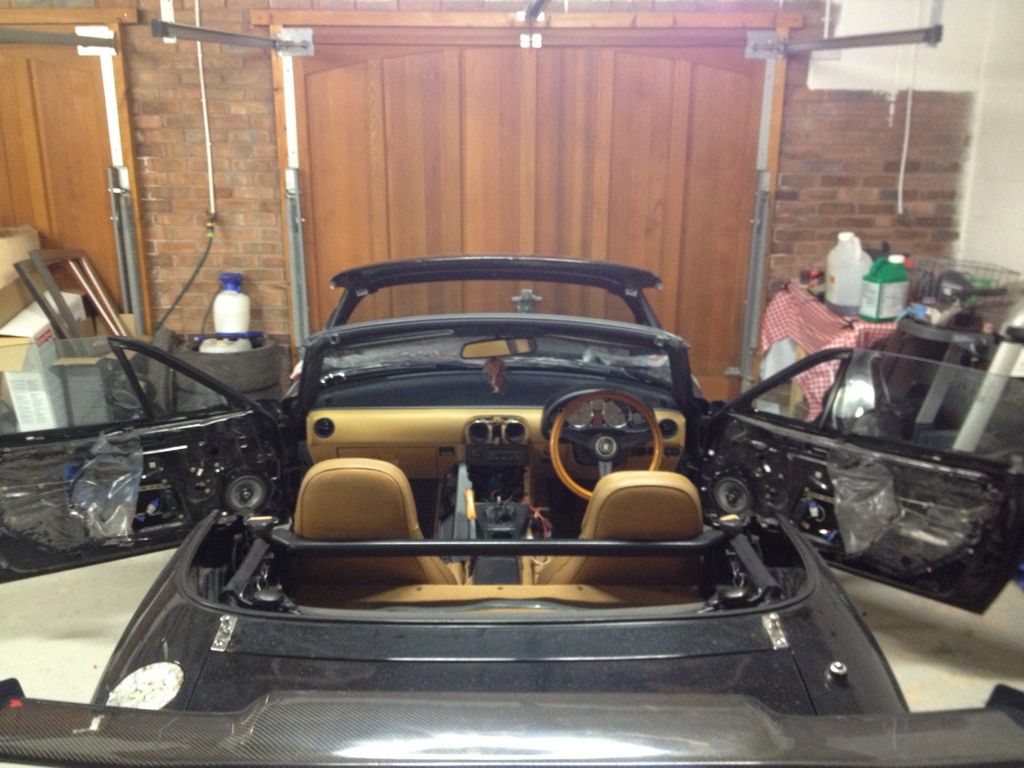
It all happened a few months ago when the cold and the damp and the cold arrived. Heralding the annual expiration of my central locking. Well I happened to be at the garage of a good mate the other day and while he was looking the other way my car somehow accidentally rolled backwards into the warmth of the garage and then the door cards fell off!

Image


I know! I was amazed too!

Image


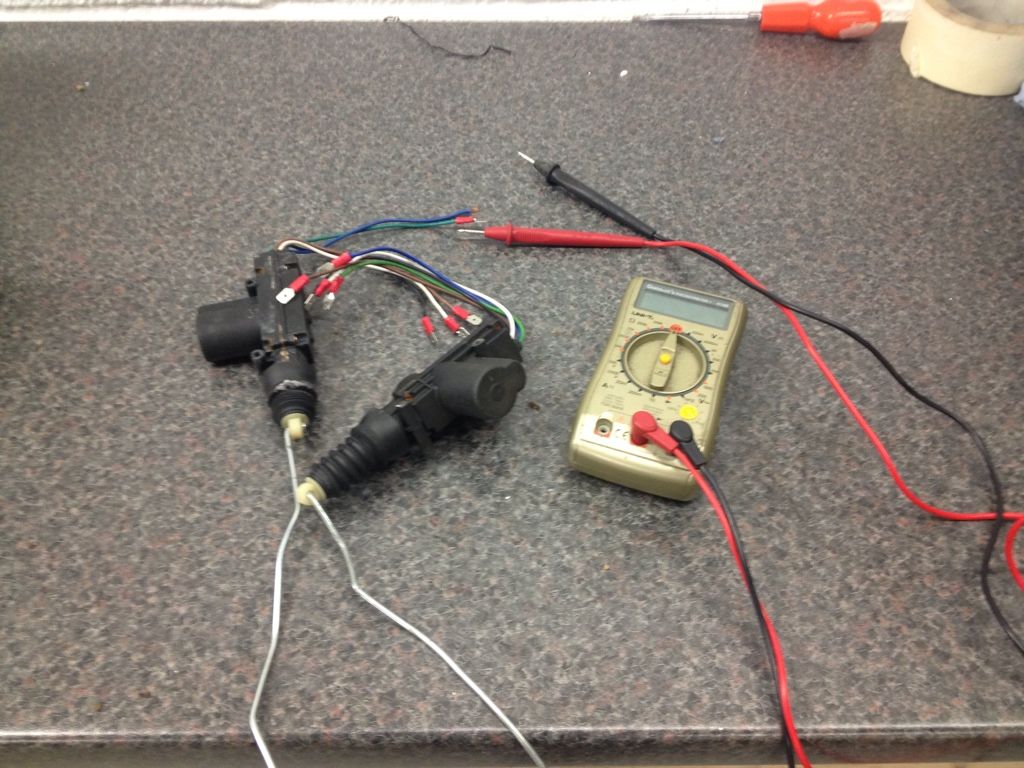
So, with the doors gubbins exposed I whipped out her locking motors for a looksee.

Image


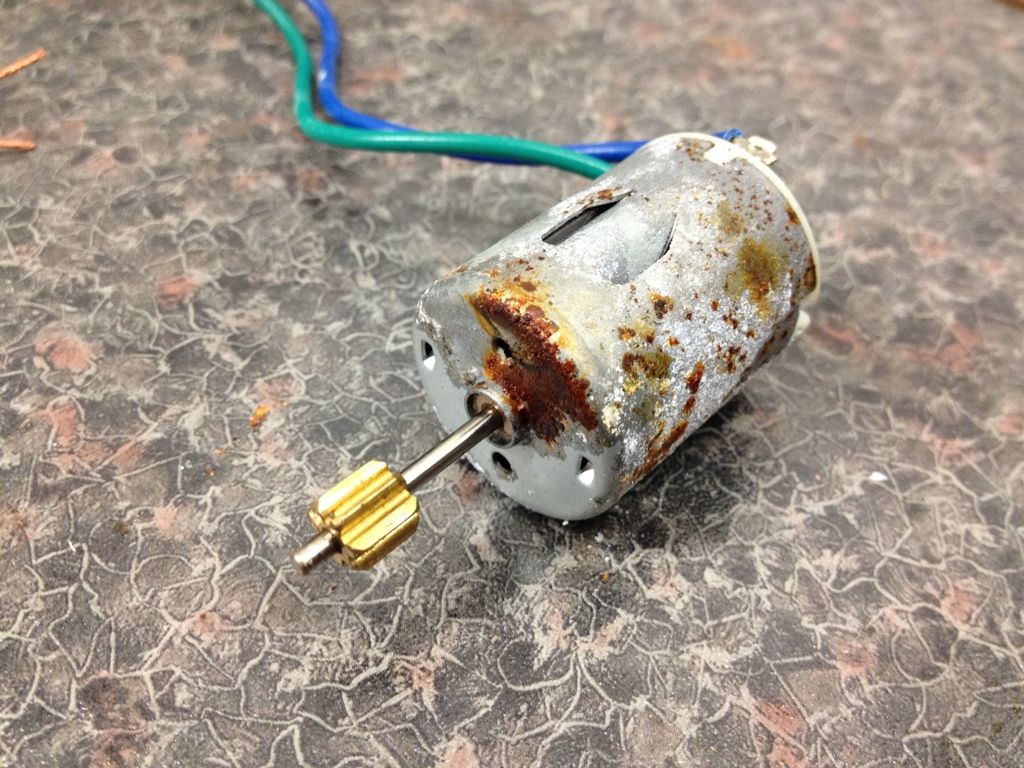
The problem wasn't actually the motor part. The problem was the micro-switch inside each one. The switch should be open with the solenoid extended (Infinite resistance) and closed with the solenoid retracted (zero resistance). Give each one 12v up it's bottom and the motor would spin and the solenoid would move. On the passenger door unit the switch wouldn't hit zero resistance. Even when it should have been at zero there was enough resistance to annoy the central locking relay. On the drivers side the switch was fully open (zero resistance) all day long no matter if it was open, closed, bouncing off the wall or being sworn at.

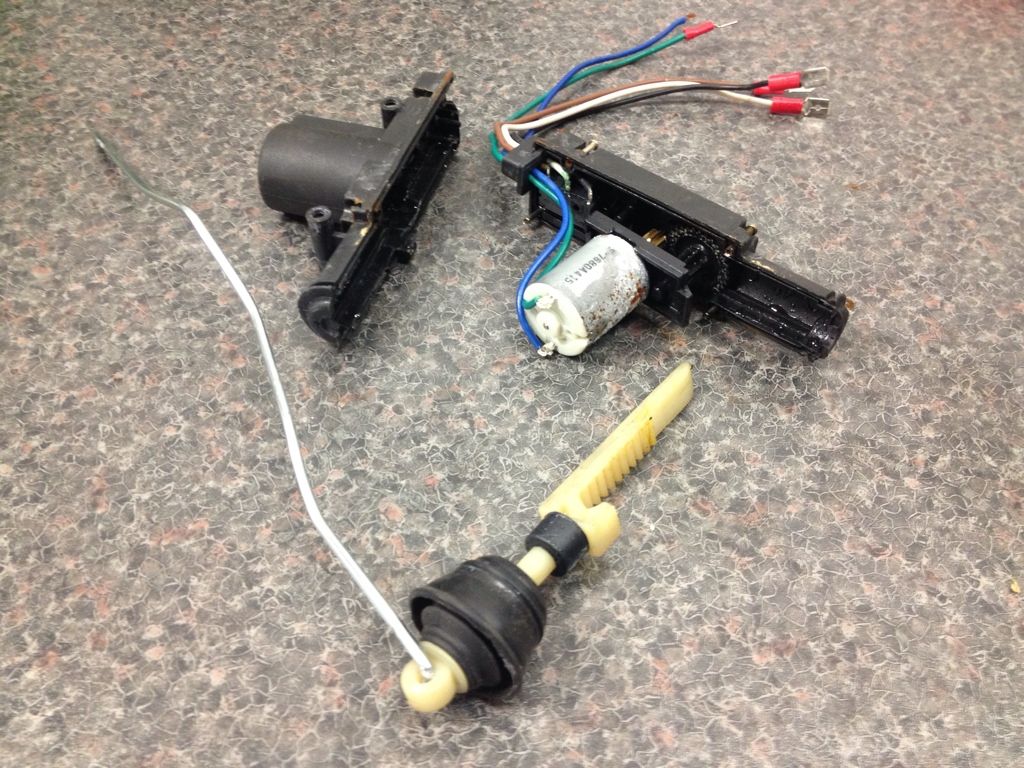
Non user serviceable these things. No way into them. Riveted closed. You know what rivets don't like? Rivets don't like drills!

Image


Well there's your problem!

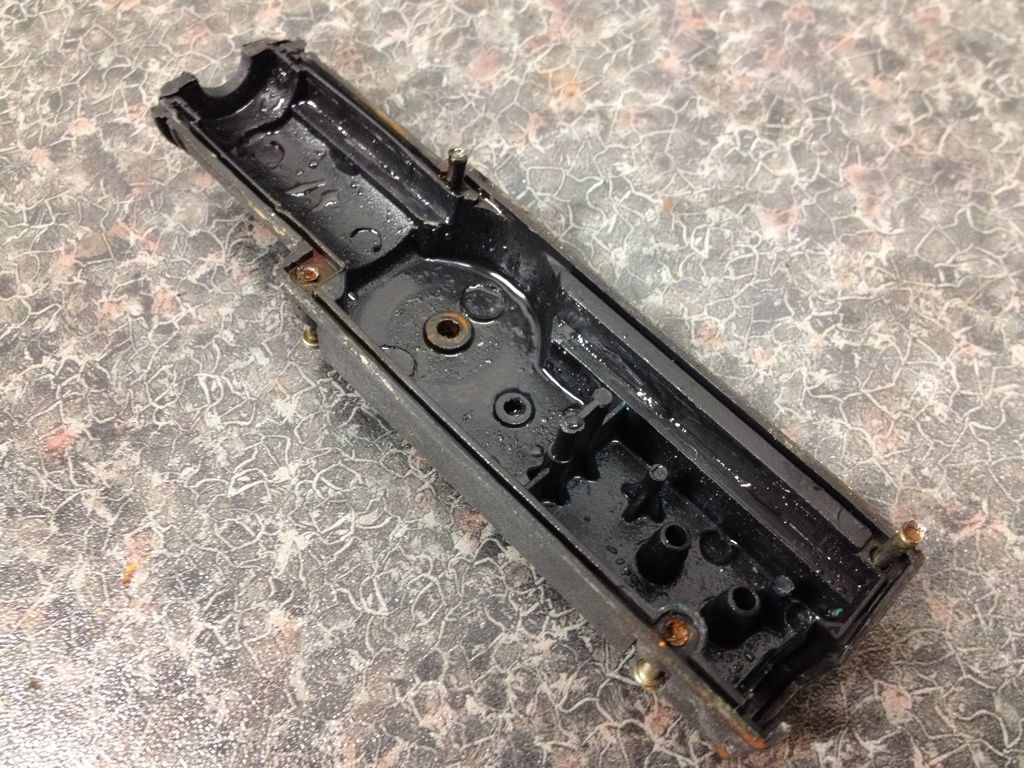
Image


Full of water!

Image


Believe it or not this motor works!

Image


However this micro switch is banjaxed!!

A replacement 5 wire solenoid was obtained. Cheers Greg! Drivers door working beautifully. But they only had one in stock so the passenger door got the Frankenstein treatment. I used the best motor, snipped the wires off the microswitch and installed the creation as a 2 wire 'slave' solenoid in the passengers door.

I'm on the hunt for a replacement pair of door solenoids. Preferably ones with some sort of seal to keep the water out!
 
#186 · (Edited by Moderator)
Absolutely adore this fuel cover thingy, looks the dogs wotsits! Btw not being sharp eyed or anything but your faded to white previous hello kitty fuel cover makes an appearance in your last post about the door solenoids :ph34r: unless its just the picture making it look like that lol

Wish I had a garage like that, even if it is a mates, I am jealous lol

Cheers,

Robert
 
#187 · (Edited by Moderator)
Absolutely adore this fuel cover thingy, looks the dogs wotsits! Btw not being sharp eyed or anything but your faded to white previous hello kitty fuel cover makes an appearance in your last post about the door solenoids
Image
unless its just the picture making it look like that lol

Wish I had a garage like that, even if it is a mates, I am jealous lol

Cheers,

Robert
You weren't supposed to notice, lol. I wish I could say the camera flash whited it out. But, no, it is that bad
Image


Halfrauds UV resistant lacquer? My fat hairy bum! Grrrrr
Image
 
#188 ·
When last I posted there was technology afoot. But I was keeping it quiet. Well it's done now and I'm too excited about it to wait three weeks to unveil it at the monthly 8)

Way back in the long long ago I changed from a standard rectangular front numberplate to a 6x9 offset plate. It's always a bit of a gamble when you do this to a 5 as to what you will find lurking behind the original plinth.

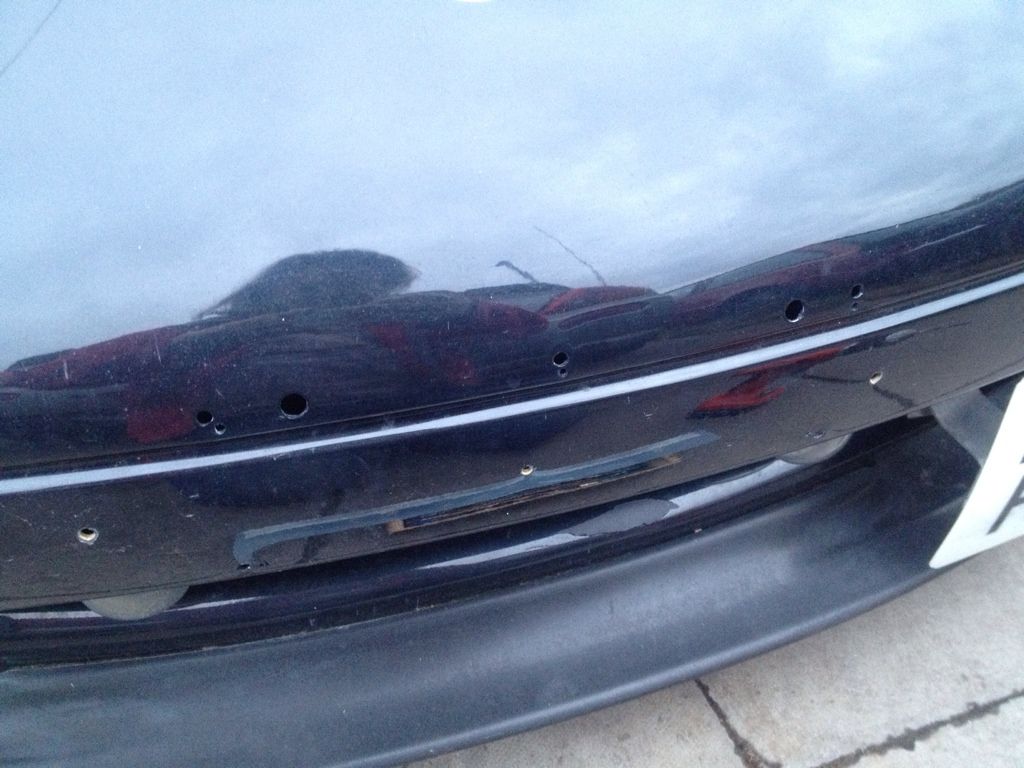
Image


I was hoping for 2 neat holes. I got TWELVE raggedy ass holes. Three of which were 10mm diameter!

I could fill them and repaint the bumper. If only I knew what colour my car is! (Refer up thread for paint colour confusion stories!)

So I decided to live with them. The car is black so they aren't as obvious as they would be on a white car. Off I set with my mad KITT dash and Car PC and other projects. Ignoring the bumper quite successfully.
Many many people who see the KITT dash ask "So are you doing the scanner" and I would always reply "Nah, that's a bit much really" whilst thinking.. hmmm.. maybe..

After all.... I already have a load of holes in the bumper....

What if... I made a scanner out of 10mm LED's? I've already got three 10mm holes... Just... add more holes...

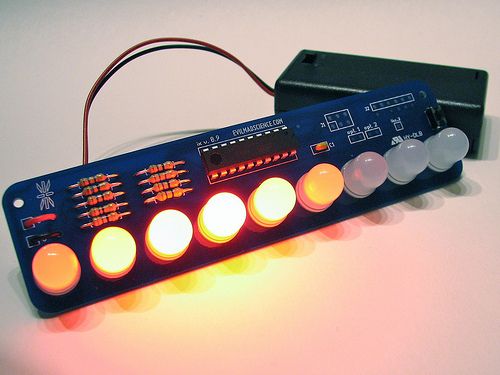
There was a 10mm hole in the middle. So whatever I did the scanner would need to be made of an odd number of lights. I had a look around and came across this

Image


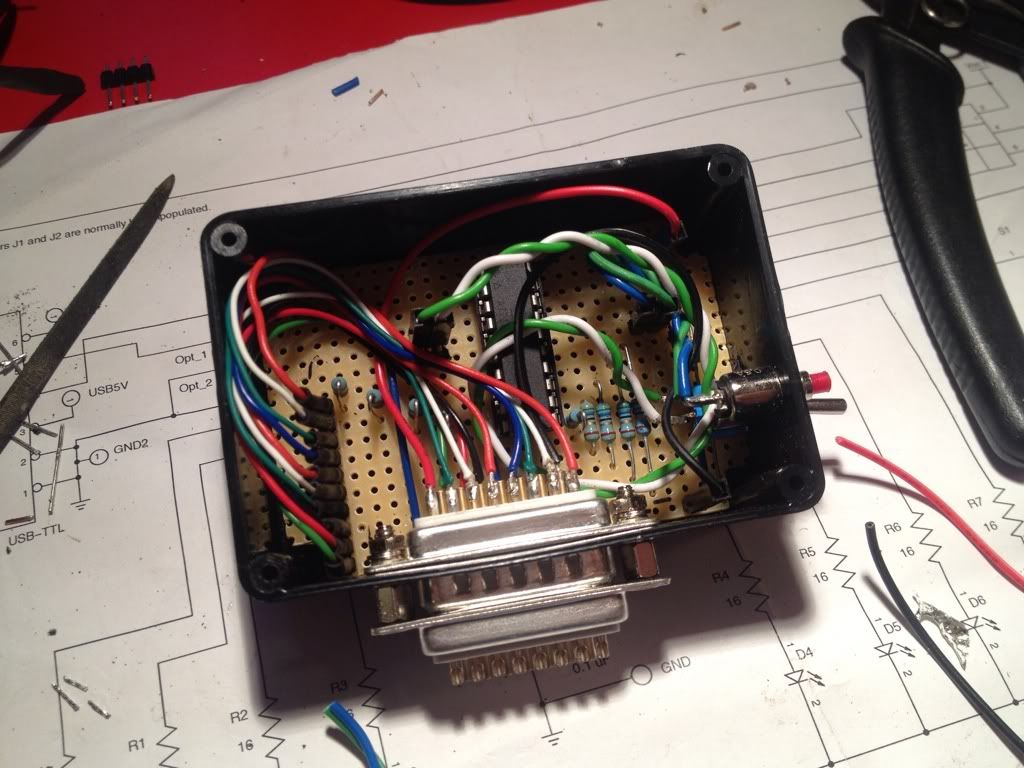
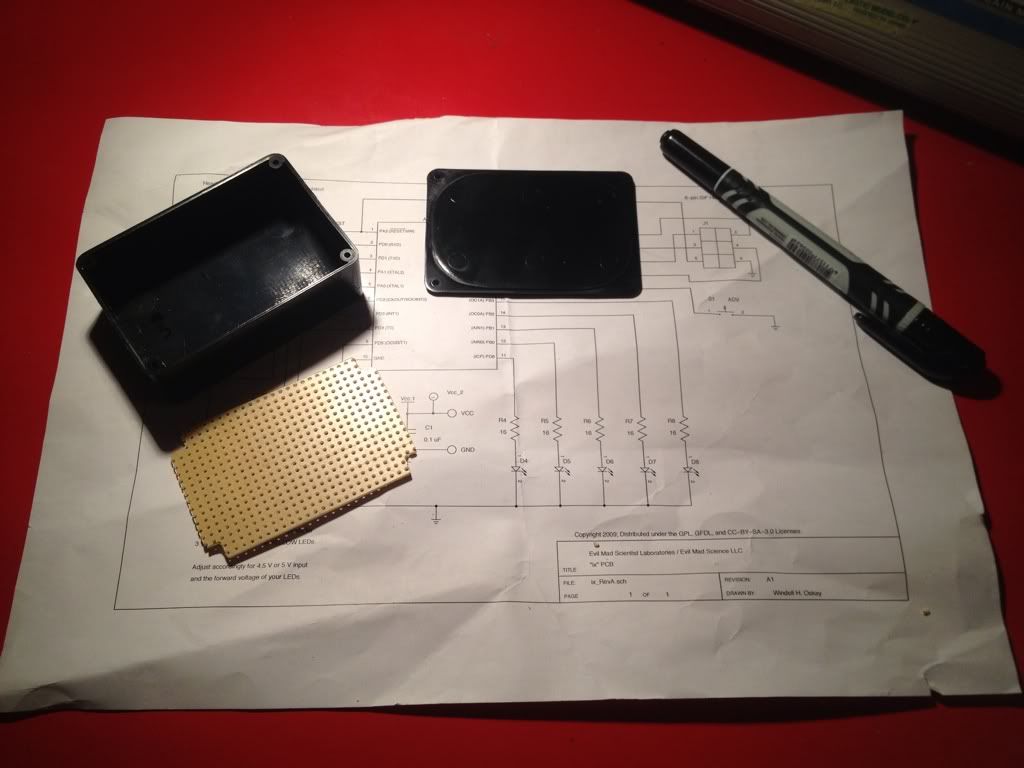
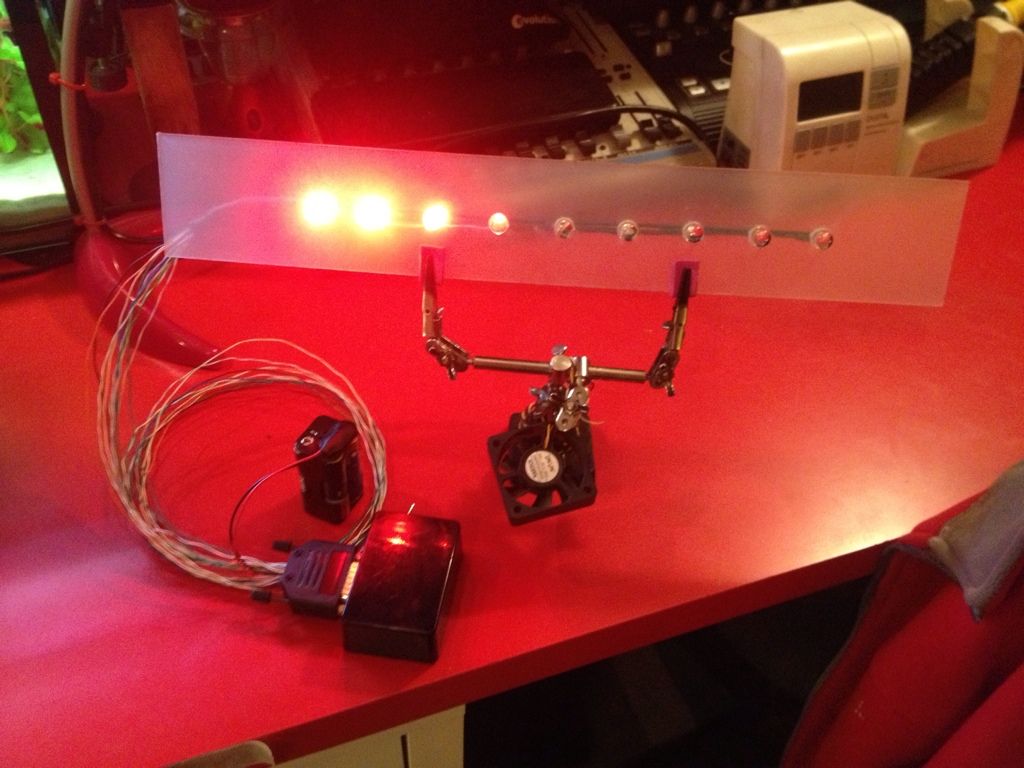
It's the 'Larson Scanner' from Evil Mad Scientist Labs. It uses an embedded processor (ATTiny3212). EMSL were kind enough to open source the code. All I had to do was download the firmware, burn it to the chip and build the circuit.

Challenge accepted!

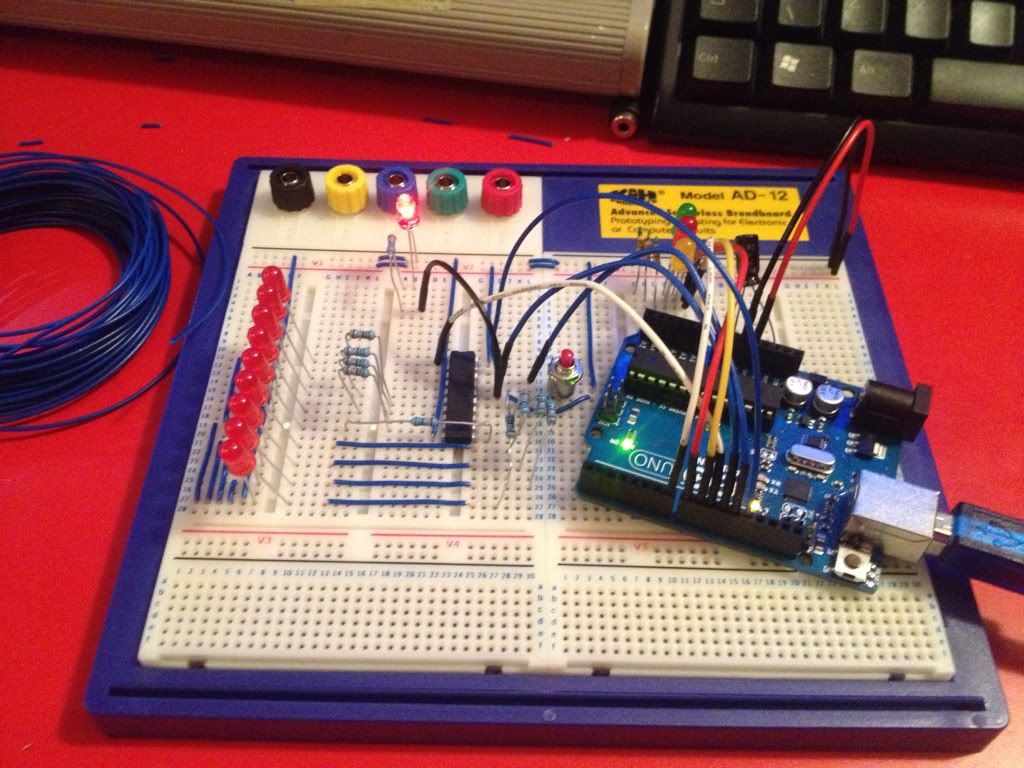
Image


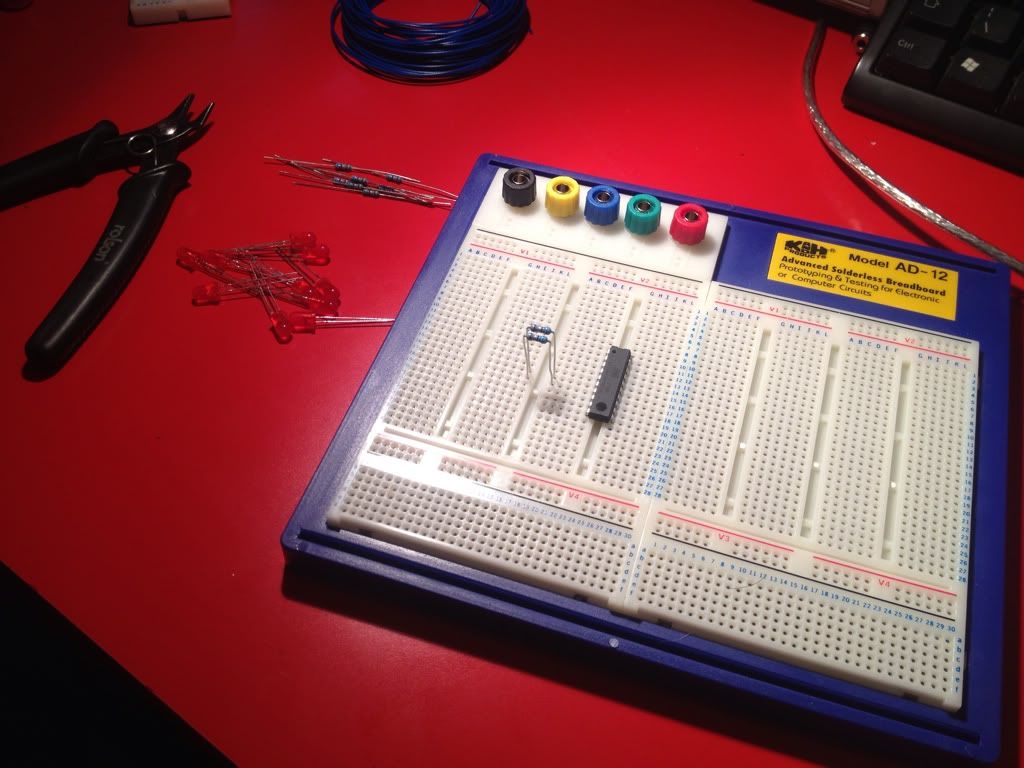
The heart of the beast, the attiny.

Image


This is the circuit built on breadboard. The Arduino UNO is being used as a programmer to upload the, slightly modified, firmware to the attiny on the breadboard.


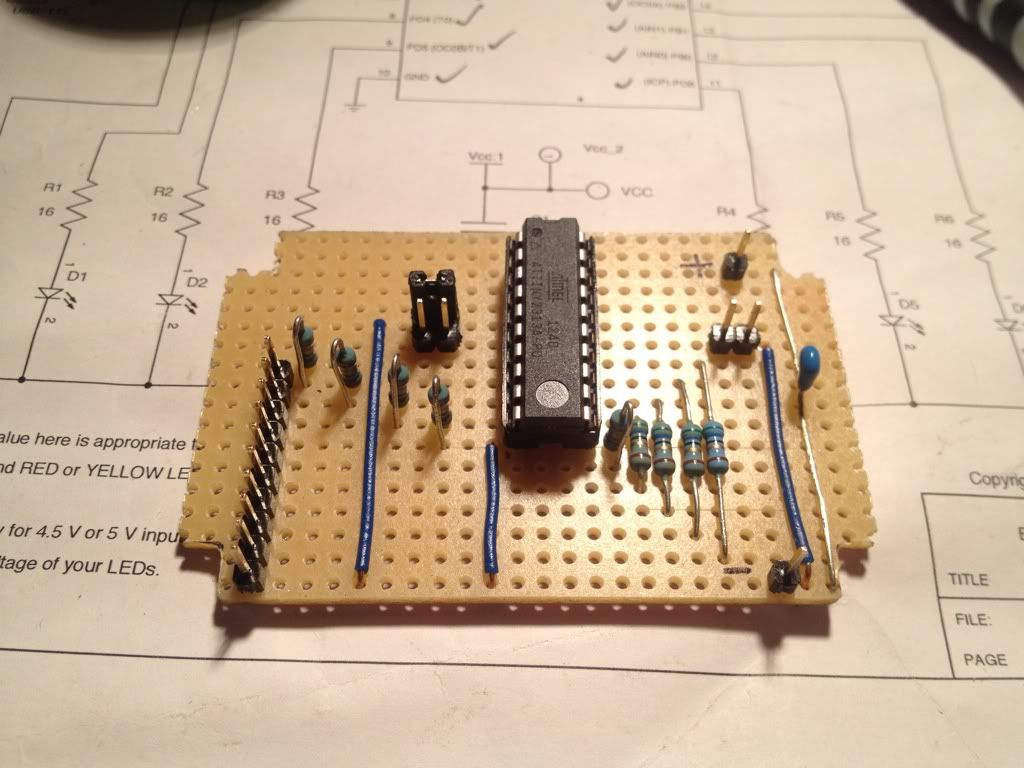
Great! but it would need turning into something a bit more permanent than a breadboard! So I grabbed some stripboard and soldered up a permanent version.

Image


Image


Image


Image


Image


Lovely.... but now for the scary part.

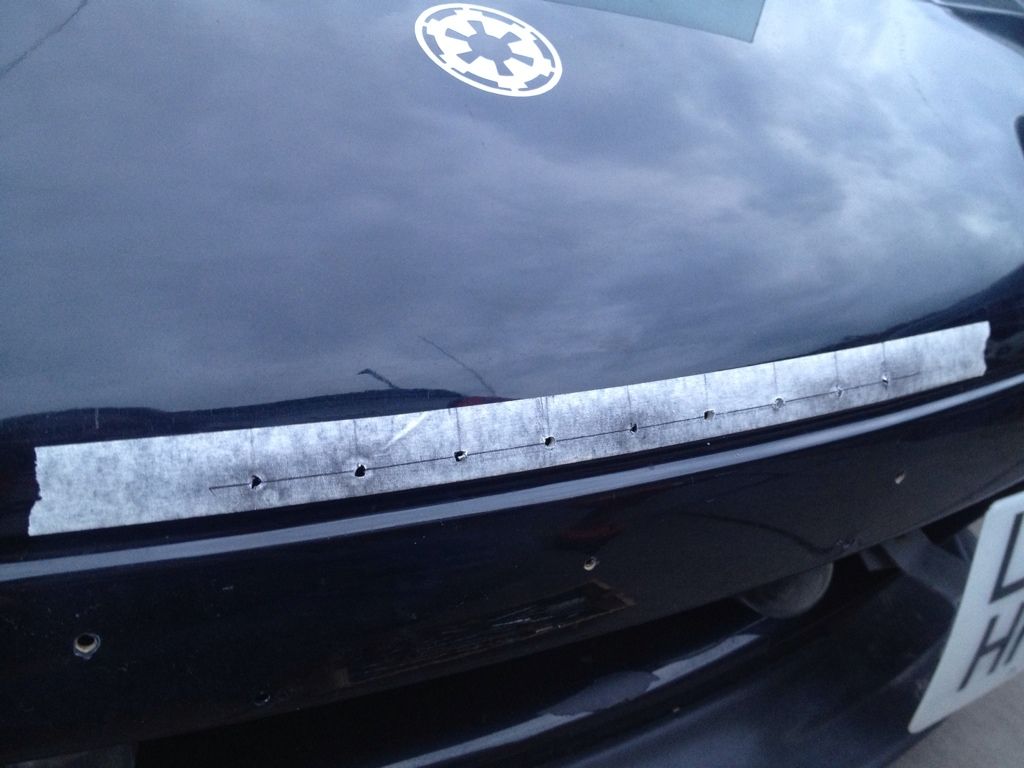
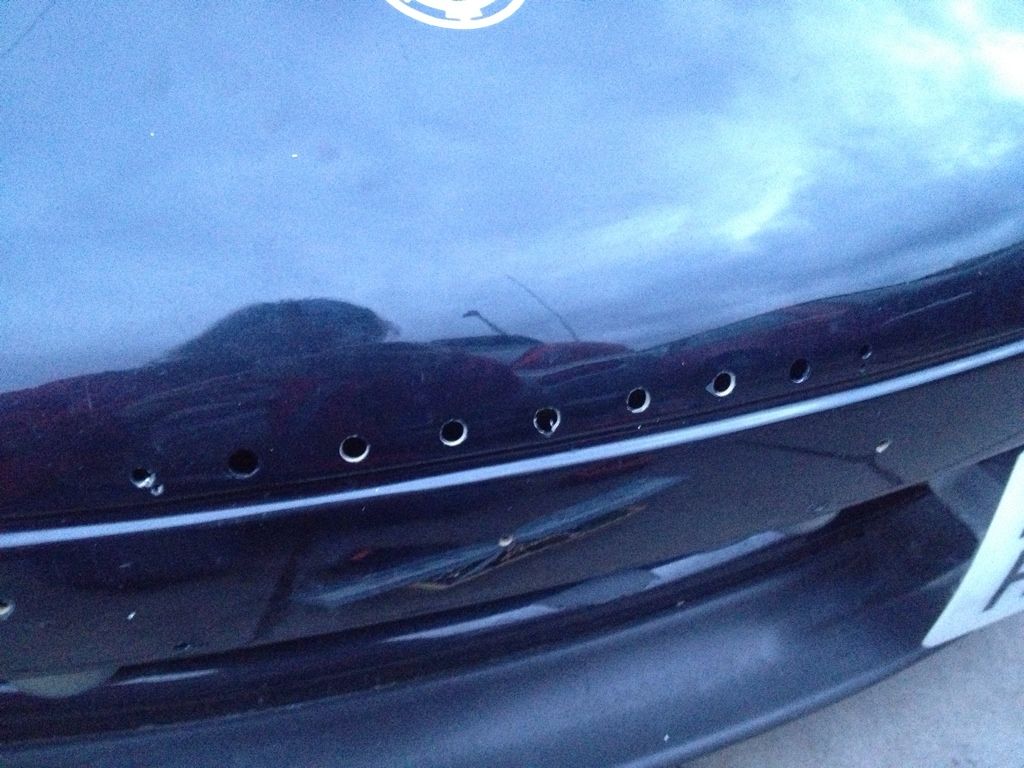
MOARHOLES!

Image


The layout for 9 holes was fairly easy. Using the existing spacings of the three 10mm holes worked out ok.

Image


Pilot holes drilled

Image


No turning back now!

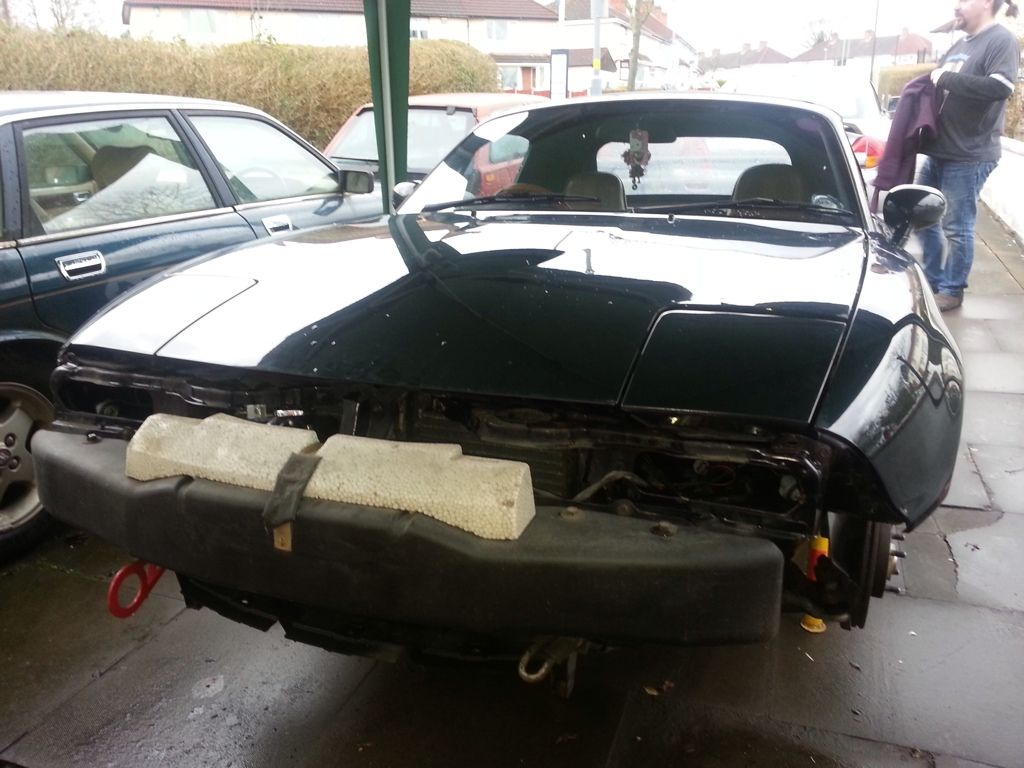
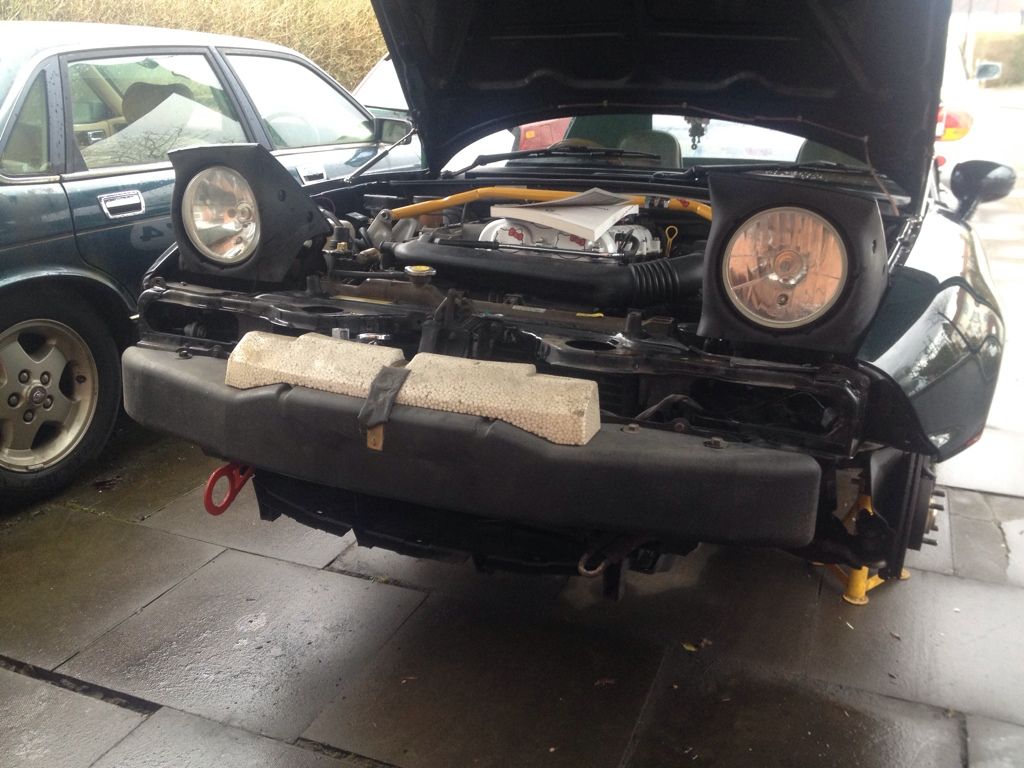
So in between snow storms and torrential rain it was time to remove the bumper. General consensus was that the process was a total nightmare and many seized fastenings would be encountered.

Image


Nah, easy peasy! Not one seized fastener anywhere.

Image


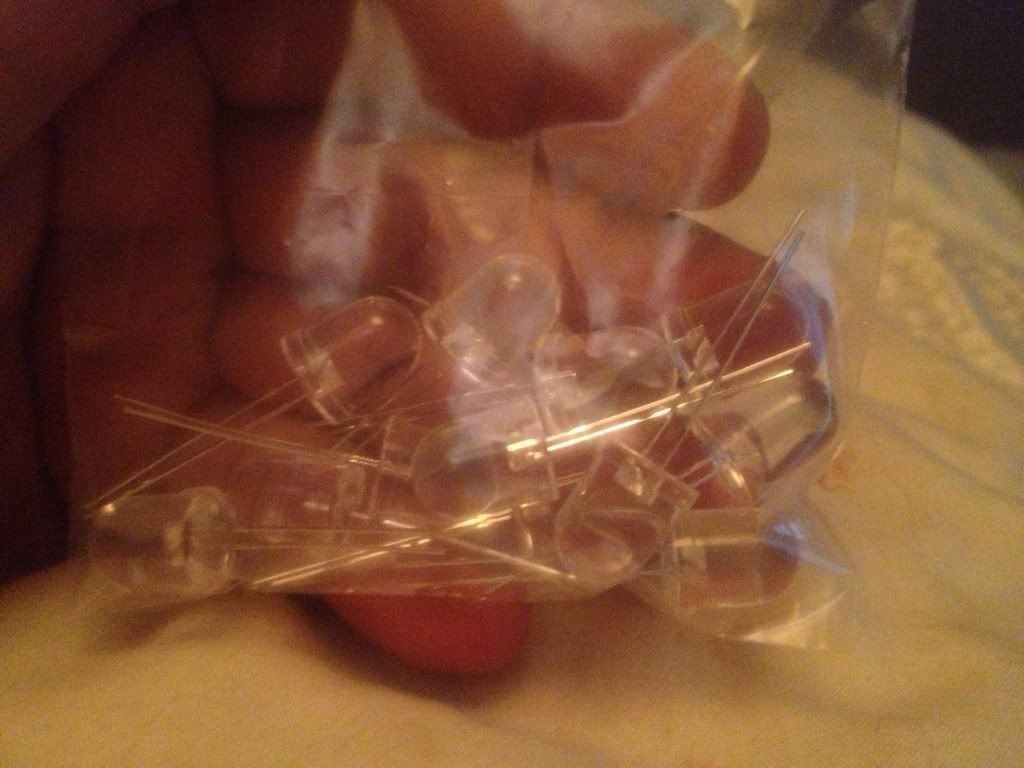
There was no way that having 9 bloomin great holes in the front bumper was ever going to be invisible. But I did want the scanner to be at least subtle when turned off. So I went for water clear LED's

Image


The hope being that with them off and recessed in the bumper slightly. They would be easy to miss. I made a template of the bumper holes and put the scanner bar together

Image


Soldered and heat shrink covered. Win.

With the bumper off and in the living room it was time to fire up the hot melt glue gun.

Image


Another break in the weather and the bumper could go back on -

Image


The scanner is a bit more obvious than I had hoped for I think. But that could just be because I am very focussed on them at the moment. Maybe in a few days they won't leap out like a sore thumb so much?

Well... that's it... the madness is complete... the scanner is installed... so what does it look like???


I love it. Amuses me no end. But don't worry, you are allowed to hate it. I won't judge.