Mazda MX-5 Miata banner
41 - 60 of 562 Posts
No love for teh car pc huh.
Image


Ok Bring on TEH WEELZ!

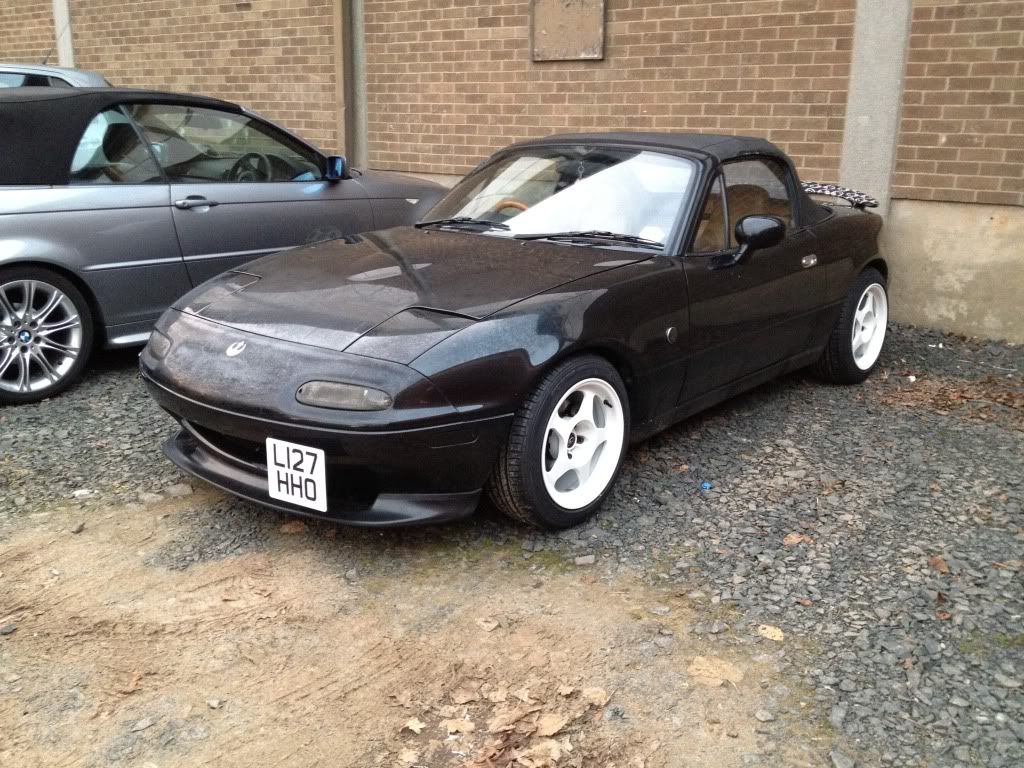
Heading over to the P5 monthly shindig tomorrow at which will be the most excellent Mr Nick From Mazda-On-Track. He will be furnishing my loverly white Slipstreams with some Kumho rubbarz.

So tonight I sorted out the arch liners. I already know that the tyres will rub the liners because Shogun had the same wheel and tyre combo with a similar axle to arch height (310mm). Unluckily for Mr Shogun his ride was seeing a lamp post on the side (drivers side) and so was dismantled. I lent a hand with the strip down and whilst there half inched his arch liners
Image


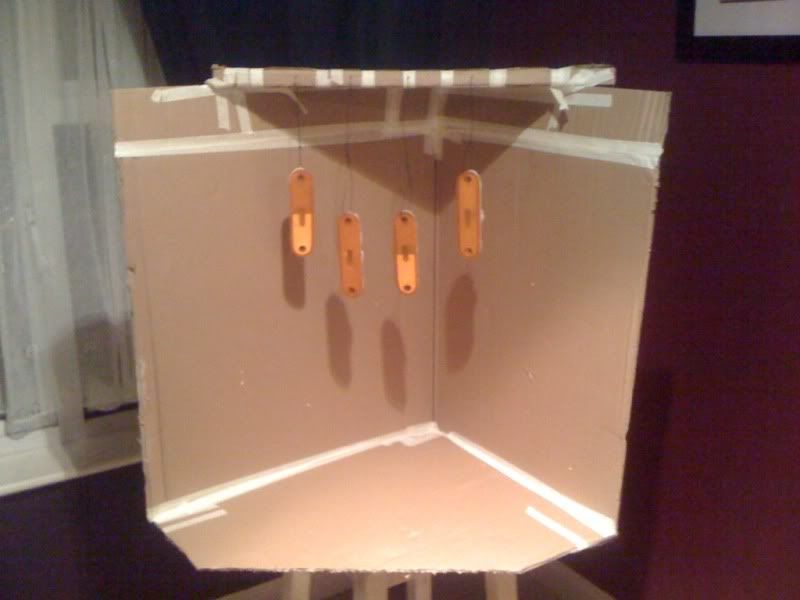
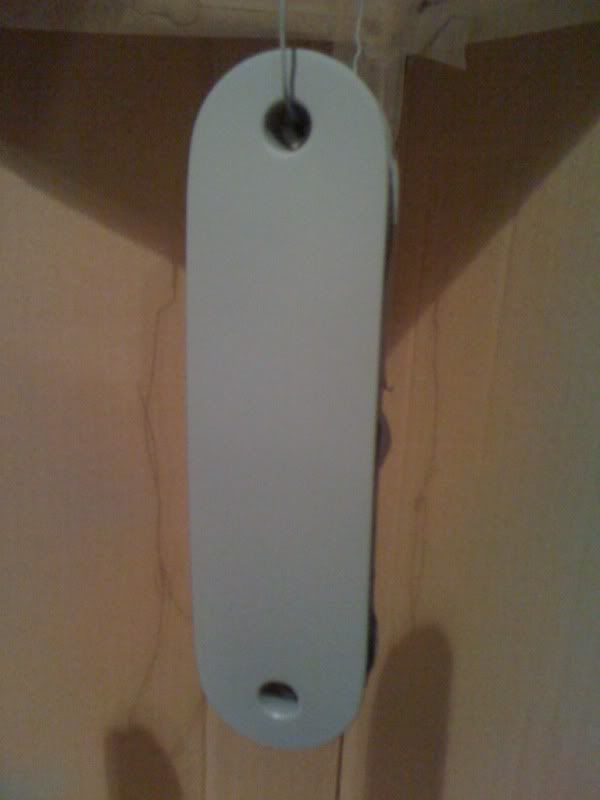
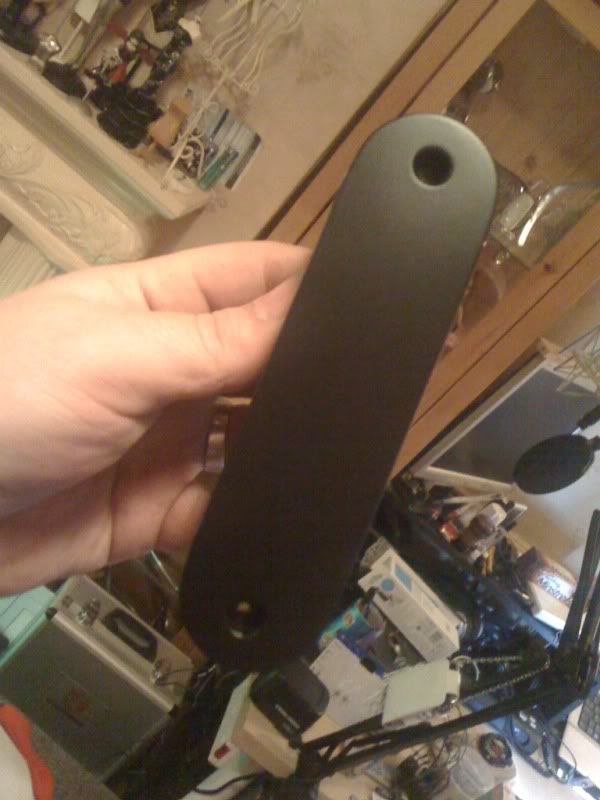
This is a standard liner:

Image


This is Shogun's pre-adapted liner:

Image


I noticed there had also been a tiny lil bit of rubbage in two other areas. Nothing to write home about.

Image


I had a knife handy so it seemed sensible to belt and braces the thangs and de-hump them.

Image


Sorted.

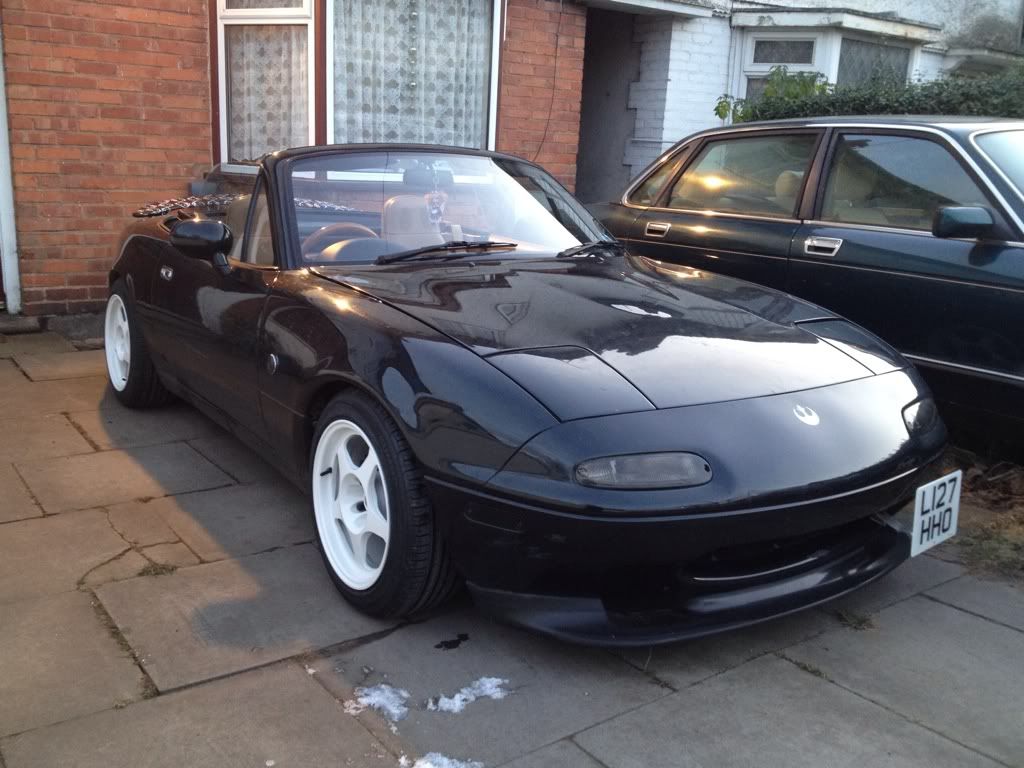
New boots on tomorrow night but until then I had to throw them on and have a squint!

Image


Image


Image


Cant wait to see them with rubber on.

Cerbs
 
what on earth is that spoikler wrapped in ??... car looks good though
 
Discussion starter · #46 ·
Looks awesome that does bud, those slipstreams really suit the shape and styling, nice to see a different set of rotas on a to, seems to be grid v's everywhere atm! Whats coming next then?

Mike
Cheers
Image


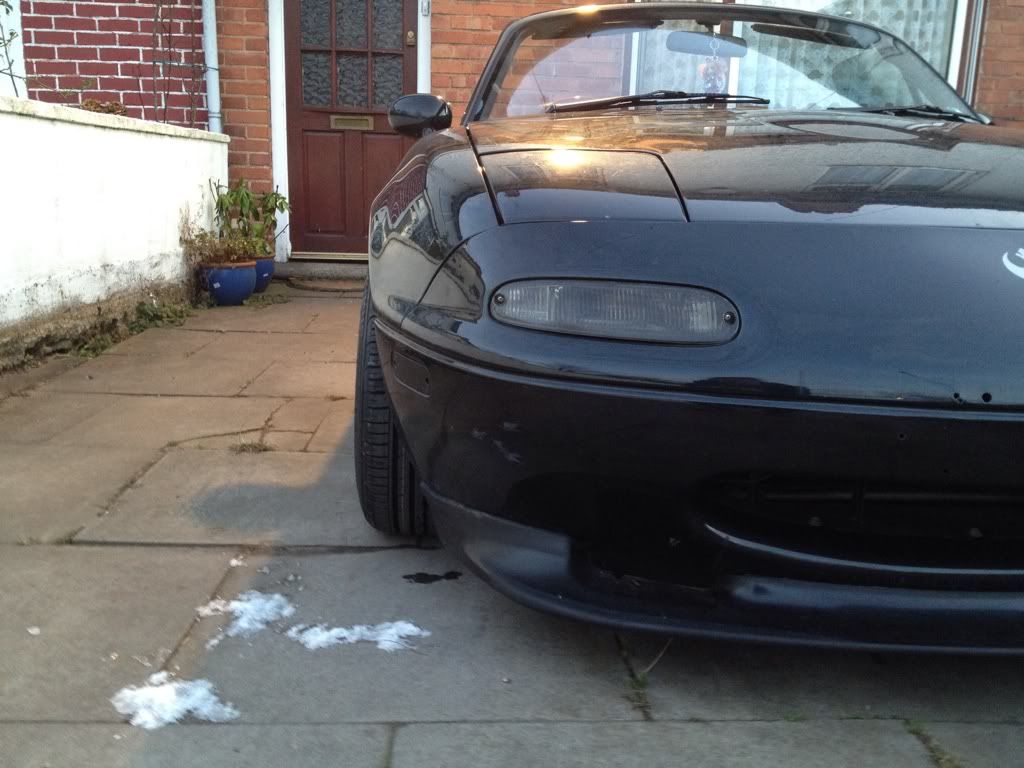
I'm thinking she needs some skirts now. Bomex maybe. I know it's bindun but I keep coming back to them. Not seen any others that I really am drawn to the same way.

Cerbs
 
All 4 tyres are stretched. But 195/50/15 on an 8j..... It barely registers on the stretch-ometer.

It's not going lower than it is now. Its 310mm axle to arch and that's quite enough lows for me!

Image


Image


Cerbs
 
ive got to admit its not entirley to my taste, but this whole thread did make me chuckle, no big gear knob for moaar JDM points?
Ha ha, you have no idea just how big a Gear knob I'm trying to get C to put on this car...
Image
Go on C, you know it makes sense... I'll even buy it for you, just need your know how to fit it properly...

Russell.
 
Discussion starter · #56 ·
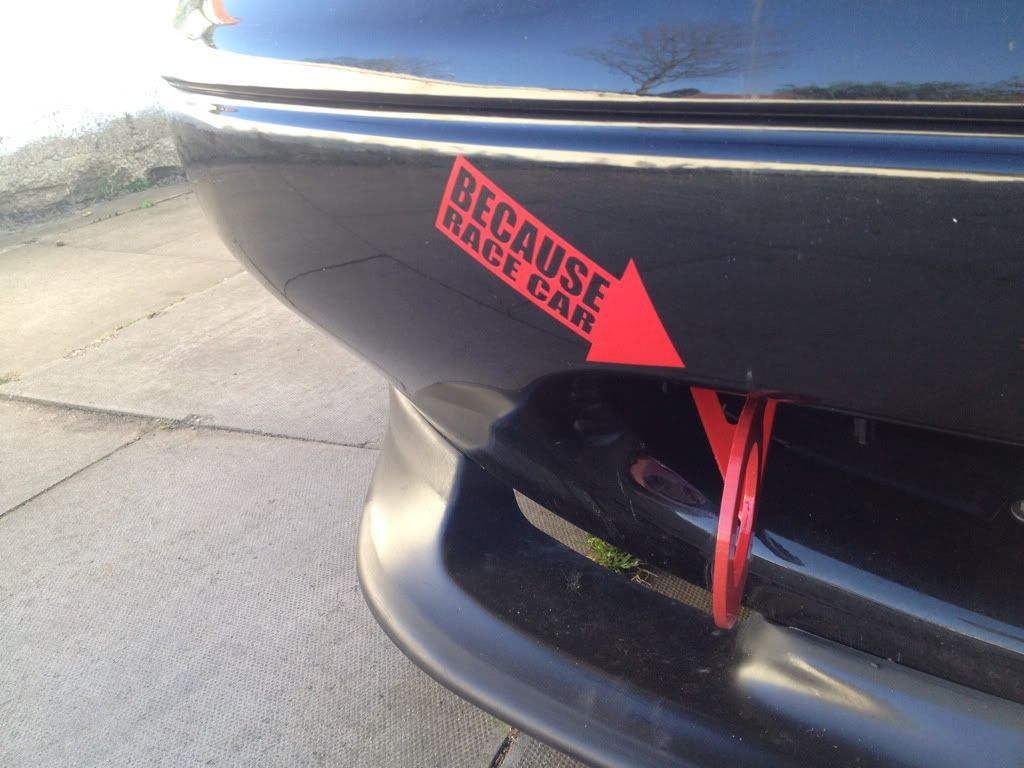
My oh so witty work colleagues are convinced that my new shiny red tow eye has been fitted because "These hairdressers cars are unreliable innit"

No!

There is only one reason to haz a big red tow eye.............

Image


BECAUSE RACE CAR!!

Cerbs
 
Not even a chuckle for the tow eye arrow? Damn... Must need more kitties!

A long time ago but in a galaxy relatively close by, I purchased some P5 frame rails from Mr Vindi. They had languished on the good man's to-do list for some time and he decided to part with them as they didn't seem to be getting close to the top.

So I popped them in the back of the shed and made a note on my to-do list. Must be something about these rails because there they stayed for bloomin ages!

But! with the advent of a bit more sunshine and longer days and a Gayzeeeeboooooooo and a proper jack.... I declared it to be RAILTIME!

With the assistance of the much beloved we put up the shrine of dryness. It took us half an hour the first time. No instructions were provided so we weren't sure which bit to pull when. Then there were these springy nipple things that had to pop into retaining holes. There were ropes to be tied and clips to be clipped. Thankfully we got there in the end and many lessons were learnt. We can now achieve a satisfactory erection in mere moments. It's all in the technique.

With the shrine of dryness established four sturdy axle stands were retrieved from the shed and up she went.

Image


Image


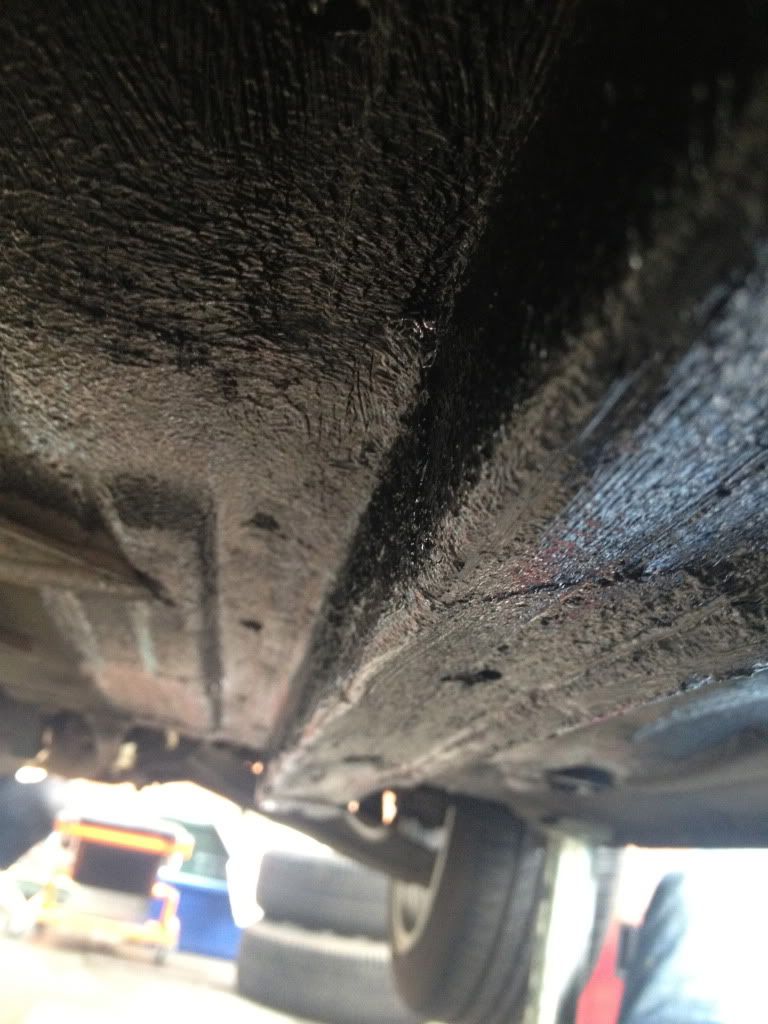
I'm still loving the Costco jack. I just wish it was a bit longer. I rolled under the car and offered up a rail cover to the driver side rail. Ohhh no, not good, not good at all. The drivers side rail was an inch too wide due to the various speed bump type dentage in it.

Image


Pass the 3lb lump hammer please nurse! After a little tickle with the hammer, the rail covers slipped on nicely. All I had to do then was whip the drivers seat out, roll back the carpet and drill 12 holes. SImples!

Image


Image


Image


Lovely. Now to paint the underside with under seal. Except my tin of under seal had fallen into the hands of those damn faeries and they had hidden it. It was getting late anyway so I popped the seat back in and tidied the tools away.

Fast forward one week and a trip to Halfrauds later. Out came the Gayzeeeebooooo up went the jack and under I went to drill the passenger side holes and splash some under seal about.

Image


Image


Splash it all ovah!

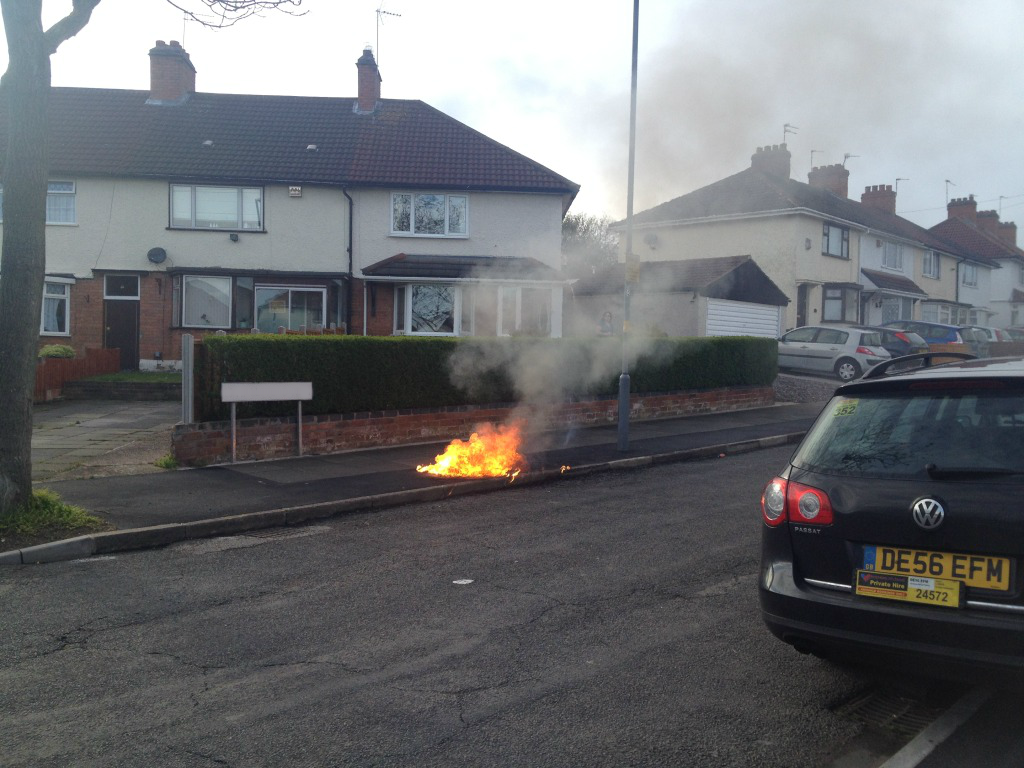
With that done I stopped for a cup-o-tea. Earl-Grey, hot, as usual. It was as I enjoyed my Rosie-Lee that all hellfire erupted across the road.

Image


A manhole cover belonging to the electricity company started smoking. Then it started being a bonfire.

Image


A quick 999 and the Fire Brigade arrived and made it safe while it burnt itself out. The fire proceeded to damage the feed to each house in the road one by one. Leaving us all with no electricity. The men from the MEB arrived and started digging up the road immediately to fix the problem. "Back on in the early hours of the morning" They promised. (They were right too. They had the whole lot dug out and all the cables replaced by 3am.)

But that was me done for the day. The under seal needed to dry. We watched the MEB men working in the rain from the shelter of the Gayzeeebooooo for a while and then packed up the tools and retreated indoors to watch DVDs on the laptop by candlelight. Most romantic! (The only DVD I seemed to be able to find that the laptop would play was Season1 of InitialD 8) )

By Monday evening the under seal had cured enough that the rails could be bolted on. The much beloved assisted me in getting the Gayzeeeboooo up but then she was off to her mothers for the night so I made a call to the P5 roving mechanic. "Shoooogunnnnnnnnn! Dude! Come hold a 13mm spanner for me please?"

And so he did

Image


For reasons best explained by him, some of which weren't my fault. He removed and replaced the passenger seat four times. The drivers seat only once tho.

Image


Very soon the shiny shiny was bolted in place!

Image


Image


Image


Then off for a test drive. Lorks a Lordy! What an improvement! I'd read many forum posts saying these things were good and thought it was all just placebo effect. But no! It's very real. The P5 Frame Rails really really do have an effect and it's a big one. Scuttle shake is all but gone. The car rides bumps without all that twisting and shuddering and dashboard squeaking. I am properly properly impressed. Everyone should have a set of these things because for they money they are bloomin brilliant.

Image


Now I just need to save up for some more up to date suspension :shock:

Cerbs
 
i was wondering about p5 frame rails myself but my rails are a bit mis-shapen! i was wondering how difficult it would be to knock em back in to shape as i believe the frame rails are a tight fit. looks like its easy enough!
Image
 
The P5 instructions recommend a ball-pein hammer. I didn't have one but a 3lb lump hammer did the job very nicely. I would say the trick is being able to have the car supported high enough to give you room to swing. Even then it takes worryingly little force to beat the rails back into shape.

Cerbs
 
41 - 60 of 562 Posts