
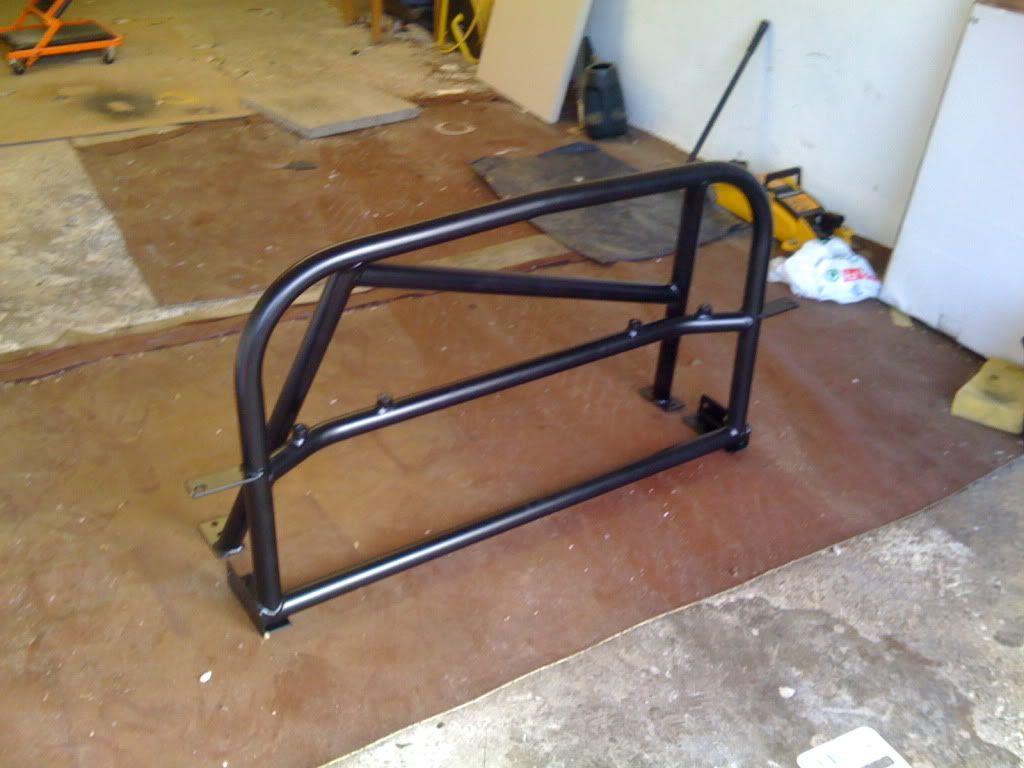
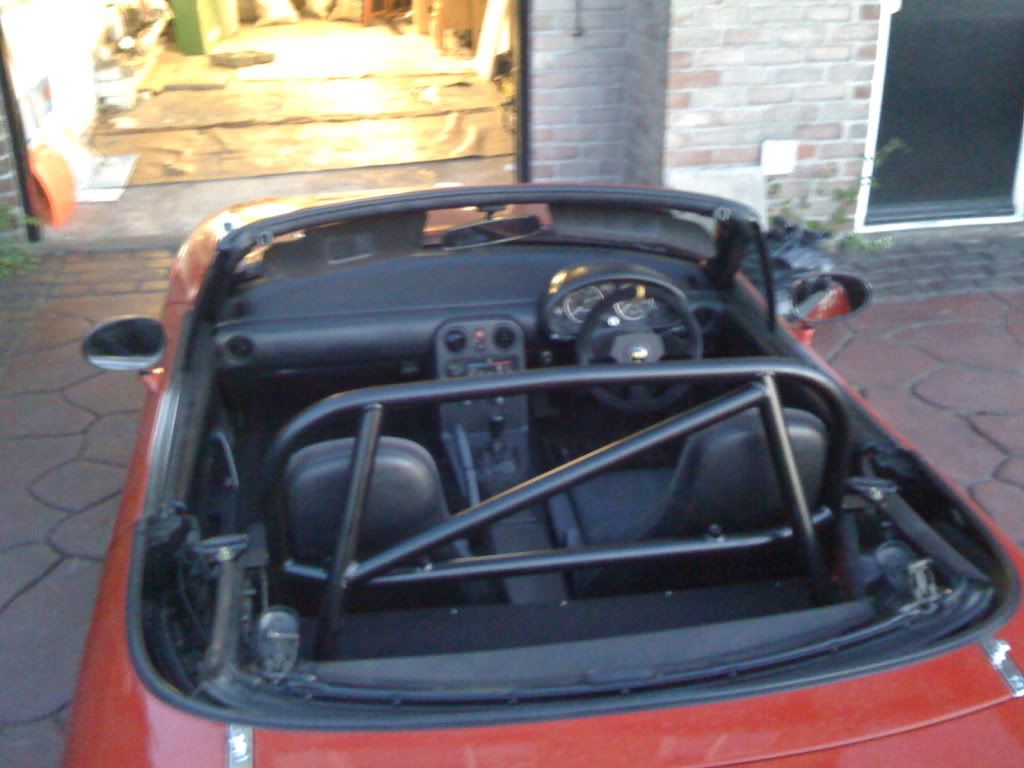
Hey all, As promised on the long long thread I took some pics of my istallation of the new design of roll bar that I asked Tim for about a month back.
First impressions are that the bar is very substantial and really well made, the packaging could have been better as the tabs managed to break out of the cardboard box and scuff a bit in transit.
![Image]()
![Image]()
So here goes:
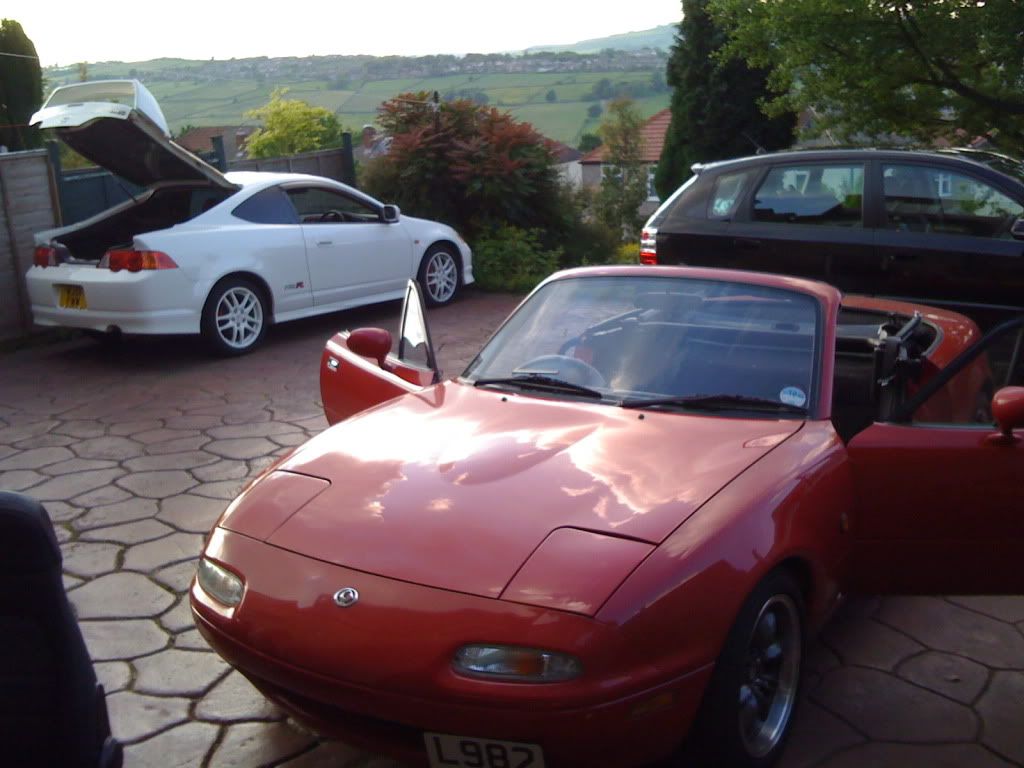
Before starting I tuned on my stereo for some choons, it's the white car shaped thing in the background!
![Image]()
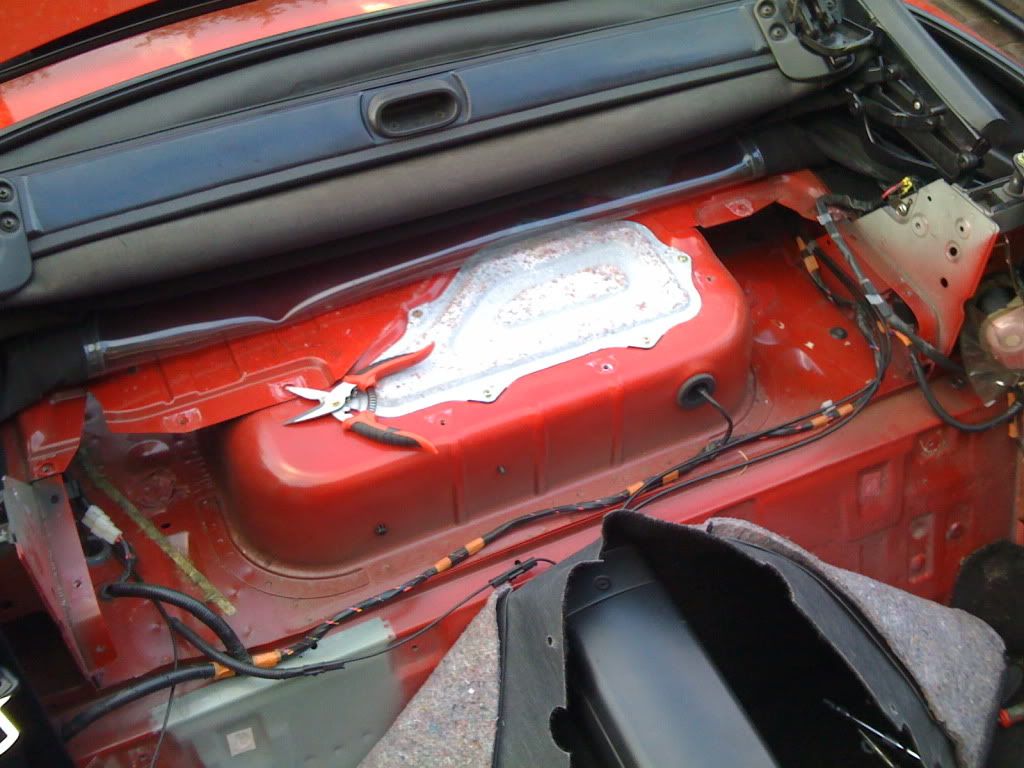
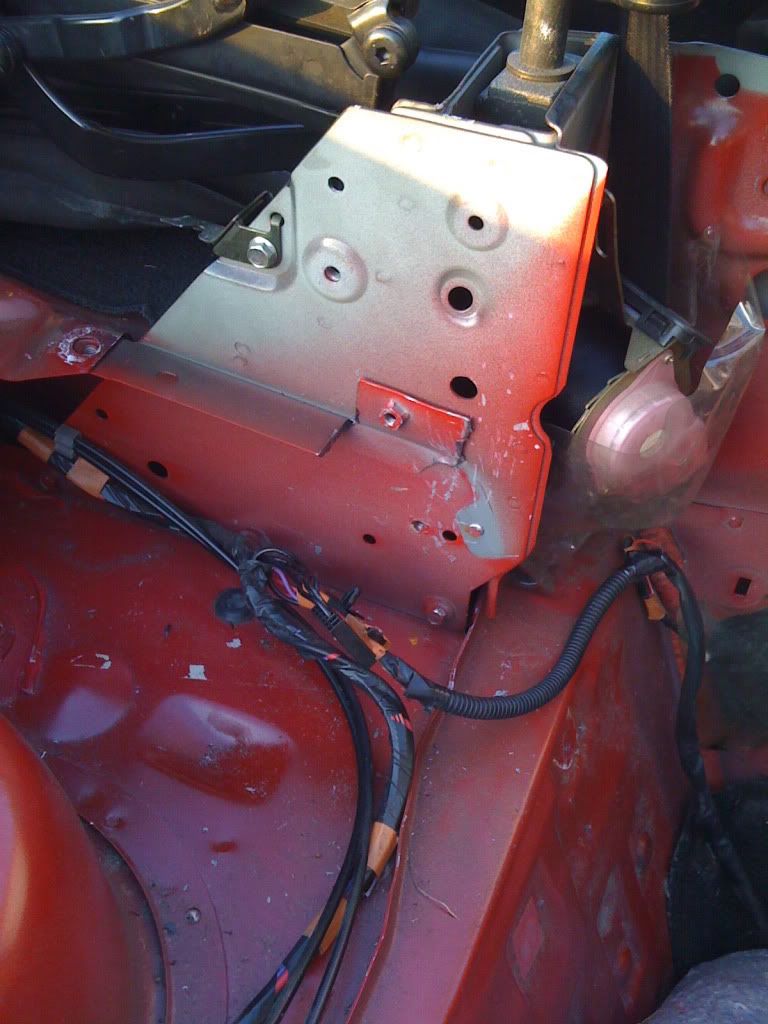
First I took the seats out, lifted the carpet up and took off the parcel shelf. You dont need to remove the seats but it makes it a whole load easier. Also remove the trim around the belt towers and remove the inertia reels and belt loop.
![Image]()
Next, after offering the bar up and noting that the front bit of the parcel shelf flange in in the way I got the angle grinder out and cut a large chunk away. I hammered the remaining Tab that was left away in a bodge fashion! Then offered up the bar again.
![Image]()
![Image]()
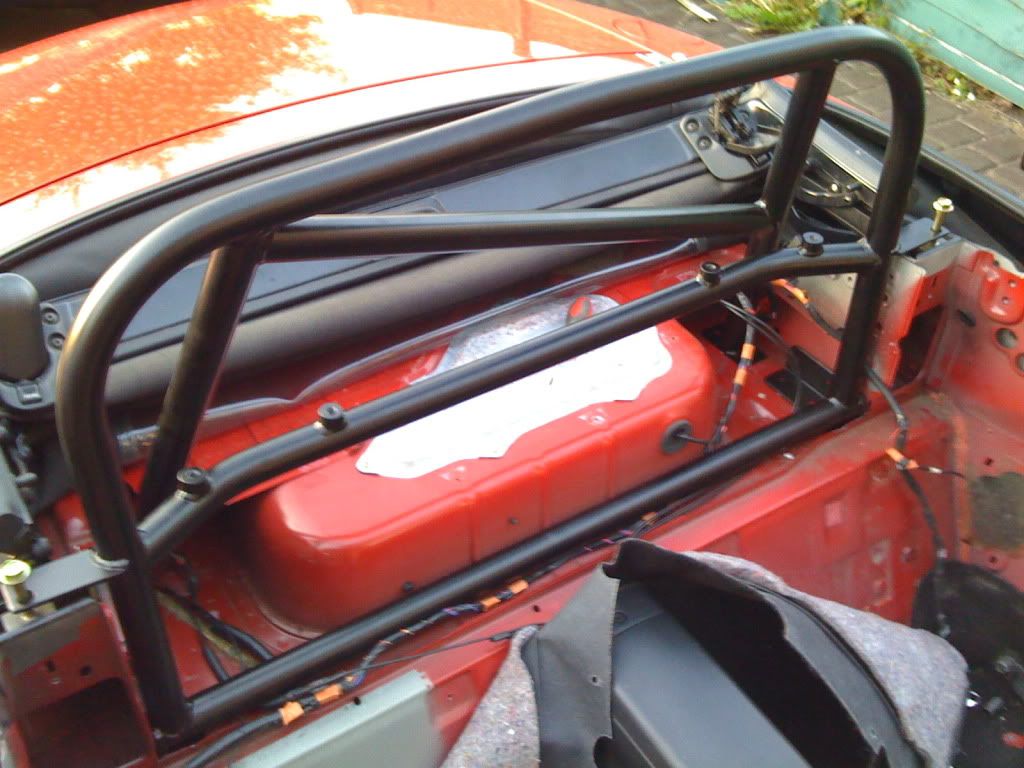
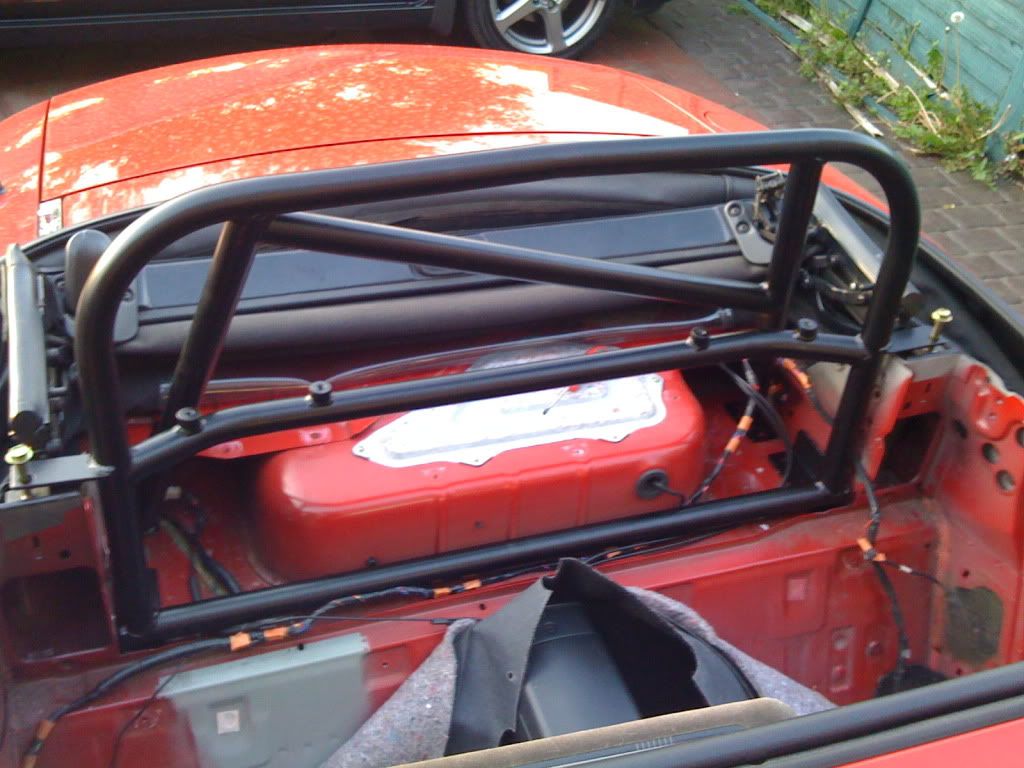
I was really impressed with how the bar fits, I was half expecting to have to modify bits but the bar sits neatly inplace and the two belt tower bolts line up perfectly.
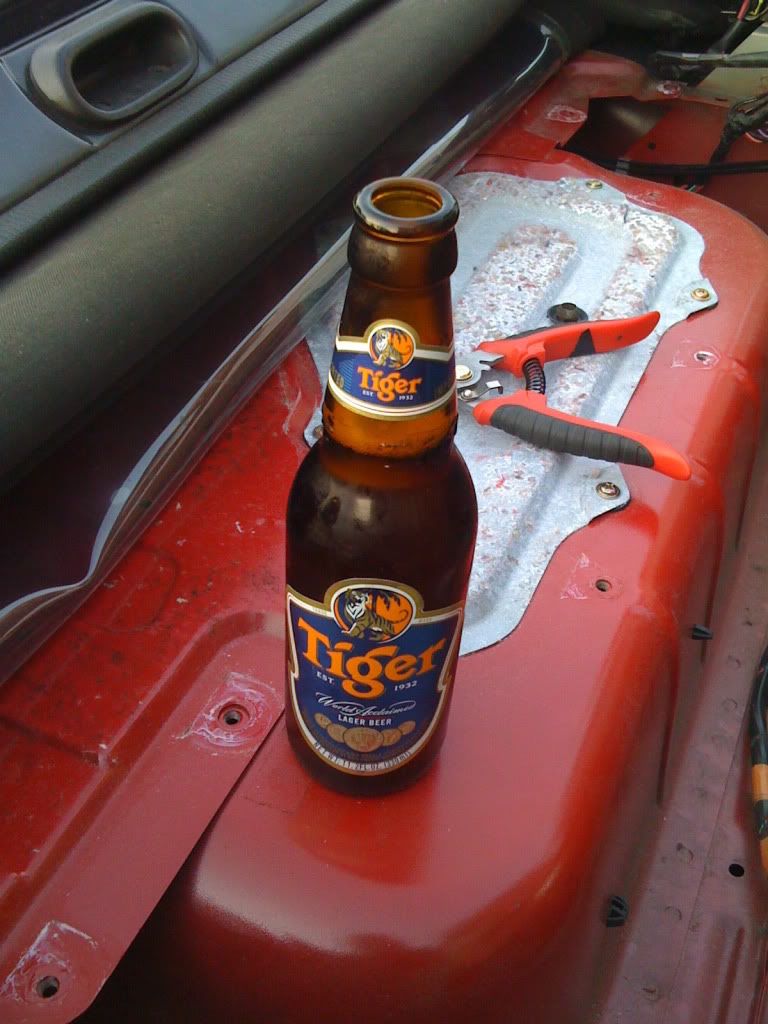
After you've done all that ard work you'll need one of these:
![Image]()
Next was the hardest bit, drilling the holes. While the bar was in I marked up the position of the holes. Most of them are difficult if not impossible to get at straight with a drill. The rear legs are covered by flimsy metal that makes up art of the parcel shelf so I decided to try and move that away somehow. I ended up drilling out some of the spot welds and bending the metal out of the way so I could get an angle to drill. If I was doing it again I'd probably spend more time and cut away these parts but I'm not that bothered about the fact that theres now bent bits of metal under the carpet! I was also put off but the thought of using the angle grinder so close to the fuel tank.
Anyway, the bolts that are supplied are 10 mm so I used a 12 mm drill bit to make the holes. It was a pain, even though Id cut away some metal and used a smaller drill as a pilot I was still forced to drill at an angle. Eventually though I did them all and to my surprise they all lined up perfectly with the bar! I could have gone from underneath like some people have done but TBH I think it'd be even more of a pain because you'd still have to drill the pilot holes in from above anyway. Might as well do the whole thing.
I was on a bit of a roll at this point and it was getting late so I didnt take any pictures of this part, sorry!
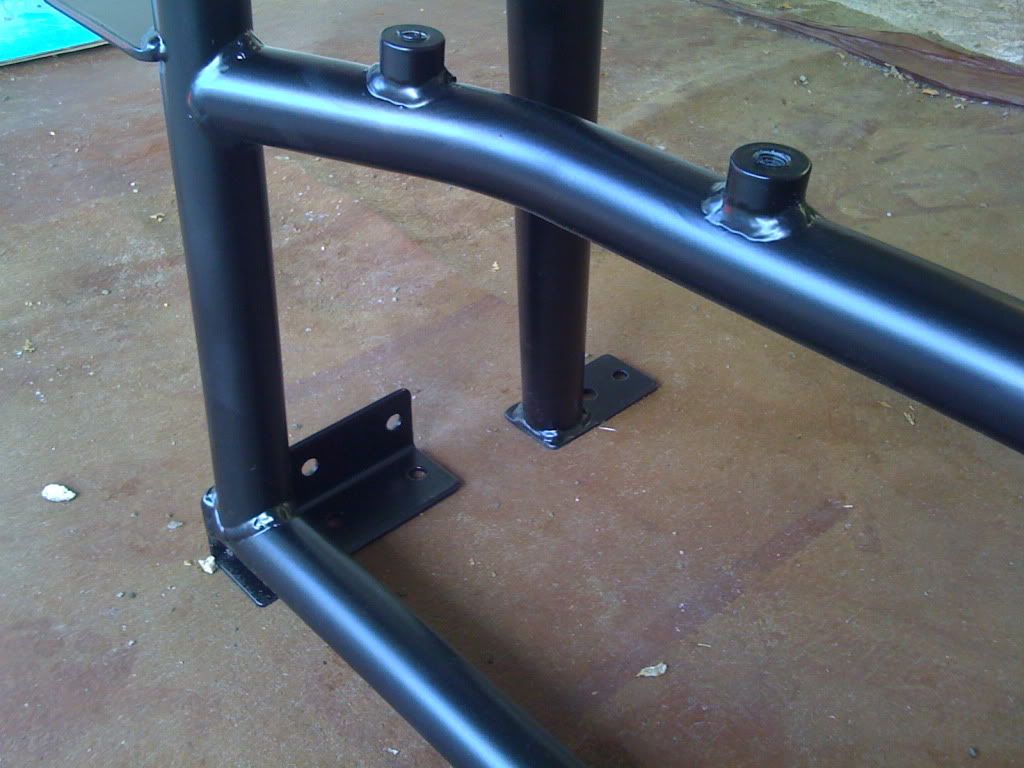
Next I jacked one side of the car up, removed the rear wheel and the wheel arch liner. With the bolts all in place on the bar I could see them poking out from underneath and was easily able to bolt up the rear leg spreader plate. the front plates were slightly more tricky because the forward most bolt comes out very (5mm ish) away from a vertical seciton ot steel. The other problem was that the vertical section was at an angle so the spreader plate wouldnt fit. The solution was to grind off the corner of the spreader plate to fit. This worked a treat. I did the same thing on both sides and bolted it all up tight.
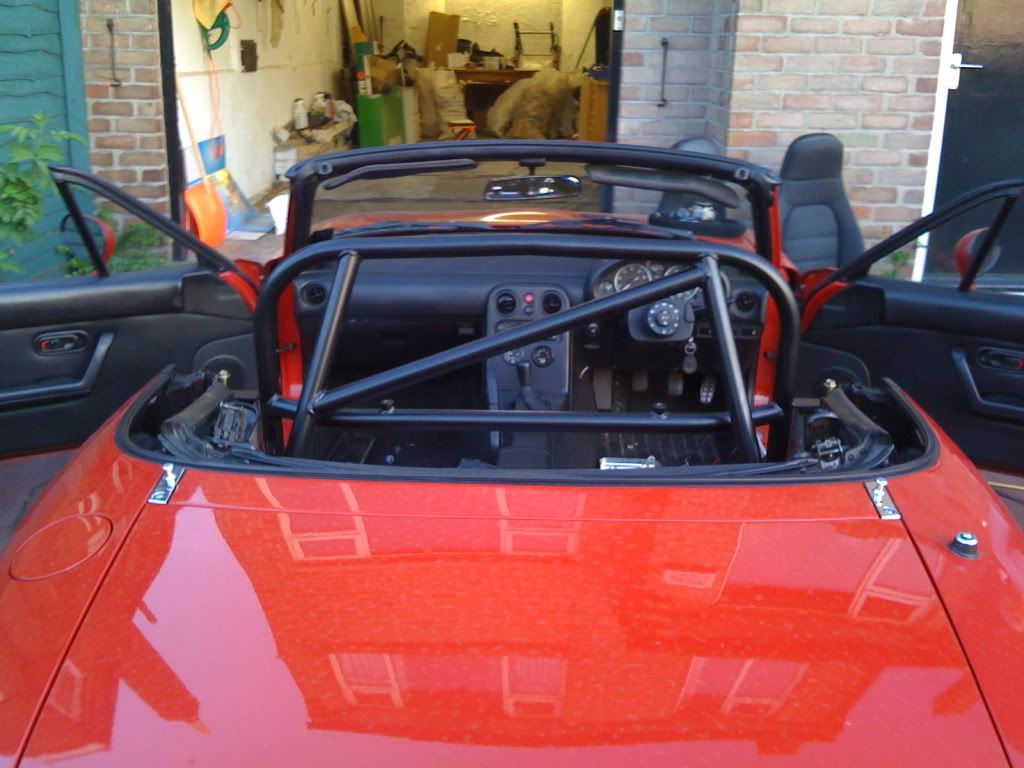
The only things left to to now were easy. Tighten up the side L plate bolts to the tower sides and replace the seatbelts.
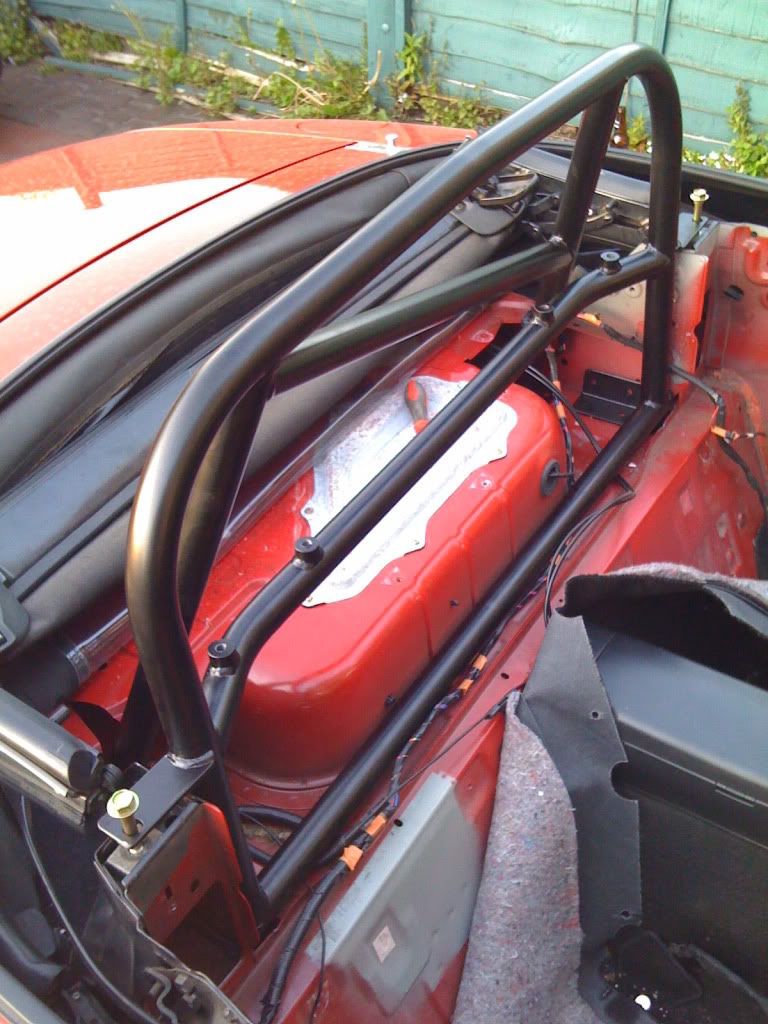
I chose not to replace the metal parcel shalf for now because it needs cutting to fit and I havent yet got around to that. I may not bother. The carpets cover it up anyway. the only other things are that the plastic trim that goes over the towers need to be cut to fit and the seatbelt loops rattle a bit. I can fix that though.
![Image]()
![Image]()
![Image]()
Overall I think the bar is excellent. I have absolutley no worries about it strength or ability to withstand a roll over event. Very pleased with it and it looks the business too!
Please excuse the crappy iPhone pics, I was trying to do this all in one evening but it ended up being two!
Andy
First impressions are that the bar is very substantial and really well made, the packaging could have been better as the tabs managed to break out of the cardboard box and scuff a bit in transit.
So here goes:
Before starting I tuned on my stereo for some choons, it's the white car shaped thing in the background!
First I took the seats out, lifted the carpet up and took off the parcel shelf. You dont need to remove the seats but it makes it a whole load easier. Also remove the trim around the belt towers and remove the inertia reels and belt loop.
Next, after offering the bar up and noting that the front bit of the parcel shelf flange in in the way I got the angle grinder out and cut a large chunk away. I hammered the remaining Tab that was left away in a bodge fashion! Then offered up the bar again.
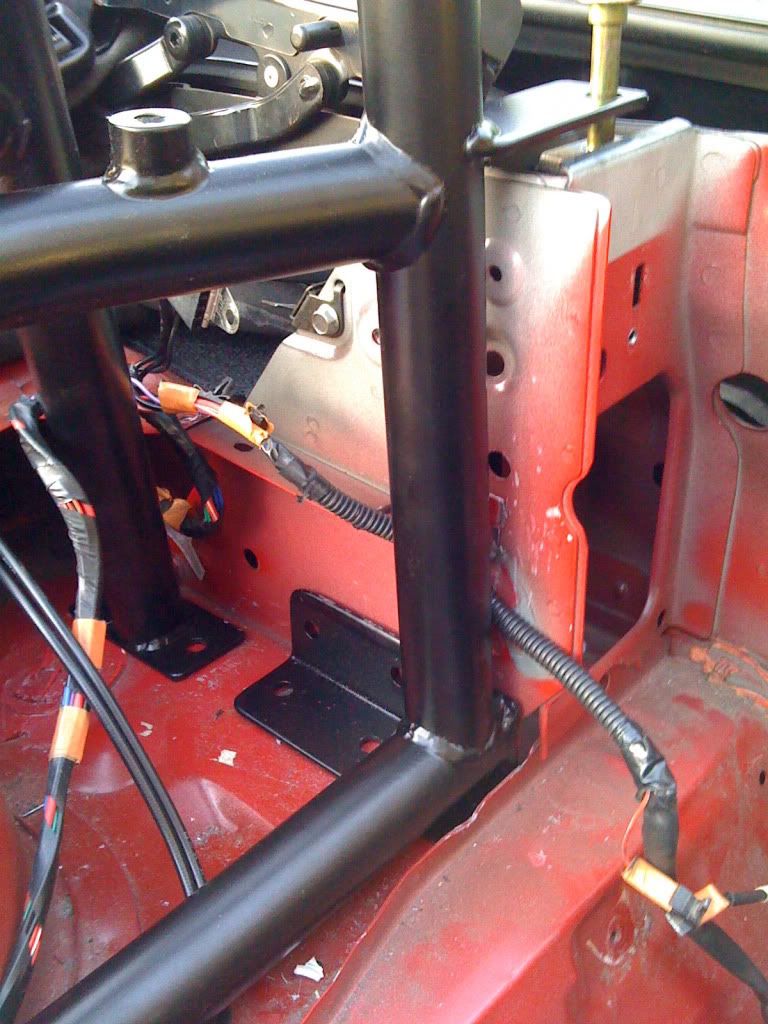
I was really impressed with how the bar fits, I was half expecting to have to modify bits but the bar sits neatly inplace and the two belt tower bolts line up perfectly.
After you've done all that ard work you'll need one of these:
Next was the hardest bit, drilling the holes. While the bar was in I marked up the position of the holes. Most of them are difficult if not impossible to get at straight with a drill. The rear legs are covered by flimsy metal that makes up art of the parcel shelf so I decided to try and move that away somehow. I ended up drilling out some of the spot welds and bending the metal out of the way so I could get an angle to drill. If I was doing it again I'd probably spend more time and cut away these parts but I'm not that bothered about the fact that theres now bent bits of metal under the carpet! I was also put off but the thought of using the angle grinder so close to the fuel tank.
Anyway, the bolts that are supplied are 10 mm so I used a 12 mm drill bit to make the holes. It was a pain, even though Id cut away some metal and used a smaller drill as a pilot I was still forced to drill at an angle. Eventually though I did them all and to my surprise they all lined up perfectly with the bar! I could have gone from underneath like some people have done but TBH I think it'd be even more of a pain because you'd still have to drill the pilot holes in from above anyway. Might as well do the whole thing.
I was on a bit of a roll at this point and it was getting late so I didnt take any pictures of this part, sorry!
Next I jacked one side of the car up, removed the rear wheel and the wheel arch liner. With the bolts all in place on the bar I could see them poking out from underneath and was easily able to bolt up the rear leg spreader plate. the front plates were slightly more tricky because the forward most bolt comes out very (5mm ish) away from a vertical seciton ot steel. The other problem was that the vertical section was at an angle so the spreader plate wouldnt fit. The solution was to grind off the corner of the spreader plate to fit. This worked a treat. I did the same thing on both sides and bolted it all up tight.
The only things left to to now were easy. Tighten up the side L plate bolts to the tower sides and replace the seatbelts.
I chose not to replace the metal parcel shalf for now because it needs cutting to fit and I havent yet got around to that. I may not bother. The carpets cover it up anyway. the only other things are that the plastic trim that goes over the towers need to be cut to fit and the seatbelt loops rattle a bit. I can fix that though.
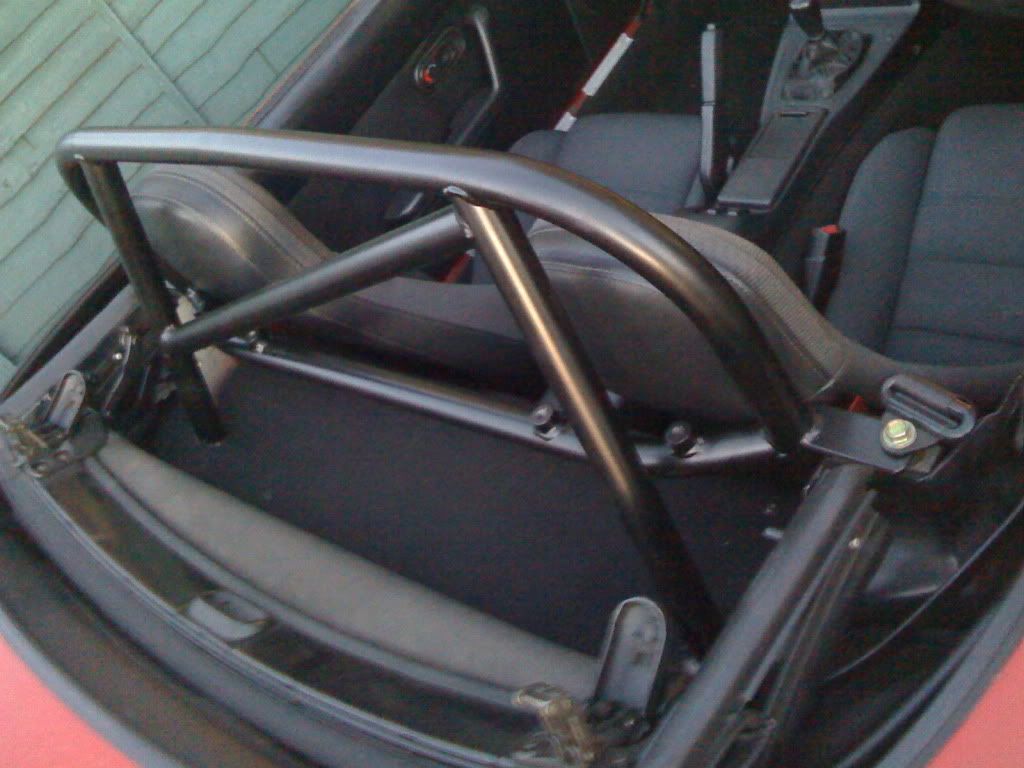
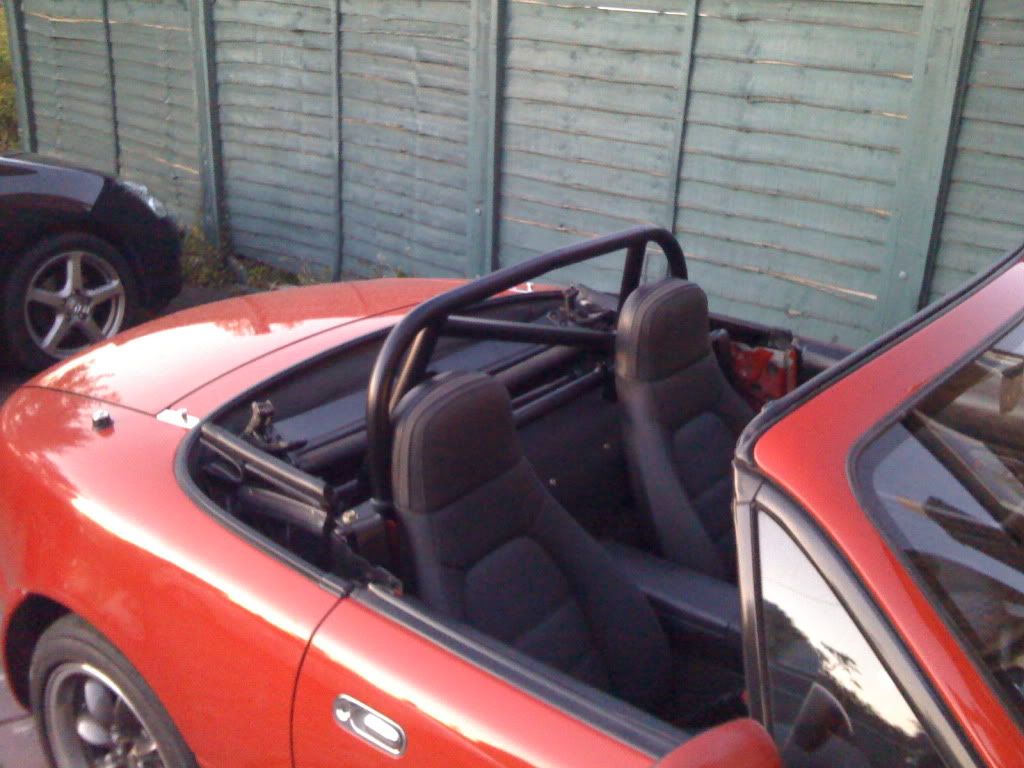
Overall I think the bar is excellent. I have absolutley no worries about it strength or ability to withstand a roll over event. Very pleased with it and it looks the business too!
Please excuse the crappy iPhone pics, I was trying to do this all in one evening but it ended up being two!
Andy