Mazda MX-5 Miata banner

Alhendo1S 1.6 S Special Eunos Import

14K views 78 replies 18 participants last post by  wardymk1  
#1 · (Edited by Moderator)
Hi Robin...yes that's very true....I checked out their website and they do offer a dvd of the work in progress...I've done all the dinitrol work myself already...cleaned prior to application by my own fair hand...a days worth of work there!....I was considering something to protect the wishbones/subframes etc if I was going to use the car more often as I've left these oe...another option I suppose would be to hand/brush paint them with Bilt Hamber or something similar...I'm sure Robinm did this on one of his 5s...
Anyways....I'll sleep on it just now...this would only be done if I'm going to run it in the winter or regularly in the rain.
Thanks. Alan.
 
I've read nothing but good reports about Preserve and Protect....I think I might pay them a visit at some point...I initially didn't buy the car to be used in adverse conditions (salt/manky roads) but I really enjoy it and am starting to question whether it's really worth the bother of tucking it away for the winter....hmmm...decisions decisions!!....Thanks for your comments.
 
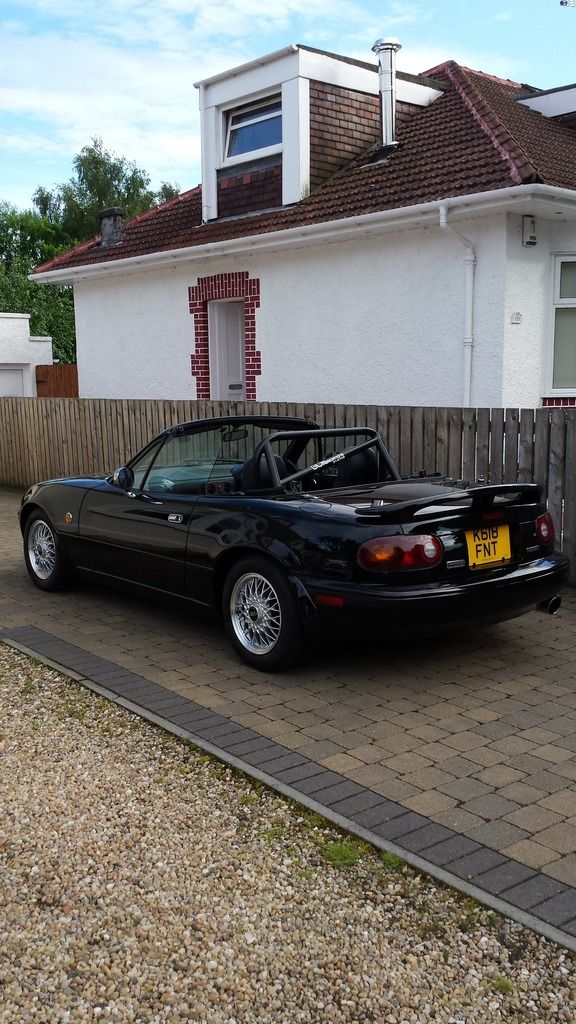
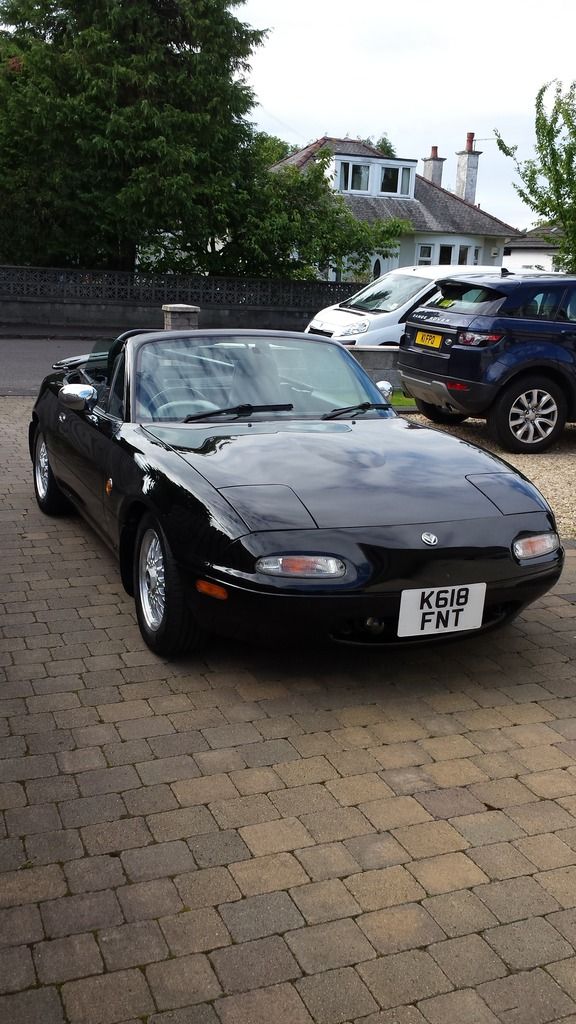
^^^^ Yes it's not bad at all......however it's in dire need of a wash and polish...I've been driving it a lot recently (taking advantage of the unusually dry weather)... I've neglected my usual cleaning regime (although not the wheelarches etc...they always get a wipe down!)....I've had another good read through your build thread and am still considering whether to put it into "preserve and protect" to get the wishbones/subframes done....yours look even better than oe....might get round to it at some point. ..thanks for your comments. Cheers.
 
Hi Andy. From memory I think I used 4 cans of each....the sills and nooks and crannies use a lot of 3125 but when you're spraying it on the arches etc it actually lasts a lot longer....the 4921 is really good stuff and goes on nice and controllable. ..it doesn't have to go on too thick....I think i still had some left from the 4 cans for top ups if need be.....I've since bought more 3125 and done the sills etc again ...I believe dinitrol do dedicated mx5 kits that are supposed to have the correct amount of everything for the job.
If you need any more info feel free to pm me.
Oh....just one more thing...if you're doing this in a garage or other enclosed space ventilate well and cover the car/mask off with polythene or similar....the inevitable overspray gets all over the place....ask me how I know!! Regards. Alan.
 
Discussion starter · #64 ·
Looking good Al, must drive really well now. Set at a nice height too, is that how the MeisterRs were out of the box?
Hi Robin....yes pretty much....the fronts required a bit of tweaking....the rears pretty much settled as they were and I was happy with that. I'll send you a pm as I know you are in the process of fitting yours at the moment. Cheers.
. Front and rear spring preloads required adjustment prior to fitting the dampers.
Well spotted...should've added that in at the beginning. I was just referring to tweaking the ride heights...after it had all settled. ...thanks Richy.
 
Discussion starter · #62 ·
Looking good Al, must drive really well now. Set at a nice height too, is that how the MeisterRs were out of the box?
Hi Robin....yes pretty much....the fronts required a bit of tweaking....the rears pretty much settled as they were and I was happy with that. I'll send you a pm as I know you are in the process of fitting yours at the moment. Cheers.
 
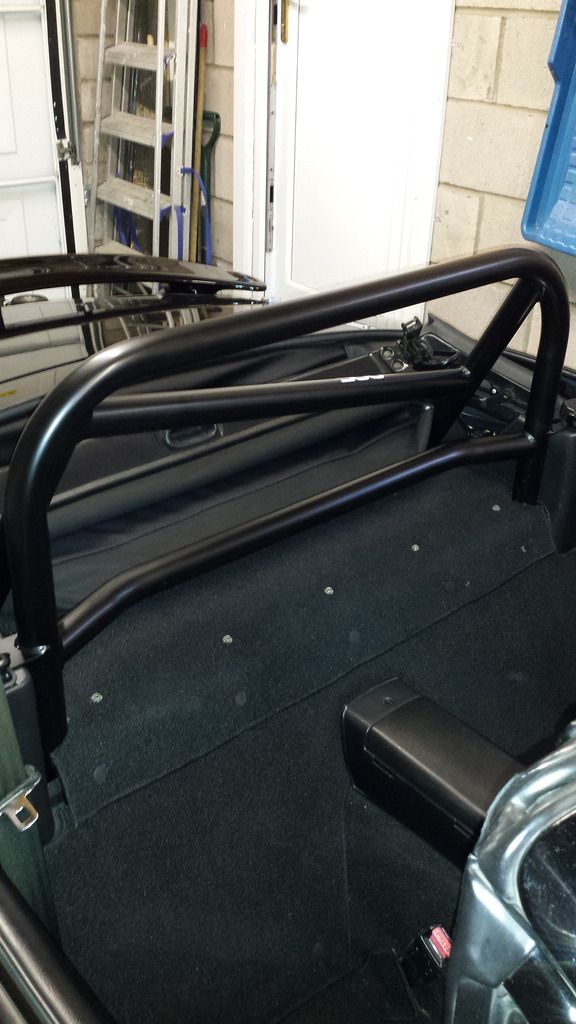
Finally found the time to fit the GC Fab roll bar....I've wanted one of these for a while....so after a good bit of faffing around ....

20160704_212447_zpszuwdqw5x.jpg

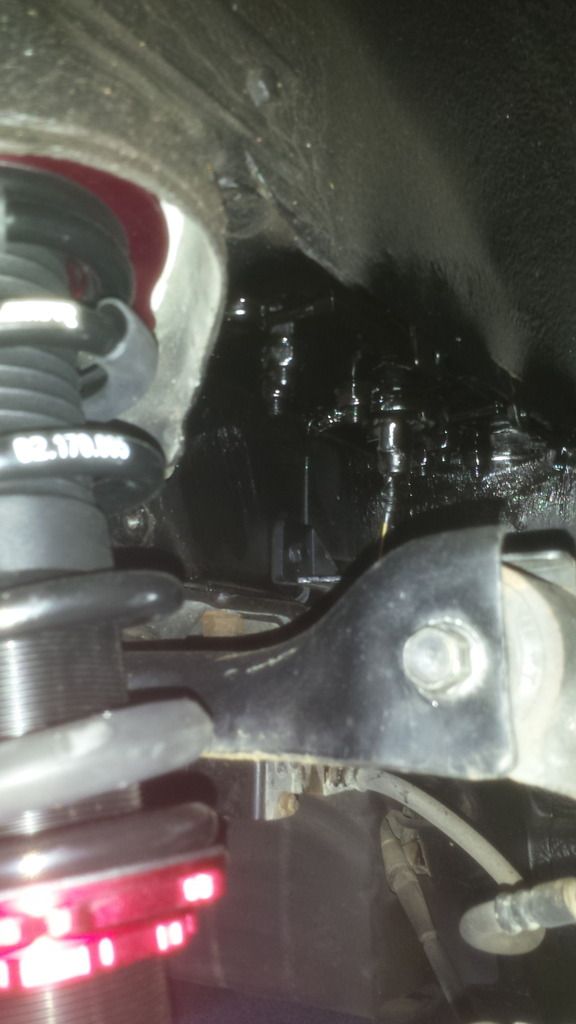
Rust proofed all the fittings with Dinitrol 4941.

20160703_173745_zpshsw0ozbv.jpg

Then it was onto adjusting the ride height....settled for 315/325....I quite like the way it sits there....

20160705_110701_zpsvl1f4erd.jpg
20160707_182903_zpsrtdngatz.jpg
20160707_182929_zpssibv9r4y.jpg
20160707_182957_zpshlgzavre.jpg
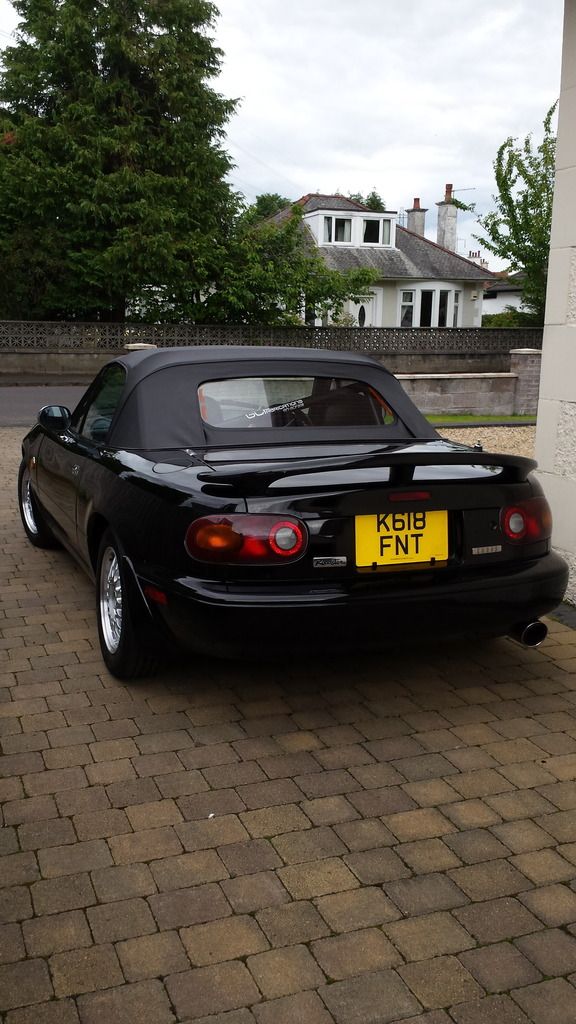
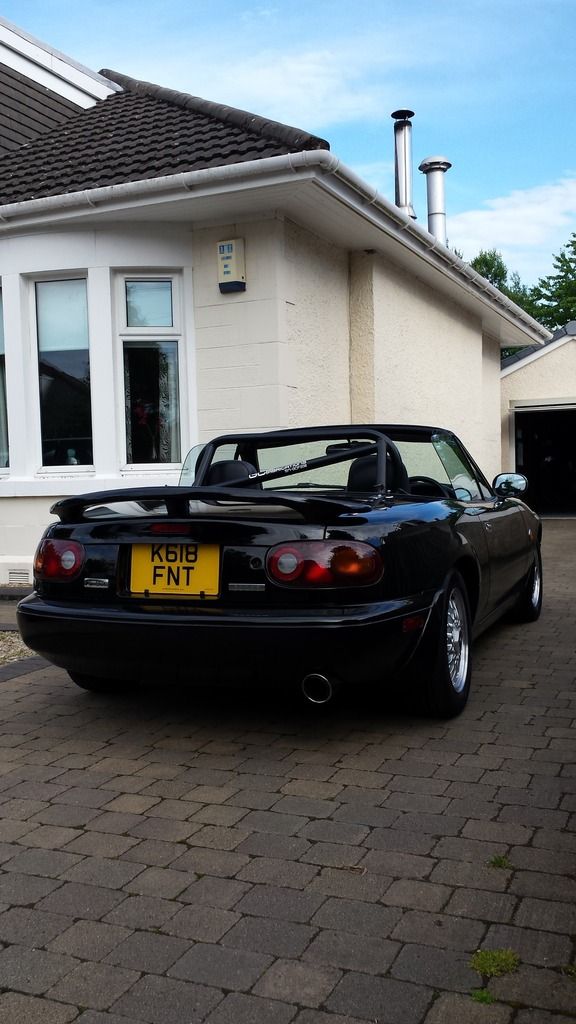
The Roll Bar has certainly stiffened the back end up nicely...not that it was all that bad....the Meisters are a huge improvement over the stock Billies....I've put a good few hundred miles in on them and the ride has improved dramatically. ..I took it for a run over some seriously undulating roads at speed yesterday....stuff I knew would show up any limitations with rear travel and they passed with flying colours..totally composed...no bottoming out etc....well happy with them....
Well that's it for the moment...I'll probably try a front underside brace bar next but prior to that a four wheel alignment when I get a chance...although to be fair it drives really well at the minute!
Again....many thanks to Richy (Cardo on here) for his advice....its been invaluable. Cheers mate.
 
Discussion starter · #55 ·
Thanks nibnob....I just give the wishbones etc a wipe down every so often with a wd40 soaked rag......doesn't take long.....all underneath Dinitroled and while it was up on stands there more 3125 cavity wax sprayed into the voids (again.)......I think it's worth the effort...cheers.
 
Discussion starter · #51 ·
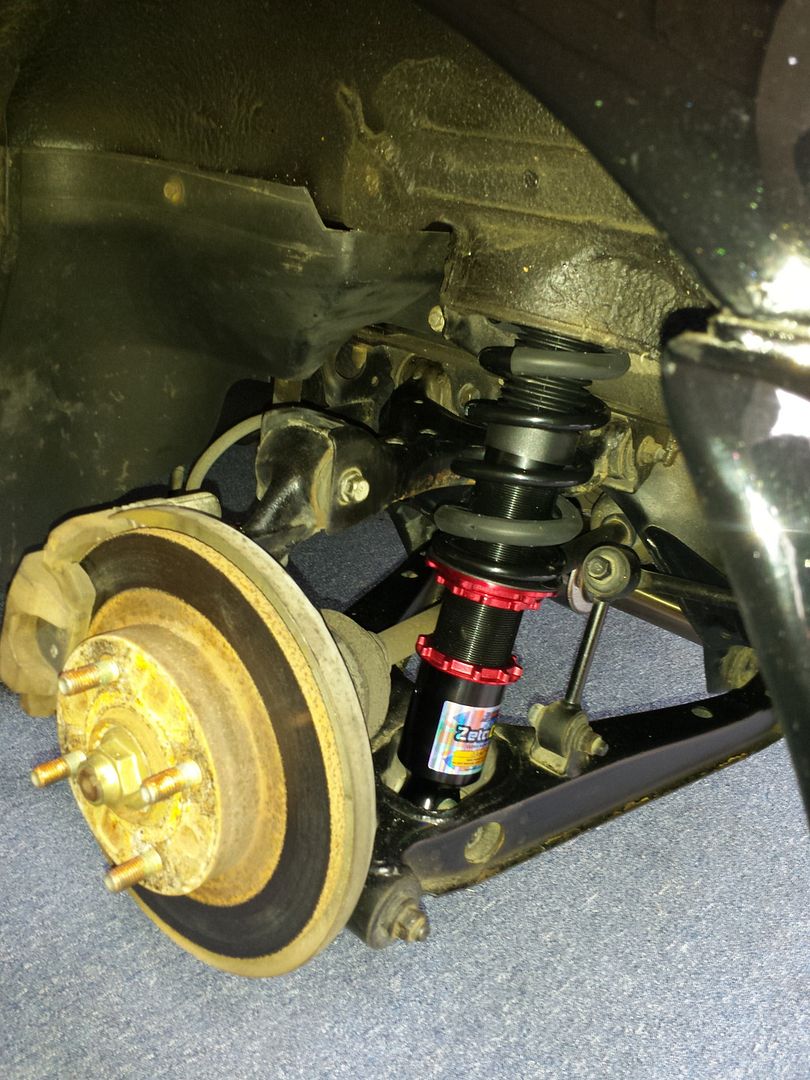
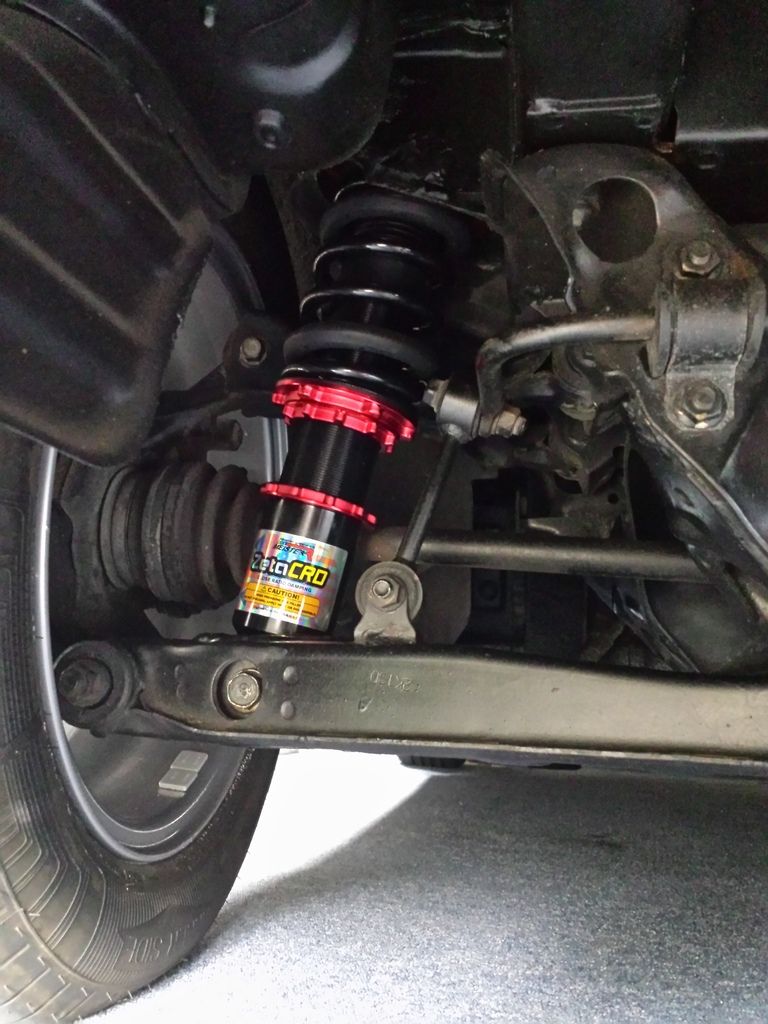
Fitted the Meister CRDs today (well someone else did....I kind of watched and learned how it's done...)....I have to say these are a great bit of kit....the ride height will be adjusted in due course once everything settles itself but even out the box it's pretty much where I want it. ...just a bit of fine tuning required then it will be off for a four wheel alignment....had a bit of a play around with the adjustment. ...as it is it goes round roundabouts rather well!....a decent improvement over the old billies....the ride around town/uneven roads has improved greatly....no longer the horrible teeth clenching thumping affair with the billies....not quite oe softness but I'm happy with it...
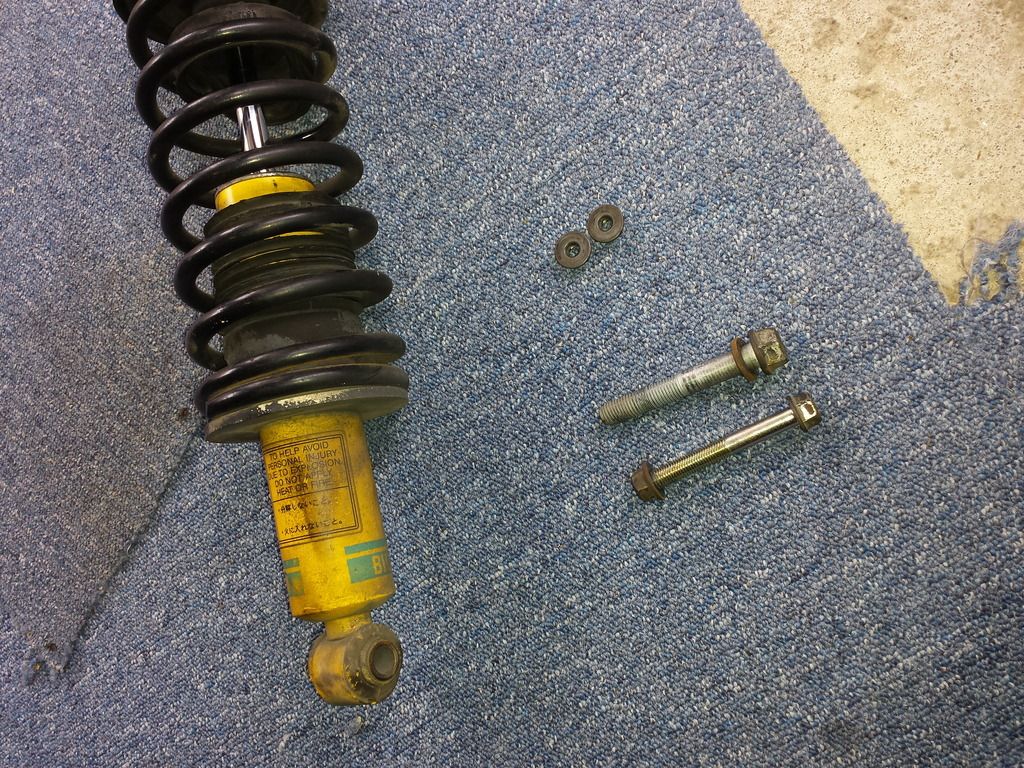
As it's a recent import the bolts came off no problem and were in brilliant condition....my techie was amazed at the condition of them!
20160613_112953_zpshjwtonvn.jpg
20160613_114630_zpsgpep85uf.jpg
20160613_145407_zps3cfuuced.jpg
May I say at this point a big thankyou to Richy (Cardo on here) for taking time out to talk me through the process and fit them for me...I've learned a lot today....cheers mate!
I'll post up some pics once the ride height is tweaked etc.
 
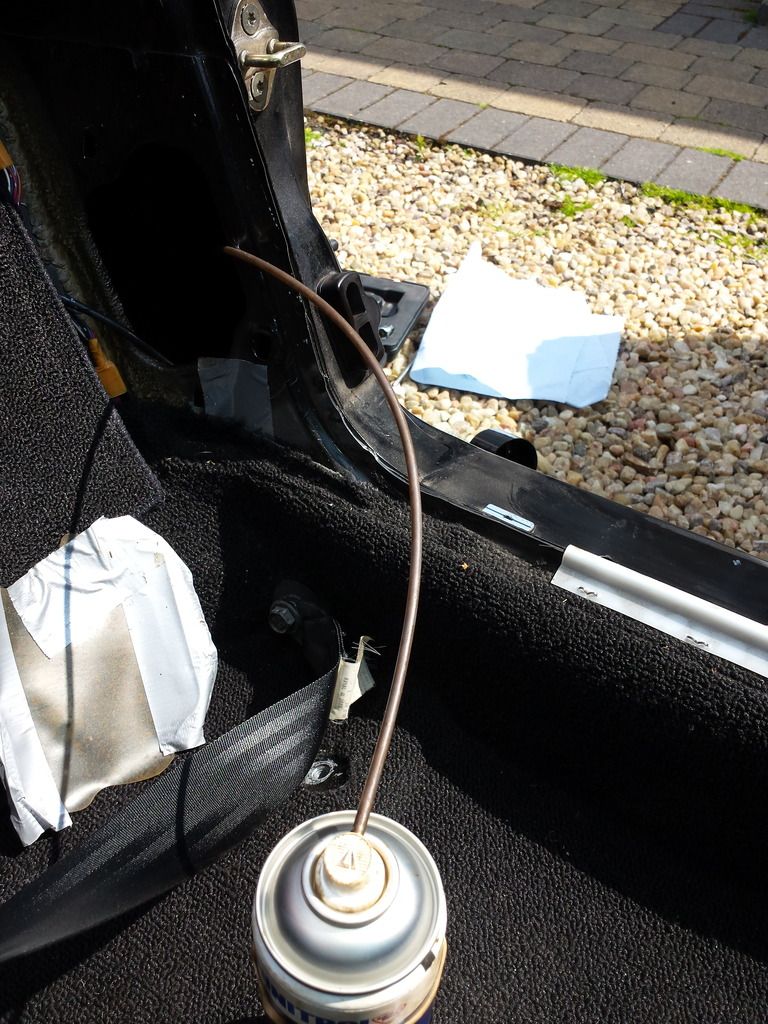
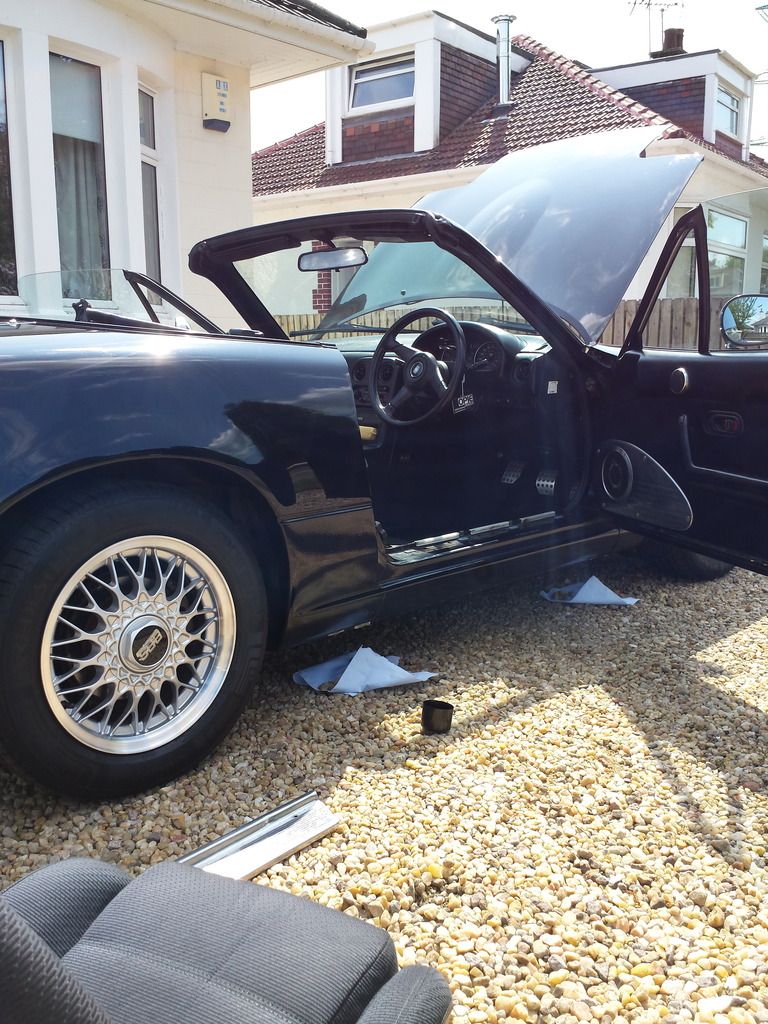
Dinitroled the sills (again), usual trouble spots (right into the nooks and crannies....we all know where they are!) and front chassis rails...dinitrol oozing out the drain holes. ....got a few bits I want to tackle under the car but that'll have to wait for another day....
20160524_142926_zpspqhabh4f.jpg
20160524_143019_zps6ddyvlm9.jpg
 
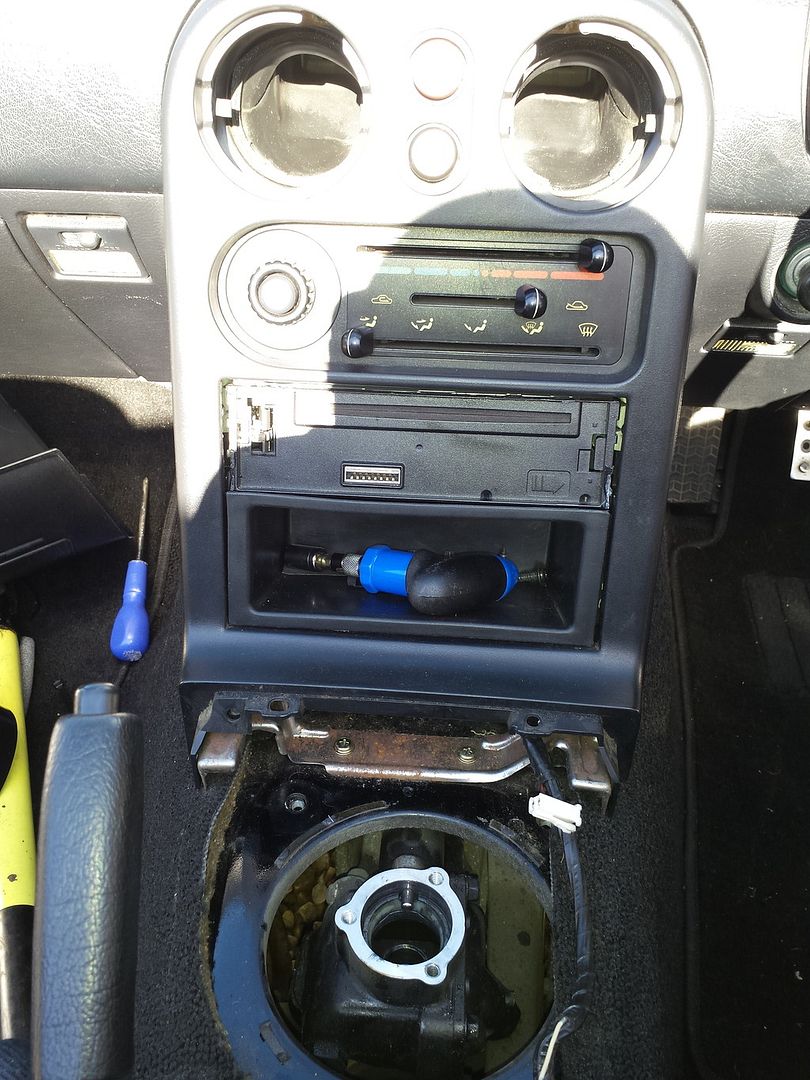
Well....the gearshift boot package arrived from MX5 parts today so it was ....out with the old
20160331_173445_zpsc1tsdu4z.jpg
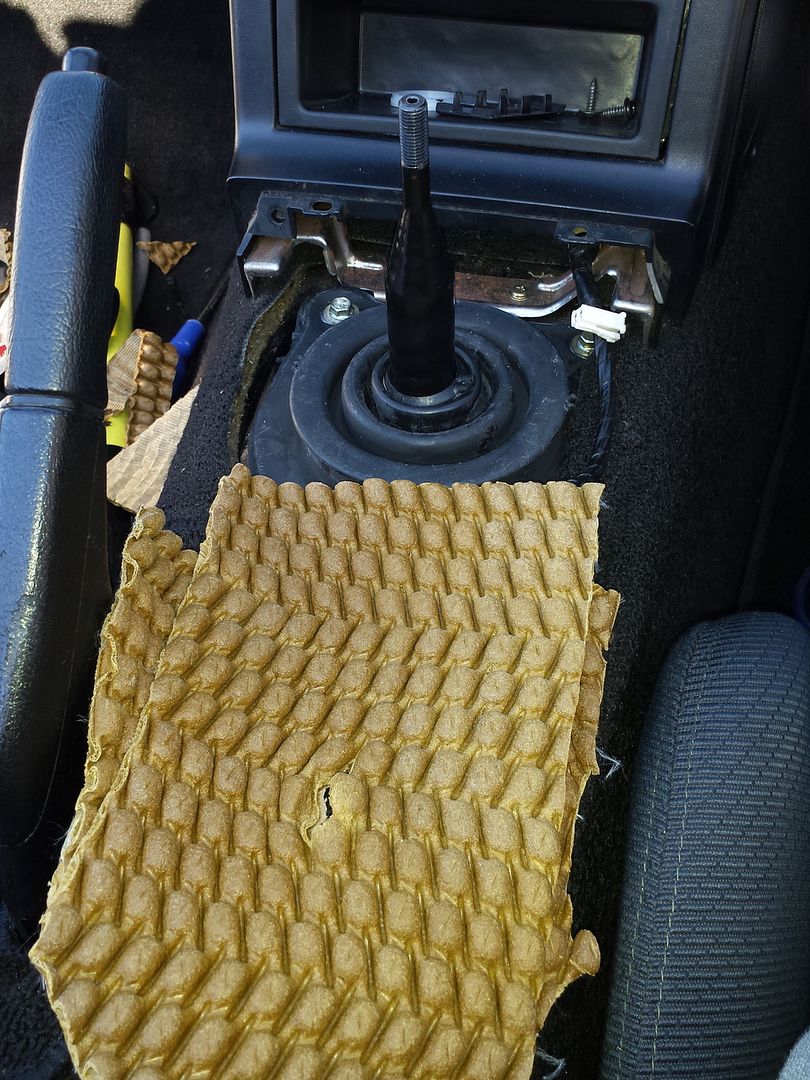
Then......in with the new.....
20160331_163221_zpstgwyugar.jpg
20160331_170705_zps7tibbay4.jpg
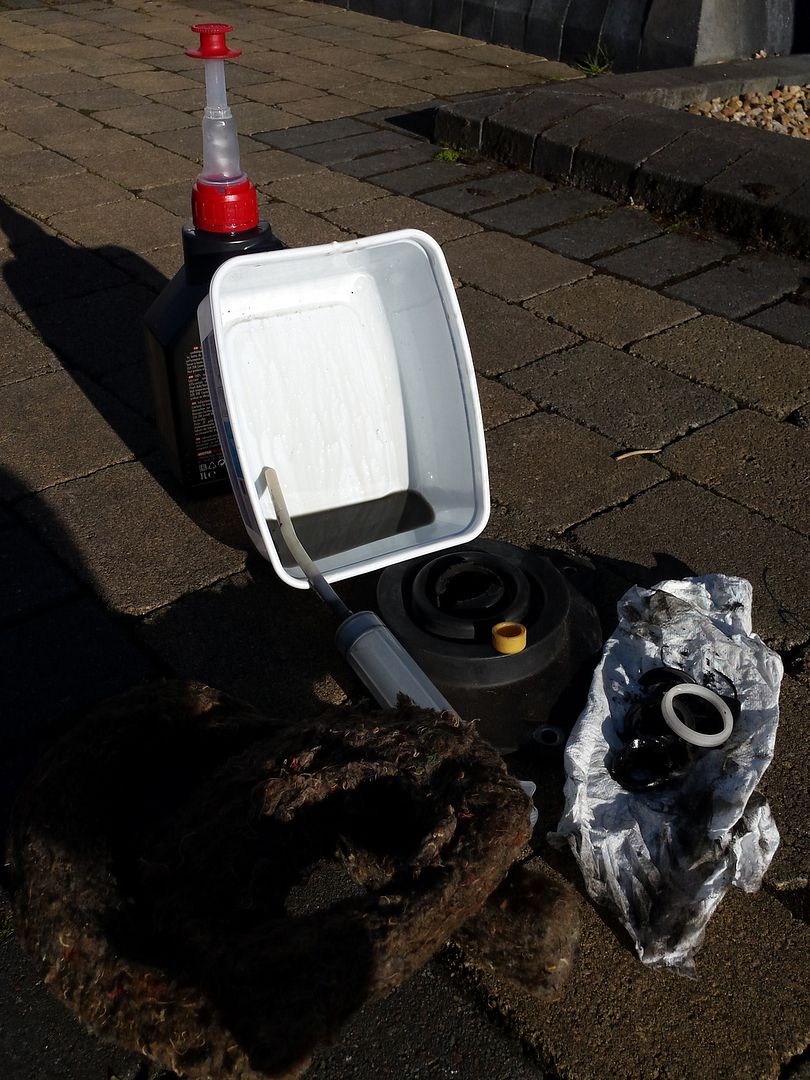
Both boots were in a poor state....the lower was worse than the upper....the insulation was horrendous....probably original....so I replaced it with some nice underfelt....the turret oil was manky as you can see in the pic so fresh 75/90diff oil (ran out of gearbox oil) was put in ...new nylon cup then went for a wee drive....I have to say 1st to 2nd from cold it's much better and definately an improvement across the entire range. This and the gearbox oil change has definitely made a difference.
I left off the upper gaiter nylon ring as suggested by Indykid on here so I'll check at some point in the future to see if the rubber's less stressed as a result.
The droopy eyeball vents got the treatment as well....tried removing them with cable ties and they refused to budge....had to use the old plastic card method....worked a treat....shame mrs alhendo1 was out or I could have used her credit card. ....anyways....got them all out to find some previous Japanese owner had beat me to the layer of tape mod....so an extra layer was applied and they're all nice and tight now. Job done.
 
Yea click the "my supercharger build" link under my pic. First half of the thread is poo I must admit and I've lost a lot of the pics sorry
Found it....I was using mobile version on my phone...couldn't see it....I've read through it in fast forward....updated...now that's a build ....if only I had a 1/10th of your know how.....looks great. Cheers.
 
Discussion starter · #44 ·
Had a good read......bloody hell! What a excellent example of a mx5. Great condition underside and nice work so far! Makes mine (all freshly painted, under sealed, powder coated) look crap compared to yours. Fair play to you
Thanks for the comments. ...all the work you've done must be good...do you have a build thread to have a read of?