Mazda MX-5 Miata banner

Long Time In The Making Build Thread

1 reading
45K views 119 replies 37 participants last post by  crayons  
#1 · (Edited by Moderator)
So... I`ve been lurking on here for a while as a guest and now a member so thought it was about time I got my build thread started

My missus had a 1.8 Eunos a few years ago and it was a hoot to drive, it just needed more power. Since then I`ve come up with a fairly comprehensive build plan which aims to follow a few simple rules.

- Budget, the project itself will be done on a limited budget however I am also a firm believer in the `do it once, do it right` mentality so I wont be scrimping as such.

- Form over function, every change will have a reason

- Fix-a-bility, there will be very limited custom/one off parts on the build. If I blow an engine I want to be able to be back driving quickly and for the least amount of money, so no built costly engines however oe add ons/changes will be used.

I want to build a car that has no right to embarrass machinery that it will end up doing, it wont cost the earth but people will always take the mick for it being`just an mx5`

I picked up a rust free semi compete rolling shell from Autolink in July, then went on holiday so it sat not doing much

This is how I picked it up

IMAG0816.jpg

IMAG0817.jpg

I started to strip it even further in my garage

IMAG0062.jpg

Organising a few parts

IMAG0057.jpg

However space was at a premium so myself and 3 guys from work have rented a unit on the same estate as BBR, even met Brodie the other day. Very cool guy and happy to talk for hours!

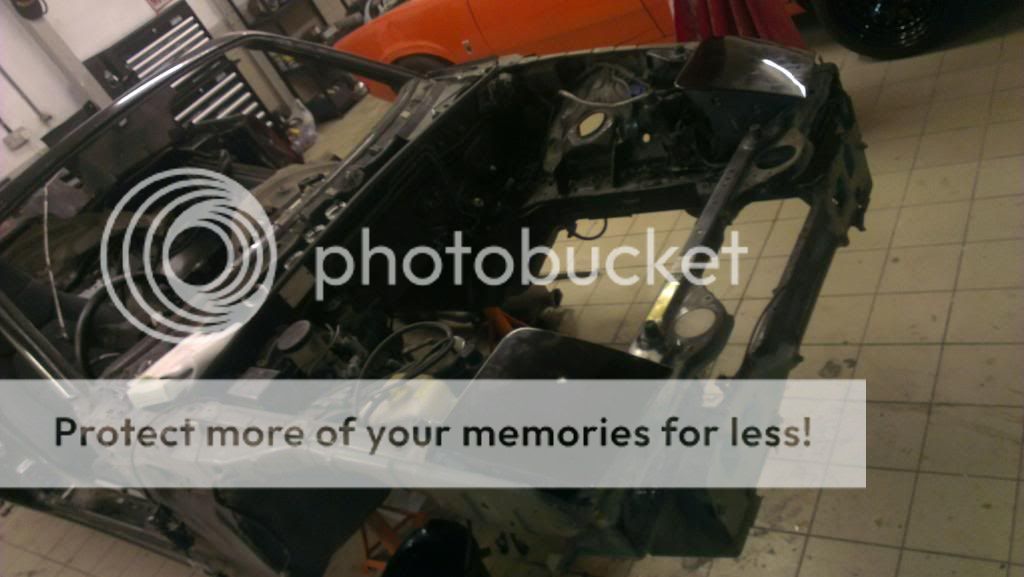
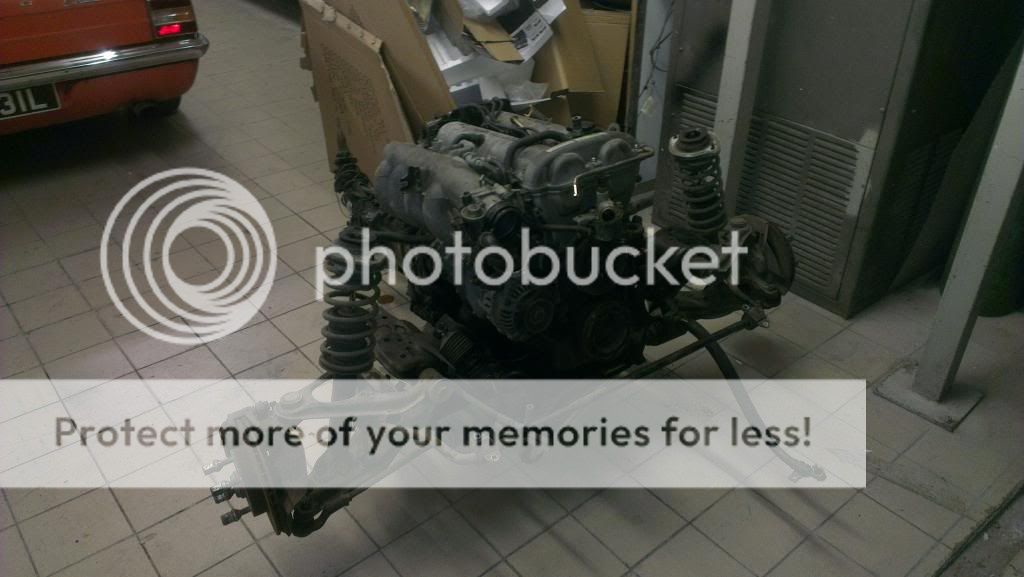
And this is what I`m left with

IMAG0147.jpg

IMAG0147.jpg
 
#2 ·
thats what i call a strip down are you going to redo all the subframes as well ??

welcome to the nut house
 
#4 ·
thats what i call a strip down are you going to redo all the subframes as well ??

welcome to the nut house
haha, thanks. I`ve got alot further to go yet!

Subframes will defo be getting some love and I may even make a custom front frame depending on how feasible my engine choice is.

Hopefully there will be some more progress this weekend!
 
#8 ·
Great project, good luck with it.

I am soooo jealous of your unit !!!
 
#9 ·
Nice one mate, good luck with the project.

Me and a couple of mates are thinking about renting out a unit. Dont suppose you wanna share how much you each pay do you? :p
Yeah I`ve got no problem with that, its ÂŁ500/month for the unit. However it does have 3 phase, compressed air and a spray booth in it. We currently have 4 cars in there plus there is some storage space. It certainly beats working in your garage and not being able to get the doors fully open!

Like he project ethos, good luck with it!

What are the plans?
Plans are

- engine swap/gearbox (I`m not letting too much out about this yet)

- cage

- aero

- wider wheels

- weight loss (I`d like sub 850kg but I`m not sure how achievable that is, once the cage and new engine are in I may have to amend it)

- Plus a fair few trick bits that I`ll reveal along the way

I picked a hard top up from Vindi (Russell) last week and a welded diff/prop/shafts from Jacko too, thanks guys. I mainly wanted the diff for the casings plus it was a welded torsen (sacralige or what!) the hard top is a bit tatty but I`ll probably use it to make a mould from

The cage should be on its way in the next week or so. I`m getting it all left long so I can fit it properly. I fitted a custom cages cage to a 106 a few weekends ago and it was a pig. Over bent in places, short/long in others which made it a nightmare!

I kinda shot myself in the foot a bit with this project. I got engaged in June so I`ve also got a wedding to finance!ooops. The show must go on!

Oh and I have a nice shiney set of Zeta S`s from the group buy to put on too
 
#10 ·
I made a bit more progress on Sunday. Had my friend in the workshop trying to fix the alternater on his 3 series, he started the day by arcing the battery to the body work via a spanner and his hand which was pretty funny.

So it started like this

photo.jpg

and ended up like this

IMAG0163.jpg

&

IMAG0165.jpg

IMAG0164.jpg

Not bad for 5 hours work or so. The biggest pita was the inserts on top of the diff for the ppf. One of the bolts wouldnt come out, it was out of the thread but was locked into the diff/lower section of the ppf, I had to cut it out and then knock it back up to remove the insert. Not the end of the world.

Progress will be slow this week. I`ve got a load of rubbish to remove and some house keeping to do at the unit. I cracked my fluids bucket which of course only happened once I started filling it!
 
#11 ·
That looks like a great workshop for a rental unit.

Project sounds like it should be good. You'd be surprised how porky this MX5 is though - <850kg is really on the boundary of where you can get to and needs quite a bit of creativity. I've done a fair amount of weight-watchers on mine and am not far <900kg. I do have a heater still though.
 
#12 ·
So I`ve been fairly slack with updating you guys on this. I had been planning a wedding which was taking most of my time but that has now fallen by the way side unfortunately, taking the best part of 7months to finally culminate a couple of weeks ago. However the silverlining means I have far more time to spend in the garage now!

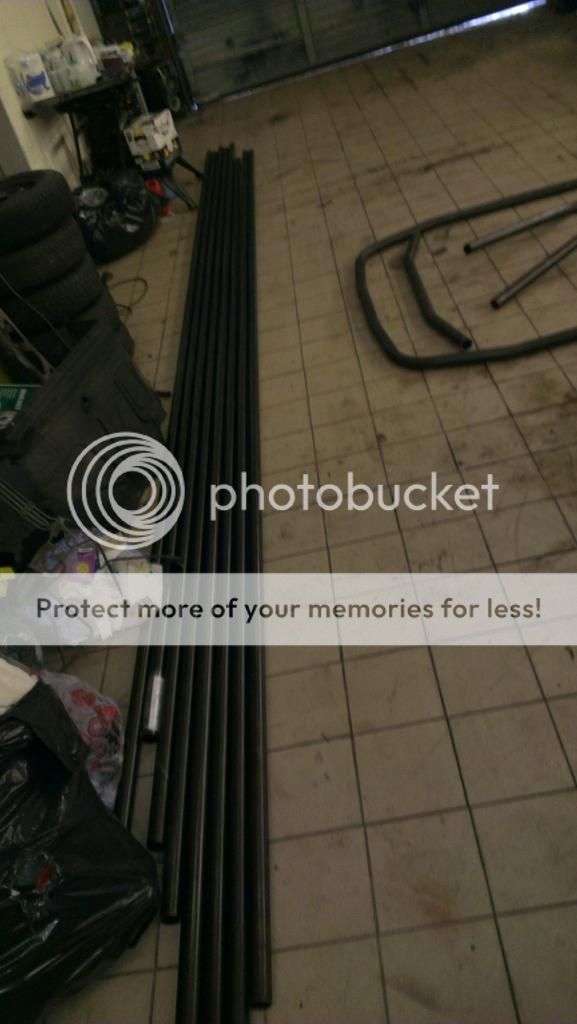
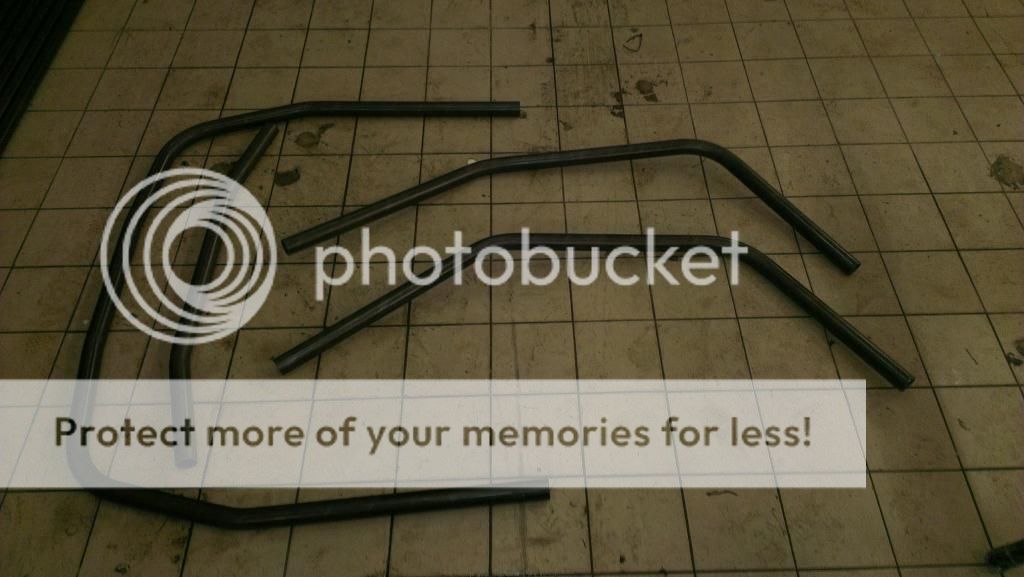
So take one rather large delivery of tube and after a bit of Faro arm work throw some of it in a CNC bender to get this

IMAG0510.jpg

IMAG0509.jpg

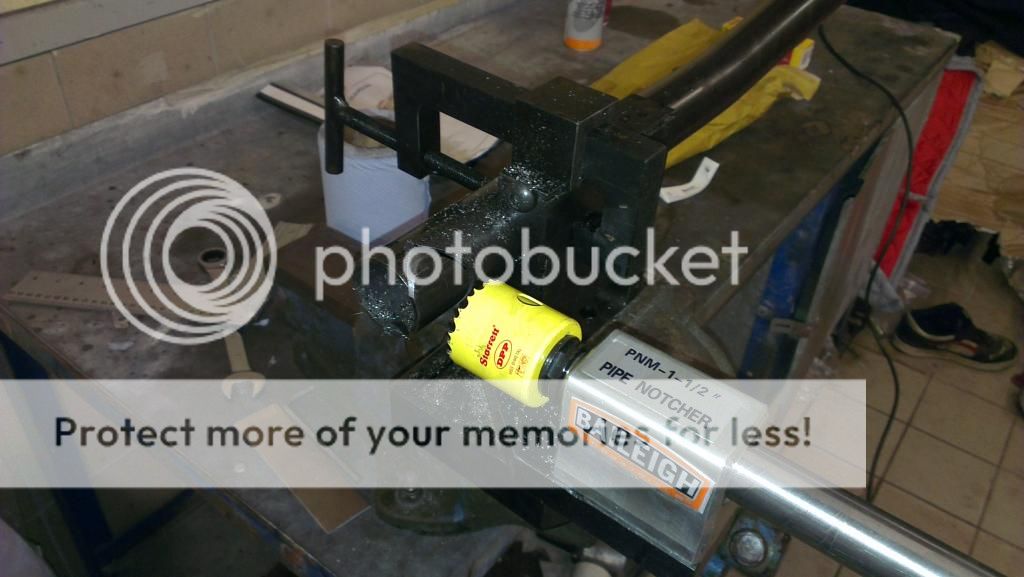
I had been in two minds about splashing out on a tube notcher but I`m a firm believer in the right tool for the job and as I`ll be TIGing this cage I didnt want any gaps or ill fitting tube. Or for that matter wasted tube because I`d cut it on the piss which meant buying one of these beasts

IMAG0512.jpg

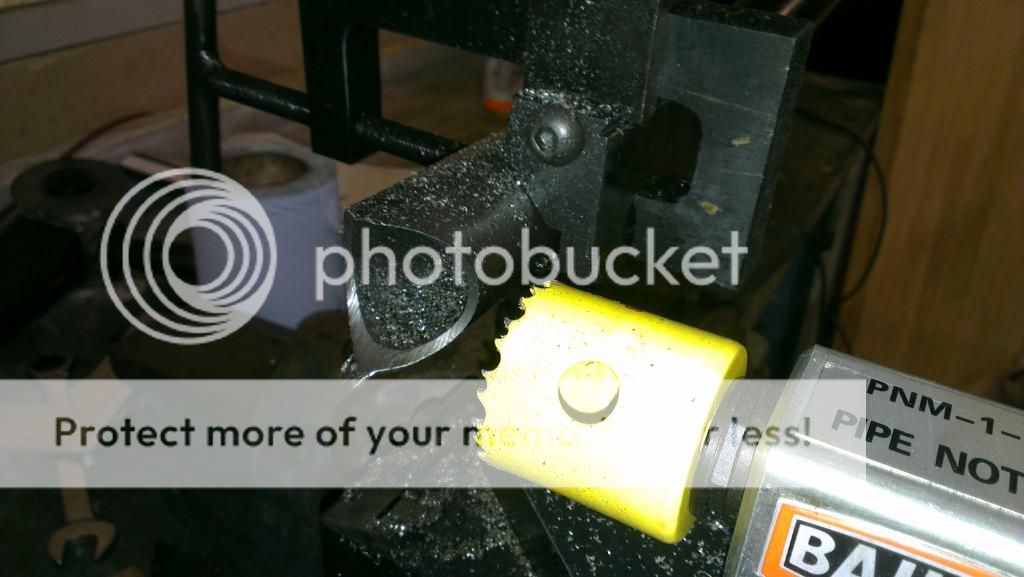
IMAG0513.jpg

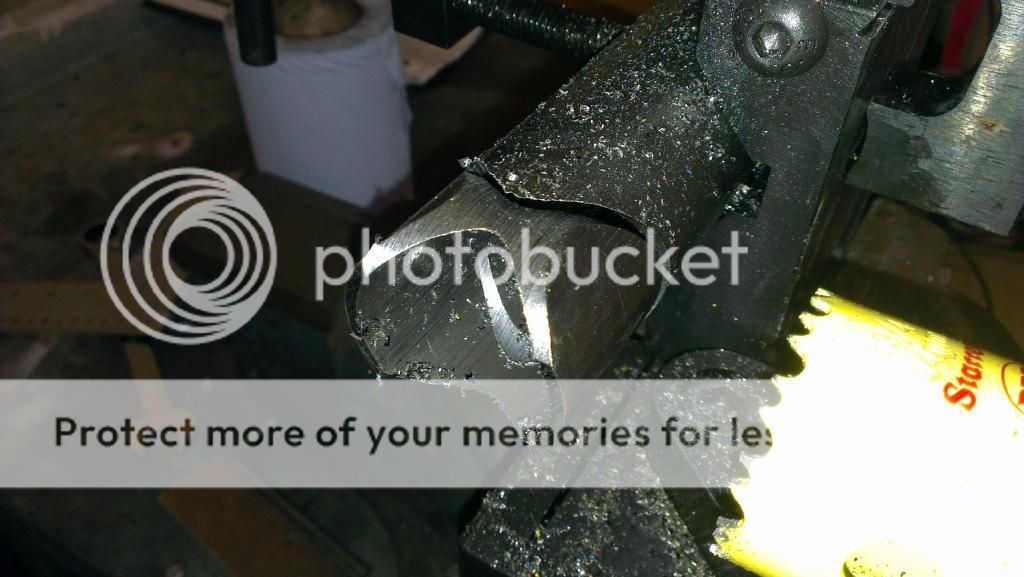
Seriously worth its weight in gold and I`ve only done a test notch and the 2 back stays for the cage

IMAG0514.jpg

IMAG0516.jpg

All perfectly lined up and in the centre of the tube. Angle adjustment is easy and marked out on the base plate and you can adjust the height to accomodate offset tubes too!

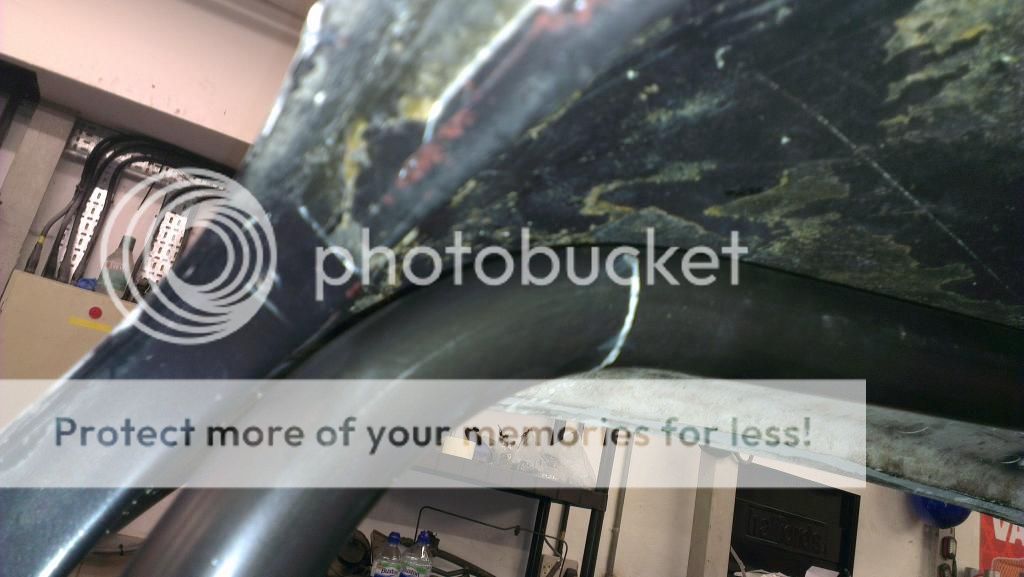
I only got to work on the cage on saturday but got the main hoop and 2 rear stays in. Plus the floor plates all drawn up which I`ll get cut out and bent this week. The fit is really tight to the hard top which I`m really happy with

IMAG0520.jpg

IMAG0521.jpg
 
#13 ·
I got a bit carried away with the rollcage pics that I forgot about all the prep work that I did before I got the hoop/laterals all bent

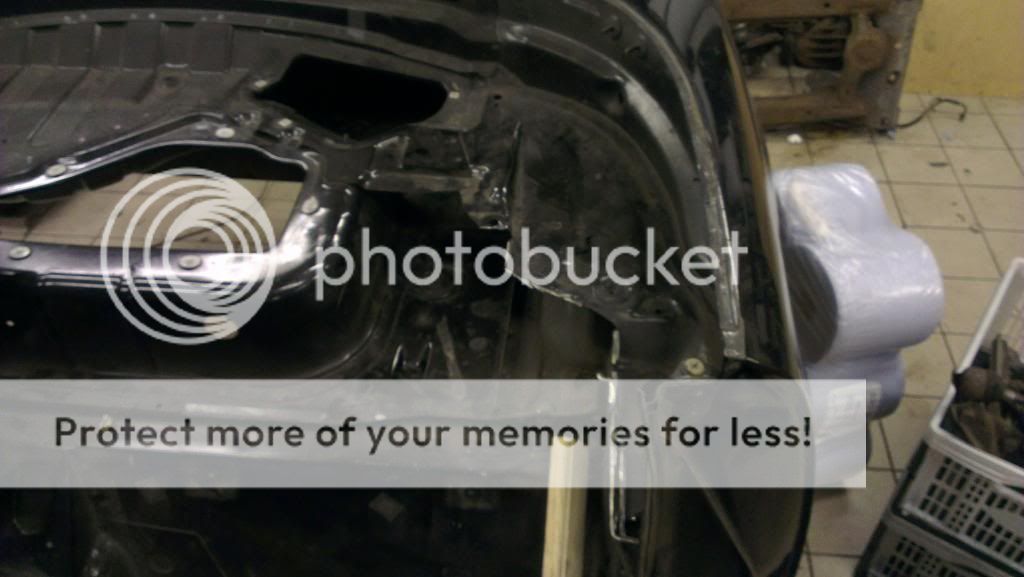
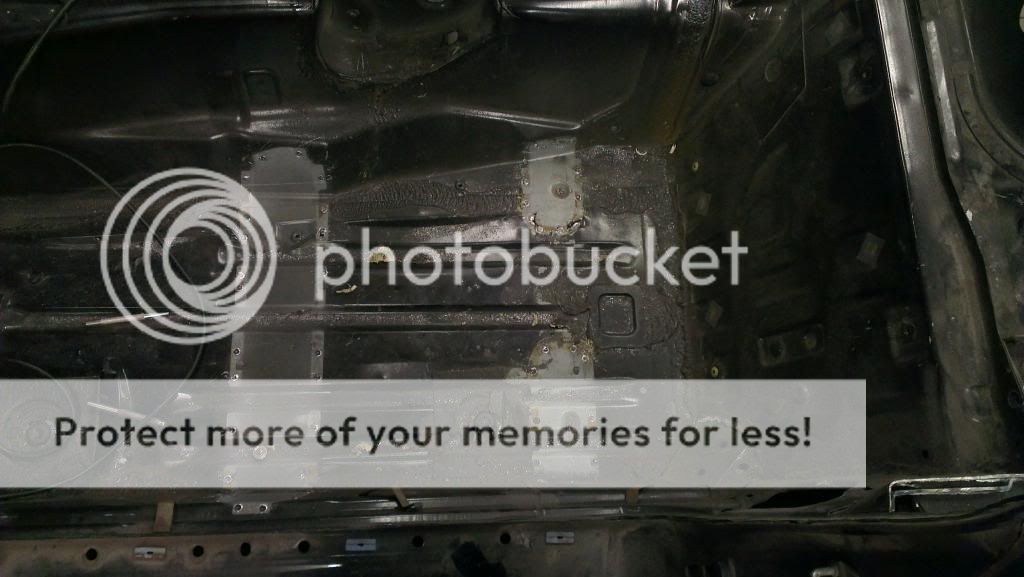
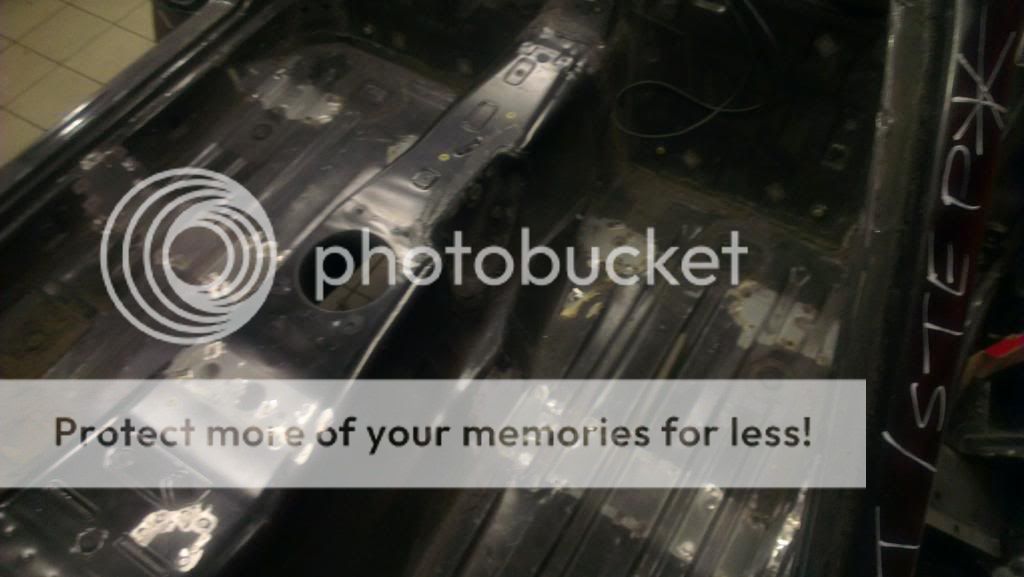
I attacked the shell with a mixture of angle grinder and spot weld drill and removed just over 10kg just to accomodate the cage. There is still loads more to remove

First off the seat belt turrets had to go

IMAG0466.jpg

The cage will take care of the strength provided by these, it was then on to the seat mounts and the dash brackets off the trans tunnel. Since this pic I`ve also removed the triangular bits from the corners of the floor/rear bulkhead area. I was hoping to keep them in as they were a pig to get to with the drill/grinder combo, I keep contemplating buying a plasma cutter but I cant quite justify the cost!

IMAG0467.jpg

IMAG0482.jpg

I also removed one of the skins from the a pillar so the roll cage can tuck in better which I`ll gusset back up once the lateral bar is in

IMAG0483.jpg

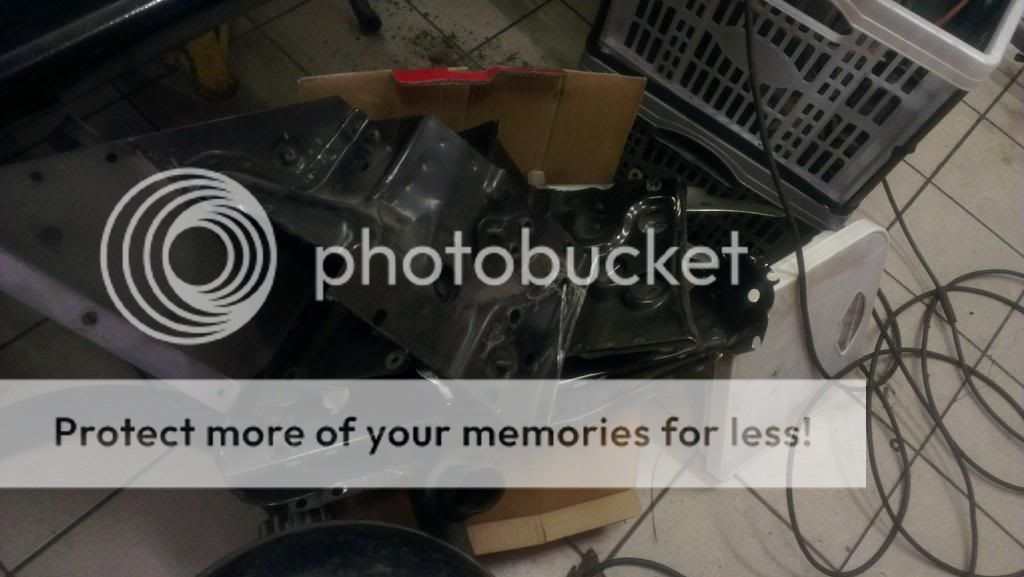
And I finished with an ever growing pile of bin fodder

IMAG0485.jpg

I`ll be spending most of bank holiday monday on the car so I`m hoping to have some decent cage progress

I`ve drawn the foot plates up and will cut them out and bend them this week

One last pic for the time being, my new gearbox fits perfectly

IMAG0463.jpg

I took a bit of a punt on the box and it paid off, my custom bell housing is currently clearing customs ( I hope I dont get stung too badly on any taxes) so I will be able to bolt the box to my dummy block as soon as it arrives!
 
#14 ·
Progress has been pretty sporadic since the last update, I`ve been away with work and had very little time to get much done.

I did however get a rather exciting parcel from the states, my custom bell housing!

IMAG0546.jpg

Its a shame that no one in the UK can do anything like this for similar money, even with getting nailed for customs charges it worked out very reasonably priced It even came with a pilot bearing, engine to bell housing bolts and clutch slave cylinder!

Its a shame that its going to hide under the tunnel, its really nicely made and fitting it was a breeze

First off was the gearbox interface, getting the original toyota bolts off require a serious extension to the breaker bar but thankfully non of them rounded and I was soon left with this

IMAG0553.jpg

and then this

IMAG0555.jpg

I`m using a dummy block for the time being as investing in the full engine now seems silly when its going to sit there not doing much, I also have plenty to spend on too

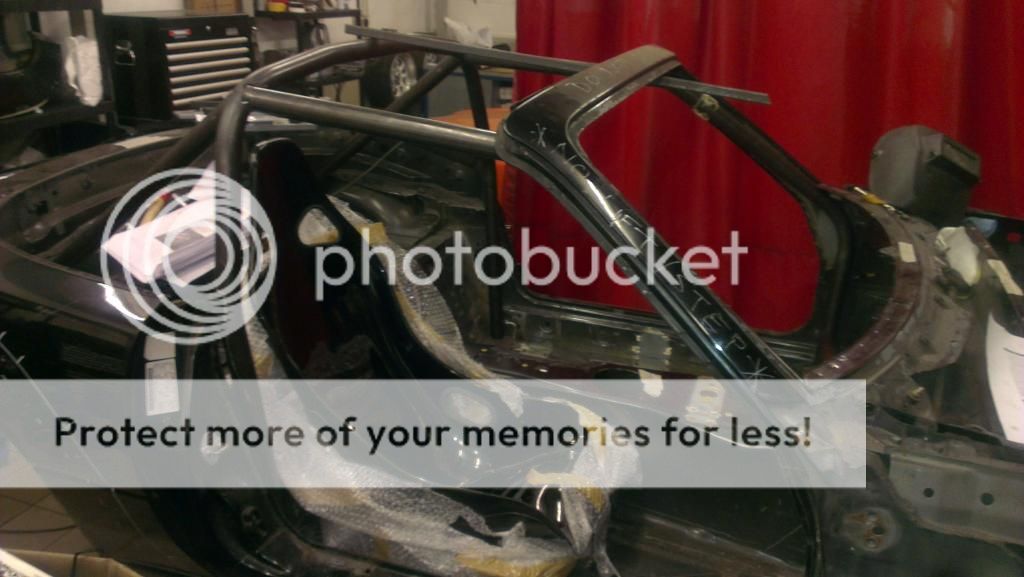
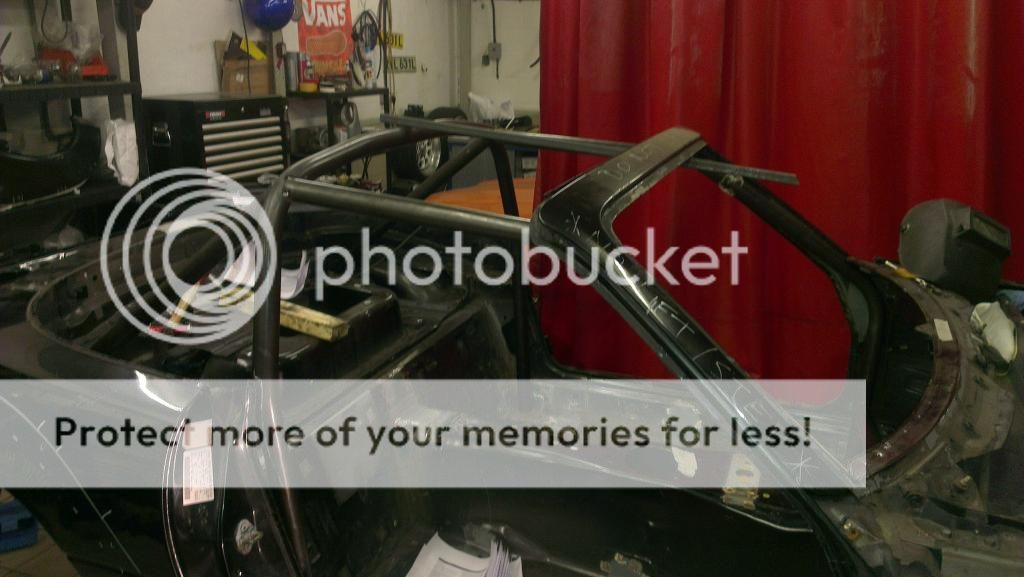
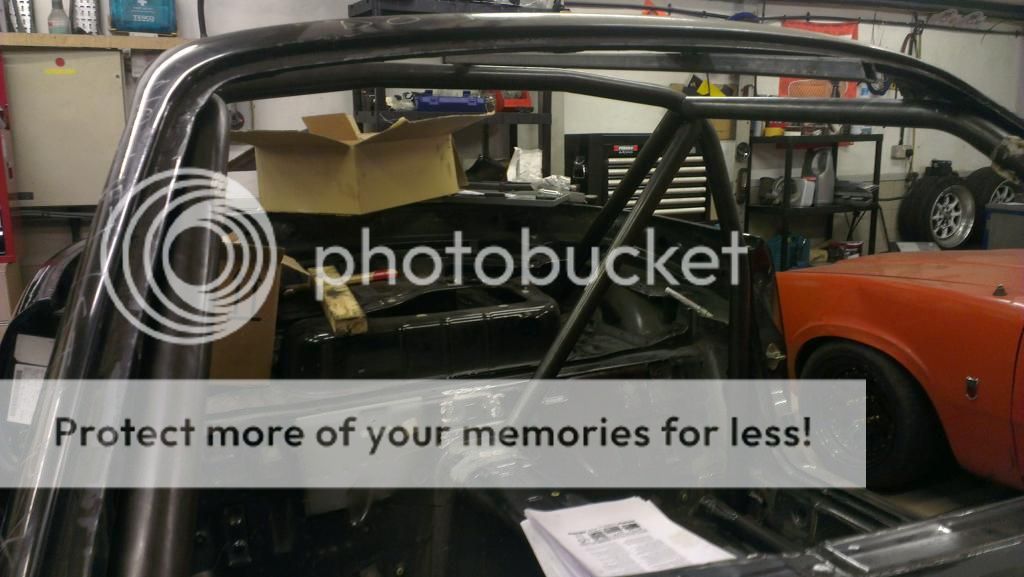
I then cracked on with the cage. I ended up re cutting in the rear bars as I wasnt happy with their intersection to the lateral bars. All the bars you see are probably 95% cut in and I`ll do the final fettling once I fit the foot plates ( I have these now but no pics unfortunetly)

IMAG0559.jpg

We had a bit of result with some garage equipment too, one of the chaps in a neighbouring unit ended up with an extra but slightly incomplete brand new 2 post lift when he was kitting out his new warehouse. The company didnt want it back as the shipping costs would have been uneconomical so we bought it off him for an absolute steal. Once thats fitted (hopefully this afternoon) I can then get back on with the 5.
I`m hoping to get the footplates in, dash, roof and rear brace bars fitted and maybe look at de powering my pas rack too so should have plenty of updates on monday
 
#16 ·
Looks like a great project!!!

So what lump is going to be hanging off that then??

Also didn't you buy the eunos with all the autokonexion wide arches etc??
Engine is a bit of secret until its in and working but yeah, I bought Robd`s green eunos for the wide arches, I`ve returned the engine to standard and added a few bits and the now ex missus is driving it
 
#21 ·
Looks like a great project!!!

So what lump is going to be hanging off that then??

Also didn't you buy the eunos with all the autokonexion wide arches etc??
Engine is a bit of secret until its in and working but yeah, I bought Robd`s green eunos for the wide arches, I`ve returned the engine to standard and added a few bits and the now ex missus is driving it
I know what it is ;)
 
#22 ·
Looks like a great project!!!

So what lump is going to be hanging off that then??

Also didn't you buy the eunos with all the autokonexion wide arches etc??
Engine is a bit of secret until its in and working but yeah, I bought Robd`s green eunos for the wide arches, I`ve returned the engine to standard and added a few bits and the now ex missus is driving it
I know what it is ;)
But you`re not going to tell anyone as I know where you live and those meisters we fitted at the weekend would make good garden ornaments if you do!Lol
 
#24 ·
So its been way to long yet again since I`ve updated you guys. Work has been flat out which has left little time for me to work on the 5.

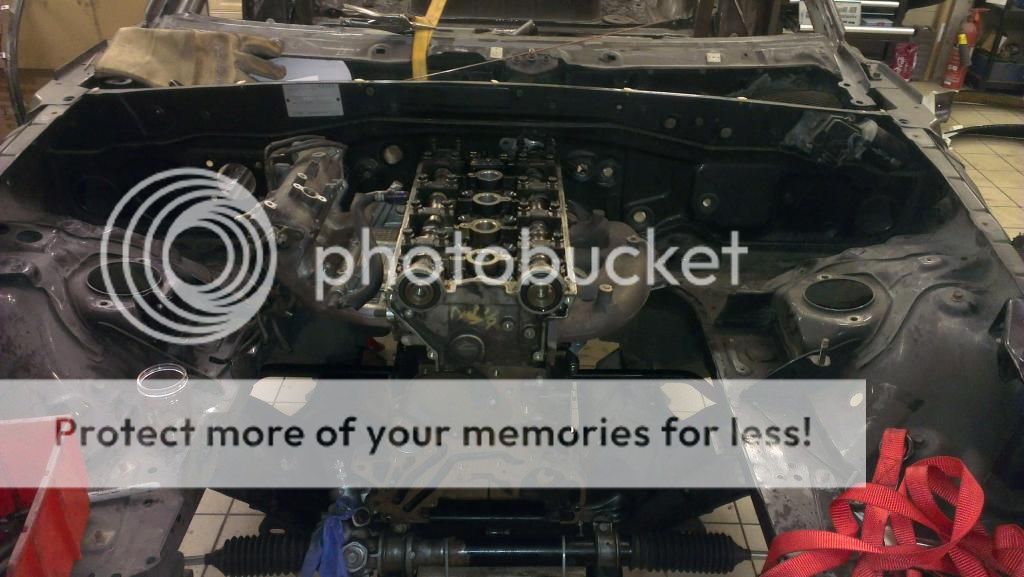
I managed to borrow a head and manifolds for the engine which allowed me to check clearances and position the engine on the subframe. I`m going to have to fab my own manifolds as the stock ones point the wrong way but they are larger than I plan on using and are in the worst position for packaging so should give me plenty of room

So this gives an idea of where the engine will end up. I`ve got plenty of room to the subframe for the oil pan and space between the block and body for the exhaust system too

IMAG0656.jpg

Lining it up took forever and required measuring everything countless times. A laser lever was a massive help to project a centre line down the car

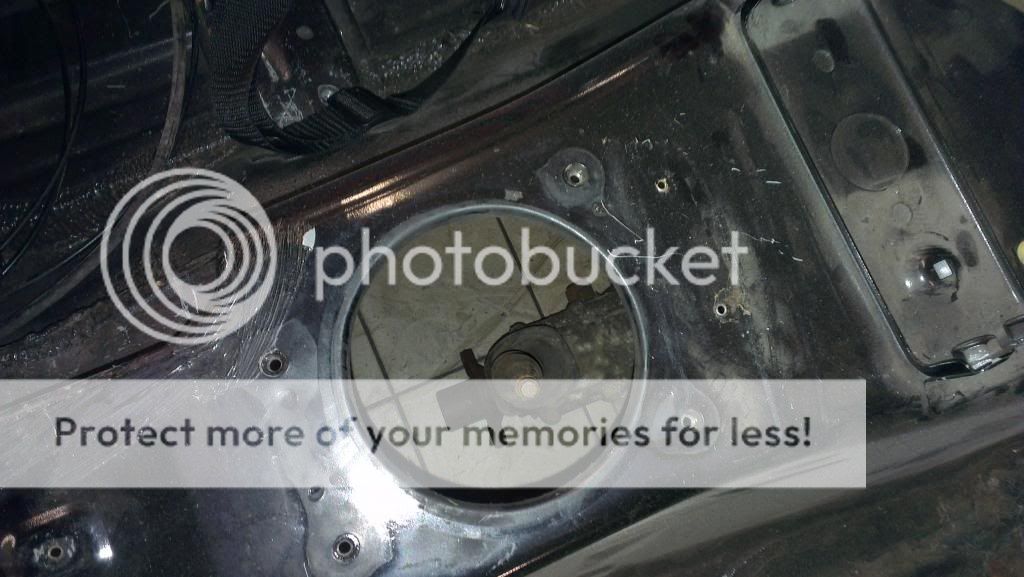
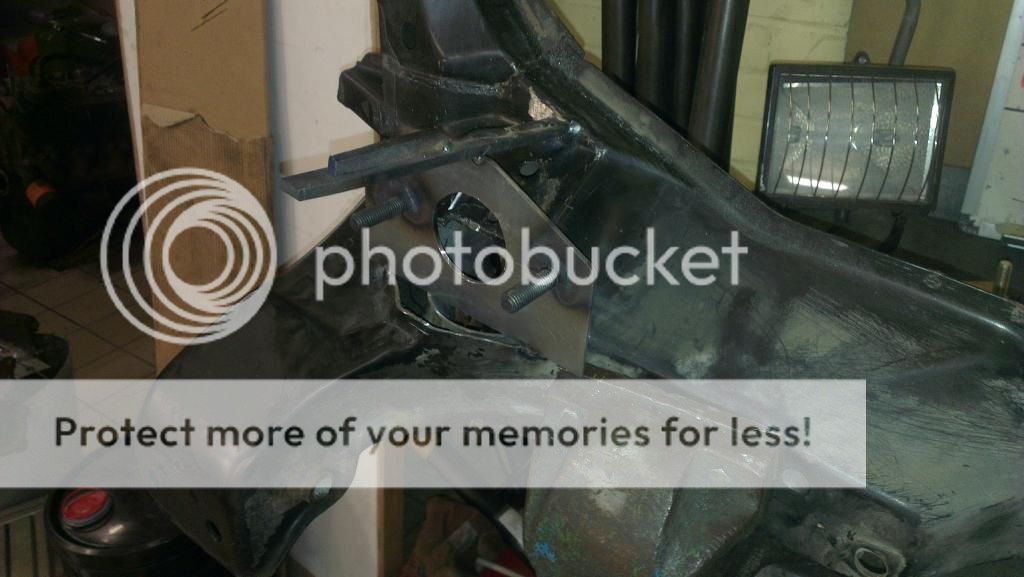
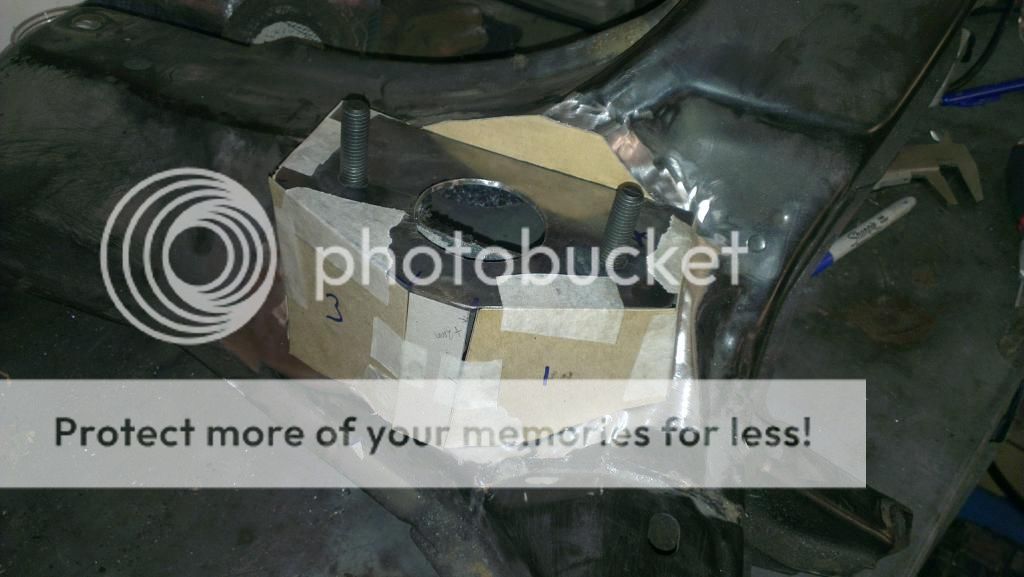
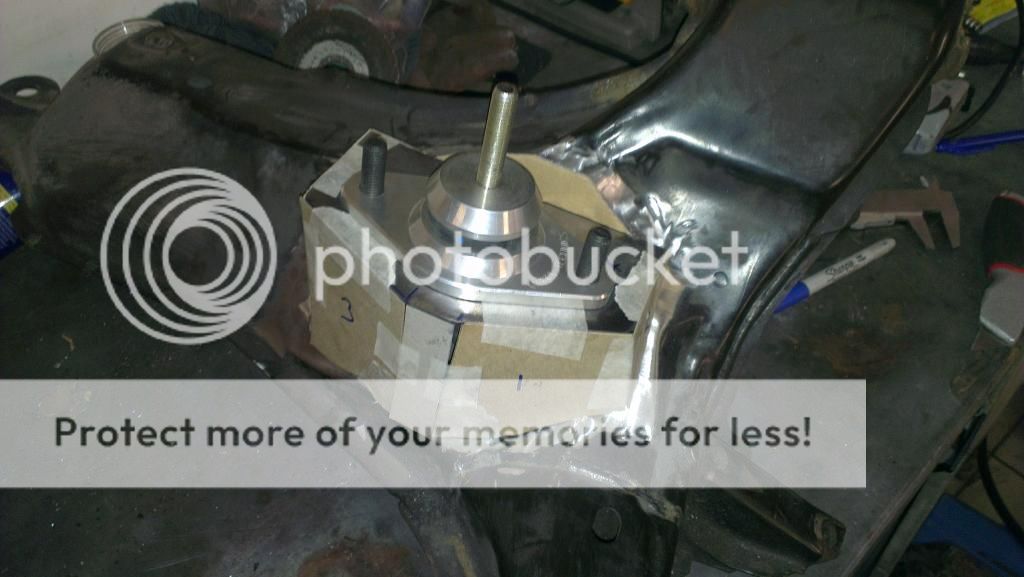
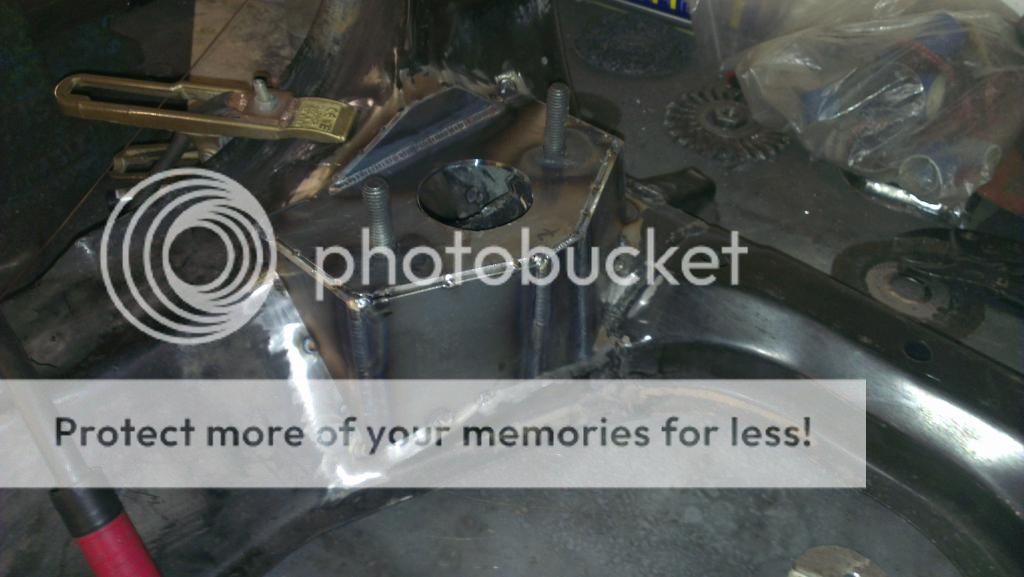
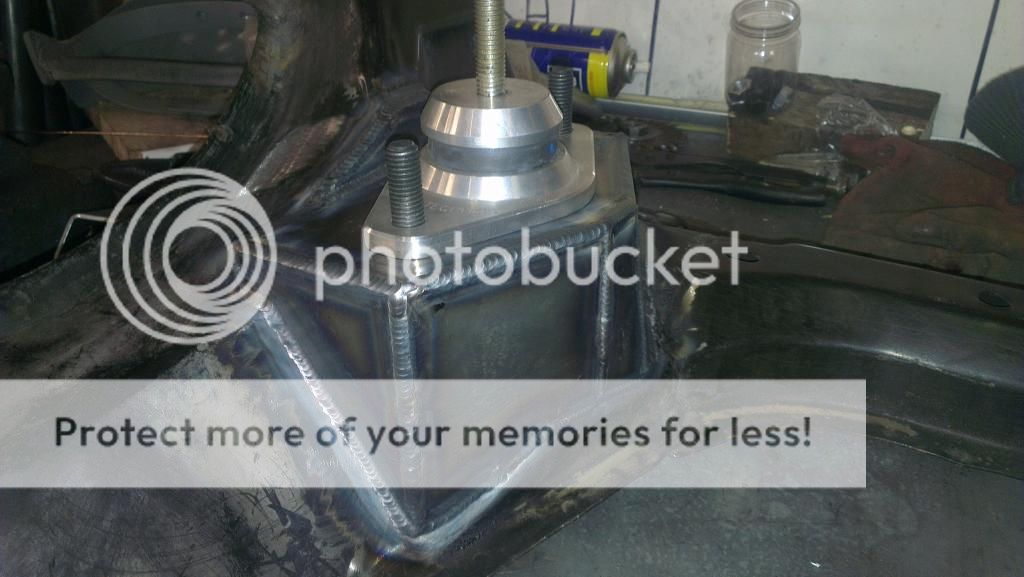
There are a few missing pictures but I bought a set of cosworth engine mounts from vibratechnics which wil be perfect for this. With the aid of some CAD (cardboard aided design) I cut a mounting plate and tacked it in place. Cutting the recess for this in the subframe took ages, bolting it up, grinding a bit out, rechecking the engine position for every few mm removed was very time consuming but ensured a very good fit. Less gaps to fill means less distortion when welding too

IMAG0692.jpg

and added a couple of high tensile (12.9) captive bolts

IMAG0693.jpg

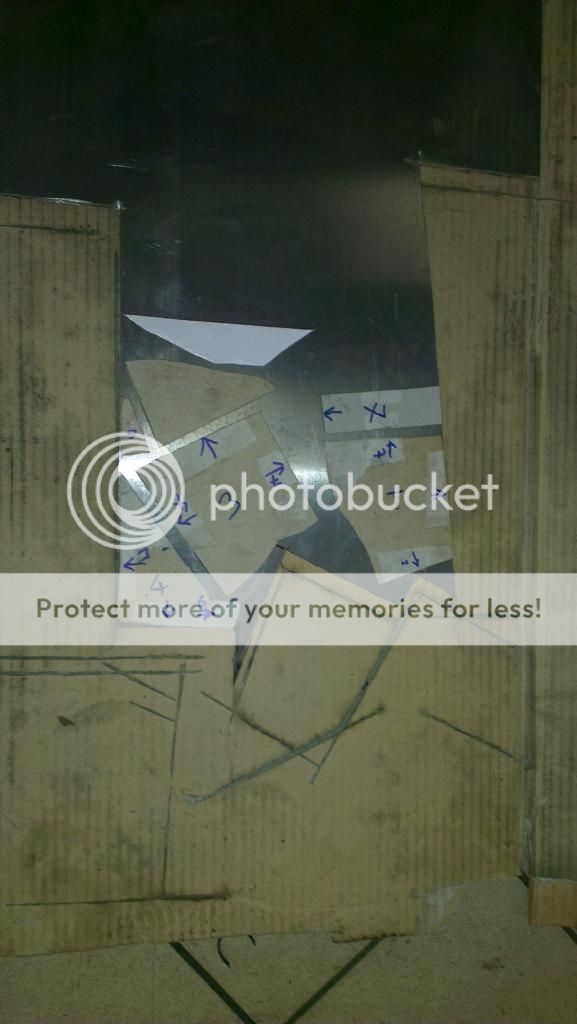
with yet more cardboard I boxed in the structure

IMAG0698.jpg

IMAG0703.jpg

IMAG0704.jpg

then transferred it all to the 3mm plate and got busy with the angle grinder

IMAG0706.jpg

IMAG0707.jpg

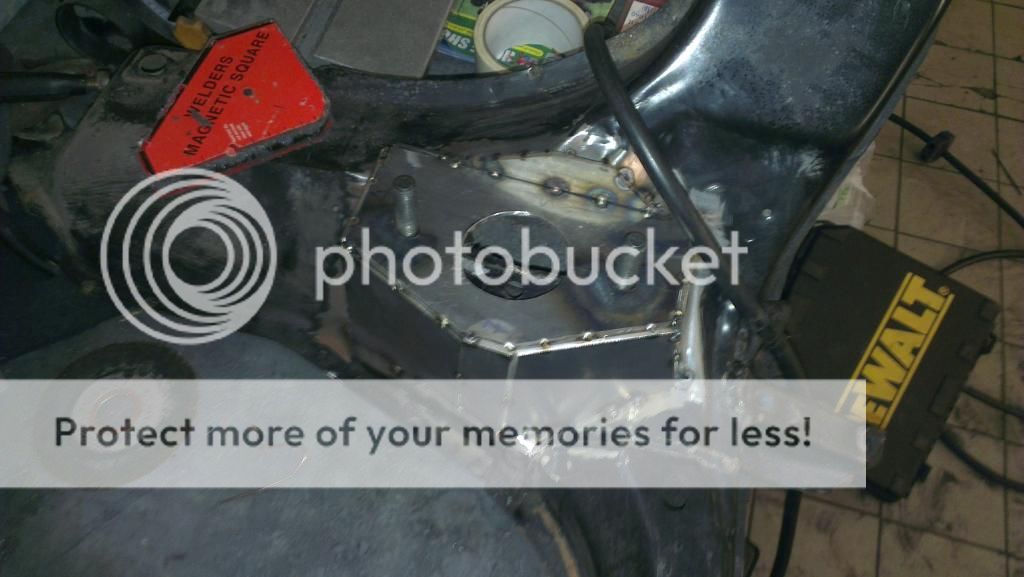
I welded all the upright sections first and the fillet along the back before caping them all off with 1 single perimeter weld so there is only 1 stop/start

IMAG0711.jpg

IMAG0713.jpg

For a 20yr old sub frame it welded really nicely, there was one or to pulses that dragged some crap in from the back but other than that it came out really well and isnt going anywhere!
 
#25 ·
2 updates in 1 day, arnt you the lucky ones :yes: .

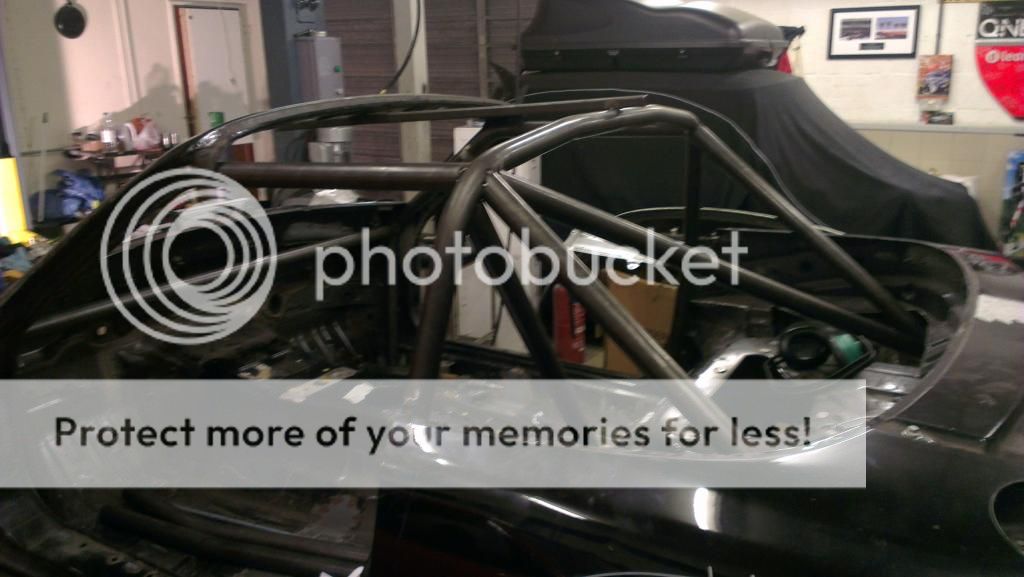
The subframe had taken most of my attention for a couple of weekends and the cage was annoying me as it looked like it had taken a few backwards steps to get the foot plates in. Time to rebuild it and add some more sections in

So for one of the last times I hope I`ve tacked (and wont be removing) the main hoop, laterals and back stays. I may need to juggle them about a bit to weld certain areas but we`ll see once I`ve added the tubes that tie in the front suspension mounts

IMAG0715.jpg

Which quickly progressed into adding tubes from the main hoop to the tunnel and one of the rear crosses too

IMAG0729.jpg

IMAG0732.jpg

and as an extra bit of excitement my seats turned up too

IMAG0718.jpg

I`m blown away by the quality of them and a massive thank you to JK composites who were a real pleasure to deal with. I just cant get any wider as the seats are a nice fit at the mo but could get a little tight post christmas eating/drinking shenanigans

I should get the rear of the cage completed this weekend, the dash bar is in there too but it wasnt overly exciting to take a pic of, and then need to add the roof and windscreen reinforcement in and then transition into the engine bay. Hopefully by the end of october it should be fully welded!