Mazda MX-5 Miata banner

Guide: 14 Degree Ignition Timing Mod

116K views 65 replies 37 participants last post by  bcadou  
#1 · (Edited by Moderator)
Bit of background:

By default, Mk1 (Mk2 uses a different system with knock sensors) and MX5 are set to 10 degrees before the top dead centre (BTDC) from the factory. What this means is that just before the piston reaches the top of the stroke (think of a degree as an amount of time before this happens for the sake of simplicity), the spark plug will fire for a given cylinder. This is a critical point because if the plug fires too early, the mixture will try to ignite when the piston is traveling up in the bore and the flame front (the blowing up stuff) fights against the crown (top) of the piston which is just bad news.

Conversely, if the ignition timing is too late, you can get a different problem, spontaneous combustion. Basically, the air-fuel mixture in the cylinder just blows up before the spark gets to ignite it correctly, also bad news.

The good news is that the MX5 is set up to deal with a range of different fuel qualities as low as ~90 RON. Thankfully here in the UK, even supermarket fuel is 95 RON which is more resistant to detonation. This means we can ignite the mixture earlier which means you have more energy forcing the piston down from the top of the stroke. This makes for big bangs and lots of smiles on the happy driver's face :)

OK, that's enough talk, this is how you do it:

Step 1 - Run the car to normal operating temperature to start with

MXTMStep1.jpg


Step 2 - Pull the bonnet and start to poke around in the engine bay
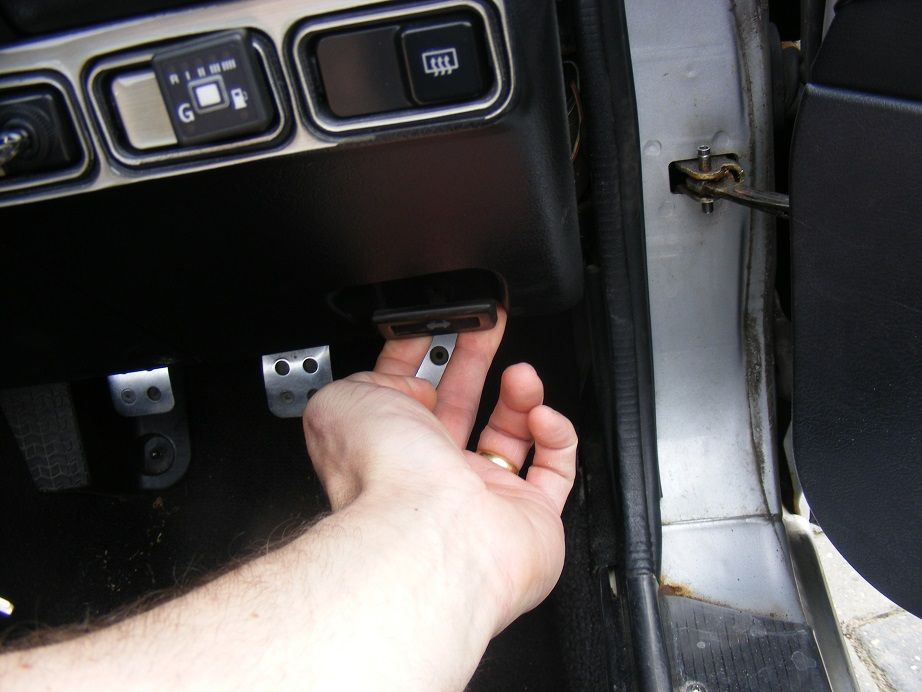
MXTMStep2.jpg


Step 3 - Locate the diagnostics box (the small black box that, helpfully, says diagnostics on it on the nearside inner wing)
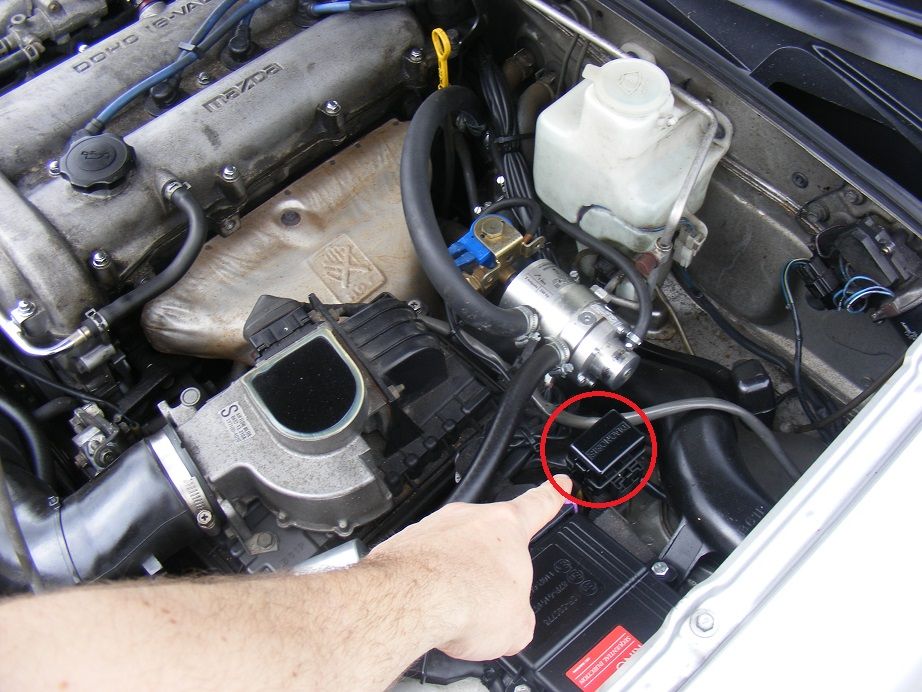
MXTMStep3.jpg
 
#2 · (Edited by Moderator)
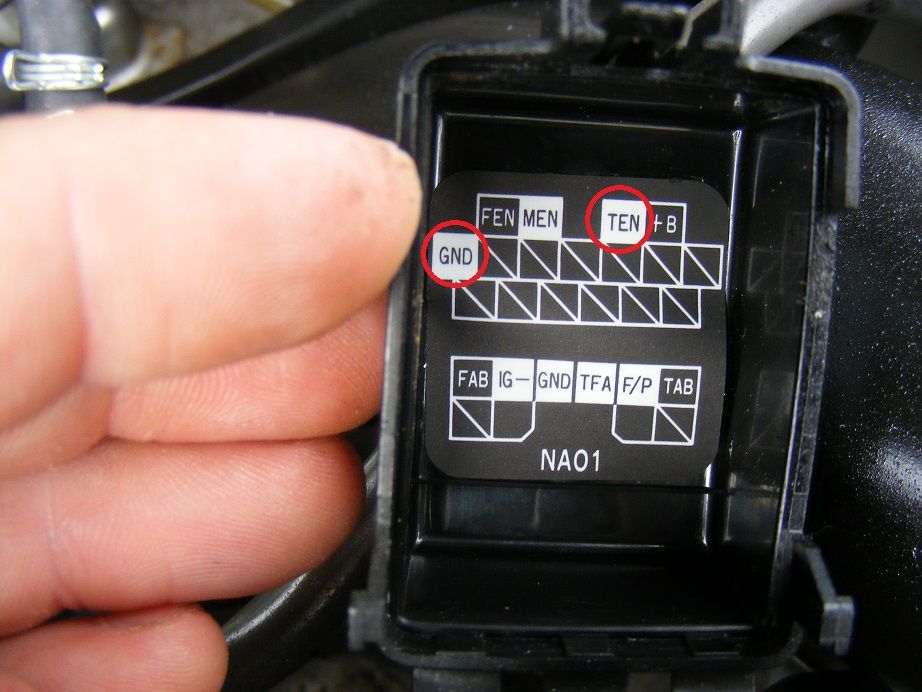
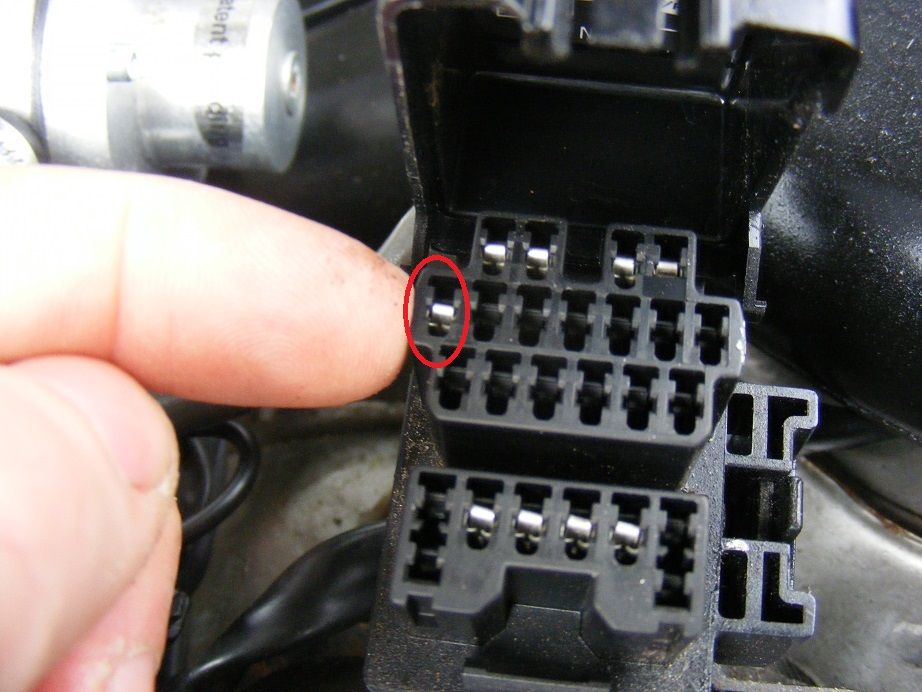
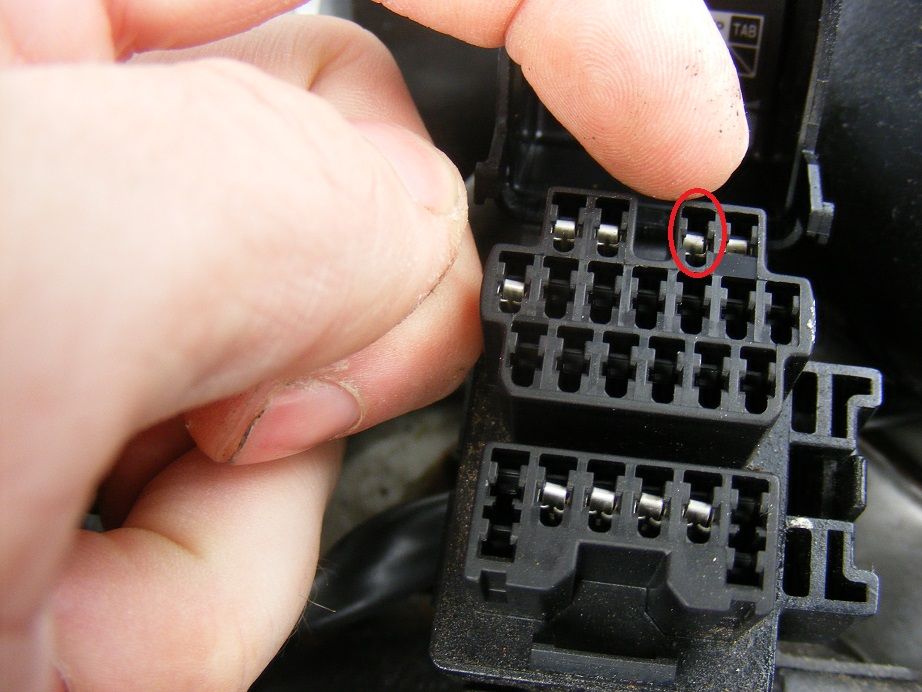
Step 4 - Pop the cap up and you should have a key telling you what the various pins are. We want TEN and GND, I've also shown where they are individually in the second and third pictures

MXTMStep4a.jpg

MXTMStep4b.jpg

MXTMStep4c.jpg


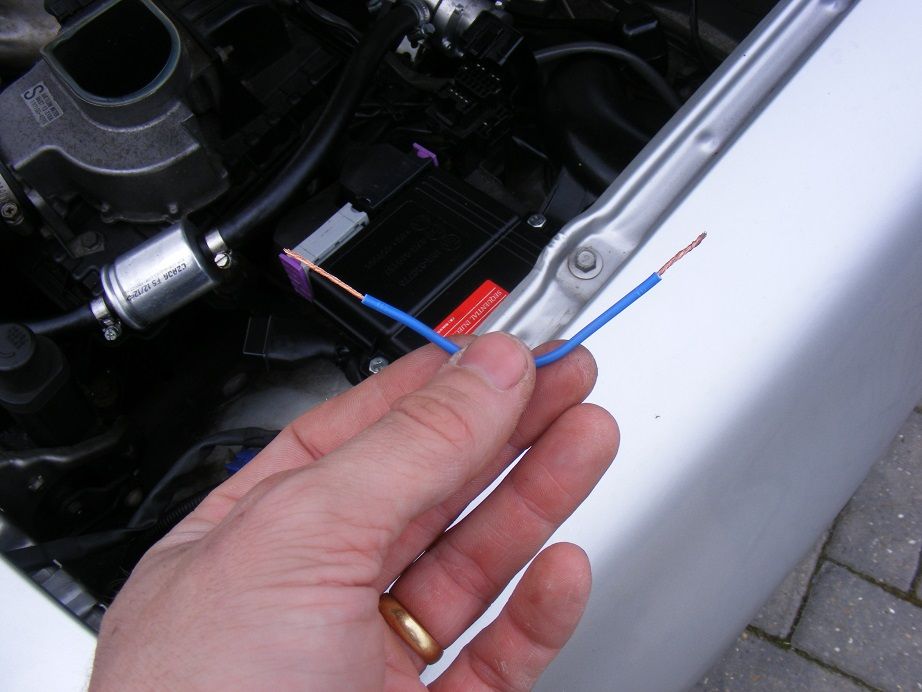
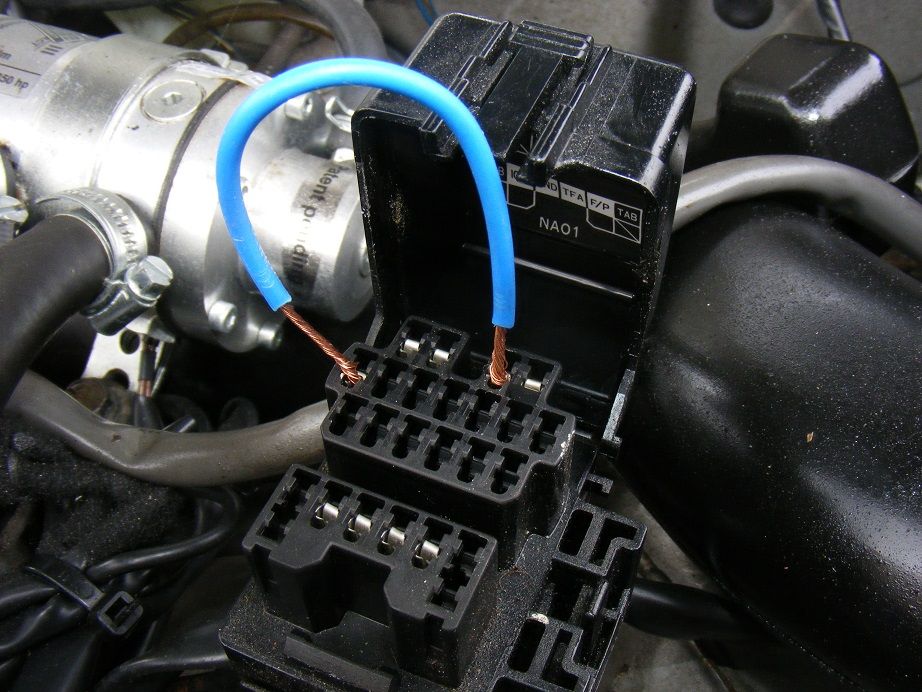
Step 5 - Grab a piece of wire/paperclip and pop it in the diagnostics connector, don't damage the pins, and make sure it has good contact (I recommend wire but be sure you twist the ends so no stray wires go to other terminals of the diagnostics block)

MXTMStep5a.jpg

MXTMStep5b.jpg


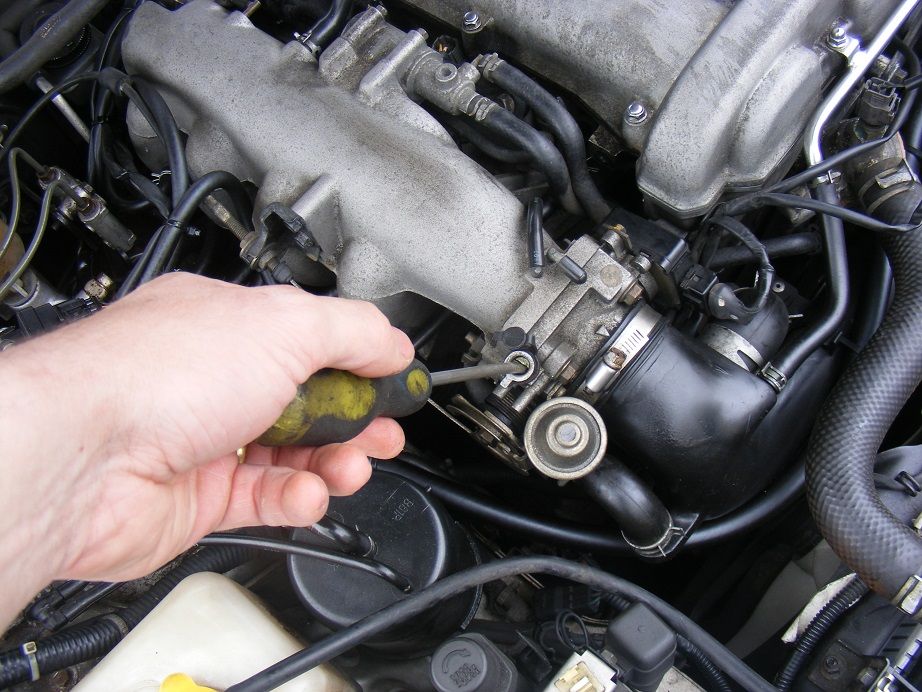
Step 6 - Now locate the cover on the throttle body which houses the screw that is used to adjust the idle speed (ignore the blue bits in the picture, they are part of the lpg system)

MXTMStep6.jpg
 
#4 ·
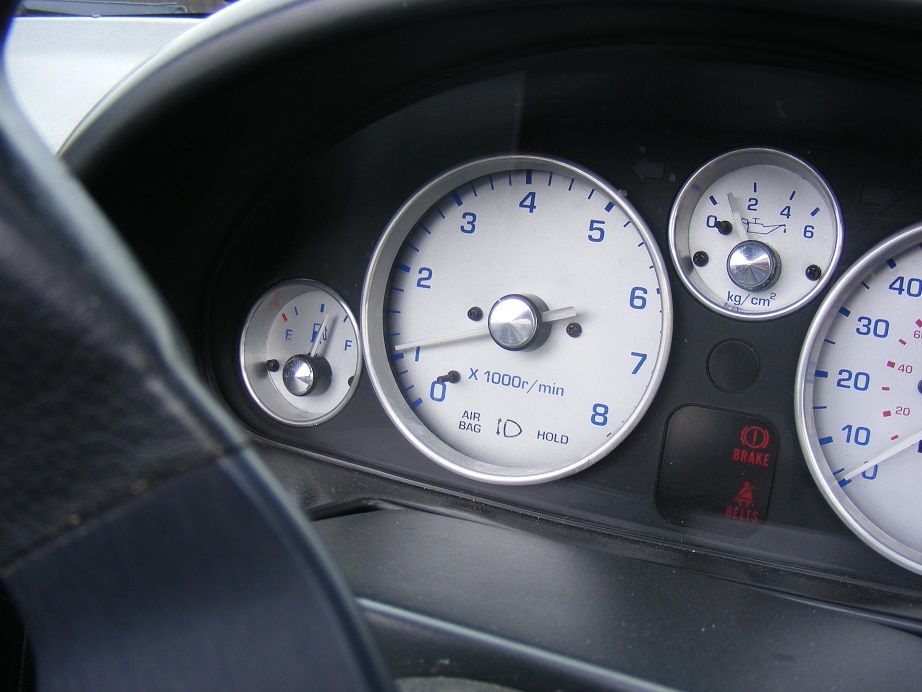
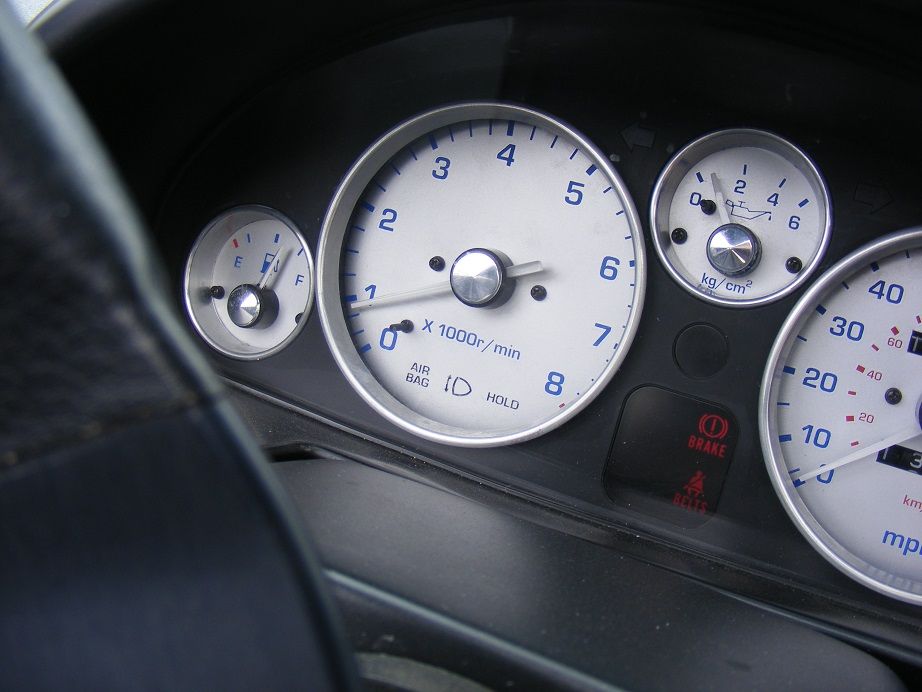
Step 10 - Set the idle to 850 RPM

MXTMStep10.jpg


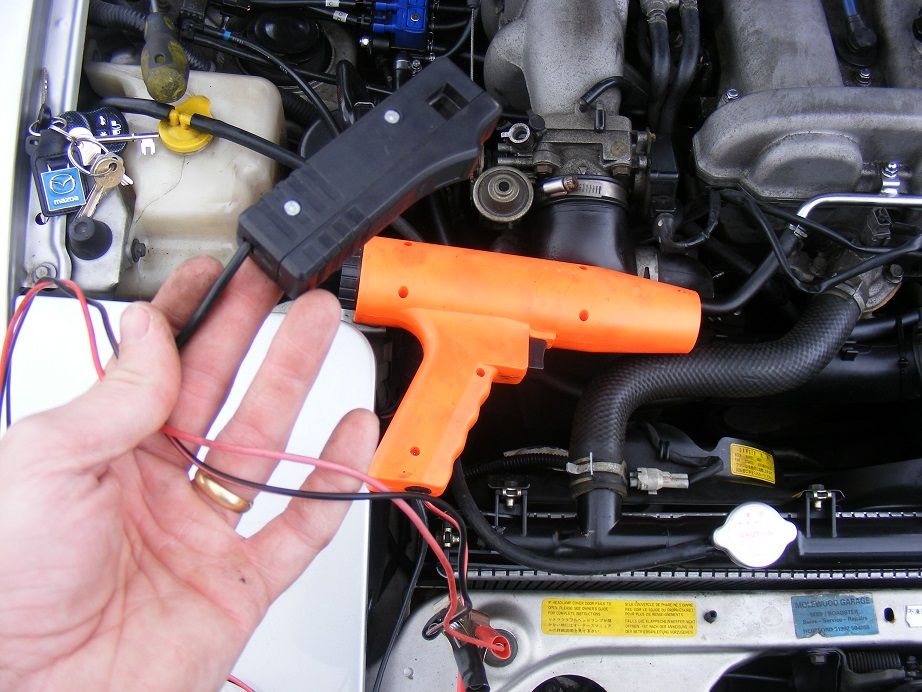
Step 11 - Get yourself an inductive timing light, sounds fancy doesn't it? Basically the inductive light will pick up the signal to the spark plug without you having to unplug anything rather than putting the timing light in series with the HT lead and spark plug

MXTMStep11.jpg


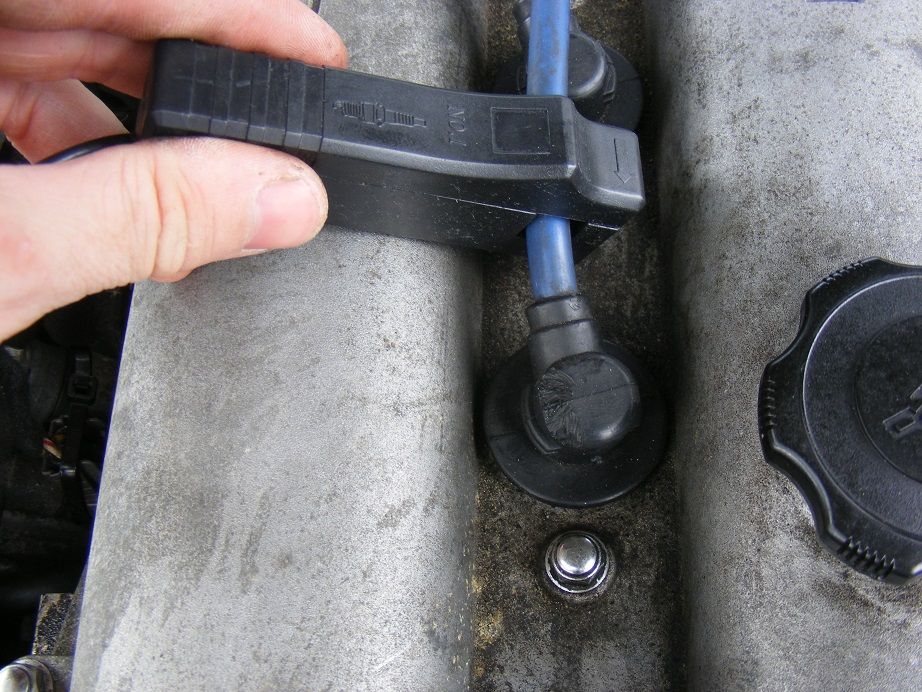
Step 12 - Hook the pick up sensor over the #1 HT lead (this is the high tension lead closest to the front of the car)

MXTMStep12.jpg
 
#5 ·
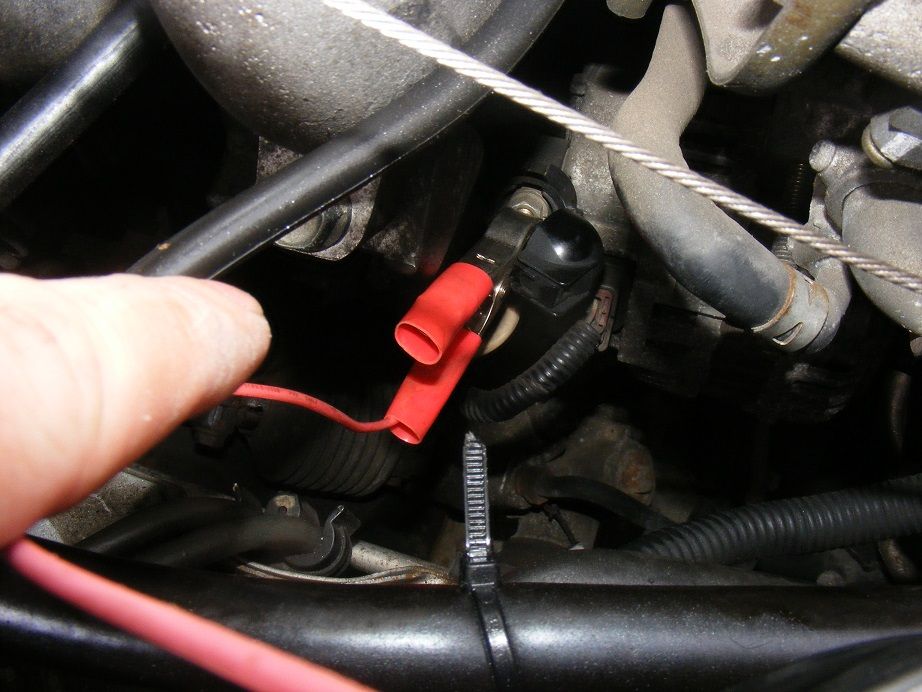
Step 13 - Because your battery is in the boot, you need to get a nice power supply for the timing light, I just went off the back of the alternator, pop the cap off (first picture) and clip the red lead on (second picture)

MXTMStep13a.jpg

MXTMStep13b.jpg


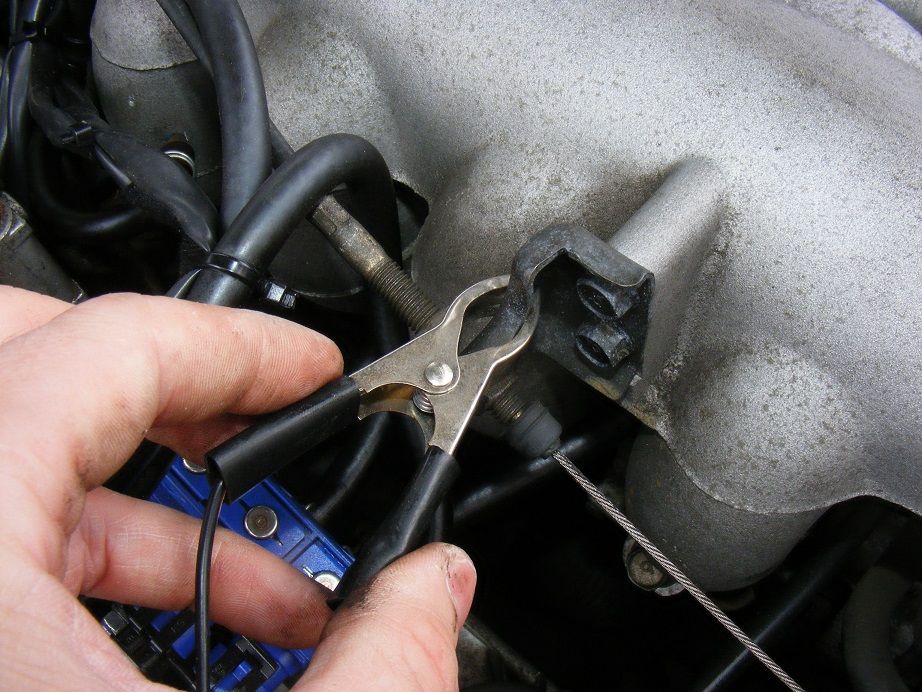
Step 14 - Clip the black lead onto a good ground (piece of metal attached to the engine), I used the bracket shown

MXTMStep14.jpg


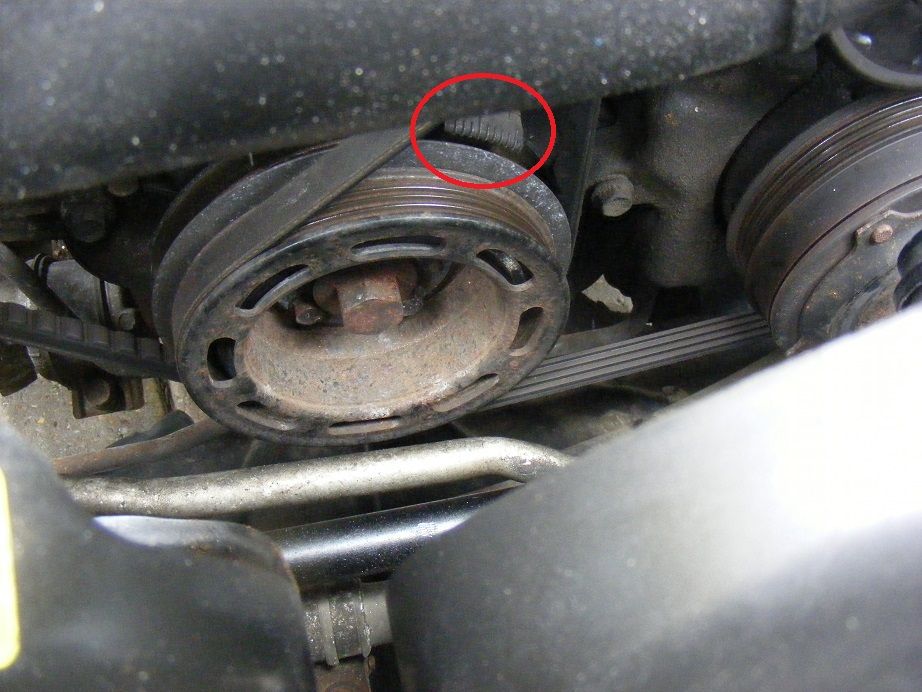
Step 15 - Now look down right at the front of the engine and you will see your harmonic damper (often called your crank pulley), which is adjacent to a bracket with timing marks on it. This will become important soon. The 4th timing mark along is longer than all the others, this is the 10 degree mark and where the timing would be from the factory

MXTMStep15.jpg
 
#6 · (Edited by Moderator)
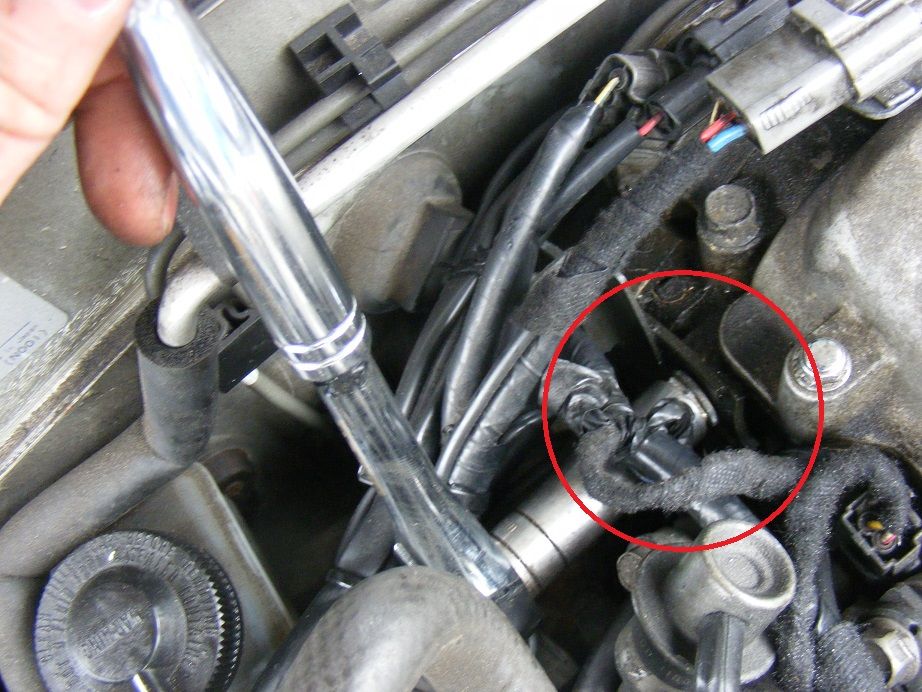
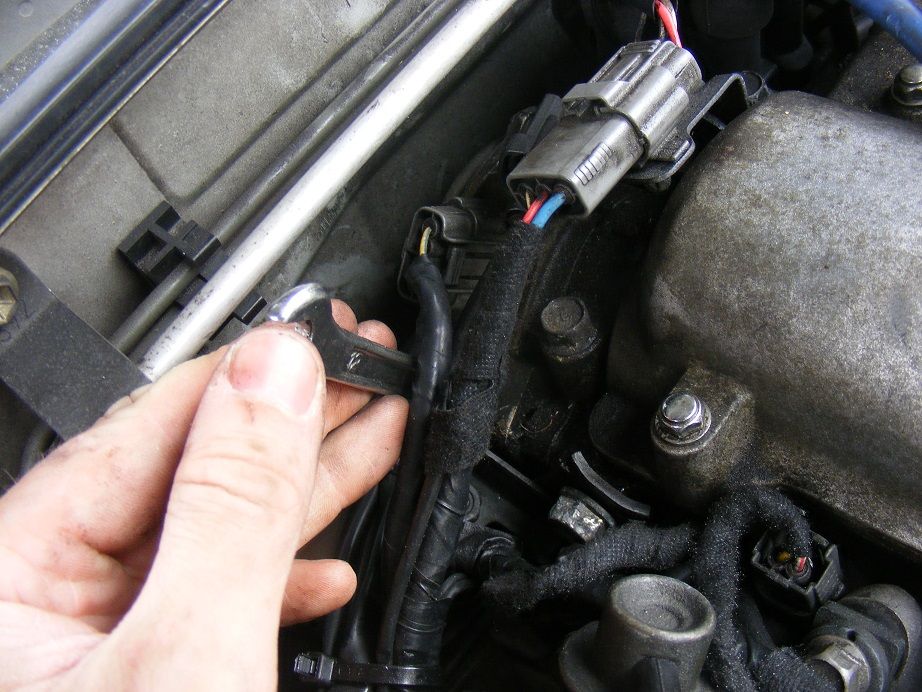
Step 16 - It's a bit awkward to get to the cam angle sensor (CAS) so I chose to slacken off the 14mm bolt holding the bracket in place as shown, I recommend you do the same

MXTMStep16.jpg


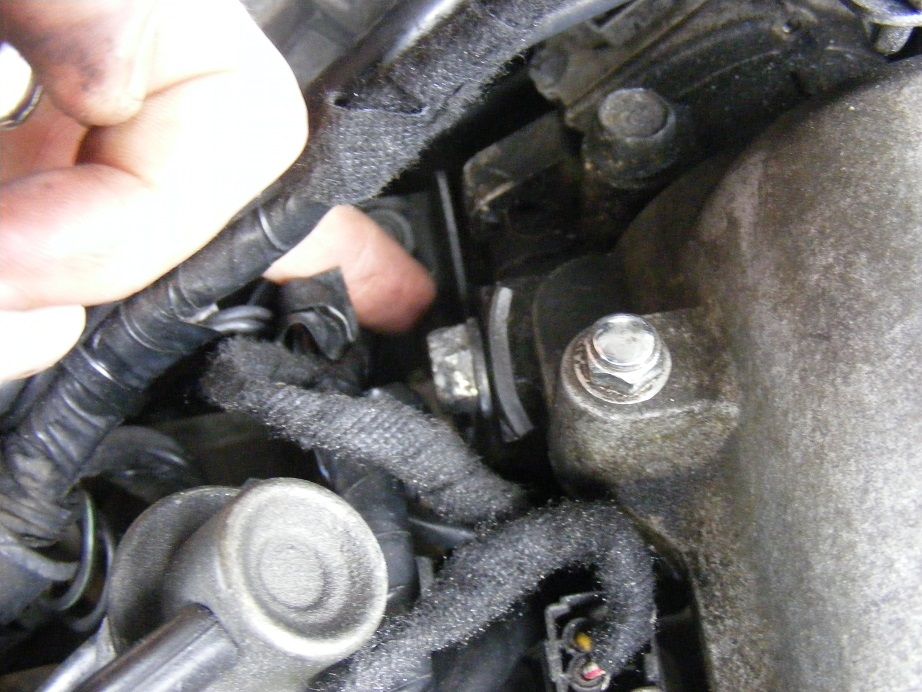
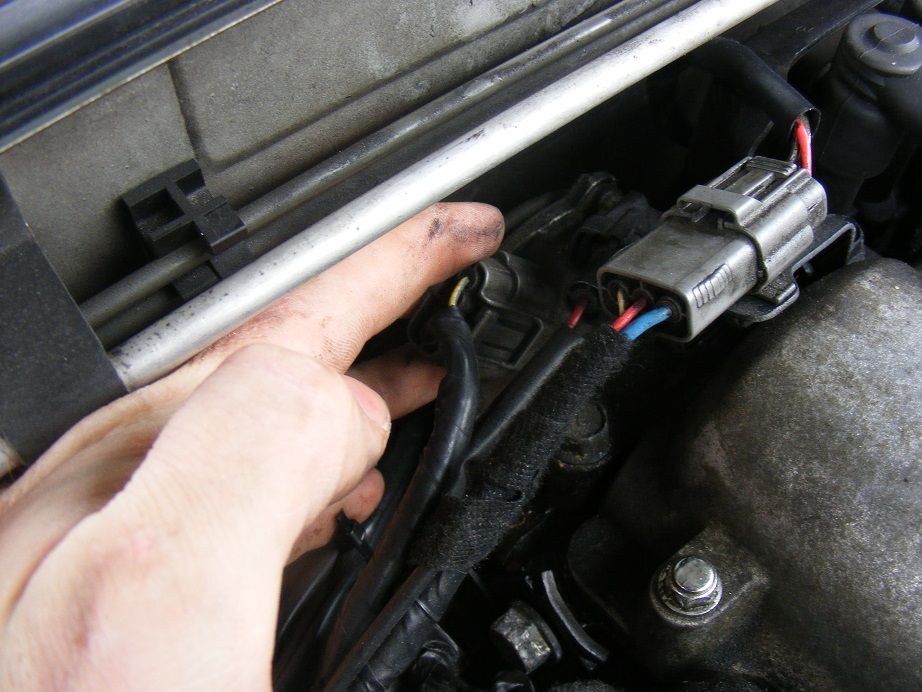
Step 17 - Rotate the bracket down out the way as shown

MXTMStep17.jpg


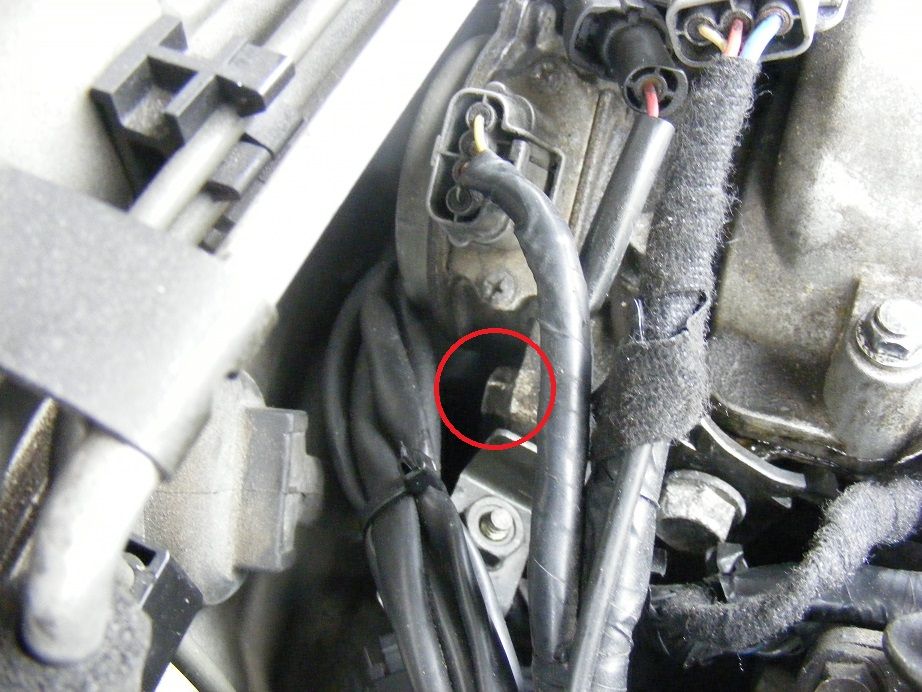
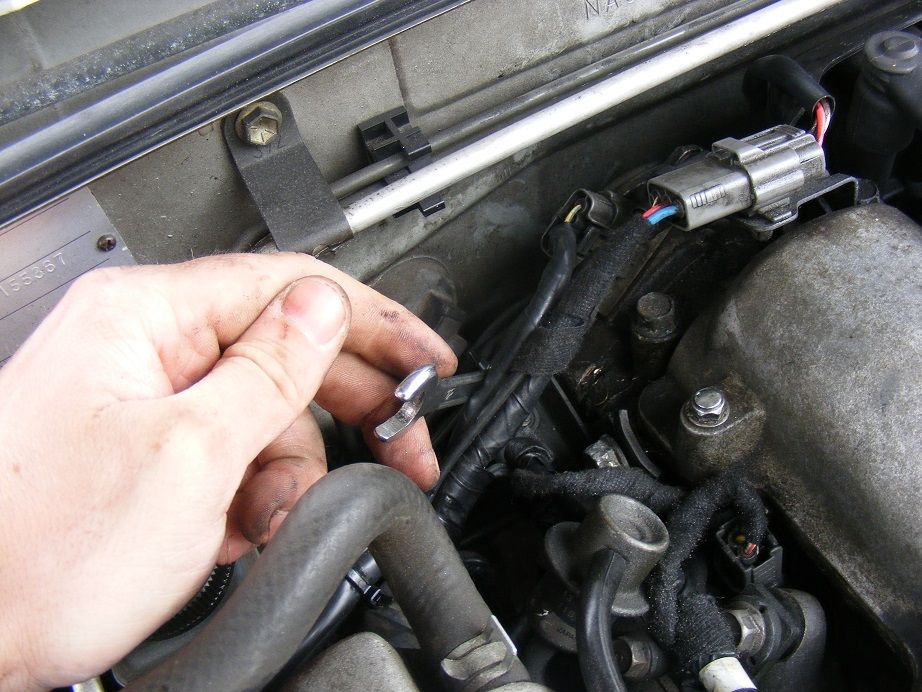
Step 18 - The cam angle sensor is held in place by a single 12mm bolt (highlighted in the picture) and sits at the back of the left hand (inlet) cam cover as you face the engine (note this is for a 1.6 engine, the 1.8 is on the other/exhaust side). There is a 4 wire connector coming out of it.

MXTMStep18.jpg
 
#7 · (Edited by Moderator)
Step 16 - It's a bit awkward to get to the cam angle sensor (CAS) so I chose to slacken off the 14mm bolt holding the bracket in place as shown, I recommend you do the same

MXTMStep16.jpg


Step 17 - Rotate the bracket down out the way as shown

MXTMStep17.jpg


Step 18 - The cam angle sensor is held in place by a single 12mm bolt (highlighted in the picture) and sits at the back of the left hand (inlet) cam cover as you face the engine (note this is for a 1.6 engine, the 1.8 is on the other/exhaust side). There is a 4 wire connector coming out of it.

MXTMStep18.jpg
 
#8 · (Edited by Moderator)
Step 19 - Slacken off the 12mm bolt with a spanner (about 1 turn is usually enough)

MXTMStep19.jpg


Step 20 - Move the CAS right up and down a few times to ensure you have free movement so you can adjust it properly, they tend to get a bit stuck in place so if you try and do a fine adjustment when the car is running without doing this it can jump quite a long way. After wriggling it right up and down, return it to roughly where it was

MXTMStep20.jpg


Step 21 - Fire up the car and shine your timing light down at the bracket we looked at in step 15. You should see a mark on the pulley which lines up with the long line (10 degrees btdc)

Note: Before you fire it up, check the timing light wires are not dangling near anything that will be moving like the fans!

MXTMStep21.jpg
 
#9 ·
Step 22 - Rotate the CAS (very small amounts) until you line up the pulley mark with the 14 degrees btdc mark (two to the left of the long mark as you face it) then nip the 12mm back up

MXTMStep22.jpg


Step 23 - Recheck the timing (it moves sometimes when you nip up the 12mm bolt for the CAS) then recheck the idle speed (if required, adjust like you did in step 9) then remove the timing light and link in the diagnostics connector

MXTMStep23.jpg
 
#14 ·
There's a more convenient 12v source on inside of the passenger wing - blue connector with a blank installed.

Also worth noting - rotate the case only if the O ring has recently been replaced as they go hard, flat over a period of time and then crack easily when disturb meaning you may have created an oil leak after doing so.

Also if the car stalls when started with the jumper wire in position then your idle is set too low or you have a gummed up IACV.

Otherwise a spot on guide :)
 
#16 · (Edited by Moderator)
Nice write up. :thumb-up:

IMHO the first thing that you should do is check that the timing marks on the crank pulley overlay are still referenced accurately to TDC as the outer pulley can slip. If you don't do this you might as well let Stevie Wonder set your ignition timing. B)

http://www.mx5nutz.com/forum/index.php?showtopic=109575&p=1382950

Don't be frightened of limiting yourself to 14 degrees of advance either. ;)
 
#18 ·
great guide mate
 
#21 ·
"This means we can ignite the mixture later without fear of the fuel blowing up. Why would you want to do this? If you can delay the explosion then when it does spark it makes for big bangs and lots of smiles on the happy driver's face :)"

Umm, are you aware that you are ADVANCING the timing, not delaying it? 14 degrees BEFORE TDC is before 10 degrees

Over ADVANCING the timing causes detonation, not delaying it
 
#23 ·
Great guide and certainly not slating it or criticising in any way but can I suggest marking the position of the CAS before you adjust timing. Then its very simple to return to a known starting point if anything goes wrong or not as intended. Just a little tweak to a great guide
 
#25 ·
Well put together!

Just re-iterating 3 things you'd want to do that have been mentioned by others but are really important.

Replace the CAS oring for the couple of pounds it costs. You'll have no end of oil leaks if you don't.

Mark the current position on the CAS and head as your base position.

Most important, take out no1 plug and stick and screwdriver or DTI guage to find TDC. Mine was 10degrees out...!!! Makes timing it up pointless if not done.